
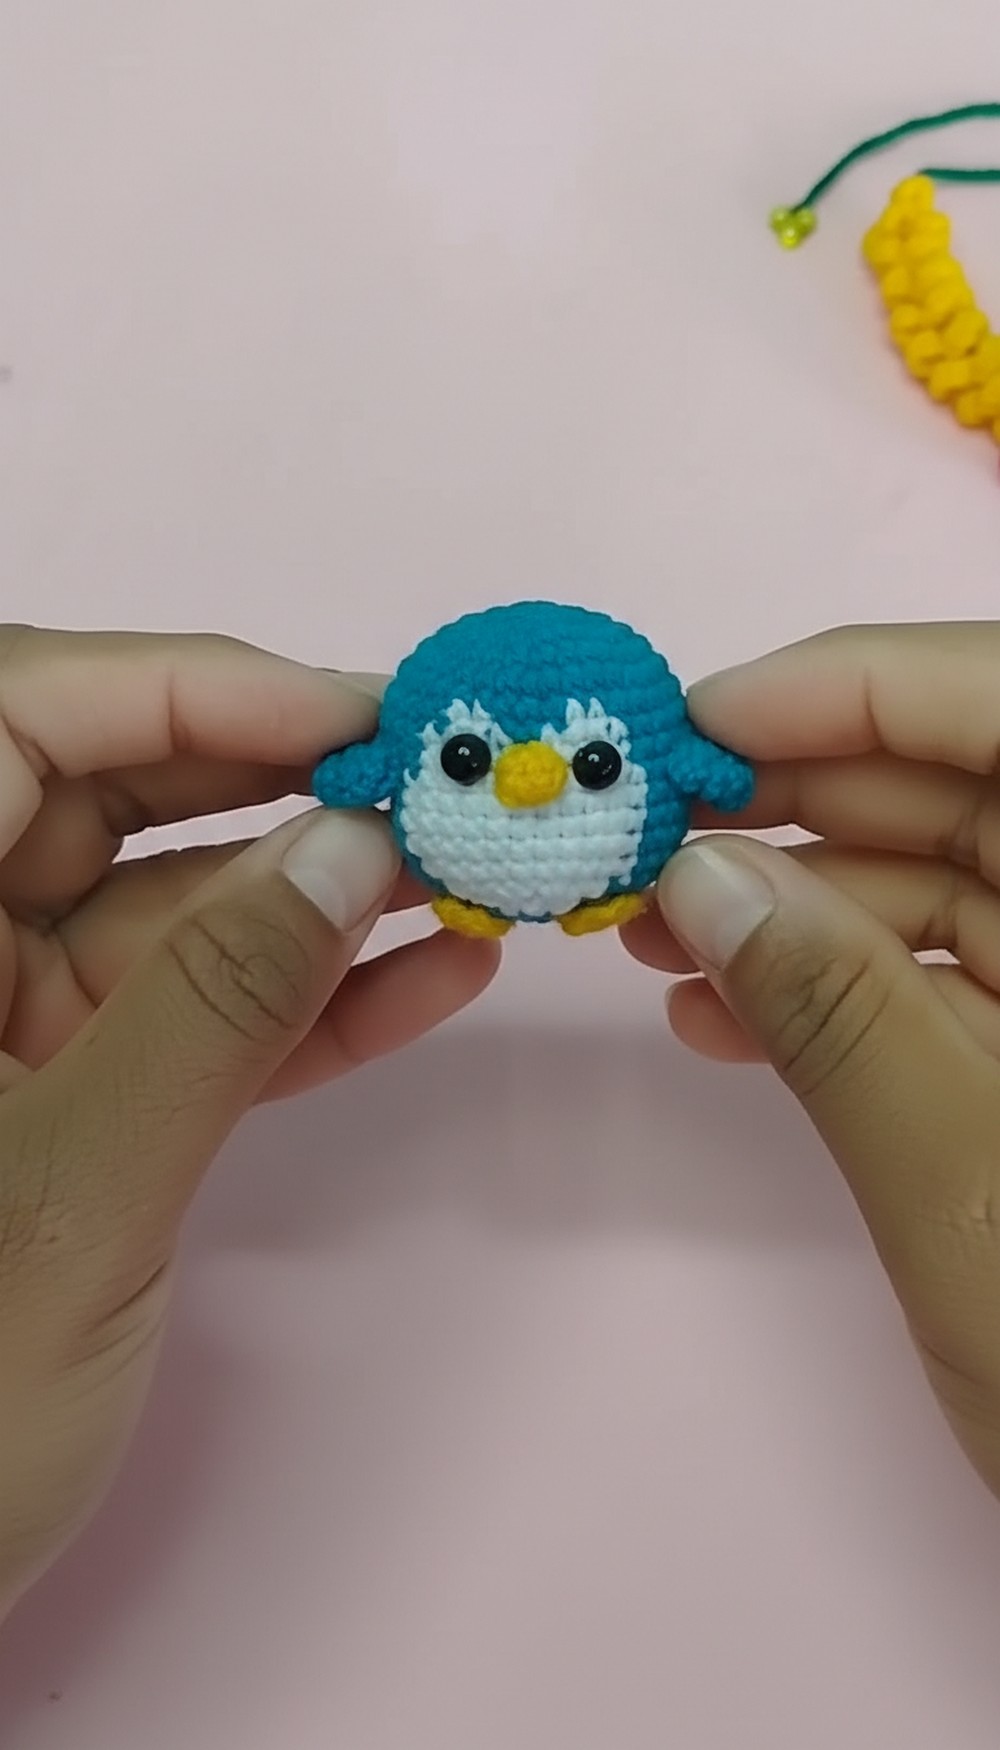
Stitch up a playful winter buddy with this Crochet Penguin Amigurumi Pattern and enjoy an easy, cozy project perfect for gifting or décor.
This cute project brings a smile with its round shape and friendly penguin face. The soft body, bright beak, and small wings make it perfect for adding to your room, giving to someone special, or letting children play with it. By following a crochet penguin amigurumi pattern, you can easily change colors and shape each part, learning new techniques along the way.
Happy Crochet Penguin Amigurumi Pattern for playful decor
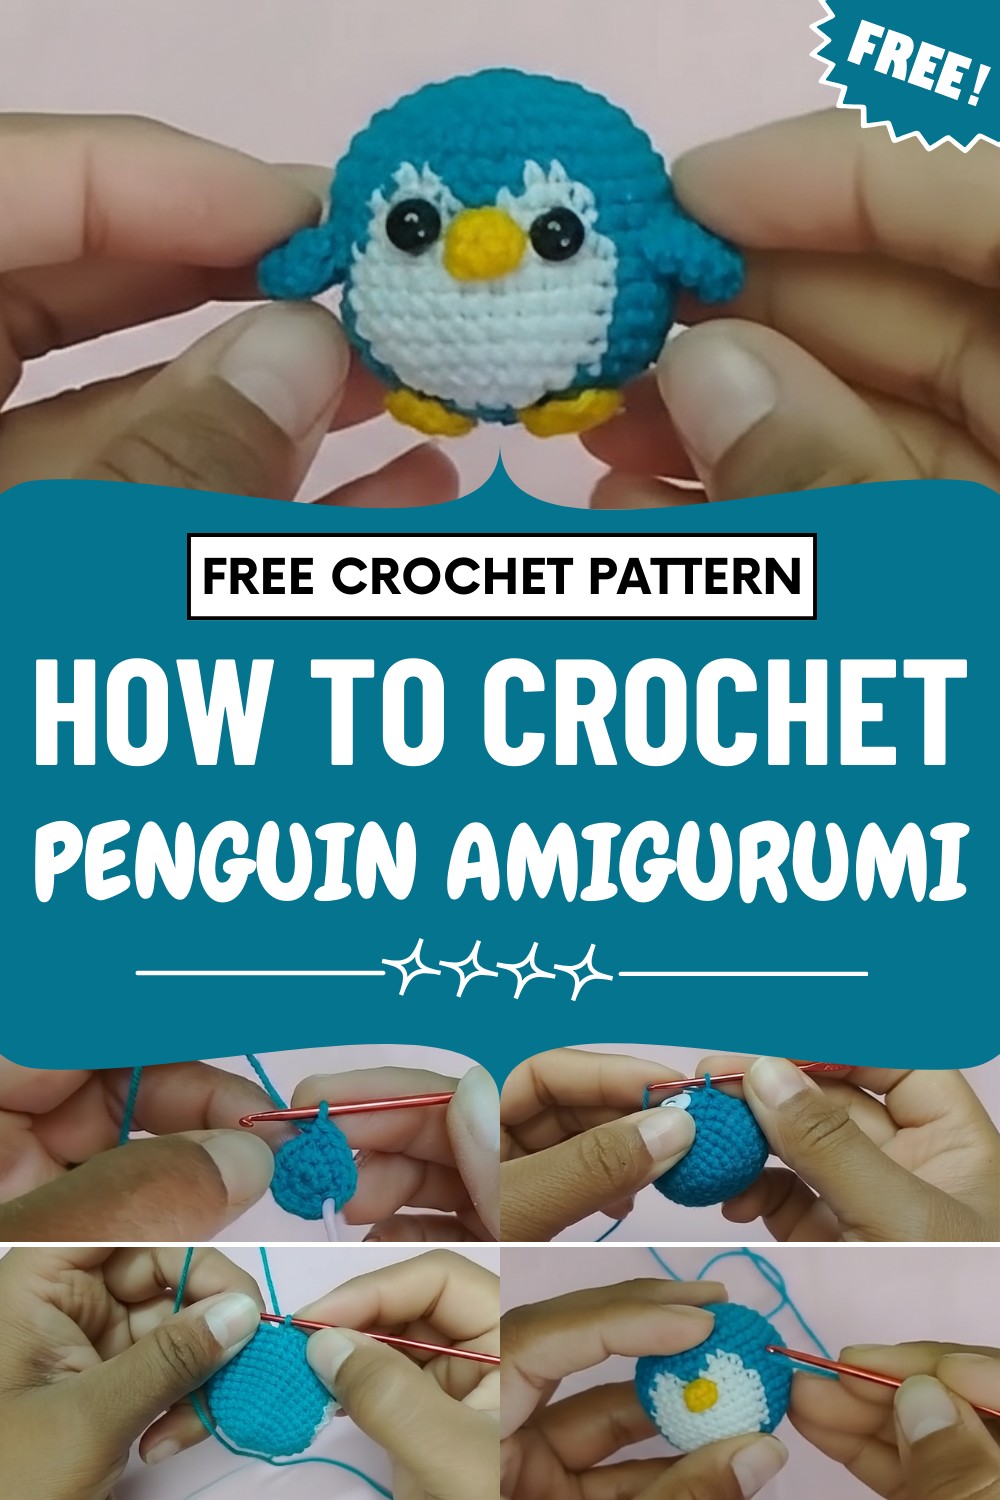
Pick any shades you like to make a penguin that matches your style or the person you want to surprise. The finished toy is soft and strong, so it’s safe for little hands, or it can be used as a cheerful keychain or bag charm.
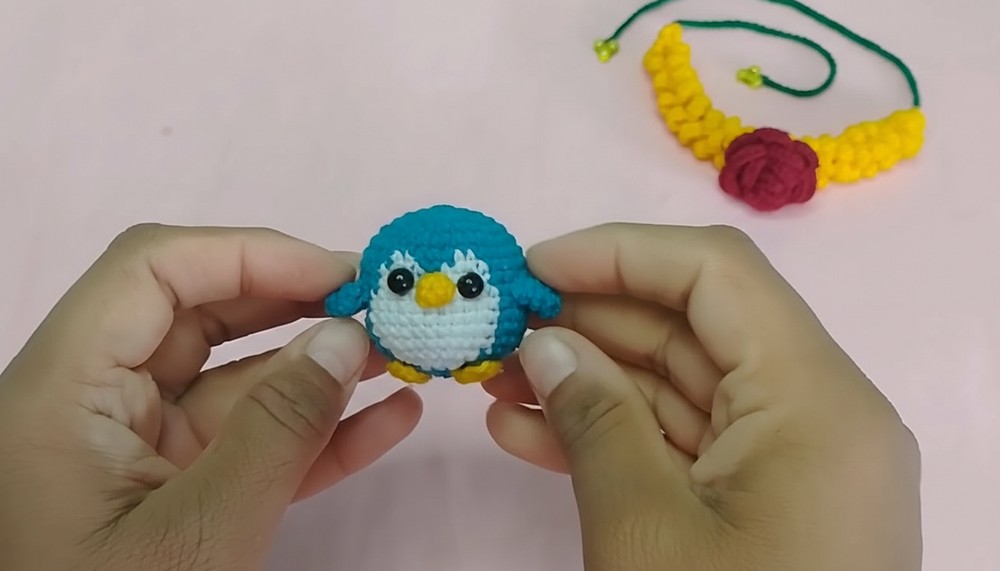
With simple steps and clear instructions, anyone—from beginners to more experienced people—can enjoy making a penguin that spreads joy and adds a cute touch wherever it goes.
Materials
- 2.5 mm crochet hook
- Three-ply crochet yarn (main, accent, and beak colors)
- Polyester stuffing
- Yarn needle (for sewing and finishing)
- Stitch marker (optional, helps with rounds)
- Scissors
- Black half-beads or small safety eyes
- Craft glue
Special Features
- Simple amigurumi structure—great for learning shaping and color changes
- Easy-to-follow instructions for basic crochet stitches and techniques
- Customizable coloring—you can make penguins in your favorite shades
- Finished penguin is soft, plump, and cute, perfect for decor or as a gift
Skill Level
Beginner to Intermediate
If you know how to single crochet and make a magic ring, you can follow this pattern! Clear instructions and repetitive rounds make it perfect for anyone learning amigurumi or wanting a quick, fun project.
Tutor’s Suggestions
- Use stitch markers to track the start of each round for perfect counting.
- Don’t tighten color changes too much – keep your work smooth and even.
- Stuff the body evenly for a neat shape.
- Choose vibrant or soft yarn colors for extra cute results.
Step-by-Step Penguin Crochet Pattern
A. Penguin Body
- Start with Magic Ring
- Make a magic ring, chain 1.
- Round 1
- Crochet 6 single crochets into the ring.
- Tighten the ring.
- Round 2
- Work in continuous rounds.
- Make 2 single crochet in each stitch around (you’ll have 12 stitches).
- Place a stitch marker at the first stitch to keep track.

- Round 3
- Start of increase rounds.
- [2 single crochet in first stitch, 1 in next] repeat all around for 18 stitches.
- Round 4
- [1 single crochet, 2 in next, 1 single crochet] repeat sequence for the round.
- Round 5
- [3 single crochets, 2 in next] repeat sequence all around.
- Round 6
- [2 single crochet, 2 in next, 2 single crochet] repeat sequence all around.
- Round 7–14
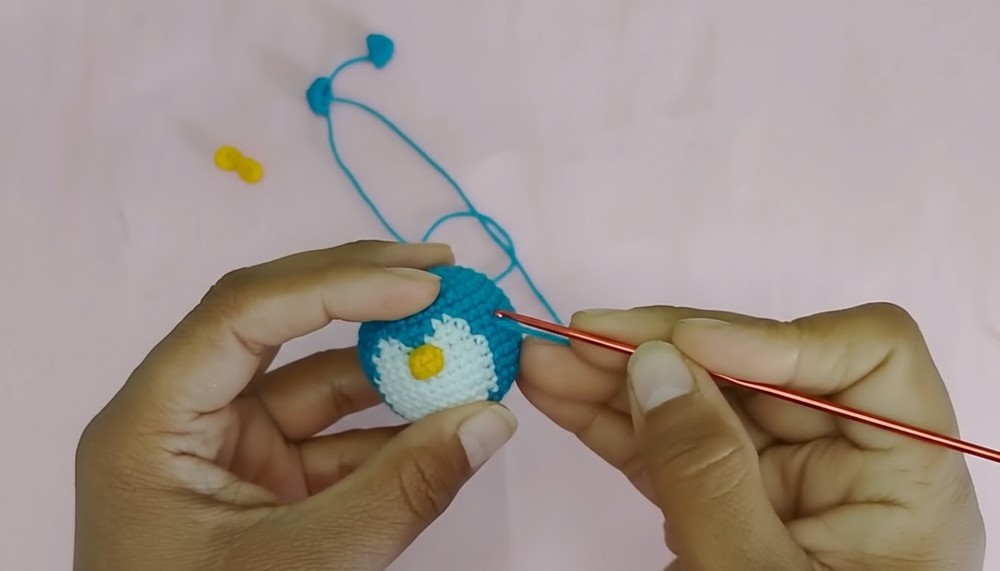
- Work evenly in single crochet while following color changes for the penguin face:
- Crochet required stitches in main color.
- Change to white for the face details as defined in transcript (e.g., for cheeks and central face area).
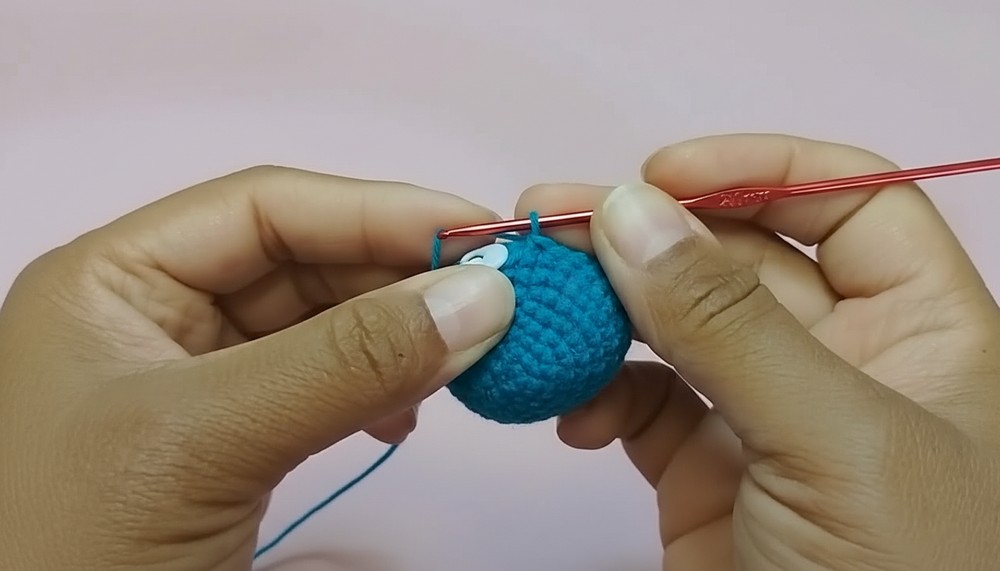
- Always attach white and blue yarn as directed, pulling new color through last 2 loops of stitch for a neat change.
- Use stitch marker at the start of each new round.
- Repeat face color pattern through rounds 7 to 14.
- Work evenly in single crochet while following color changes for the penguin face:
- Round 15 (Start of Decrease)
- [4 single crochets, invisible decrease] repeat sequence three times.
- Continue with color changes.
- Decrease also in white portions of face as directed.
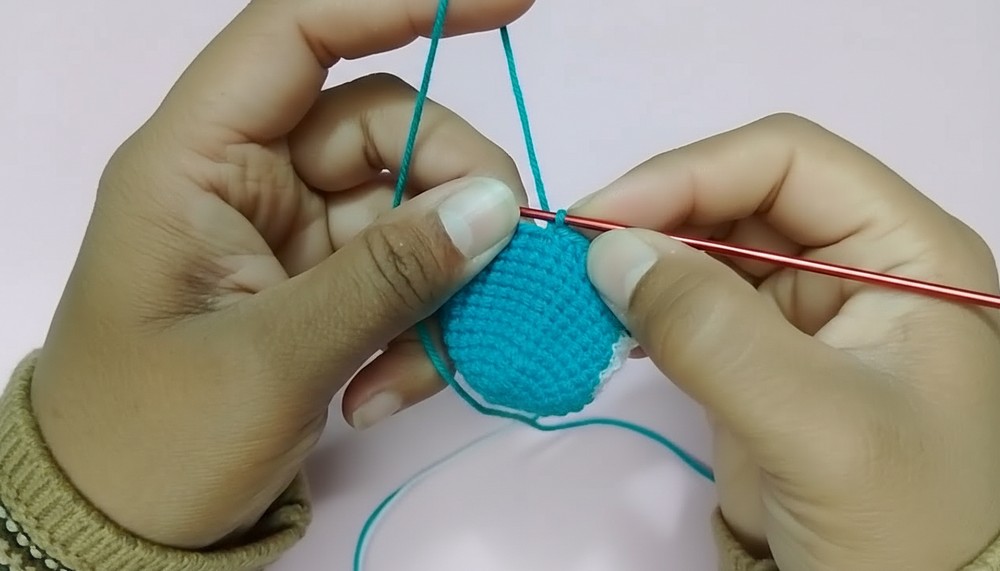
- Round 16
- [3 single crochets, decrease] repeat sequence four times. Continue with relevant color changes as described.
- Round 17
- [1 single crochet, decrease, 1 single crochet] repeat six times.
- Round 18
- [1 single crochet, decrease] repeat.
- Round 19
- 6 decreases only; this closes the top.
- Finish
- Cut a long tail, thread it through remaining stitches, and pull tight to close.
- Use the yarn needle to hide the tail.
- Stuffing
- Fill the penguin body with polyester stuffing before final closure for a nice, plush feel.
B. Wings (Make 2)
- Magic Ring
- Create a magic ring, chain 1.
- Round 1
- 4 single crochets into ring, tighten yarn.
- Round 2
- 2 single crochet into each stitch (8 stitches).
- Round 3
- 1 single crochet in each stitch around.
- Finish
- Cut yarn, pull it inside the wing to secure.
- Make second wing just like this.
C. Toes (Make 2)
- Magic Ring
- Make a magic ring, chain 1.
- Round 1
- 6 single crochets into the ring, tighten.
- Slip stitch to join, cut and pull tail through inside.
- Make one more for other side.
D. Beak
- Magic Ring
- Magic ring, chain 1.
- Round 1
- 5 single crochets into ring, tighten.
- Slip stitch to join, cut and pull tail through.
E. Assembly
- Attach Beak
- Sew beak at the pointed tip of body using a yarn needle.
- Attach Wings
- Sew wings to the body on the second row of blue, starting at the second stitch.
- Attach Toes
- Sew toes to the bottom as desired.
- Add Eyes
- Cut black half-beads, or use safety eyes.
- Use glue to fix eyes above the beak.
F. Final Details
- Hide all excess yarn ends inside the penguin.
- Shape it nicely; adjust stuffing if needed.
Uses
- Cute desk or shelf decoration
- Children’s toy
- Keychain or bag charm (just add a loop!)
- Gift for friends and family
Tip
When changing yarn colors for the face, always pull the new color gently through the last loops of a single crochet. This gives smooth color transitions and neat looking features!
Conclusion
Crocheting your own penguin amigurumi is a joyful project suitable for all skill levels. By following these simple steps and color changes, you can create soft, plump penguins in any color combination. They make wonderful decorations, heartfelt gifts, and fun companions.




Leave a Reply