
Trim your décor with this Free Crochet Christmas Tree Pattern, a festive and cheerful way to add holiday charm to shelves, tables, or gifts.
Infusing the holiday season with cozy warmth and a touch of whimsy, this delightful project brings festive cheer to any setting. The Crochet Christmas Tree Pattern provides a wonderful way to enhance home décor, offering options for decorative table centerpieces, cheerful garlands, or charming handmade ornaments. With textures that range from elegant lace to plush, multidimensional branches, these trees immediately become captivating highlights in both modern and classic interiors.
Mini Crochet Christmas Tree Pattern to Decorate Every Corner
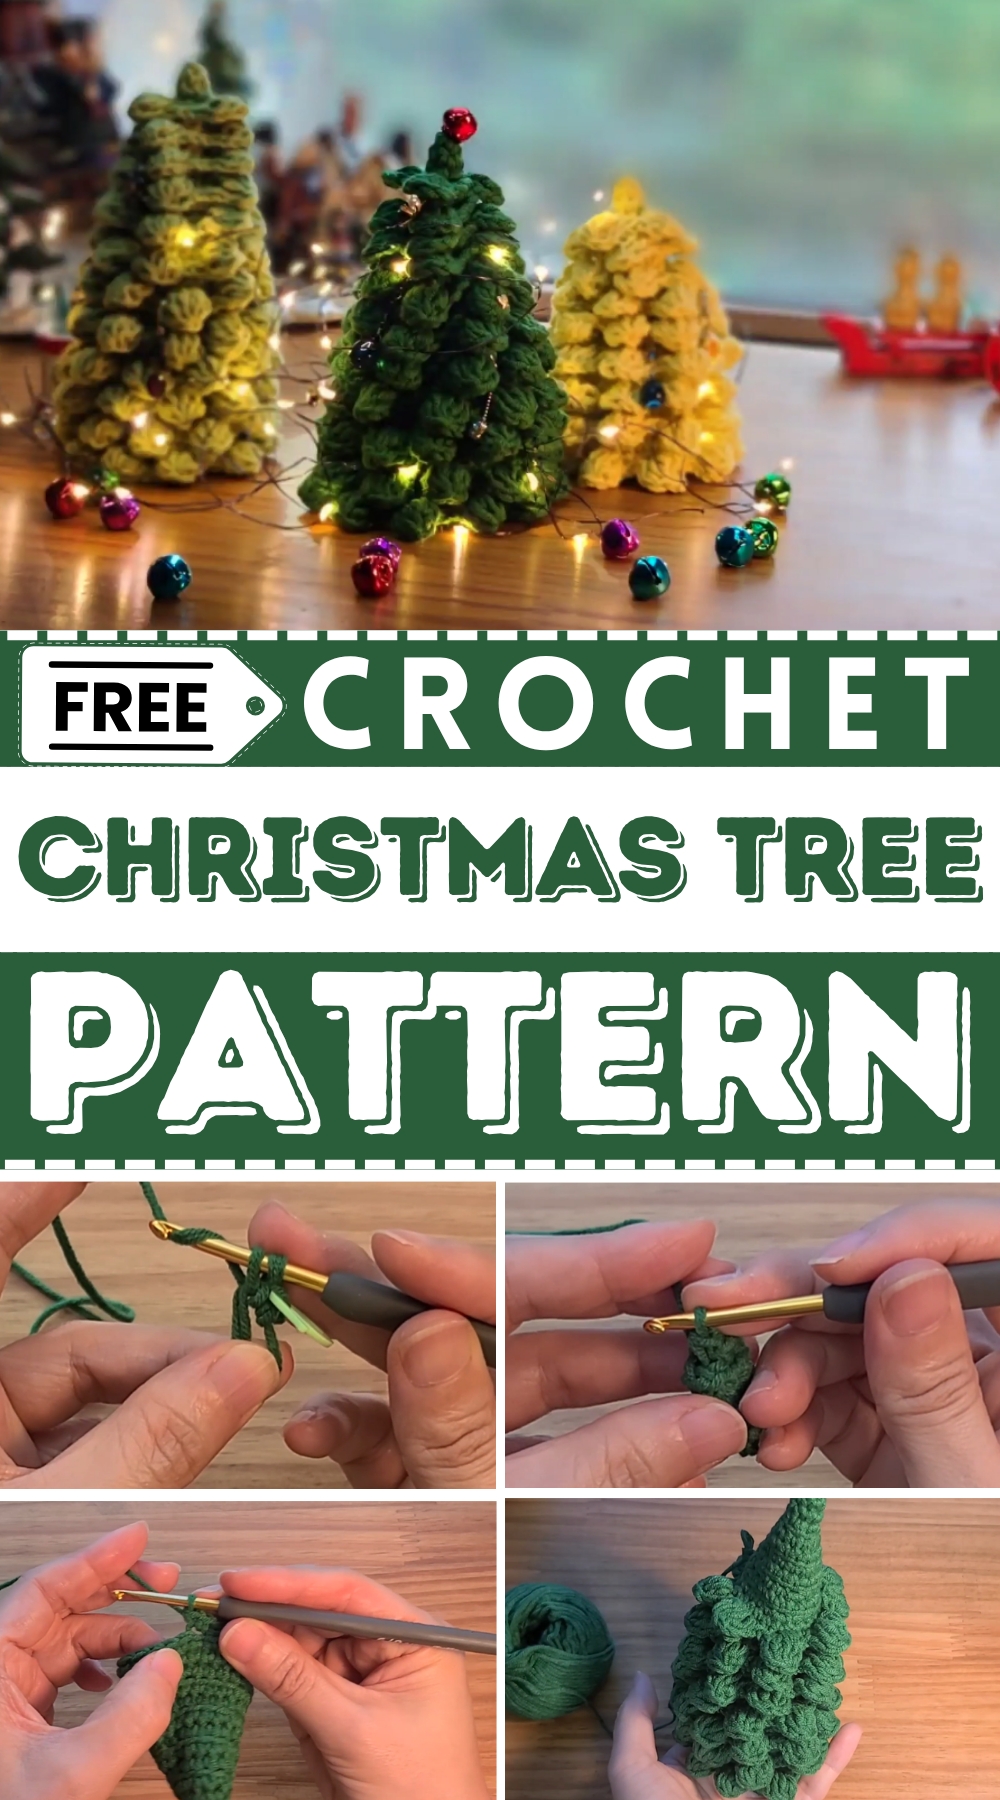
The repeatable and customizable design means you can select preferred colors, adjust sizes, and incorporate personal details such as beads, buttons, or ribbon for a truly unique touch.

Not only does this pattern encourage environmentally friendly decorating by focusing on reusable materials, it also results in keepsakes that can be enjoyed and displayed year after year. Bringing both beauty and meaning to seasonal celebrations, each finished tree reflects attention to detail and an affectionate holiday spirit.
Special Features
- Striking Texture: Raised popcorn or puffed rounds create a realistic, lush leaf effect.
- 3D Structure: The tree stands up without stuffing, thanks to strategic shaping.
- Customizable: Easily adjust width or height for large or small trees.
- Sturdy Design: Push-in base technique ensures the finished tree stands upright.
- Decorative Top: Finish with a crocheted star or add beads, pins, or mini ornaments.
Level of Difficulty
Intermediate. Requires comfort with working in the round, increasing, back loop stitches, and making puff/popcorn-style stitches.
Tutor's Suggestions
- Don’t pull stitches too tight—this keeps your puff stitches round and your tree flexible.
- Adjust the number of increase rounds and straight rounds for a tree that’s just the size you want.
- Use stitch markers to track first stitches in rounds, especially for larger trees.
- Experiment with hook and yarn size for smaller or larger decorations.
- Add earring hooks for miniatures, or hang as an ornament.
Uses
- Table centerpiece or mantel decoration
- Standalone ornament
- Holiday party favor or gift
- Creative base for a fairy garden or winter scene
- Earrings or bag charms (mini size)
Materials Needed
- Green worsted or aran weight yarn (or any color you wish)
- Size 6 mm crochet hook (adjust for yarn)
- Small amount of yellow (for star) and brown yarn (for trunk, optional)
- Tapestry needle, scissors
- Optional: beads, pins, or mini ornaments for decorating
Step-by-Step Pattern
1. Make the Tree Base
- Magic Ring: Make a magic ring.
- Round 1: Work 4 sc into the magic ring. Close ring and use a stitch marker on the first stitch of each round.

- Round 2: 2 sc in each stitch around (8 sts)
- Round 3: (1 sc in next st, 2 sc in next st) — repeat around (12 sts)
- Round 4: (2 sc in next st, 1 sc in next 2 sts) — repeat around (16 sts)
- Round 5: (1 sc in next 3 sts, 2 sc in next st) — repeat around (20 sts)
- Repeat increase as needed (each round: add 4 stitches more than prior round) until you reach desired tree base width.
- For a small tree: Stop at about 27 or 30 sts.

2. Build Tree Height
- Next Rounds (no increases): Work 1 sc in each stitch, around and around, until the straight section is the length you like.
- Alternately, add more increase rounds for a wider/fluffier base.
- For a fuller tree stop increasing at 27, 30, or even 33 stitches and work straight rows as desired.
3. Create Leaf ("Popcorn") Rounds
- Begin Round Leaf Rows:
- Sl st to back loop only of next st.

- (In back loop only: sc in next st) 2 times, then into the next stitch:*
- Make a puff/popcorn: [Yarn over, insert in same st, pull up a loop] 4 times (have 9 loops on hook), yarn over, pull through all loops, ch 1 to secure.
- Continue: 2 sc in back loop only, then next st: popcorn stitch.
- Sl st to back loop only of next st.
- Continue Around: Repeat 2 sc (blo), 1 popcorn (blo) around.
- The number of popcorns per round depends on your stitch count (usually 8–11).
- Next Popcorn Rounds: If making a larger tree, alternate one straight round (sc in each around, blo) and one popcorn round (as above).
- Reduce stitch count by skipping increases or purposefully decreasing (sc2tog) as you approach the top, to taper the tree.
- Continue until narrowing: Each tier, make fewer popcorns as the stitch count decreases, so top becomes pointed.
4. Shape the Upper Tree & Finish
- As you reach the final rounds and fewer stitches are left, shorten the length of the popcorns for a tapered effect—work smaller clusters.
- For the very top (last rounds), work:
- sc2tog until 3–4 sts remain; fasten off.

- sc2tog until 3–4 sts remain; fasten off.
5. Add Star (Optional)
- With yellow yarn, make a magic ring.
- Work 5 sc into ring, pull tight, sl st into first sc to close.
- (Ch 2, sl st in next sc) around for simple star, fasten off.
- Sew star to top of tree.
6. Finishing
- Weave in all ends.
- Push in the bottom center of the tree and shape the base to stand.
- Stretch and shape popcorns as needed for definition.
- Decorate with beads, small pins, or miniature ornaments if desired.
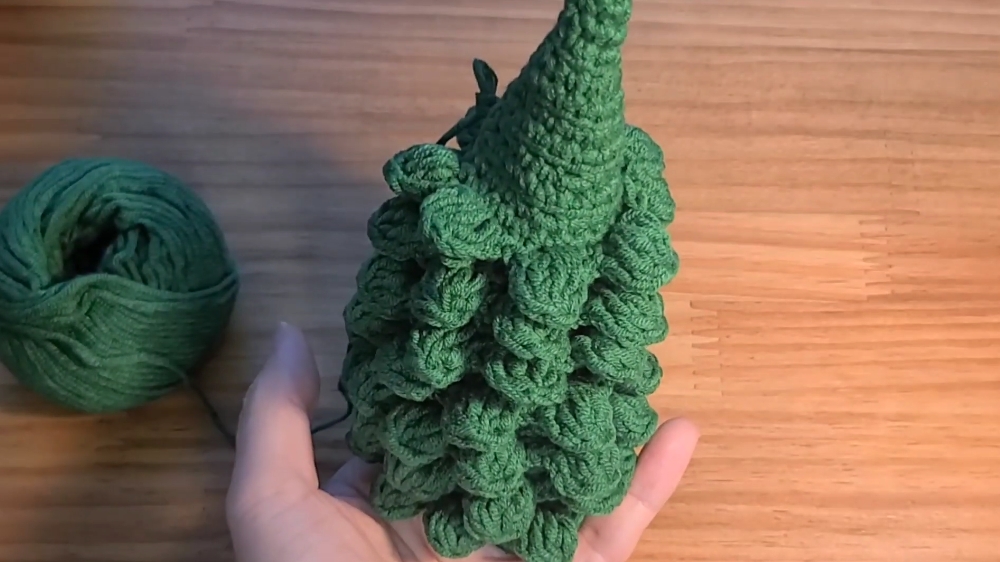
Tip
For the best structure and "fluff", keep your puff or popcorn stitches loose and full, and always use a blunt tapestry needle to carefully shape or tuck in ends for a clean finish.
Conclusion
You now have a whimsical, textured, self-standing Christmas tree to brighten your space or gift to loved ones! Explore sizes, colors, and embellishments for different effects.




Leave a Reply