Refresh your home instantly with this Crochet Table Mat Pattern and enjoy a quick, fun project that brings color and cozy style to any space.
Bringing a touch of handmade elegance to any dining or living space this Crochet Table Mat Pattern offers both beauty and functionality. With its intricate stitches and thoughtful design, the mat effortlessly elevates table settings, providing a charming base for plates, vases, or decorative centerpieces. The versatility extends further—use it as an eye-catching placemat, a delicate doily, or a protective surface for furniture.
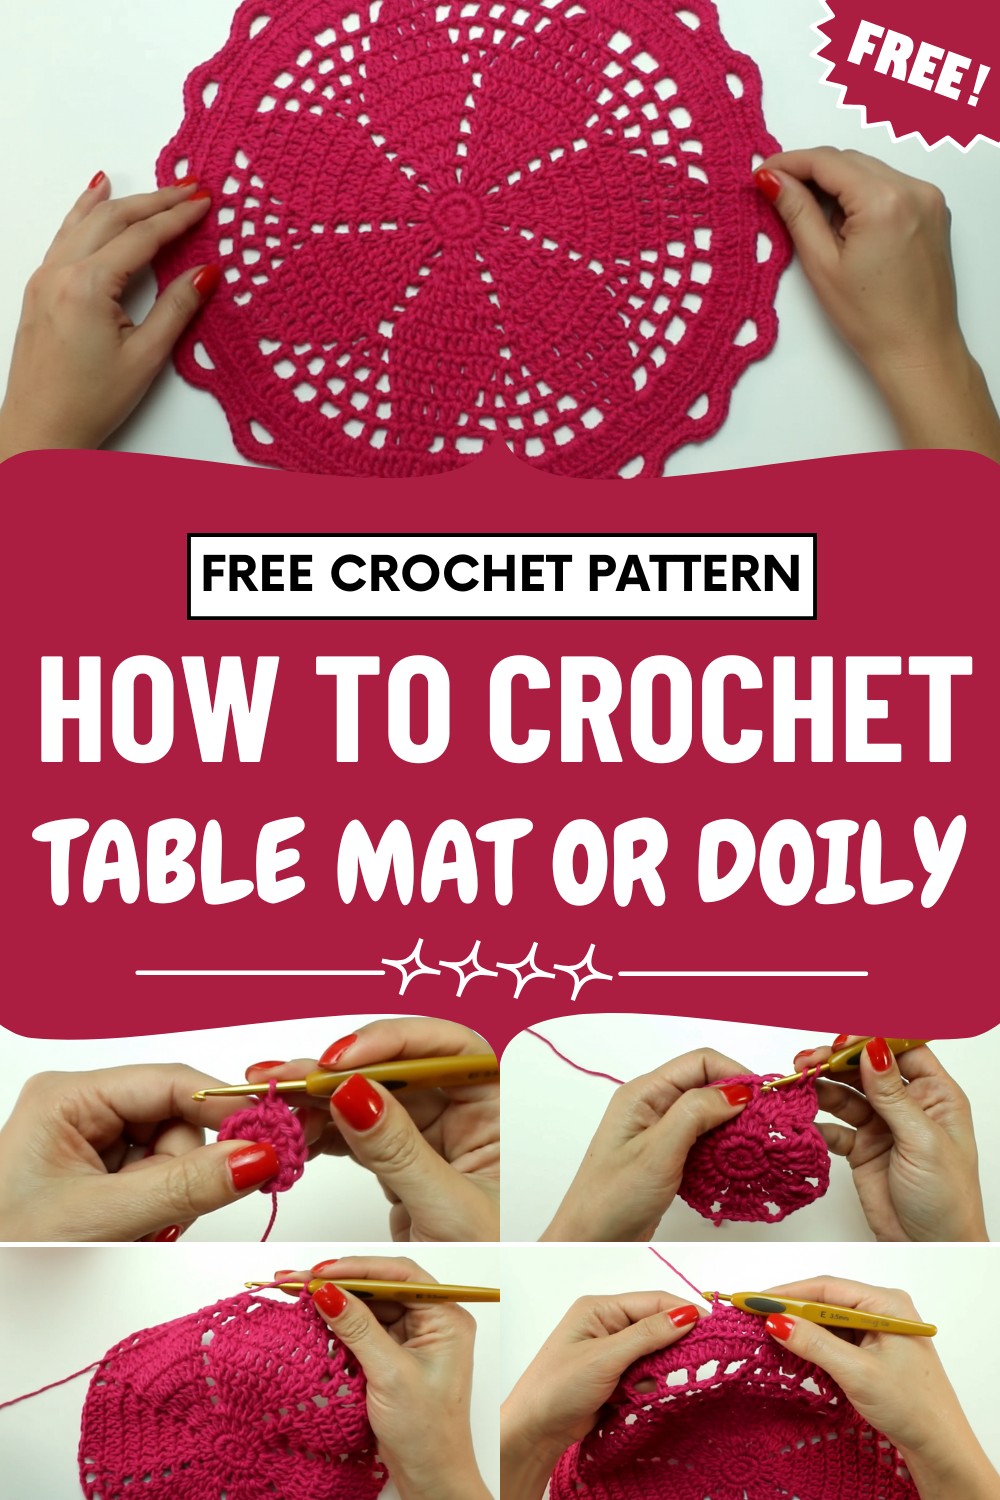
Modern Crochet Table Mat Pattern for Standout Home Décor
The refined pattern add visual interest while showcasing your crochet skills, making it a wonderful project for both gift-giving and home décor. Enjoy the benefit of customizable colors and sizes, allowing harmony with seasonal themes or personal tastes.

Presently, personal touches like these are highly sought after, bringing warmth, character, and artistry to any room. Easy to care for and durable, it stands as a lasting symbol of creativity and style, enriching everyday moments and enhancing ordinary tables with elegance and charm.
Special Features
- Gradual petal expansion and reduction for a lace-like effect
- Neat finishing with invisible join
- Adaptable to colors and sizes
- Suitable for table decor or gifts
Difficulty Level
Intermediate:
Requires knowledge of magic ring, single crochet, double crochet, increasing/decreasing stitches, and invisible finishing.
Materials
- Size 6 yarn (Euro Roma, color 550 – pink, or any color)
- 3.5 mm crochet hook
- Tapestry needle
- Scissors
- Steam iron
- Damp cotton cloth (for final ironing)
Pattern Steps
1. Starting
- Begin with a magic ring.
- Chain 1 to secure ring (does not count as stitch).
- Work 10 single crochets inside the ring.
2. Round 1
- Close the ring tightly.
- Join with a slip stitch into the first single crochet.
- Work into the back loop only.
- For each base stitch, make 2 single crochets.
- On the last stitch, work 3 single crochets (total 21 single crochets).
- Join again with a slip stitch.

3. Round 2 (Double Crochets/Petals Start)
- Chain 2 (counts as first double crochet).
- Work 2 more double crochets in next two stitches.
- Make 2 chains for space, skip NO stitches, continue:
- For every 3 stitches: work 3 double crochets, 2 chains.
- At end, join to second chain from start.

4. Round 3
- Now expand petals:
- For each group, work 5 double crochets:
- 1 in first stitch
- 1 in space before second (increase)
- 1 in second
- 1 in space before last (increase)
- 1 in last
- 2 chains between groups.
- For each group, work 5 double crochets:
- Join.
5. Round 4
- Expand to 7 double crochets per petal using previous logic (increase at start/end).
- 2 chains between groups.
- Join.
6. Round 5 & 6
- Expand petals to 9 and then 11 double crochets per group.
- 2 chains between each.
7. Round 7 (Petal Reduction Begins)
- Move directly to first double crochet,
- Chain 2, begin double crochet for each except last two stitches.
- Work last 2 double crochets together (decrease).
- Now you have 9 double crochets.
- Make a chain; in 2-chain space, work: double crochet, 2 chains, double crochet, 1 chain.
- Repeat across.
8. Round 8
- Reduce to 7 double crochets per group:
- Work as before, close last two stitches together.
- Between groups, do: 2 chains, double crochet in space, repeat.
- Join.

9. Round 9
- Reduce to 5 double crochets.
- Continue previous logic: decreases at start/end, increases in spaces.
- 2 chains between groups.
10. Round 10
- Reduce to 3 double crochets.
- Between groups, use 3 chains to open up more.
11. Round 11
- Work a full round of double crochets in every chain space and over each double crochet.
12. Round 12 (Single Crochet Row)
- Work single crochets in the back loop only for extra texture.
- Join.

13. Edging/Finishing Rows
- Into next stitch, from behind, pull up a loop, make single crochet.
- Repeat for 5 single crochets.
- Chain 5, skip 3 stitches, single crochet into next stitch, repeat for whole round.
- At the end, adjust if necessary (skip 4 stitches if needed) for even groups.
14. Last Edging Round
- In each chain space, work 7 single crochets.
- Between single crochets, work 4 single crochets.
- Repeat across.
Finishing
- Cut yarn, use tapestry needle for invisible join:
- Pull final loop back through last worked stitch.
- Thread needle, bring through back of last stitch and underneath previous stitches.
- Avoid pulling too tight – it should look continuous.
- Hide tail by weaving through stitches, make small securing stitch, and trim excess yarn.
Tutor’s Suggestions
- If your stitches are tight, chain 3 instead of 2 between double crochets to open it more.
- Adjust the number of stitches in the finishing row if needed for symmetry.
- Use size 8 yarn for a larger mat without changing the pattern.
Uses
- Table mats, coasters, centerpiece doilies
- Decorative sets for clients or gifts
Tip
Steam block for perfect shape:
After finishing, lay a moist, folded cotton cloth over your mat and carefully steam with an iron. This will set the stitches firmly and give a crisp, polished look.
Conclusion
Congratulations! You’ve completed a gorgeous crochet table mat that’s perfect for home decor or gifting. Feel free to personalize it with colors, yarn sizes, or creative finishing touches. With its pretty petals and refined edges, it’s a super sellable item.


Leave a Reply