
Upgrade your summer wardrobe with this Crochet Halter-neck Top Pattern and enjoy effortless style, comfort, and breezy vibes all season long.
Boasting a contemporary silhouette with a hint of bohemian flair, the Crochet Halter-neck Top Pattern brings sophistication and comfort into everyday attire. Intricate crochet stitches highlight delicate patterns that capture attention, while the halter-neck design elegantly frames the shoulders and neckline. Its breathable, lightweight texture makes it perfect for layering over swimwear or pairing with jeans and skirts for stylish festival looks.
Easy Crochet Halter-neck Top Pattern Breezy Looks for Sunny Days
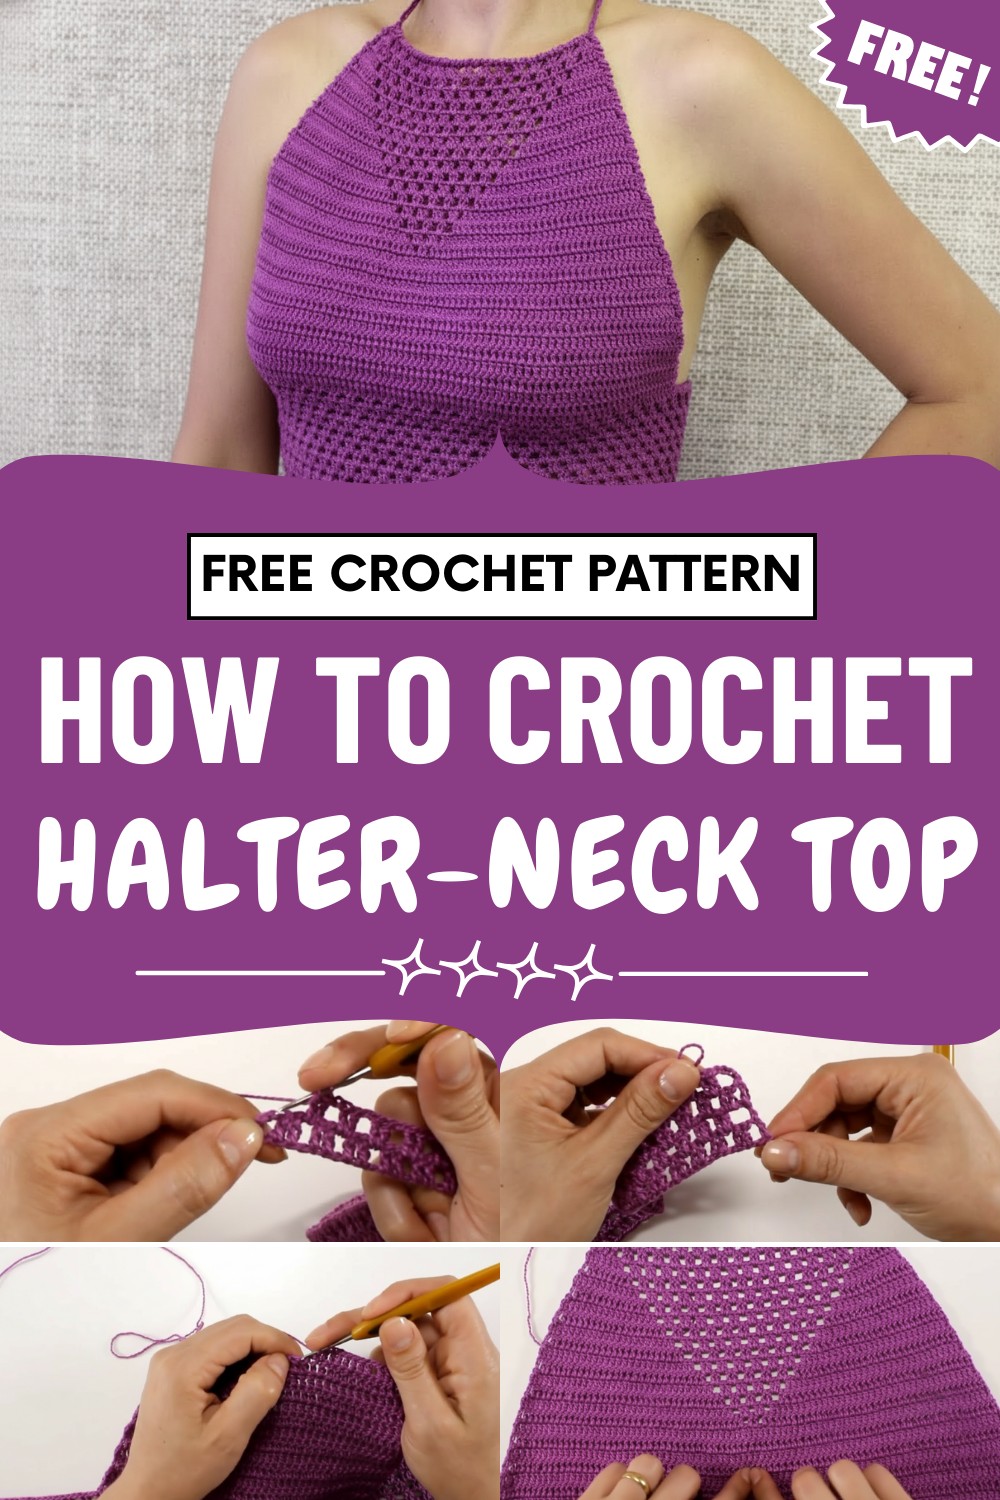
The versatility of this piece means it easily transitions from beach days to casual evening outings, offering both fashion and practicality. Adjustable straps provide a secure fit, allowing for a personalized approach that complements various body shapes. With a wide range of hues and customizable sizing, crochet enthusiasts can infuse their own sense of style, ensuring each garment is truly unique.
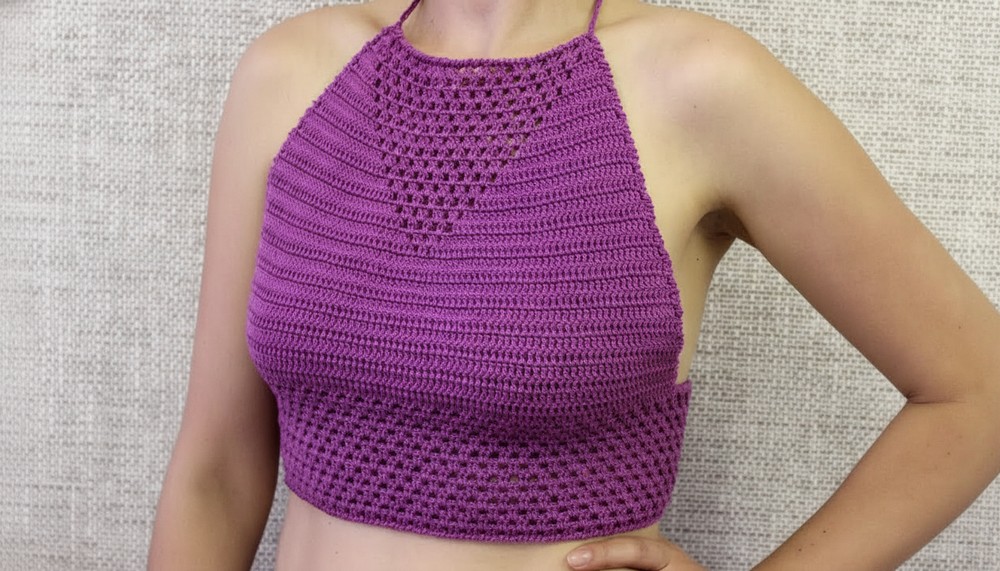
Combining durability and timeless appeal, the Crochet Halter-neck Top Pattern remains a cherished favorite throughout the changing seasons, adding a touch of handmade elegance to any collection.
Special Features
- Custom Fit: Adjustable ties at the neck and back allow for the perfect fit.
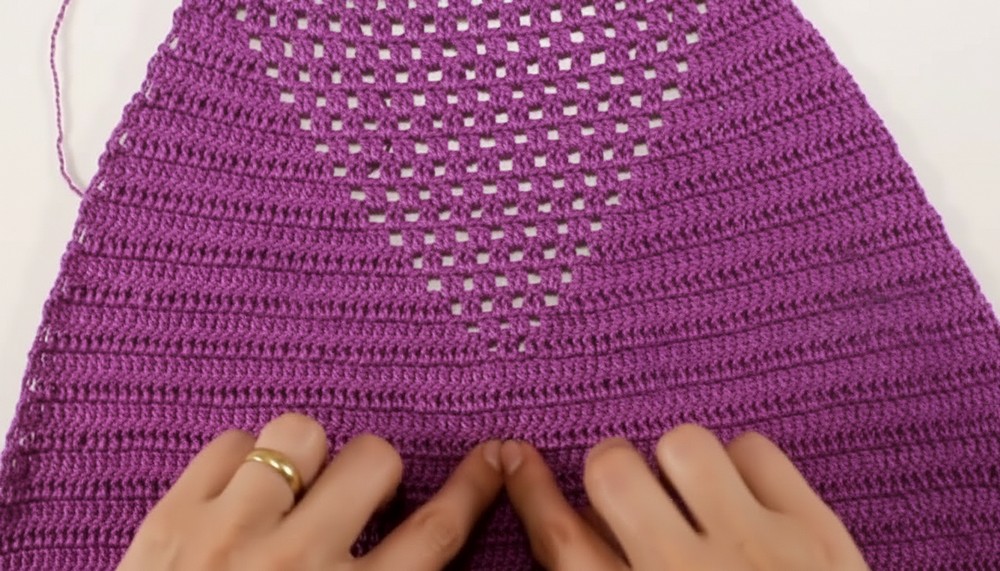
- Elegant Openwork: The center features a flattering, open, V-shaped pattern.
- Seamless Look: The pattern is made in one piece with clean, rustic crab stitch edges.
- Versatile Finish: Wear as a summer essential or layer for year-round style.
Level of Difficulty
Advanced Beginner
You’ll need to be comfortable with chain, double crochet, simple decreases, and crab stitch (reverse single crochet).
Tutor’s Suggestions
- Adjust the length of the starting chain for broader or narrower coverage.
- Make the neckline more or less plunging by changing when you begin the open V decrease section.
- Use an all-cotton yarn for comfort, durability, and breathability.
- The braiding and finishing cord lengths are fully customizable.
Materials
- Yarn: 1 ball (500 meters) of 100% cotton thread (Charity or similar quality; color of your choice)
- Crochet hook: 1.75 mm
- Scissors
- Measuring tape
- Tapestry needle (optional, for weaving in ends)
- Stitch markers (helpful for marking sides and center)
Step-by-Step Instructions
1. Foundation & Body
- Measure and chain 61 cm (about 178 chains for standard fit).
(Tip: Adjust chain count to your bust measurement if preferred.) - Row 1:
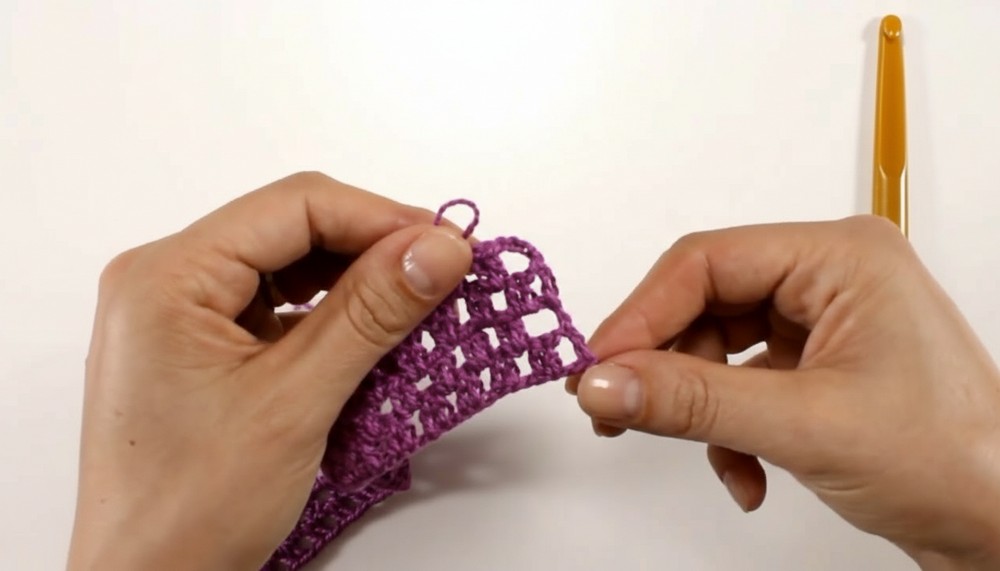
- Skip the first 5 chains, work 1 double crochet (dc) in the 6th chain from hook, 1 dc in next chain.
- Ch 1, skip 1 chain, dc in next 2 chains; repeat from * to * across.
- Finish with a single dc for braiding space at end.
- If extra chains remain, unravel to base – the pattern is flexible at the edges.

2. Patterned Rows
- Row 2: Ch 3 (acts as 1st dc), ch 1 (space), turn.
- Work 2 dc in the next ch-space, ch 1, 2 dc in next ch-space across.
- End with ch 1, dc in last dc of previous row.
- Row 3: Ch 4, turn. Dc in ch-space, dc in next dc, ch 1, 2 dc in next ch-space to the end.
- End with dc in last dc or space, creating a consistent edge.
- Repeat: Alternate these two rows until the body is approx. 10 cm high.
3. Dividing for Front & Sides
- Mark 38 cm at center front. Use markers for each side.
- Work across only the center front section; sets aside the rest for later.
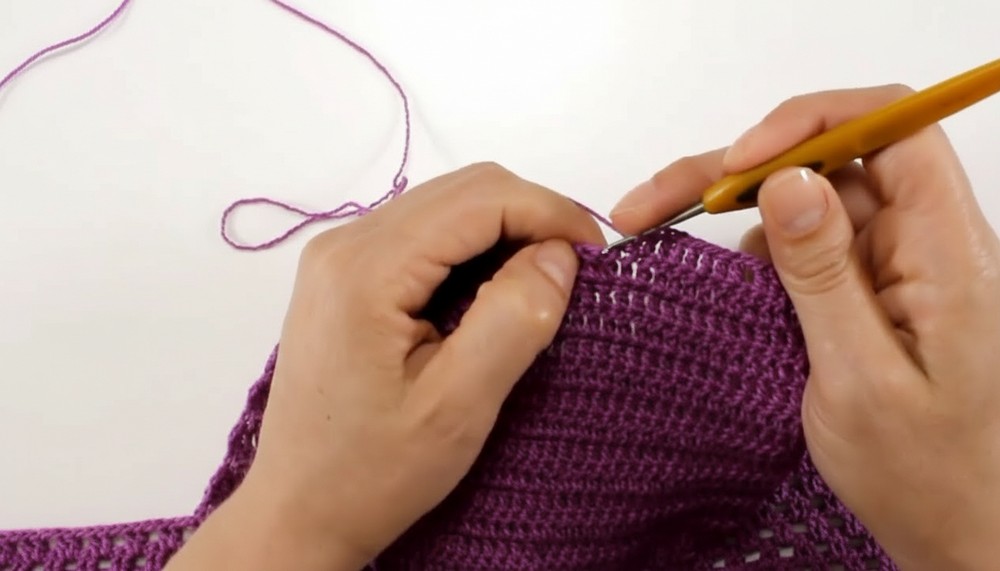
- Front Section Rows: Ch 3, turn, dc across each dc and ch-space, ending each row by decreasing at the end:
- On the last 2 dcs, work dc2tog (double crochet 2 together).
- Continue for about 10 cm, decreasing on every row – as the top narrows.
4. Creating the V-Neck Opening
- When your front piece is roughly 13 rows high, count dcs.
- Subtract four dcs from center (reserved for V opening).
- Split stitches in half for left and right sides, marking each.
- For Each Side: Work across, skipping 4 center stitches to begin creating V opening.
- On each side, continue the dc rows, decreasing 1 st at the end of each row, and begin the openwork pattern at the neckline: [2 dc, ch 1, skip 1] as established.
- Each row, the opening grows by adding more ch-spaces; the outer edge continues decreasing.
5. Shaping the Top & Finishing Shoulders
- Continue until each side has 15 groups (open spaces) at the neckline or until you reach your desired cup height/coverage.
- End with final edge rows, adjusting if one side is taller, so both are even and meet at the outer edges.
6. Edging
- Work a full round of crab stitch (reverse single crochet) around all raw edges (neckline, sides, bottom).
- For each dc and ch-space, work 1 crab stitch.
- At the side, place 2 or 3 stitches evenly as needed.
- Fasten off and weave in loose ends.
7. Making the Ties
- Neck Straps: At each top corner, make a 35-cm double chain cord.
- Ch desired length, turn, and slip stitch back along the chain for a sturdy tie.
- Fasten securely.
- Back Braid: At each open side, make a long cord (about 1.15 m or to your preference).
- Braid or weave through open spaces down the sides to tie securely at the back.
- Secure with a knot at each end.
Uses
- Classic summer crop top
- Layered over a tee, bralette, or dress for a boho look
- Beach cover-up or festival fashion
Tip!
For a more dramatic neckline, start the central V opening after only 5 cm of body rows. For modest coverage, start after 10 or more cm. Use stitch markers to keep edges even and easily shape your V-neck.
Conclusion
Congratulations, you’ve crafted a beautiful, fully adjustable crochet halter top! The timeless design, openwork details, and rustic finish make it your new wardrobe favorite.




Leave a Reply