
Wear cozy elegance with this Crochet Daphne Beret Pattern, perfect for warmth, relaxed fit, and adding chic flair to casual outfits anytime.
A classic, slouchy hat is a great way to add a bit of French style to your daily look. Using a Crochet Daphne Beret Pattern helps you make a pretty item that looks high-end and artistic. This special design is liked by many because it has a soft shape that sits perfectly on your head without being too tight. One big plus is that it keeps you warm while making you look very fashionable for a walk or a lunch date.
Playful Crochet Daphne Beret Pattern That Matches Any Outfit
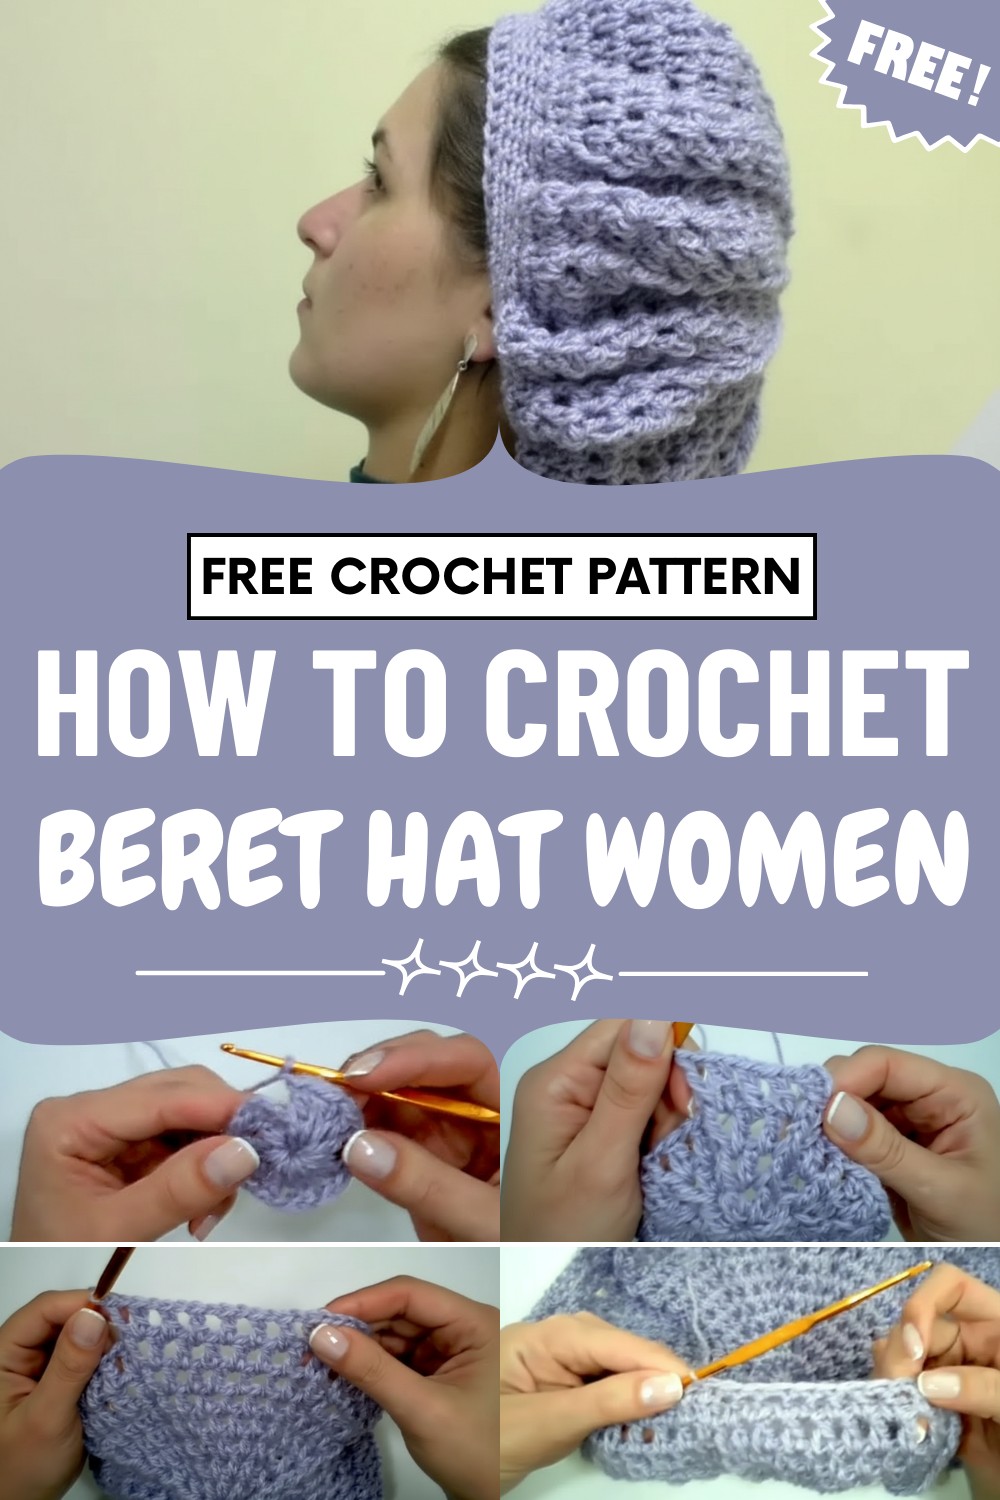
The stitches make a thick, rich feel that looks much better than hats from a big store. It works well to keep your hair neat on a windy day or to add a bright color to a plain coat.
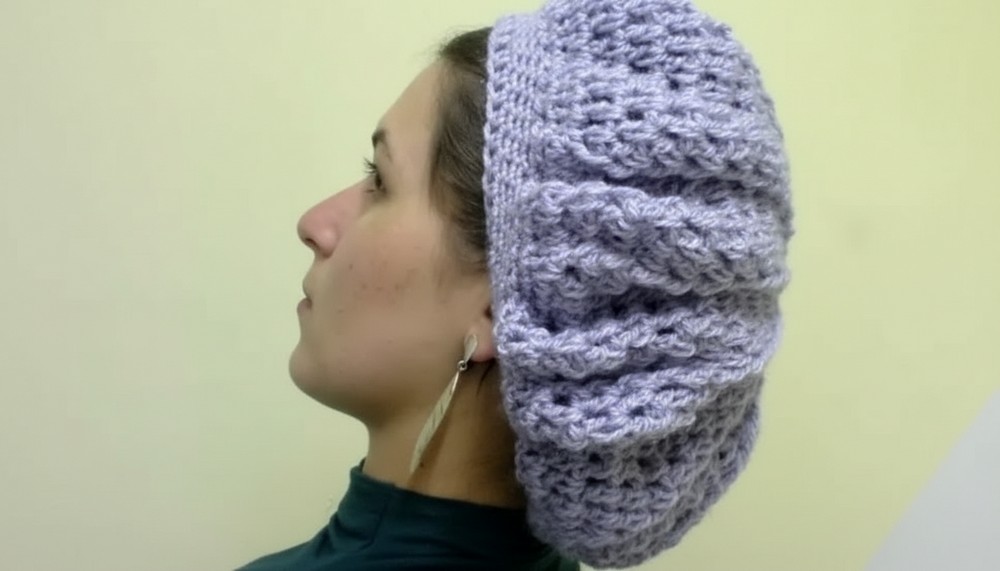
This hat is a timeless piece that goes well with jeans or a nice dress. Making it is a fun way to create a wardrobe full of cozy, handmade charm and grace.
Special Features
- Textured Surface: Uses front post double crochets for a raised, defined appearance.
- Slight Shimmer: Works well with specialty yarns that have a bit of shine.
- Comfortable Fit: Strategic decreases form a classic beret shape.
- Customizable Size: Simply add or remove rounds for a looser or snugger fit.
Materials
- Approximately 100g of DK or light worsted yarn (70% wool, 30% acrylic/polyamide, or similar fluffy yarn with a slight shimmer)
- Crochet hook size 7 (4.5 mm or as needed for your yarn)
- Scissors
- Yarn needle for finishing
Level of Difficulty
Confident Beginner to Intermediate:
Familiarity with basic stitches (chain, slip stitch, single crochet, double crochet, and front post double crochet) is needed. Clear stepwise increases and decreases are included for shaping.
Uses
- Stylish hat for chilly days
- Trendy accessory for everyday outfits
- Thoughtful handmade gift
Step-by-Step Pattern
1. Base Ring
- Chain 6. Join with slip stitch to form a ring.
2. Foundation Round
- Chain 3 (counts as first dc), chain 1 (space). (Dc in ring, ch 1) – repeat until you have a total of 12 double crochet, each separated by ch-1 spaces.
- Join with slip stitch to the third beginning chain.
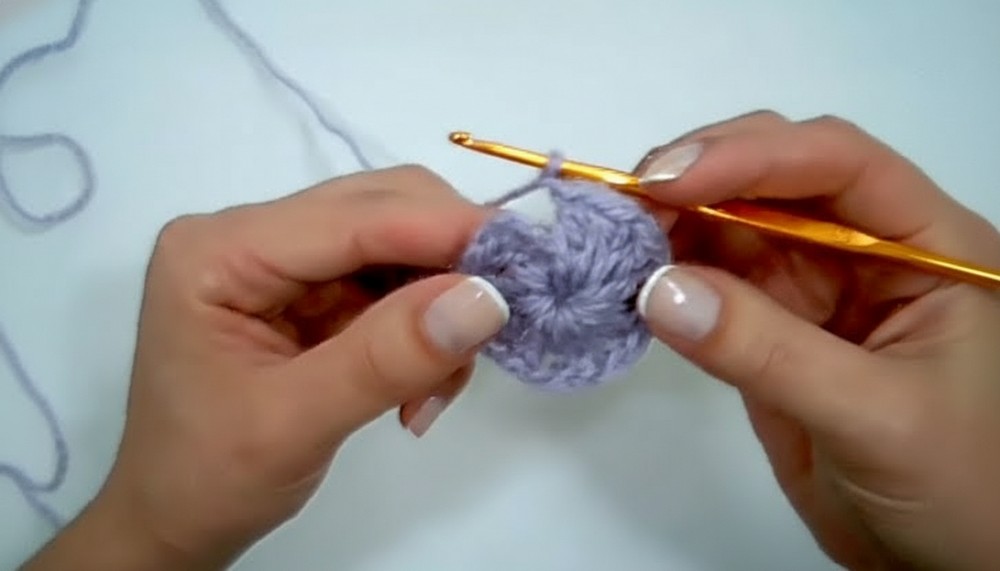
3. Round 2: Beginning the Relief Pattern
- Slip stitch to the nearest ch-1 space.
- Ch 3 (counts as dc), ch 1, fpdc (front post double crochet) around next dc from previous round, ch 1; repeat around.
- Join with slip stitch to top of beginning ch-3.
4. Rounds 3–10: Crown Expansion
- When starting each round, slip stitch to the nearest space between fpdc and ch-3.
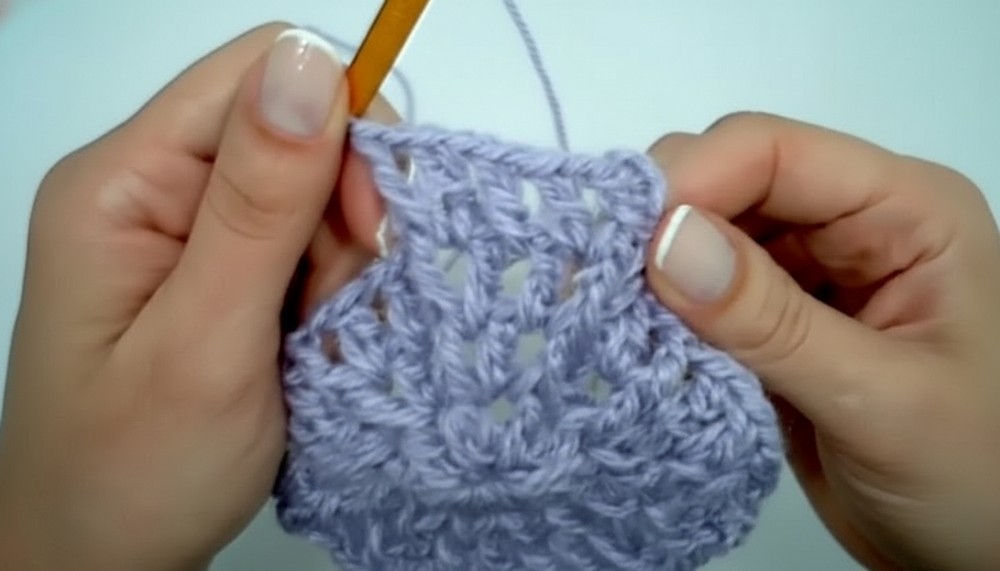
- Ch 3, ch 1, [dc in each space, ch 1] as many as exist between fpdc stitches. Then fpdc around next fpdc, ch 1.*
- Each round, you will have one more dc (and ch-1 space) between fpdc stitches than in the previous round.
- After each round, join with slip stitch to top of beginning ch-3.
Continue expanding in this way until you have 10 dc (with ch-1 spaces between) between the fpdc stitches.
5. Rounds 11–12: Prepping for Decrease
- Keep pattern as established, but do not add ch-1 spaces directly before or after fpdc stitches. Stitches are now worked more closely to start shaping the crown.
- Reduce the number of dc between the fpdc each row as per the transcript.
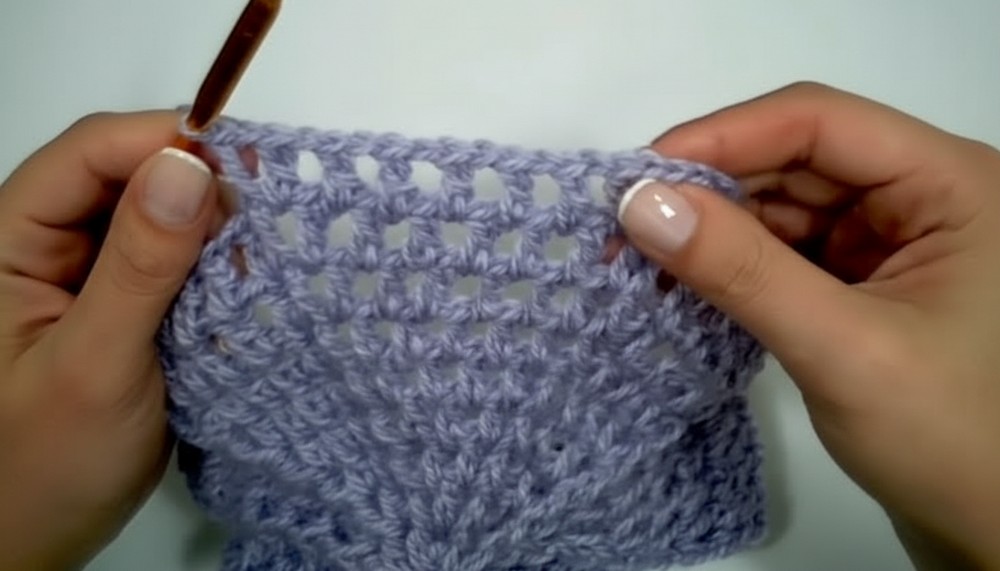
6. Rounds 13–18: Decreasing
- Continue as before, but each round, make fewer dc between fpdc. Work tightly, omitting ch-1 spaces as needed.
- The beret will begin to pull in at the bottom.
7. Band Foundation
- After final textured round, work 1 round of half-double crochet (hdc) in every stitch around.
- Join with slip stitch.
8. Ribbing and Finishing
- Next round: Single crochet (sc) in every stitch around.
- Join with slip stitch.
- Decrease round: Sc in one st, skip one st, sc in next; repeat around to reduce total stitch count and shape the brim.
- Join with slip stitch.
- Work 3 more rounds of single crochet, one sc in each stitch, joining each round.
- Finish with a last round of half double crochet in every stitch around for a neat edge.
- Join with a slip stitch, fasten off, and weave in ends securely on the inside of your hat.

Tutor’s Suggestions
- Use a hook size that gives you a slightly loose, draping fabric.
- Take time to count stitches to ensure symmetrical increases and decreases.
- If desired, add a pom-pom or pin for decoration!
- Try it on as you go to adjust depth and brim to your liking.
Pro Tip
For a super neat finish: When weaving in your ends, run the yarn tail under several stitches on the inside, then double back in the opposite direction before trimming. This keeps your work secure and the inside tidy.
Conclusion
With the Daphne Beret, you’ll have a cozy yet elegant accessory that’s as beautiful as it is practical. The textured relief stitches and slight shimmer make it stand out, and it’s easy to wear and care for.




Leave a Reply