
Squiggle into fun with this Free Crochet Octopus Pattern that's turn any room into a cute, cheerful space and makes the cutest little gift.
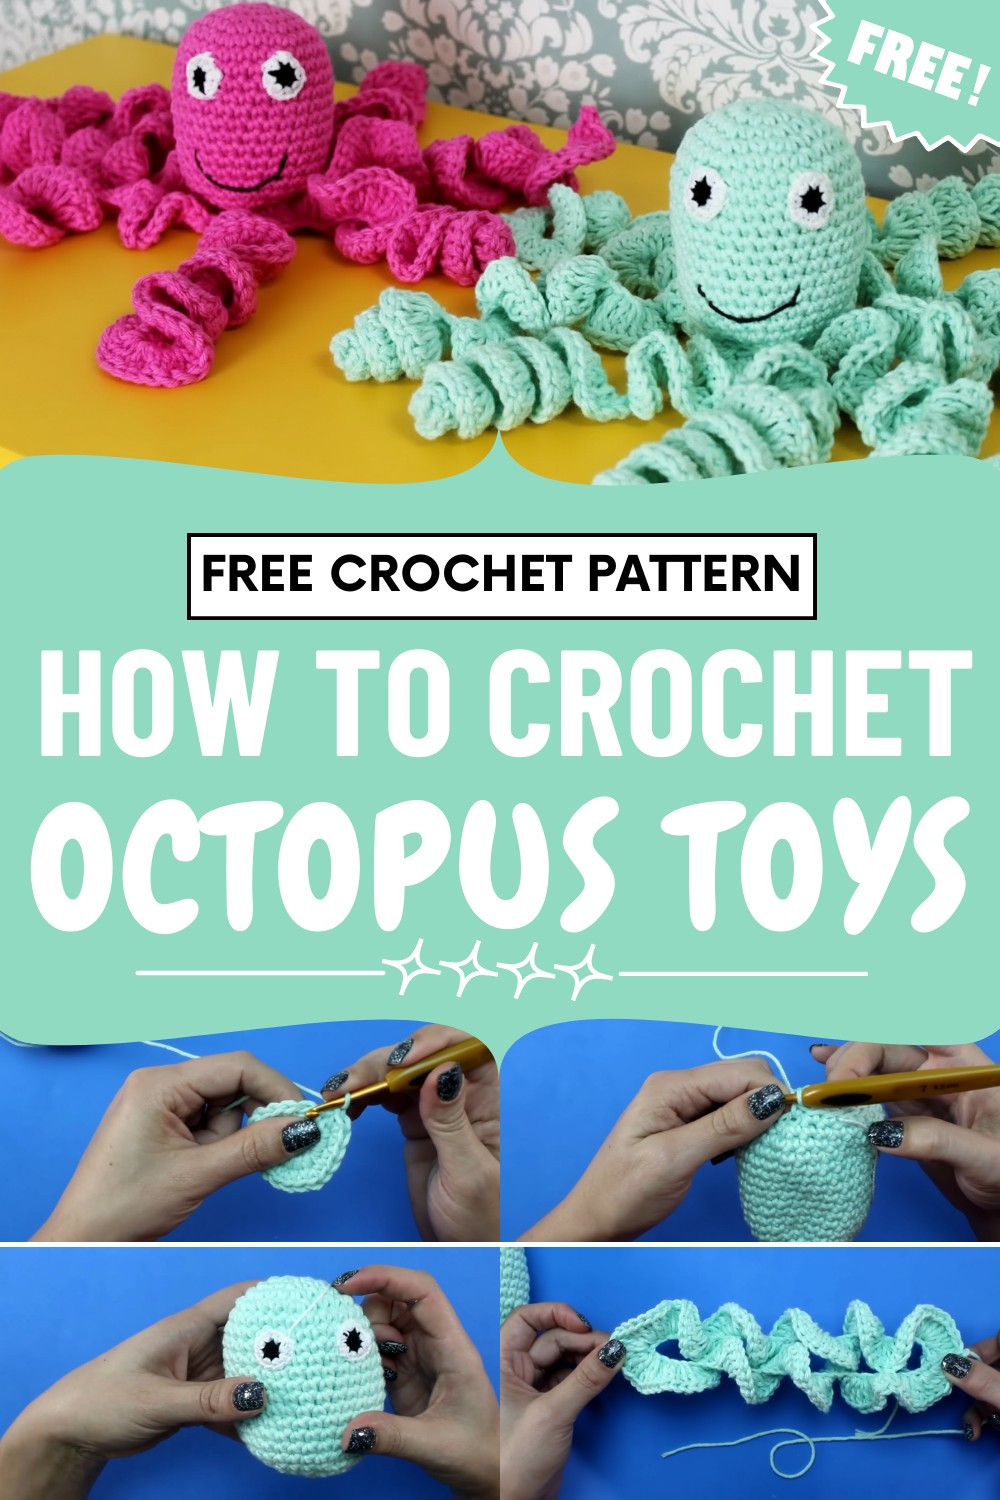
Lightweight and versatile, it fits easily on shelves, beds, or desks and can be made in different sizes to suit any space. The pattern allows a wide range of colors from soft pastels to bright cheerful shades, giving each piece a lively personality.
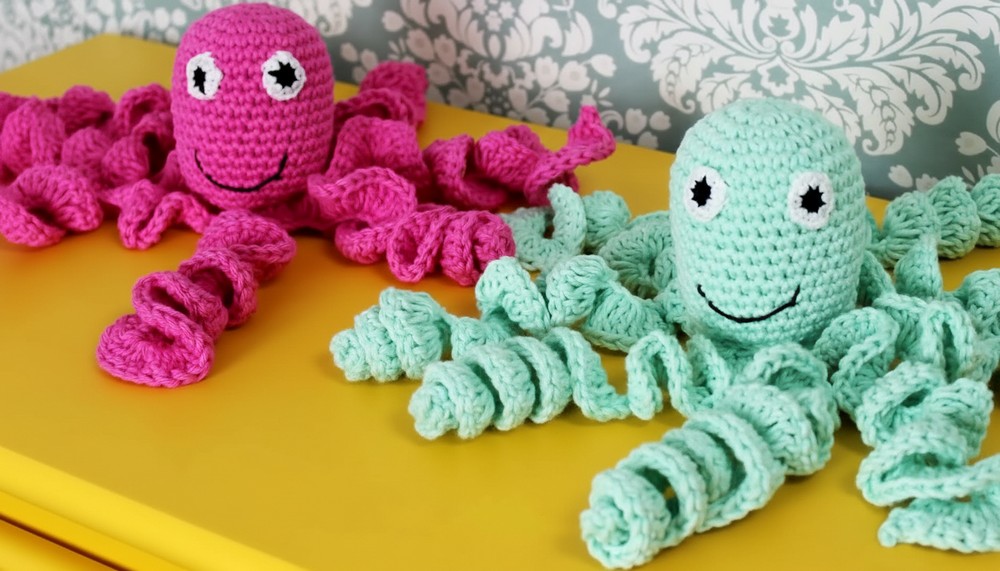
Careful stitch details make the finished design neat and polished while keeping it approachable for everyday use. Overall this pattern turns simple yarn into a friendly and imaginative ocean figure that adds warmth, creativity, and playful charm to any room or collection.
Level of Difficulty
Beginner to Intermediate. If you’re comfortable with basic crochet stitches (chain, single crochet, double crochet, slip stitch, and magic ring), you can complete this project. The invisible decrease and amigurumi techniques are gently explained, making this a great introduction to amigurumi.
Special Features
- Inspired by the renowned Octo Project for premature babies
- Exact size and materials specified for NICU safety
- All features (eyes, mouth, tentacles) are embroidered/sewn for safety—no plastic pieces or glue
- Machine- and hospital-washable
Uses
- Donation to hospitals for preterm infants
- Comfort item for parents and families
- Introduction to amigurumi projects
Materials
- 100% cotton yarn: Barroco Maxcolor 6 (color 2204 green for the octopus), plus small amounts of white and black (for the face)
- Crochet hook: 4.5 mm for Barroco yarn; 1.75 mm or 2 mm for finer details
- Silicone fiberfill (polyester stuffing suited for high-temp washing and autoclaving)
- Tapestry needle (for sewing)
- Scissors
- Stitch marker thread (optional, for marking rounds)
- Measuring tape
Standard Sizes (Crucial for Donations)
- Head height: 8–14 cm
- Tentacles (when folded in half and sewn): Maximum 22 cm each (make 40 cm chains)
- Total tentacle length (when folded): ~20 cm
Each hospital may have specific requirements—always check before donating.
Pattern
1. The Head
Work rounds in a continuous spiral. Use a stitch marker thread to mark each first stitch of a round.
- Magic Ring:
Work 6 single crochets (sc) into a magic ring. Pull tight to close. - Increase to 12:
Work 2 sc into each stitch around. (12)
- Increase to 18:
[1 sc, 1 inc] around. (18) - Increase to 24:
[2 sc, 1 inc] repeat around. (24) - Increase to 30:
[3 sc, 1 inc] repeat around. (30) - Work Even:
For the next 12 rounds, work 1 sc in each stitch (maintaining spiral). This forms the shape of the head. Mark each round on paper for accuracy. - Begin Decreases:
- One round: [3 sc, invisible decrease] repeat
- Next round: [2 sc, invisible decrease] repeat
- Stuff:
Add silicone fiberfill. Stuff firmly but do not over-pack.
Tip: Use your fingers to make sure the head is evenly rounded. - Decrease More:
- One round: [1 sc, invisible decrease] repeat
- One round: invisible decrease in each pair of stitches until opening is closed or almost closed.

- Close:
Fasten off, leaving a tail. Thread tapestry needle, weave through front loops of remaining stitches, and pull to close. Secure with a finishing stitch, pull through, and hide end inside.
2. Tentacles
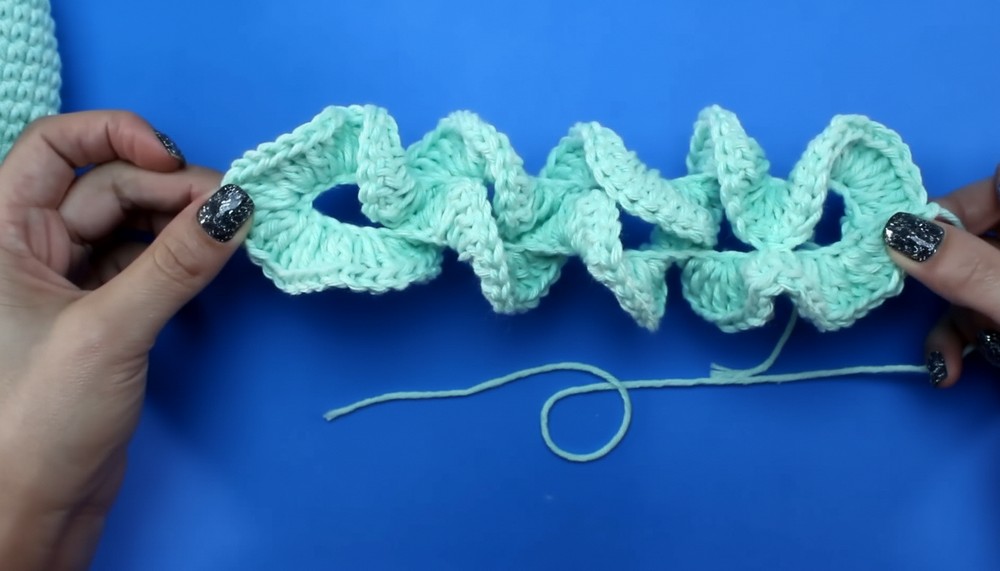
- Make 4 strips (for 8 tentacles when folded):
For each strip:- Chain 64 (or enough to measure 40 cm, not more)
- In 4th chain from the hook and every chain after: work 3 double crochets (dc) into each chain.
- This makes the tentacle curl naturally.
- Finishing each strip:
- Leave a tail at both ends for sewing.
- Hide other yarn tails as you go.
3. Eyes (Make 2)
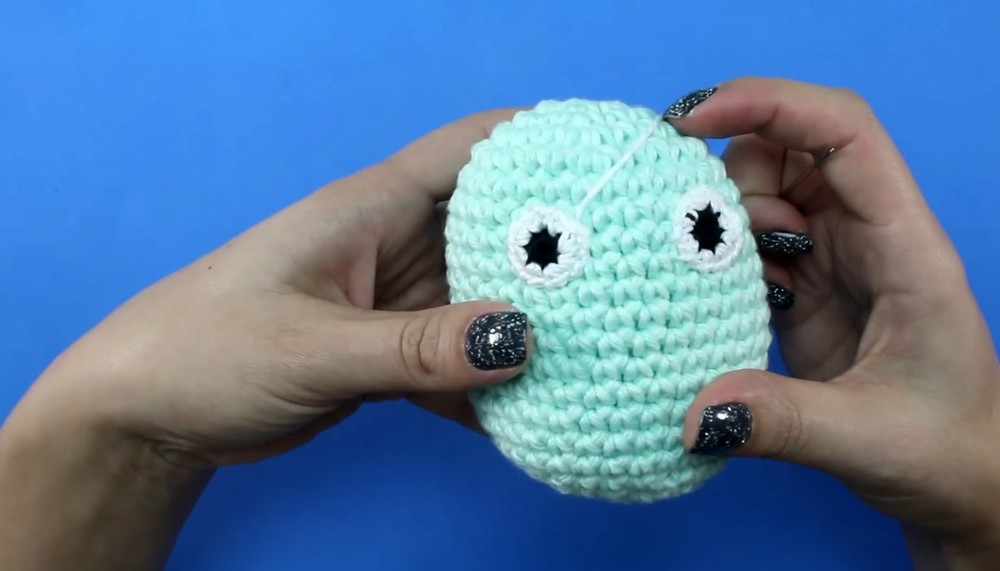
- With black yarn, 1.75mm hook:
- Magic ring, work 8 sc into the ring, join with slip stitch. Fasten off black.
- With white yarn:
- Join to eye. Into each stitch, work 2 sc (16 sc total).
- Fasten off, leaving a tail for sewing.
4. Mouth
- Embroider a small smile under the eyes using black yarn and the tapestry needle.
5. Assembly
- Tentacles:
- Fold each tentacle strip in half
- Sew them (with tapestry needle and yarn tail) under the head, spaced evenly around the bottom edge.
- Eyes:
- Sew eyes evenly spaced on the head, about 6 rounds from the “magic ring” center and 3 stitches apart.
- Mouth:
- Use embroidery needle to stitch a simple smile under the eyes.
- Finishing:
- Hide and secure all knots/ends inside the head. Make sure everything is firmly attached and no pieces can be pulled off.
- Hide and secure all knots/ends inside the head. Make sure everything is firmly attached and no pieces can be pulled off.
Tutor’s Suggestions
- Accuracy matters: Always measure your head and tentacles. Hospitals may only accept donations that strictly follow their size and material guidelines.
- No glue or safety eyes: All parts must be sewn or embroidered for NICU safety.
- No stuffing leaks: Stuff the head fully but avoid overfilling, and make sure the closing is tight.
- Keep a stitch marker thread to mark the start of each round, and tick off every round on paper to avoid losing track.
Tip
A blunt tapestry needle is easiest for embroidery and sewing—no accidental snags! And remember, using pure cotton yarn and silicone fiberfill is a must for safety and washing durability.
Conclusion
By making and donating a crochet octopus, you’re giving comfort to premature babies and their families in a most tangible way. Whether you’re new to amigurumi or looking for a heartfelt charity project, this pattern makes a difference—one stitch at a time.




Leave a Reply