
Slip into breezy vibes with this Free Crochet Beach Cover-up Pattern that keeps you light, stylish, and effortlessly chic for sunny days.
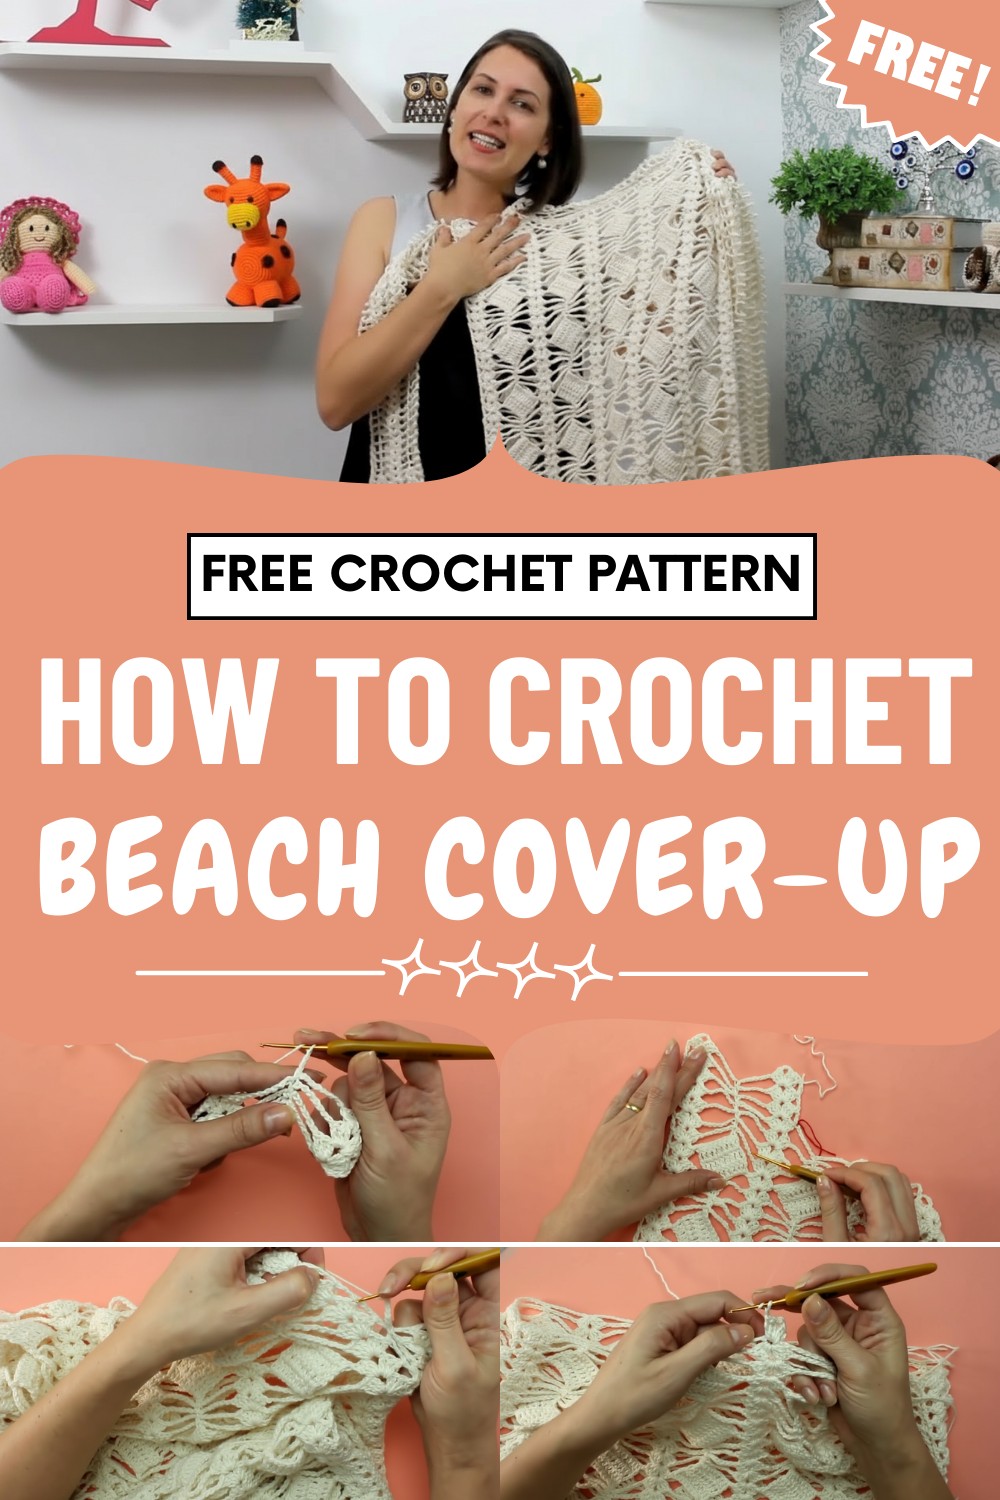
Subtle textures and openwork patterns add visual interest without overpowering the look, offering a balance of elegance and casual charm. The Crochet Beach Cover-up Pattern allows for personalization through color choices or yarn selection, giving each piece a unique flair.
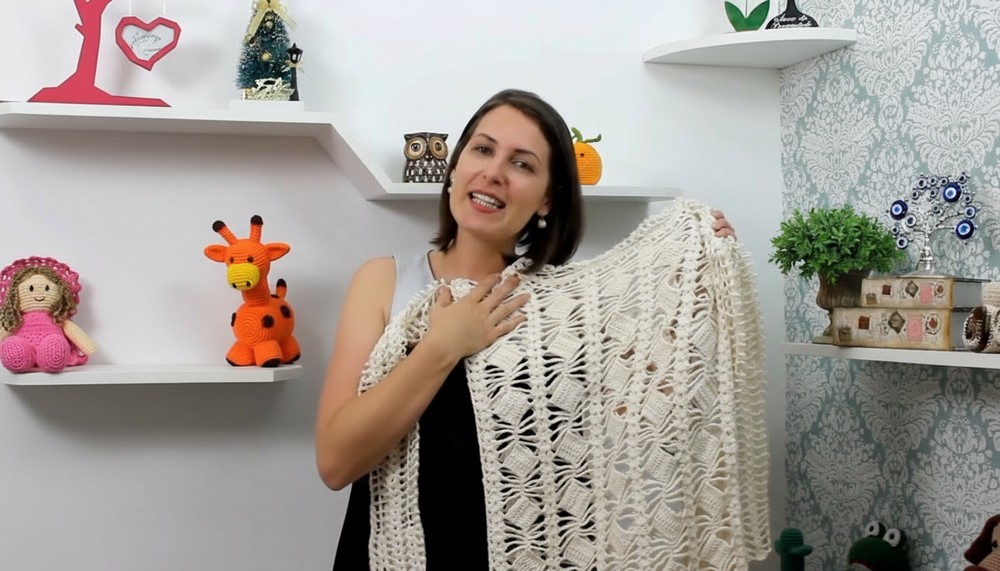
Practical yet fashionable, it enhances summer wardrobes with versatility and grace, bringing relaxed sophistication, effortless comfort, and a polished, sun-ready aesthetic to everyday beach, poolside, or vacation outfits.
Special Features
- Modular construction (front & back made separately for custom fit)
- Flattering “V” pattern with lacy mesh texture
- Easily adjustable width, length, and sleeves (sleeveless, short, or long)
- Lightweight, modern, breathable—great for layering
Materials
- Circo’s Natural Annie Yarn (amount: 3 skeins for M, 4 skeins for L)
- Crochet hook: 2 mm
- Measuring tape
- Tapestry needle
- Scissors
Level of Difficulty
Easy – Confident Beginner
You should be comfortable with basic stitches (chains, single crochet, double crochet, treble crochet) and simple seaming.
Step-by-Step Pattern
1. Measurements and Sizing
- Bust: Measure around the bust; divide by 2 for each panel (front and back).
- Length: Measure from shoulder to desired hem.
- Sleeve (if wanted): Measure from shoulder tip along the outer arm to wrist or desired sleeve edge.
2. Front and Back Panels
Foundation Chains
- For size M: Chain 99.
- Adjust your starting chain for your size (your bust/2, adjusted for multiples of the stitch pattern; for a looser fit, use 117 chains).
Row 1 (Foundation Row)
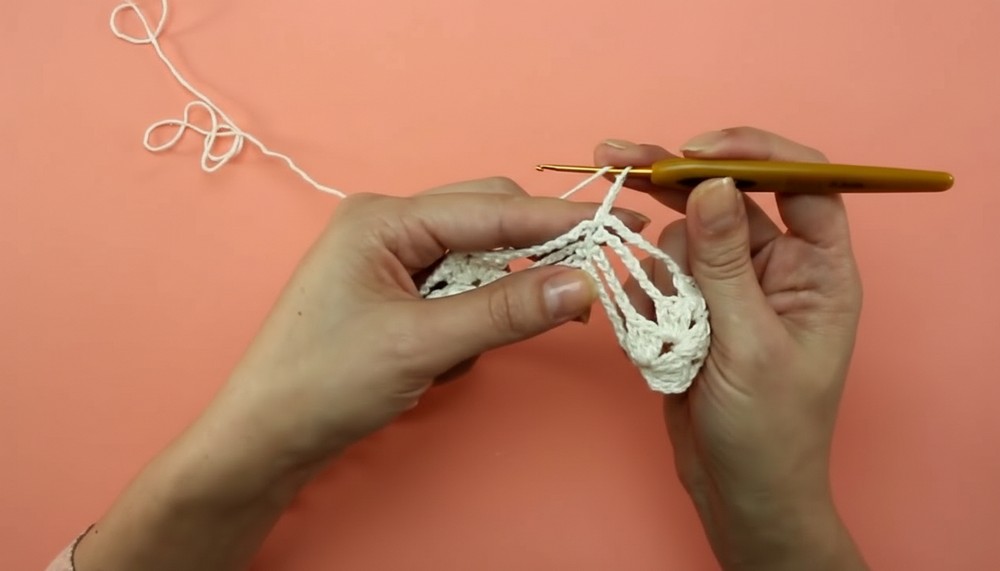
- Skip 4 chains, in the 5th chain: (3 treble crochet, 2 chains, 3 treble crochet)—this forms a “V” stitch.
- Chain 7, skip 8 chains on the base; in the next stitch, make a single crochet (sc).
- Chain 7, skip 8 chains, and in the next, create another V-stitch (3 treble crochet, 2 chains, 3 treble crochet).
- Repeat: V-stitch, (ch7, skip 8, sc), ch7, skip 8, V-stitch across to the end.
- You’ll finish with a single double crochet in the last stitch.
Row 2 (Mesh Row)
- Turn, chain 3 (counts as first dc).
- V-stitch in each V-stitch below.
- Chain 7, sc in sc below repeats across.
- Continue to end with a V-stitch.
Row 3 (Block Row)
- Turn, chain 3.
- Work a V-stitch over each previous V-stitch.
- Over each chain-7 space, chain 8, single crochet in chain space.
- Chain 3, then make 1 dc for each of the 8 chain stitches below (total 9 dcs over space). Repeat across.
Rows 4–6 (Build Block Section)
- Continue with 9 dc across each block for 3 rows, chaining 3 at the start of each row.
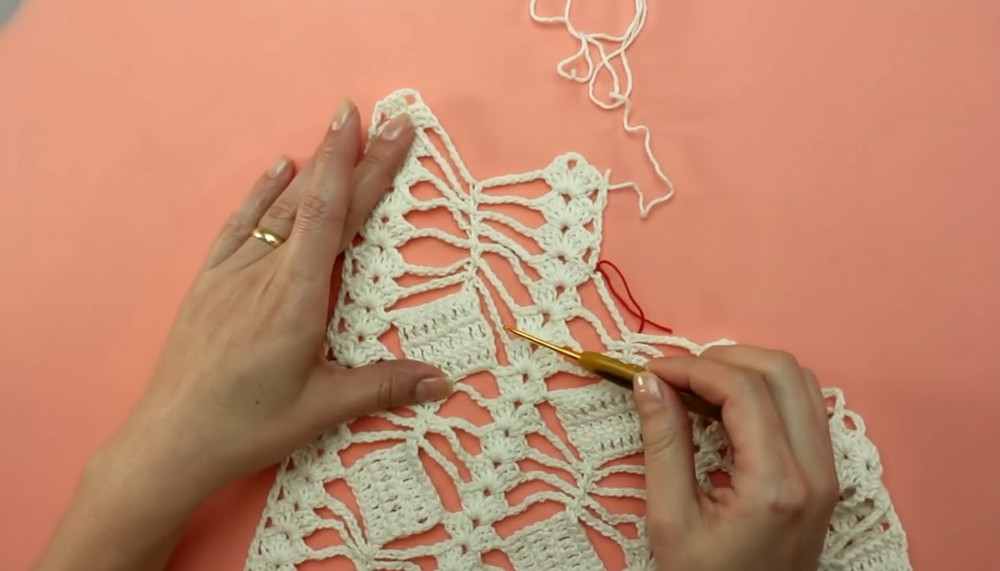
Row 7 on (Pattern Repeat)
- Alternate:
- Block Section: 3 rows of 9 dc across each block.
- Mesh Section: 4 rows of V-stitch (3 tr, ch 2, 3 tr), with chain-7 spaces between, and sc in sc or V-st in V-st.
- Continue repeating these blocks and mesh sections until your panel reaches the desired length (approximately 69 cm for medium size, or according to your desired length).
Shaping the Neckline & Shoulders (front)
- When the piece reaches your chosen length, divide the panel for the straps/shoulders, setting aside approx. 1 block at each side for each strap.
- Work each strap separately for a few rows in the established mesh pattern (usually 3–4 rows per shoulder strap).
- Shape the front neckline slightly lower than the back by working fewer rows/motifs for each.
Back Panel
- Repeat all steps as for the front panel.
- For the back neckline: make it higher (work 2 more rows for straps than the front).
3. Seaming (Assembly)
- Place front and back pieces together, right sides facing.
- Join shoulder seams using a tapestry needle and matching yarn (use mattress stitch, sewing through outer loops for flat seams).
- Mark and sew side seams: leave a 19–20 cm opening at the top for armholes, then sew down to the hem.

4. Sleeves (Optional Long, or Short)
To Crochet Sleeves:
- Attach yarn at the underarm.
- Work in the round:
- Row 1: Chain 3, (V-stitch in each V-stitch or dc where appropriate), chain 7 between, as per body pattern.
- Rows 2–18: Continue established mesh pattern (or decrease chains for a fitted sleeve).
- After 18 rows, decrease chain spaces gradually:
- 5 rows with ch-6
- 5 rows with ch-5
- 5 rows with ch-4
- Final 5 rounds: Switch to (3 tr, ch 2, 3 tr) in each V-Stitch, with ch-2 spaces between—all around sleeve for decorative hem.
- Finish: Slip stitch to join round, fasten off, and repeat for other sleeve.
5. Neckline Finishing
- Starting at the center back, attach yarn and work mesh stitch (dc, ch 2, skip 2 sts, dc) evenly around entire neckline.
- On the next row, work a picot or lacy shell edging (e.g., sc, ch 3, dc in same, skip one, repeat).
6. Bottom Edge Finishing
- Attach yarn at one side seam at the hem.
- Work a row of V-stitches as used in the pattern (3 tr, ch 2, 3 tr) in each mesh space or end stitch.
- Add a second row of V-stitches for a pretty, finished look.

7. Final Steps
- Fasten off all yarn.
- Weave in all loose ends securely with a tapestry needle.
- Pro Tip: For smooth, even stitches, gently steam block your cover-up by placing a damp pressing cloth over your work and hovering a steam iron above (don’t touch directly).
Tutor’s Suggestions
- This cover-up works great with both cotton and blended yarns. Choose a light color for extra summer vibes.
- Wear it as a tunic, beach dress, or accent with a slip as a stylish summer dress.
Uses
- Beach or poolside cover-up
- Stylish summer tunic
- Lacy layering piece over tops and dresses
- Perfect for gifting or vacation wardrobe
Conclusion
Enjoy your custom-fit, breezy crochet cover-up! It’s fashionable, flattering, and practical for those sunny days. Mix up colors, yarns, or sleeve lengths to personalize your project.
Pro Tip
Customize the size by adding or subtracting chains in multiples of the stitch pattern. Always measure as you go for the best fit.




Leave a Reply