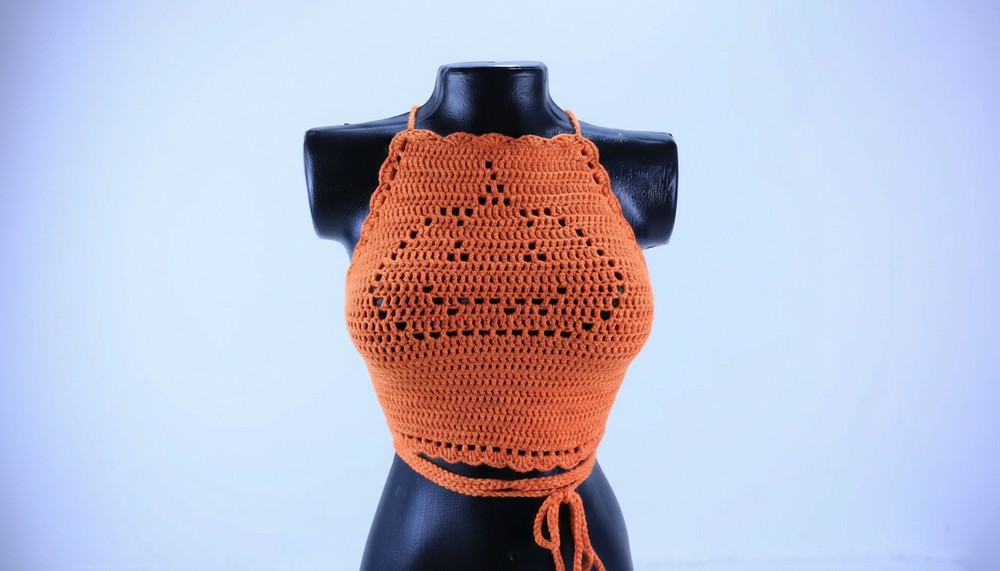
Celebrate autumn vibes with a Free Crochet Pumpkin Top Pattern perfect for cozy outfits, playful seasonal style, and charming fall fashion accents.
Fashionable Crochet Pumpkin Top Pattern for Everyday Wear

The structured yet flexible stitch pattern allows the top to drape gracefully, giving comfort without sacrificing style. Lightweight and breathable, it pairs seamlessly with skirts, trousers, or layered over shirts for versatile styling. The textured details add depth and interest, making the garment visually appealing from every angle.
This pattern also promotes skill development, enhancing understanding of shaping, stitch consistency, and attention to detail. The result is a distinctive, cozy, and elegant piece that turns simple yarn into a fashionable statement for the season.
Special Features
- Pumpkin motif: Central focus for a fun, autumn-inspired look.
- Custom sizing: Includes different starter chain measurements for S, M, L, and XL, but you can also adjust to fit any size.
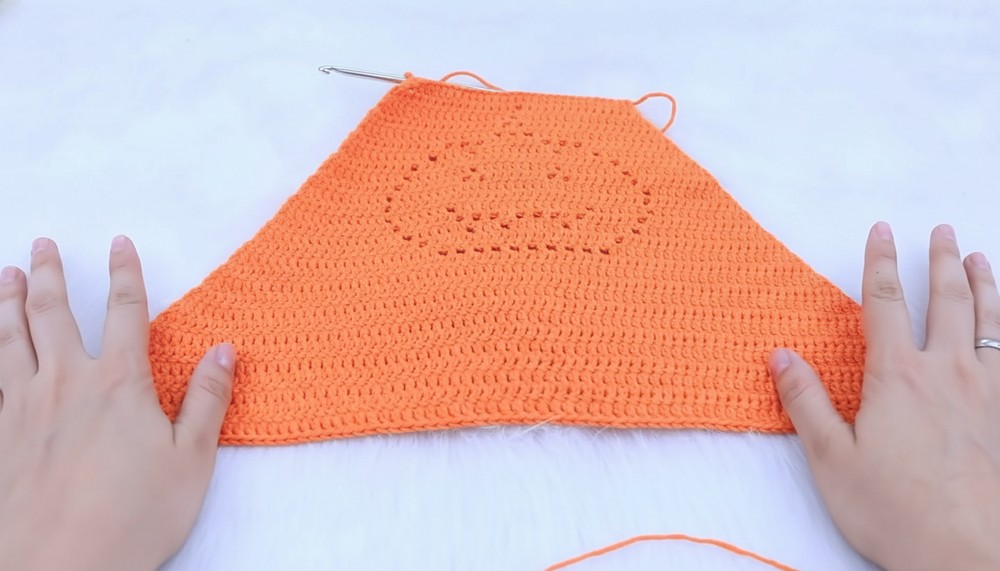
- Figure-flattering shape: Pattern gradually increases to hug the bust and waist comfortably.
- Tie-back design: Adjustable fit with long crochet ties for the back.
- Easy lace trim: Finishing rounds add a lovely lacy, feminine border.
Level of Difficulty
Advanced Beginner to Intermediate.
Basic knowledge of chains, double crochet, single crochet, increasing, and simple shaping is helpful. The pattern involves attention to stitch count, especially in the pumpkin motif section.
Tutor’s Suggestions
- Always measure your starting chain to ensure the right fit—stretch gently when measuring.
- Use the recommended hook size for your yarn and your own tension.
- Try the top on as you work to ensure the ideal coverage.
- Don't worry if the motif sits a little high or low; you can easily adjust it by starting the motif in a different row.
- If your width isn’t sufficient near the bust, consider adding double increases as suggested.
Uses
- Trendy festival or casual wear
- Seasonal outfit for autumn/Halloween
- Layered summer top
- Cute gift for friends or family
Materials
- Worsted or DK weight yarn (100% acrylic used in the video)
- 3-3.5mm Crochet Hook (adjust size for your personal tension and yarn)
- Measuring Tape
- Stitch Marker
- Scissors
- Yarn Needle (for weaving in ends)
Step-by-Step Pattern
1. Create the Foundation
Size Guide (Width across collarbone):
- S: 14 cm
- M: 15 cm
- L: 16 cm
- XL: 17–17.5 cm
Measure without stretching your starting chain.
Start:
- Chain the required number for your chosen size (must be even: e.g., 30 for M).
- Measure to ensure the correct width.
- Add two extra chains (these count as your first double crochet for the first row).

2. First Row (Double Crochets)
- Double crochet (dc) in the third chain from your hook and across.
- You should have an odd number of double crochets (e.g., 31 for M).
3. Pumpkin Motif Construction
- Decide which row to start the pumpkin motif (from Row 2 upwards, as preferred).
All following rows:
- Ch 2, turn (counts as first dc), increase in first stitch by making another dc in same spot.
- Work dc across until two stitches before the pumpkin center (use stitch marker for center).

- Work up to one stitch before the marker.
- Pumpkin creation begins:
- Ch 1, skip 1 stitch, dc in marked center stitch (replace marker in this new dc).
- Continue dc to the end.
- At row’s end, increase: 2 dc into top of turning chain.
For all rounds in pumpkin motif,
- Always increase at both ends of every row for a gently flared shape.
- The motif is constructed with a combination of double crochets and ch-1 spaces as shown in the transcript.
Build the Pumpkin:
- Next rows: Continue as above, building out the pumpkin with ch-1, skip 1, dc in “hole” to create the “houses.”
- Progressively, each row will have a growing “square” (or “house”) portion, expanding the pumpkin.
- According to the transcript, this section is 16 rows, with increasing complexity (sometimes rows of dc, sometimes multiple “houses” with ch-1 spaces and skipped stitches).
- After row 16, the pumpkin motif should be complete.
Custom Fit:
- Try your top on. If you need more width, work 2 increases at each end of a row for 2-3 rows.
4. Continue Body
- Continue crocheting rows of dc, always increasing at both ends, until you reach your desired length (e.g., 29 rows for a length of ~30cm for M, up to 36 rows for XL).
- Don't worry about width in the back—ties make the fit adjustable.
5. Top Edging
- With the last row complete, add a decorative lacy border:
- Row 1: Ch 3 (counts as dc + ch-1), skip 1, dc, ch 1, skip 1, dc—repeat to end (“filet” or house stitch).
- At corners: Work 2 chains and a dc to create the curve as needed.
- Down the side: You can continue with the “house” stitch or switch to single crochets (sc) for a tighter, neater side.

6. Bottom Edging
- Repeat the same filet/houses stitch around the bottom edge, or work sc for a firm finish.
7. Final Lace/Fan Border
- Next round: *In every house/square space, alternate 1 sc in one space, then a fan (4 dc in the next space), then sc, then 4 dc fan, etc. Repeat the pattern around. Turn the corners neatly by either adding an extra sc as you round.
- Slip stitch and fasten off.
8. Make the Straps
- On the top corners, join yarn.
- Work chain stitches until the length reaches:
- S/M: 2 meters
- L/XL: 2.5 meters
- Fasten off.
- Repeat for the other side.
9. Finishing
- Weave the straps through the lacy border or fans at the back for a corset-style tie.
- Weave in all yarn ends.
- Try on and adjust the lacing for comfort and support.
Tip
Try on your top regularly as you work!
Custom-fitting is the best way to ensure a comfortable, figure-flattering garment. Don’t hesitate to add or subtract rows/increases to match your unique body shape.
Conclusion
Congratulations—you’ve created a stylish and playful crochet pumpkin top with a cheerful seasonal motif and a flattering shape! This top is a wonderful way to practice shaping, motif construction, and decorative edges, and you can easily adapt it for different bodies and styles.


Leave a Reply