
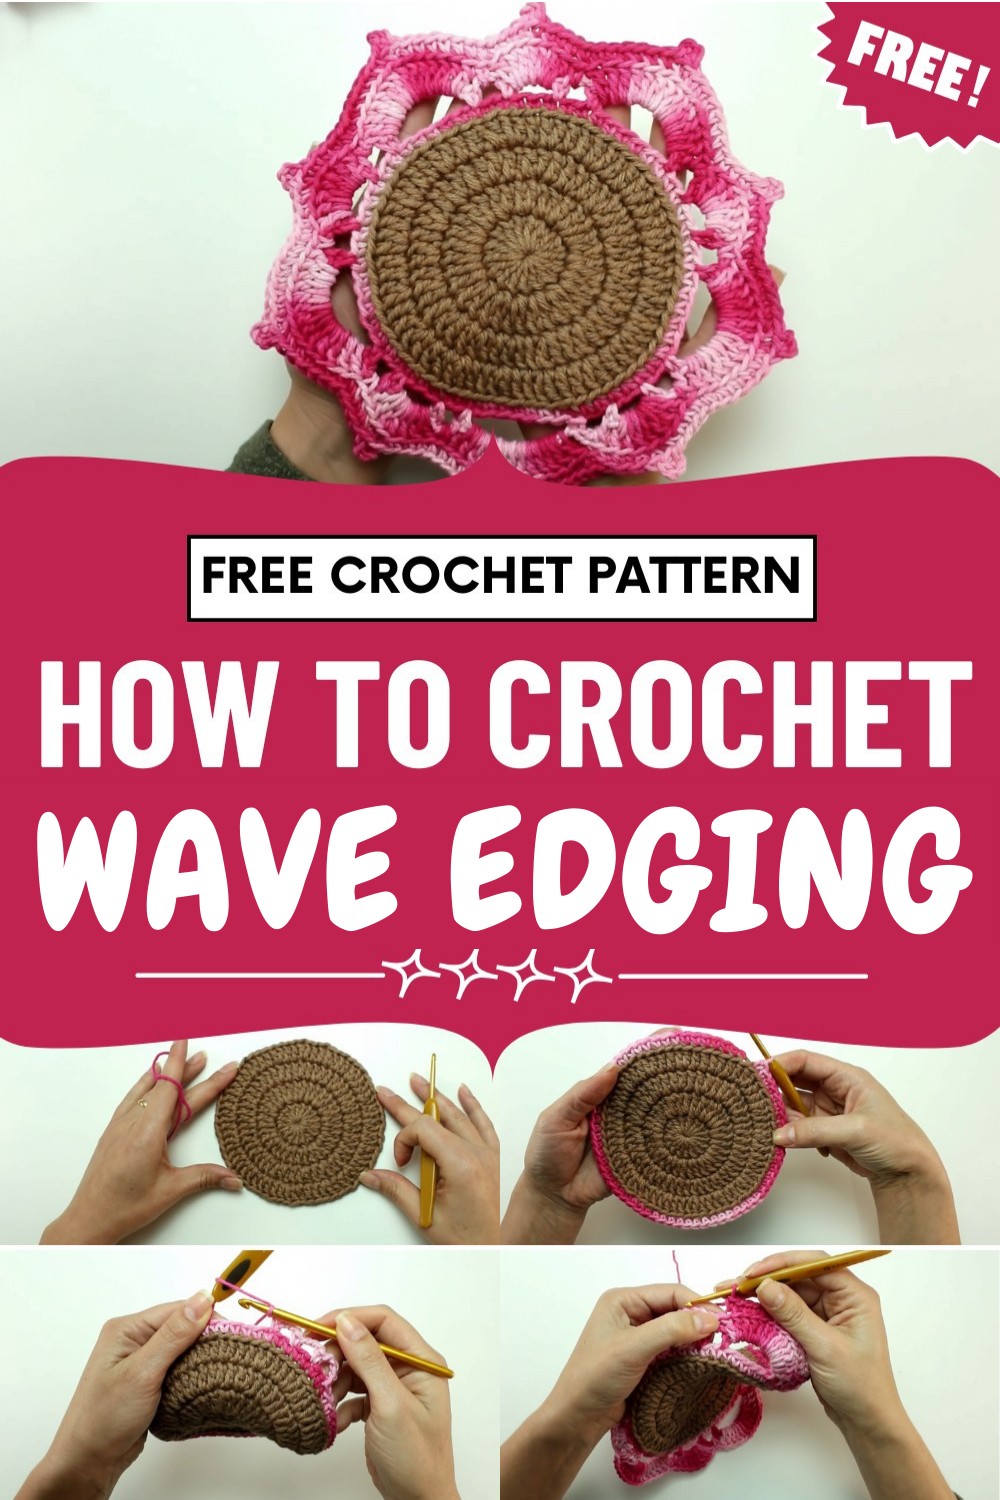
Finish your projects with flowing style using this Free Crochet Wave Edging Pattern perfect for blankets, garments, and charming home décor.
Enhancing your latest work with a flowing border is a wonderful way to bring a high-end feel to your piece. This Crochet Wave Edging Pattern acts as a perfect finish for a soft blanket, a light shawl, or even a pretty pillowcase. The overall look is very stylish, showing off a gentle curve that mimics the natural movement of water.
Twist Crochet Wave Edging Pattern with Curved Handmade Detail
Because the trim is so graceful, it makes a simple piece of fabric look like a professional item from a fancy boutique. It is a very smart choice for a gift because the detailed ripples provide a touch of luxury that everyone will notice and love.
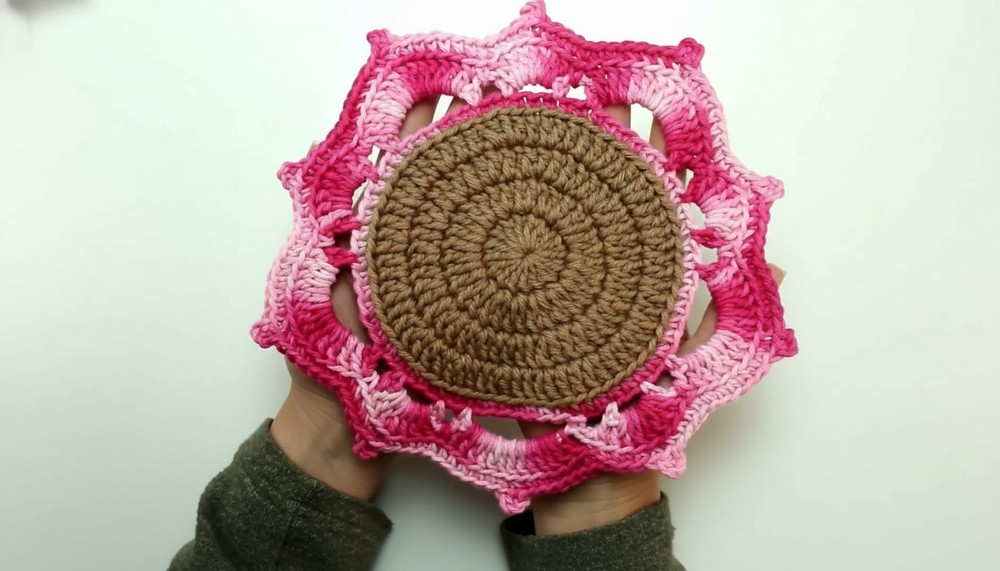
Using this design helps you cover up any small mistakes on the edges while providing a sturdy and polished rim to your work. This results in a high-quality, elegant item that provides a sense of calm beauty to your home.
Materials
- Yarn: Size 6 compatible yarn (e.g., Phil 6)
- Crochet Hook: 4 mm
- Tapestry Needle: For weaving in ends
- Scissors
Special Features
- Works for round projects (rugs, placemats, towels)
- Textured look: Back loop only, creates raised edge effect
- Peaked border (picots) for decorative flair
- Flexible: Easily adapts to size and color changes
- Professional finish: Invisible closing, secure weaving
Level of Difficulty
Beginner / Intermediate
This pattern involves basic stitches (single crochet, double crochet, chains) and simple techniques like working in the back loop and forming picots. Ju’s method ensures a neat finish with no visible knots!
Step-by-Step Pattern
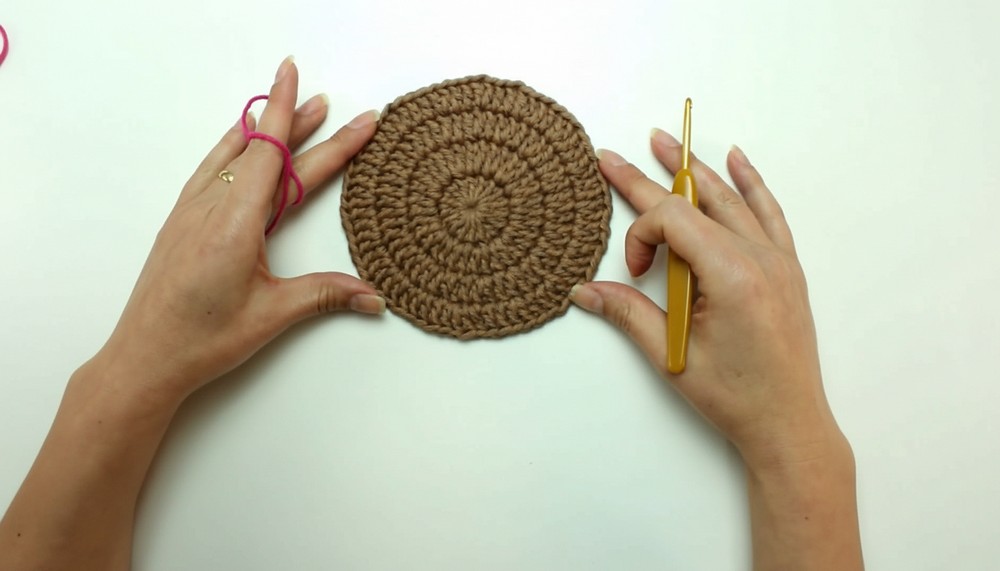
1. Prepare to Begin
- Attach yarn to the edge of your round work, use the back loop only for extra texture.
2. First Edging Round
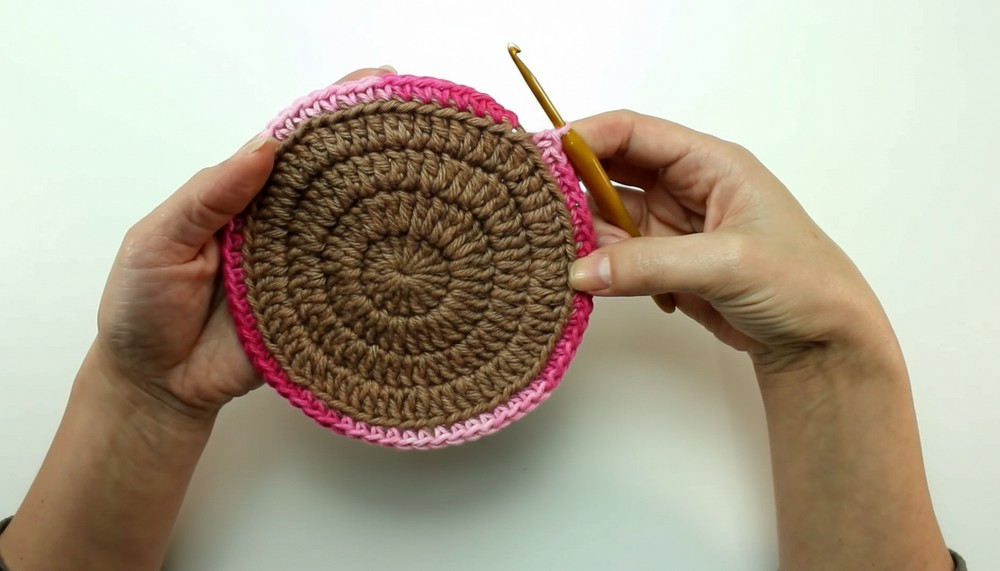
- Chain 1.
- Work a single crochet (sc) in the back loop only of each stitch around, hiding your yarn tail as you crochet.
- If your work begins to pucker, add an increase—work 2 sc in the same place occasionally.
- Close the round: Slip stitch (sl st) to the first sc.
3. Create Loops for Peaks
- Chain 3, skip one base stitch, sc in the next. Repeat for three spaces.
- On the fourth loop, chain 7. Skip five base stitches, sc in the next.
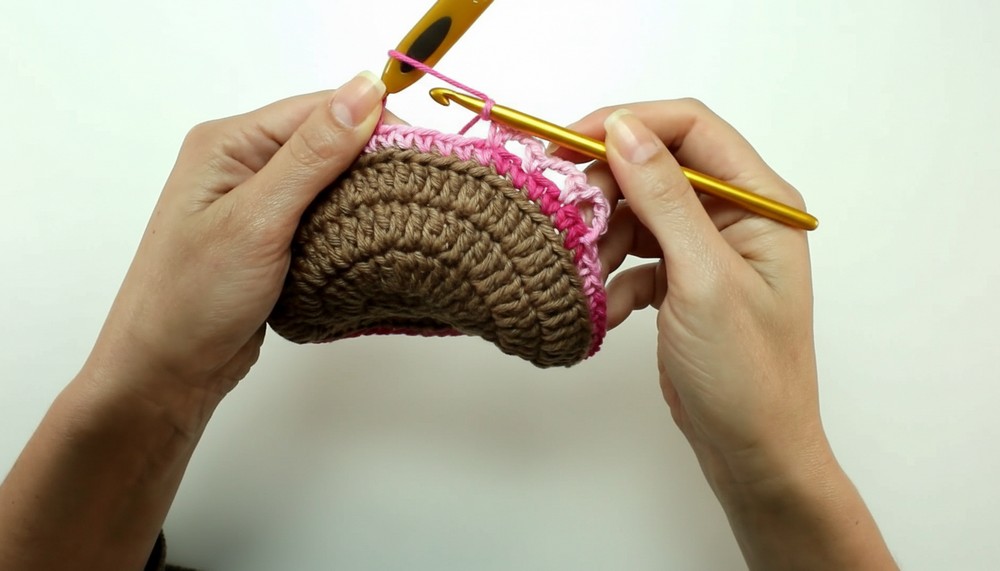
- Alternate: Three loops of 3 chains each (skip 1 stitch), then a loop of 7 chains (skip 5 stitches).
- Continue this sequence around.
- Close with a sl st. Move to the center of the first loop with another sl st.
4. Add Raised Peaks
- In each 3-chain space:
- Sc in the center.
- In the next loop, work 7 double crochets (dc) into the 7-chain space, then sc in the next loop.
- Repeat: sc, 7 dc, sc, 7 dc, etc. as the pattern unfolds.
- In 7-chain spaces, work 13 dc for a larger raised peak.
- Alternate as you move around: smaller peaks (7 dc), larger peaks (13 dc).
- Close round with a sl st to the first sc.
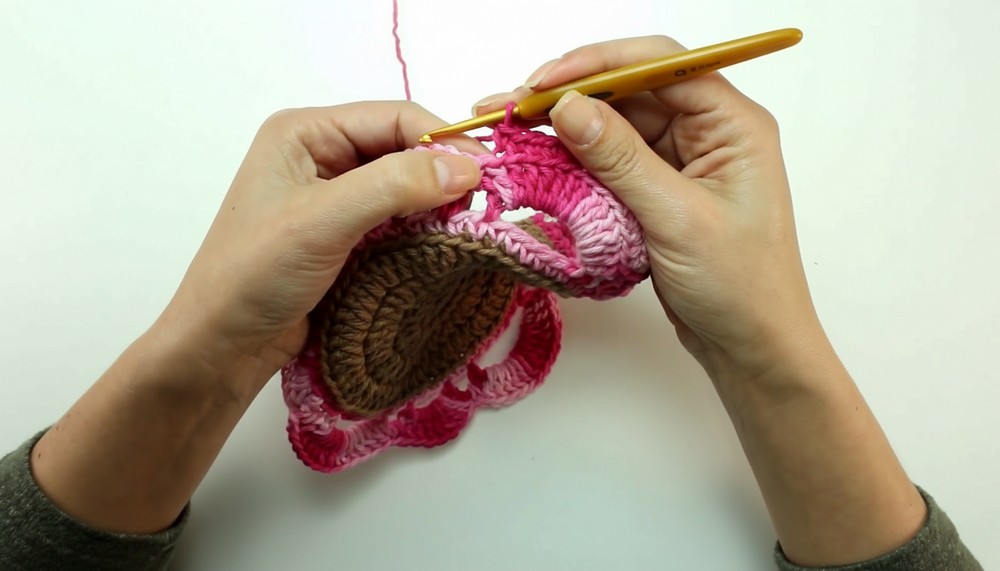
5. Final Edging Detail
- Work in the back loops only again for extra texture.
- For groups of 7 dc: sc in first three stitches, chain 3 (for picot), sl st in base, sc in next three stitches.
- For groups of 13 dc: sc in first 6, chain 3 (picot), sl st in base, sc in next six stitches.
- Always place the picot in the central stitch of each group.
- Continue for entire round.
6. Finishing
- Cut the yarn, pull through last stitch.
- Use a tapestry needle to weave the yarn tail securely behind stitches of the same color; do not pull too tightly to avoid puckering.
- Make a finishing knot by passing the needle through the loop formed, then cut yarn once secure.
Tutor's Suggestions
- Always use back loop only for added dimension and a raised edge.
- Adjust number of stitches in peaks if your project is larger or smaller.
- Change colors for a vibrant spring look or match motifs for cohesive design.
- Join multiple motifs for a table runner, curtain, or decorative path.
Uses
- Round rugs (especially for living areas)
- Placemats
- Towel edges
- Modular motifs for larger projects
Conclusion
You’ve successfully learned a round crochet edging that adds elegance and distinction to any circular piece. This easy pattern is highly customizable and gives a professional finish without visible knots or seams—perfect for gifting or elevating your own home décor!
Tip
For a flawless finish, always weave your yarn ends behind stitches of the same color and avoid pulling too tightly. This keeps your edging smooth and prevents unwanted wrinkling.




Leave a Reply