Show off your personality with this Crochet Heart Bucket Hat Pattern, a fun way to infuse playful charm and flair into your everyday style.
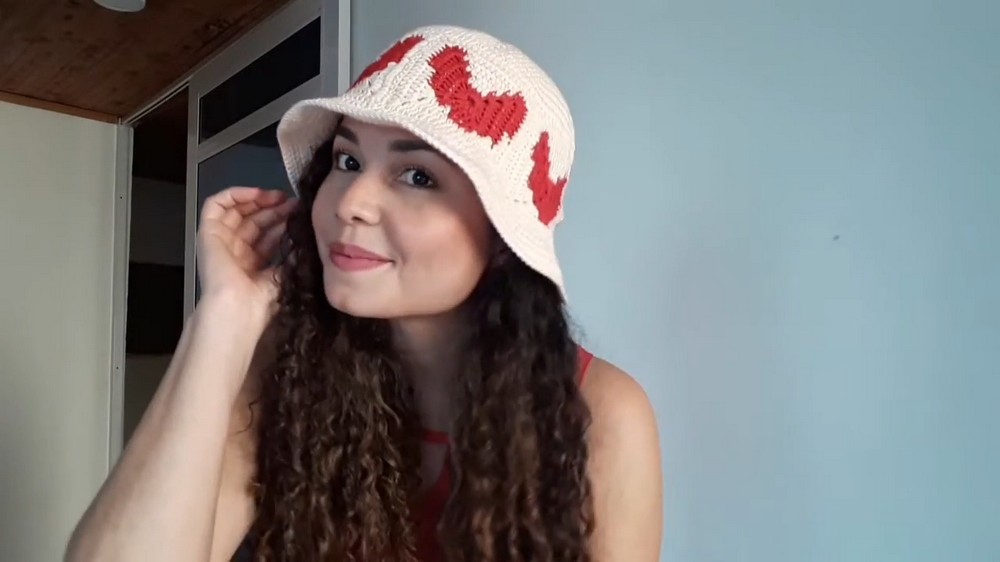
Blending playful charm with modern fashion, this Crochet Heart Bucket Hat Pattern features whimsical heart motifs and a classic bucket hat silhouette. The finished result offers more than just style, it provides comfortable sun protection for days out or a cozy, cheerful touch on breezy afternoons. With endless possibilities for customizing color combinations, each hat reflects its maker’s personality and artistic vision, making the process both fun and rewarding.
Blissful Crochet Heart Bucket Hat Pattern Transform Everyday Style

Featured in this Crochet Heart Bucket Hat Pattern, the easy-going shape suits a wide range of outfits and occasions, from casual outings to adding a pop of personality to statement looks. Working through the heart pattern brings relaxation and joy, and the final result is a standout piece that naturally draws admiration.
With its blend of practicality, visual appeal, and heartfelt symbolism, this pattern ensures every wearer enjoys both aesthetic charm and a sense of accomplishment, turning everyday moments into memorable experiences.
Special Features
- Unique heart-shaped motif at the center of each granny square
- Seamless integration of squares into a wearable, stylish hat
- Customizable sizing for different head circumferences
- Perfect for using scrap yarn and practicing color changes
Level of Difficulty
Beginner to Advanced Beginner
The pattern uses basic stitches and simple color changes. Assembly may require careful counting, but instructions are straightforward and well explained.
Materials
- Worsted weight yarn in two colors (Main/light color & accent/red color for hearts)
- Crochet hook (recommended size: 4 mm or size appropriate for yarn)
- Tapestry needle
- Scissors
Uses
- Stylish accessory for cool weather
- Thoughtful handmade gift
- Great project for using leftover yarn
- Fun for kids and adults
Step-by-Step Pattern
1. Crochet the Hat Base
Round 1:
- Make a slipknot and crochet three chains (forms the foundation ring).
- Crochet into the center of the ring, making 12 half double crochet stitches (hdc).
- Join the round with a slip stitch into the first stitch.
Round 2:
- Chain 1, work two hdc into the same stitch.
- Continue working two hdc in each stitch around.
- Join the round with a slip stitch.
Round 3:
- Chain 1, work one hdc in the same stitch.
- In the next stitch, work two hdc (an increase).
- Repeat 1 hdc, 2 hdc sequence around the entire round.
- Join with a slip stitch.

Round 4:
- Chain 1, work two hdc in the first stitch, then one hdc in each of the next two stitches.
- Repeat this sequence around: 1 hdc, 1 hdc, 2 hdc (increase).
- Each subsequent round, add one stitch between increases (e.g., next round: three hdc, one increase; then four hdc, one increase, etc.).
- Continue until you have 8 hdc between each increase. Now, stop increasing.
Body of the Hat:
- Add your new yarn color if desired.
- Crochet two rounds, making one hdc in each stitch (for a total of 120 stitches per round), without increasing.
- Finish off, cut your yarn, and weave in the ends.
2. Crochet the Heart Granny Squares (Make 6)
Round 1:
- With accent (red) yarn, make a slipknot.
- Chain 4. Join with a slip stitch in the first chain to form a ring.
- Chain 1. Into the ring, crochet 4 hdc, chain 1, 4 hdc, chain 1, 4 hdc, chain 1, 4 hdc.
- Join with a slip stitch.

Round 2:
- Change to main (light) color before closing the last stitch of the round, as shown in the transcript.
- Work one hdc into each stitch, crocheting [2 hdc, chain 1, 2 hdc] in every corner. Incorporate color changes at the corners and for heart outlines as demonstrated.
- Hide yarn ends as you go for a neat finish.
Rounds 3-5:
- Continue in pattern, creating corners with [2 hdc, chain 1, 2 hdc].
- Follow color changes for heart shape:
- Crochet the required number of stitches in accent color (red) for the heart.
- Change to main color for the rest of the square.
- Remember to hide the non-working yarn within stitches for smooth color transitions.
- After finishing the last round in main color, weave in all ends.
3. Join the Granny Squares
- With your tapestry needle and main color yarn, sew together all 6 squares side-by-side.
- Use the whip stitch or mattress stitch, aligning corners and stitches carefully.
- Secure and hide all ends as you sew.

4. Attach Squares to Hat Base
- Line up the squares around the edge of the hat base (120 stitches on the base; 20 stitches per square).
- With right sides together, sew the long edge of squares to the hat using your tapestry needle.
- Make sure stitches and corners align neatly for a professional finish.
5. Finish the Hat Bottom (Brim/Edging)
- Make a slipknot and join yarn at the base. Chain 1.
- Begin Increase Sequence for Brim: First round: Follow previous increase sequence, e.g., 9 hdc, one increase until you've finished the round.
- For subsequent rounds, increase the number of individual stitches between increases (e.g., 10 hdc, one increase; then 11 hdc, one increase, etc.).

- Continue this pattern until your brim reaches desired length (usually 2-3 rounds or as preferred).
- Finish with one round of single crochet in each stitch (no increases), for a neat edge.
- Join with a slip stitch, cut yarn, and weave in remaining ends.
Tutor's Suggestions
- Hide yarn ends as you go for a clean look.
- Switch colors neatly at corners for crisp heart shapes.
- Measure length of brim as you crochet for desired fit.
- Try assembling squares on a flat surface before sewing to check placement.
- Use a tapestry needle for joining to achieve invisible seams.
Tip
To prevent gaps and loose joins when sewing squares, always insert your needle under both loops of the edge stitches. This helps maintain a sturdy, tidy seam—especially important for hats that will get a lot of use!
Conclusion
Enjoy your handcrafted Crochet Heart Hat! This charming project not only lets you practice granny squares and color changes, but also results in an eye-catching accessory that’s sure to win compliments.


Leave a Reply