
Protect tabletops with this Crochet Circle Coaster Pattern offering neat rounds, quick stitches, and a tidy look for everyday drink settings.
A charming balance of function and style makes this circular design a favorite for everyday use. The Crochet Circle Coaster Pattern offers a smooth rounded shape that fits neatly under cups mugs and glasses while helping protect tables from heat marks and moisture. Its compact size makes it efficient with yarn and perfect for matching sets seasonal décor or small thoughtful gifts. The stitch structure stays flat and stable which improves durability and keeps the coaster looking neat over time.
Durable Crochet Circle Coaster Pattern Made for Repeated Use

This Coaster supports better tension control stitch consistency and color coordination without feeling complex. Visually it delivers a clean textured finish that blends easily with both modern and traditional interiors.
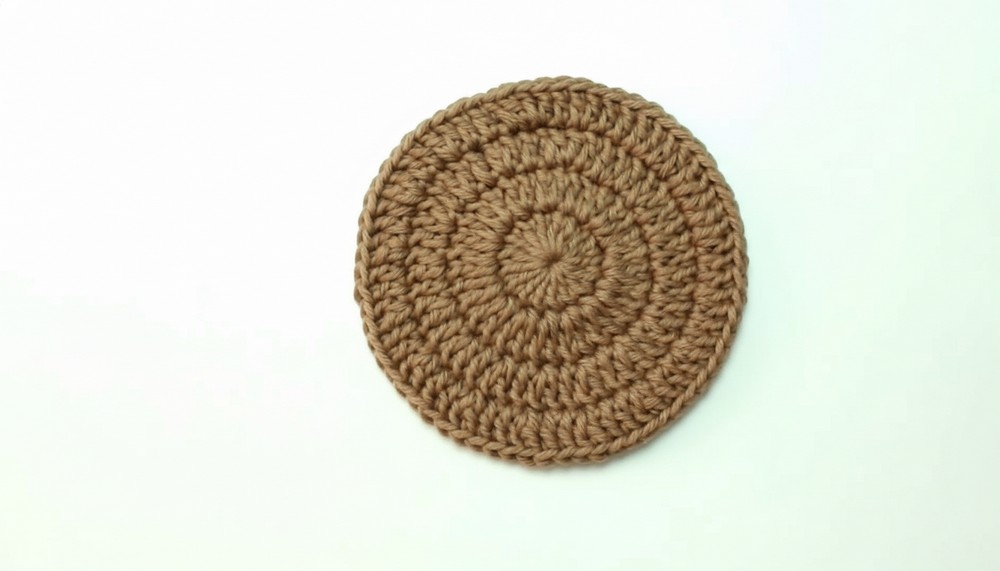
Different yarn choices allow the look to feel soft bold or elegant while maintaining the same reliable form. Easy care and repeated use make it practical for daily routines. This pattern brings warmth organization and visual harmony to table settings while remaining simple enjoyable and rewarding to follow.
Crochet Circle Seamless Join & Invisible Finish Pattern
Materials Needed
-
Yarn: Any yarn of your choice.
-
Hook: Size appropriate for your yarn.
-
Stitch Markers: Very important for this specific technique.
-
Tapestry Needle: For the invisible finishing touch.
Round 1: Foundation
-
Magic Ring: Start with a magic ring. Leave a generous tail to close the center later.
-
Stitches: Chain 1 (does not count as a stitch). Work 16 double crochets (dc) into the ring.
-
Marking: Place a stitch marker into the top of the very first dc you made.
-
Closing the Ring: Pull the magic ring tail tight to seal the center hole.
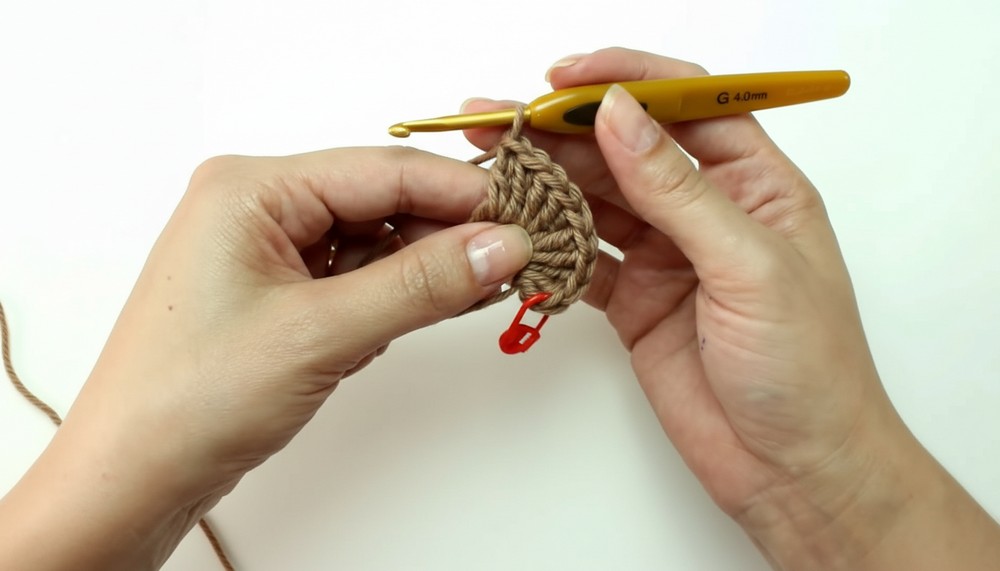
The "No-Mark" Round Join (Crucial Step)
Instead of a traditional slip stitch, follow this method for every round transition:
-
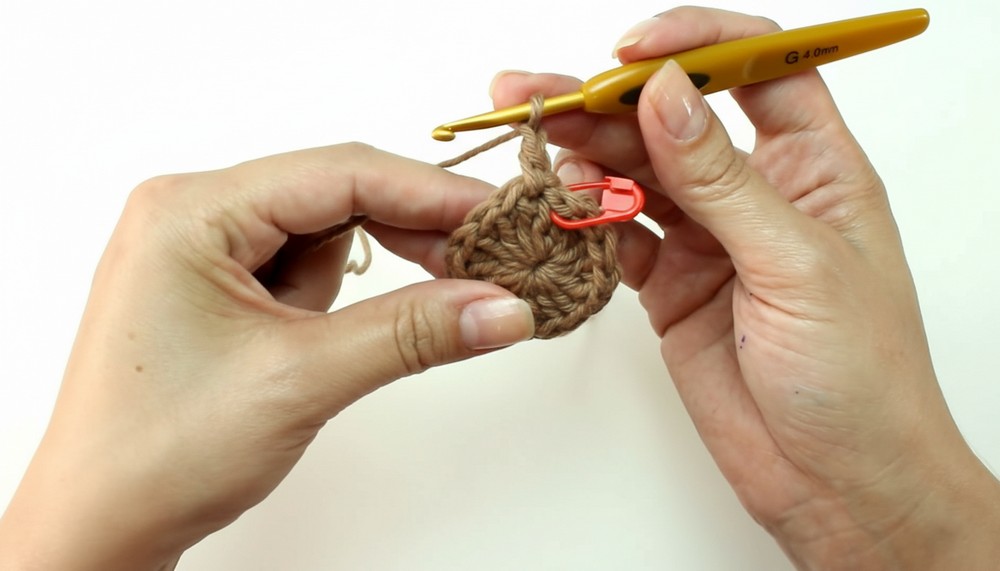
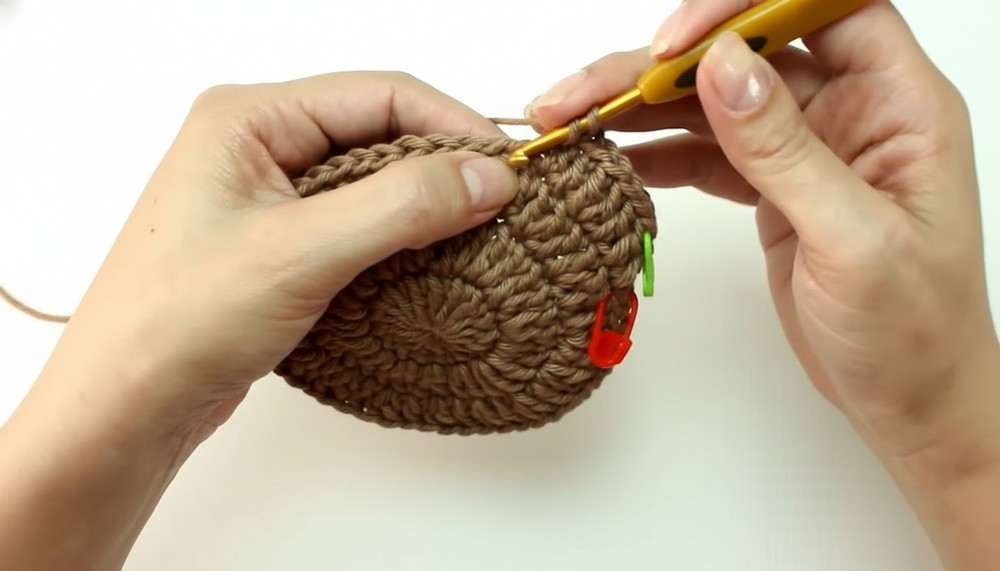
Remove the marker. Insert your hook from back to front through the first dc of the round.
-
Grab the active loop from your hook and pull it through to the back of the work.
-
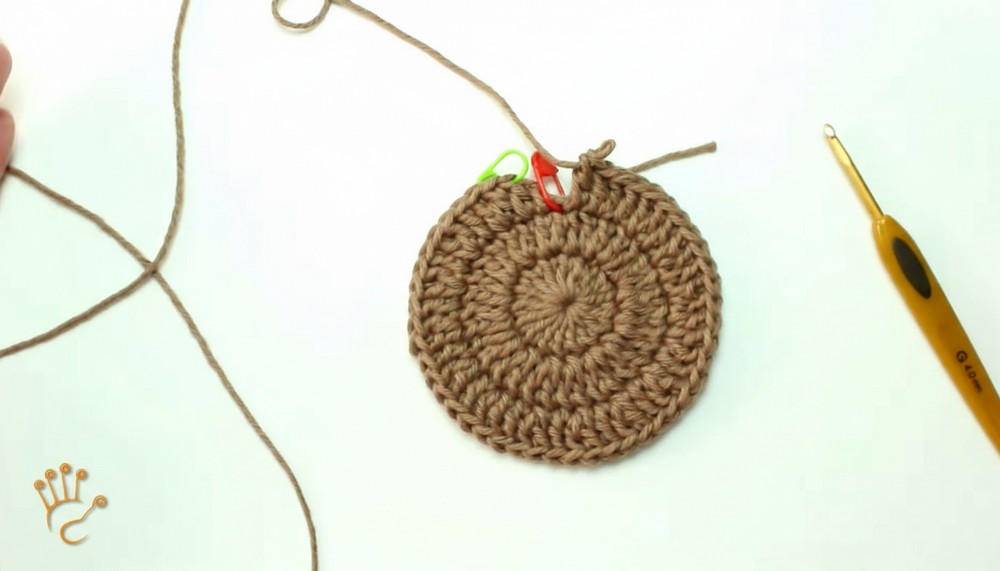
Place a stitch marker on the two strands that were created on the back (this "false stitch" is where your last increase of the next round will go).
-
Insert your hook from front to back into the same stitch you just pulled the loop through.
-
Yarn over and pull up a loop to the front. Yarn over and pull through (like a single crochet). Chain 1 to reach dc height. This "starting stitch" does not count toward your total.
Round 2: Doubling the Stitches
-
Starting in the next stitch (not the one you joined into), work 2 dc in every stitch around.
-
End of Round: Work the final 2 dc into the marked "false stitch" created during the join.
-
Total: 32 stitches.
-
Join using the "No-Mark" Join instructions above.
Round 3: Single Increase Pattern
-
Work the starting stitch (front-to-back loop + ch 1).
-
Starting in the next stitch, follow this sequence: 1 dc in next stitch, 2 dc in following stitch (increase).
-
Repeat around. Work your final increase into the marked join space.
-
Total: 48 stitches.
-
Join using the "No-Mark" Join instructions above.
Round 4: Double Increase Pattern
-
Work the starting stitch.
-
Starting in the next stitch, follow this sequence: 1 dc in each of the next 2 stitches, 2 dc in following stitch (increase).
-
Repeat around. Work your final increase into the marked join space.
-
Total: 64 stitches.
Round 5: The Invisible Finish (Closing the Work)
To end your project without a knot:
-
Cut your yarn, leaving a 10 cm tail.
-
Pull the loop through to the back of the first stitch as usual, but pull the entire tail through.
-
Thread the tail onto a tapestry needle.
-
Insert the needle from front to back through the last dc you made, but only through the center of the "V" to mimic a chain.
-
Pull through gently until the "false chain" matches the size of the surrounding stitches.
-
Weave the end securely into the back of the work and trim.
Conclusion
By utilizing the front-to-back join and the final "false chain" finish, you have created a crochet circle that is completely seamless. This technique is ideal for coasters, mandalas, or the base of baskets where a professional, store-bought appearance is desired.
Pro Tip: If your circle starts to "bowl" (curl upward), your tension is too tight. Try using a hook one size larger. If it "waves" (ruffles), you are adding too many increases; ensure you are starting your count in the second stitch as instructed.




Leave a Reply