
Transform your space with this Free Crochet Rug Pattern that adds cozy texture and a cheerful, stylish touch to every corner of your home.
Stepping onto a plush and heavy surface is a delightful way to bring comfort to any cold floor in your home. This Crochet Rug Pattern allows you to form a durable mat that provides a gentle cushion for your feet during the day. It fits beautifully in a quiet nursery, a sunny bathroom, or even a cozy kitchen space where you stand often. The overall appearance is quite grand and stylish, featuring thick textures that add a luxury feel to your living area.
Cheer Crochet Rug Pattern With Joyful Vibes
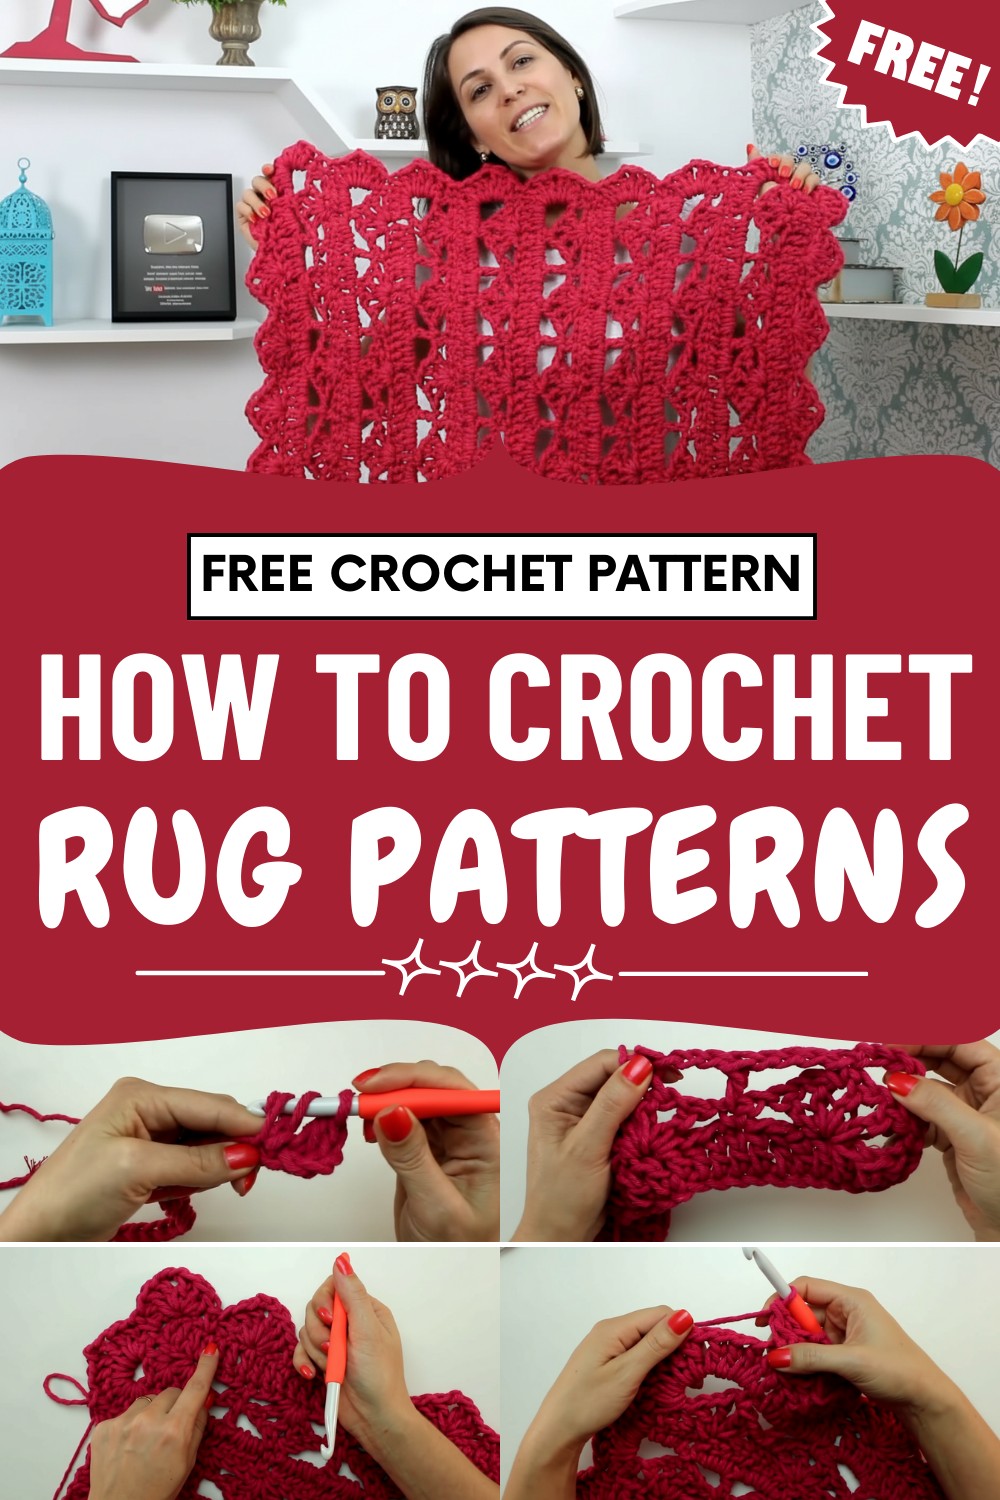
Since it uses bulky materials, the piece has enough weight to sit firmly and safely on the ground without sliding. It serves as a smart solution for busy families because you can simply wash it whenever it needs a refresh.
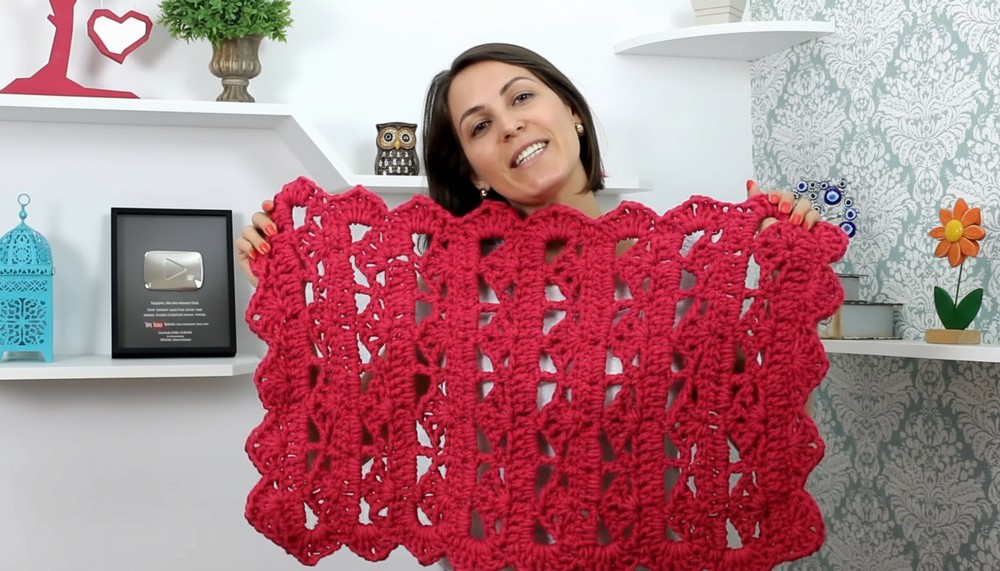
Taking the time to work on this design helps you transform a simple room into a warm, artistic haven. The final result is a high-quality item that looks professional and feels incredibly soft.
Special Features
- Large, thick stitches for a modern, chunky look
- Fast to finish—a rug can be done in 2–3 hours
- Eye-catching fan/lace detailing for extra flair
- Robust and heavy—ideal for high-traffic areas
Difficulty Level
Beginner to Intermediate. The pattern uses simple stitches but introduces a fan sequence that helps build your skills.
Tutor’s Suggestions
- Use a thick yarn with a matching 9mm hook for best results.
- Adjust the initial chain count to make your rug wider—just ensure your foundation is a multiple of 8 plus 3.
- Don’t hesitate to experiment with colors to personalize your rug.
Uses
- Floor rugs in living rooms or bedrooms
- Bath mats
- Play area mats
- Decorative entryway accents
Materials
- Super bulky yarn (24 strands/twists recommended)
- Crochet hook, 9 mm (size will make stitches extra big and plush)
- Scissors
- Yarn needle for weaving in ends
Step-by-Step Pattern
Step 1: Foundation Chain
- Using the chosen yarn and 9mm hook, make a foundation chain of 35 (or any multiple of 8 + 3 for your desired width).
Step 2: First Row (Tall Stitches)
- Skip 3 chains from the hook, then make a double crochet (dc) in the next chain.
- Continue dc across the row.

- The completed row measures approximately 4 cm in height.
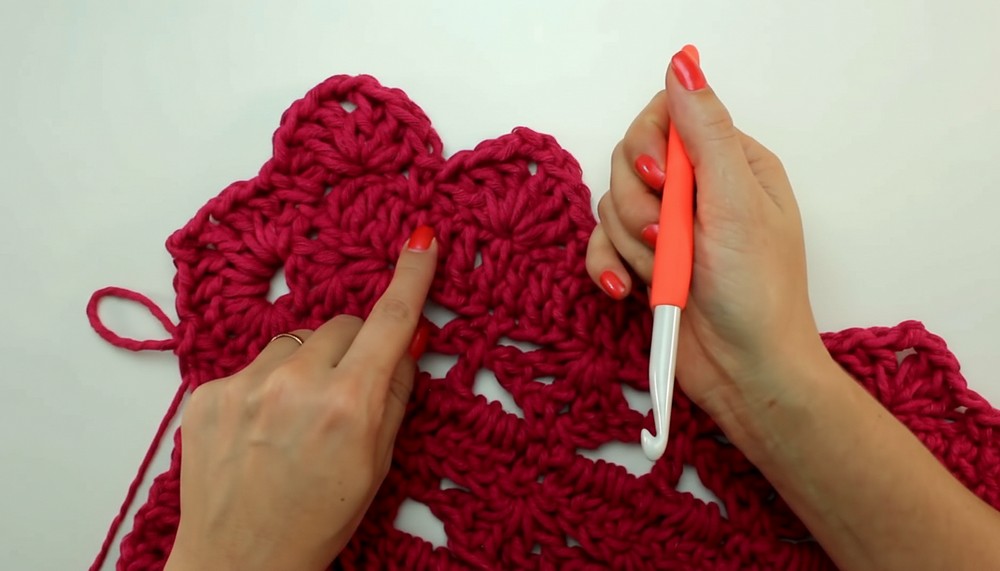
Step 3: Second Row (Fan Pattern – Fantasy Stitch 27)
- Chain 1 and turn.
- In the first base stitch, make a single crochet (sc).
- Chain 1, skip 3 base stitches.
- In next base stitch: [dc, ch 1, dc, ch 1, dc, ch 1, dc] (all in the same stitch to form a fan).
- Chain 1, skip 3 base stitches, then sc in the next stitch.
- Repeat the fan and sc pattern until the end. Finish with a sc.
Step 4: Third Row (Space Emphasis)
- Ch 3 (acts as first dc), turn.
- Ch 3, sc into the center space of the fan below.
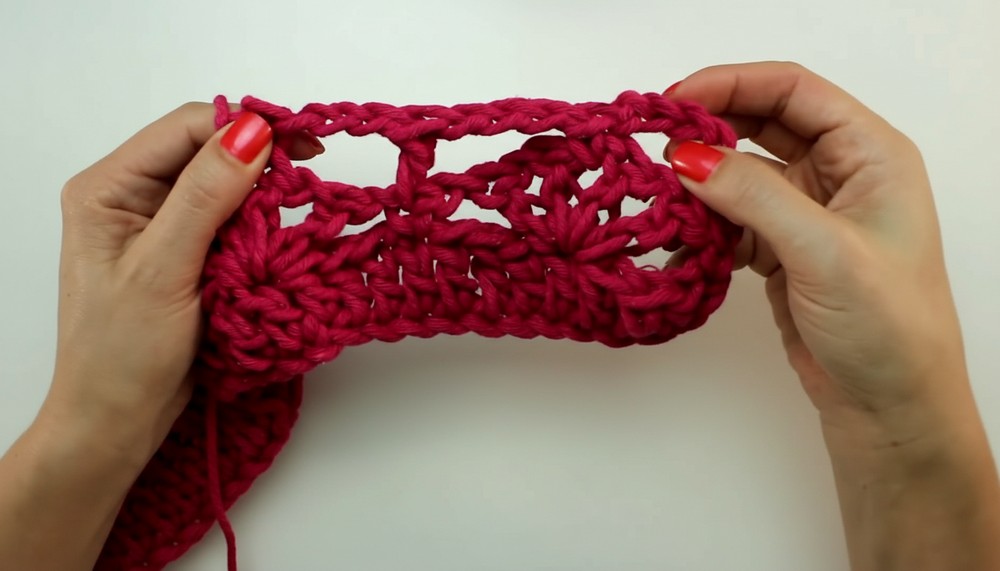
- Ch 3, dc into next sc stitch.
- Continue this sequence, alternating ch-3 spaces and stitches.
- End with a dc.
Step 5: Fourth Row (Rebuilding Solid Row)
- Ch 3, turn.
- 3 dc into each ch-3 space across.
- Dc into each sc stitch from the row below.
- Repeat this sequence across.
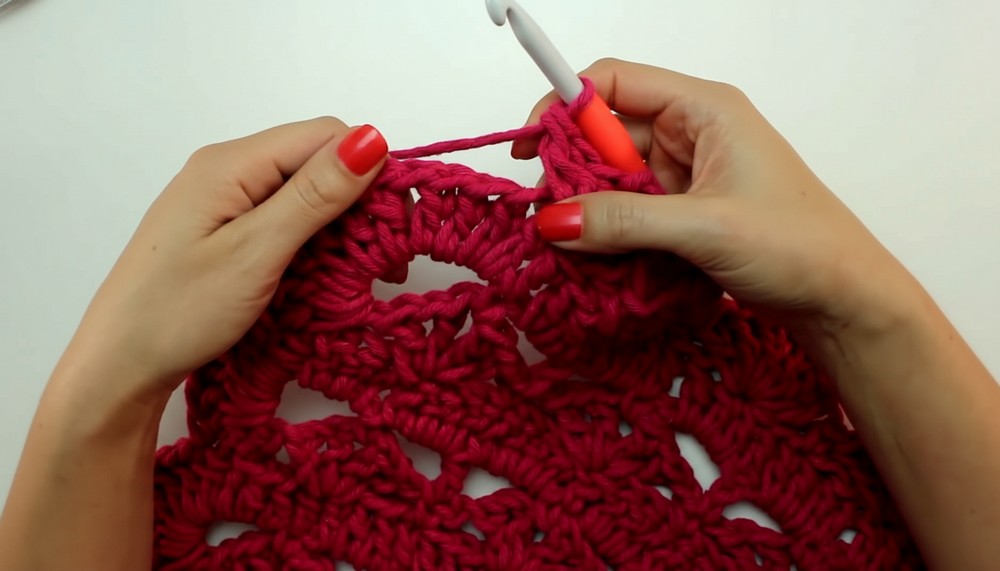
Step 6: Repeat Pattern
- Continue by repeating the fan row, the spaced row, and the solid row sequence until the rug reaches the desired length (about 60 cm is suggested).
Step 7: Finishing and Border
- For the border, work around the rug with alternating fans and single crochets along the sides and corners.
- At corners, skip two stitches so the fan fits around the bend smoothly.
- Join the end with a slip stitch (sl st), weave in ends securely using a yarn needle.
Conclusion
The Petunia crochet rug stands out for its chunky fan stitches, quick construction, and bold texture. It’s perfect for adding warmth and personality to any space. With just a few hours and the right materials, anyone can complete this impressive piece, regardless of experience level.
Tip:
To keep your rug looking fresh, use a yarn that’s durable and easy to wash, and secure any loose ends tightly before finishing!




Leave a Reply