
Handmade Crochet Cow Pattern Kids and Adults Adore
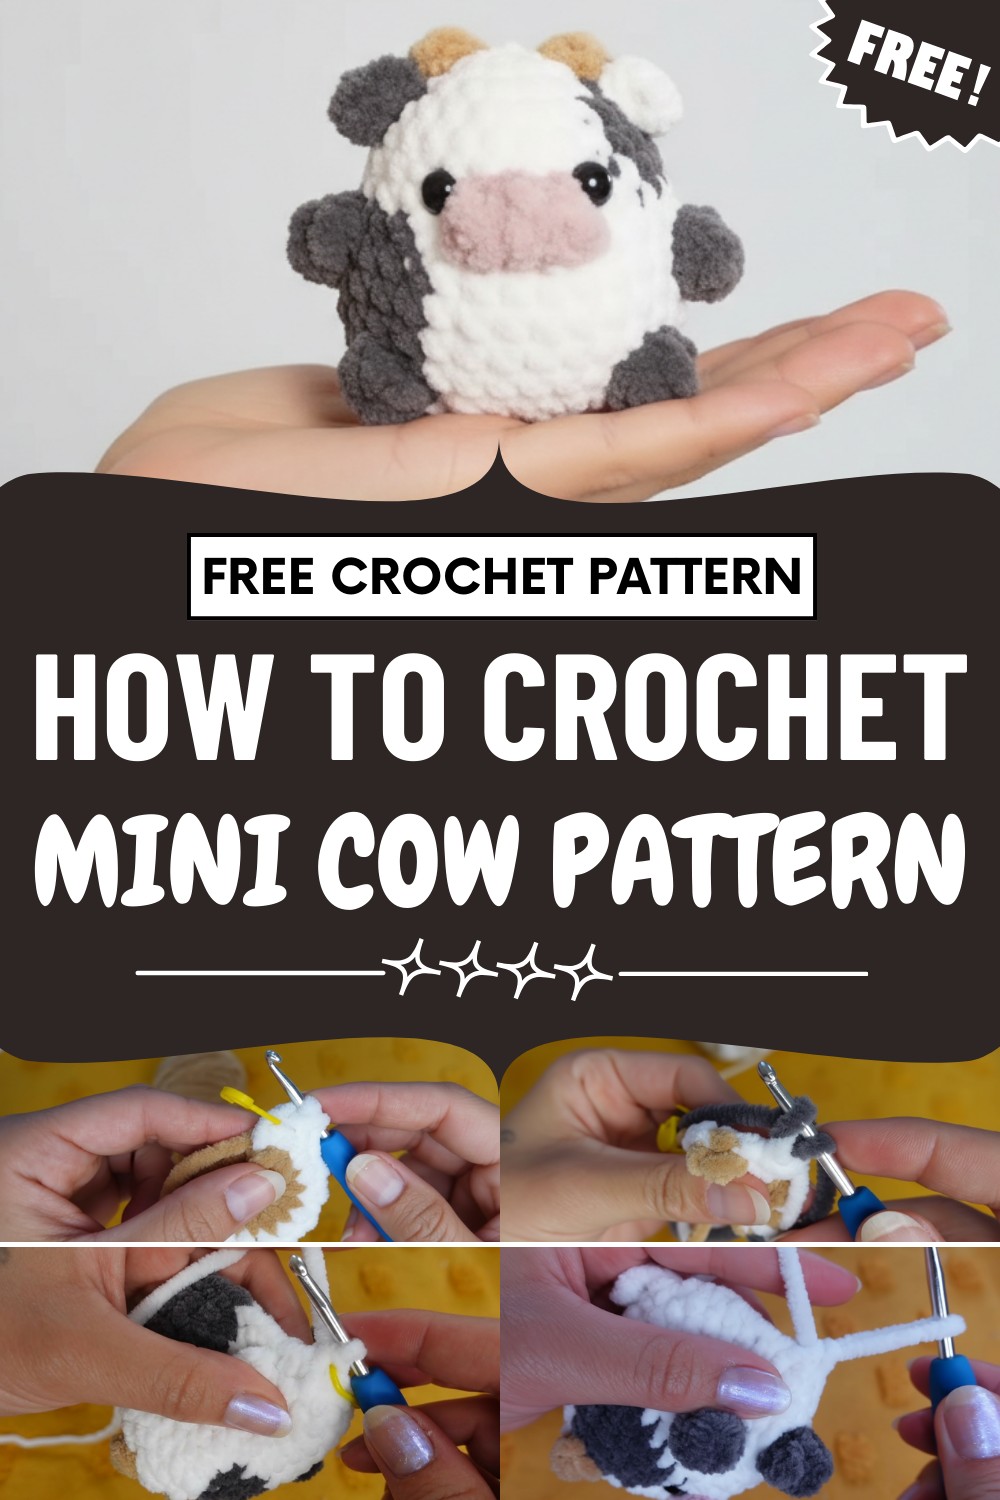
Each section comes together smoothly, helping build confidence in shaping, stitch control, and finishing while keeping the process enjoyable. Its compact size makes it easy to display or gently handle, and the sturdy structure helps it keep its shape over time. Visually, the finished cow looks irresistibly cute, with a soft and cozy presence that brightens rooms instantly.
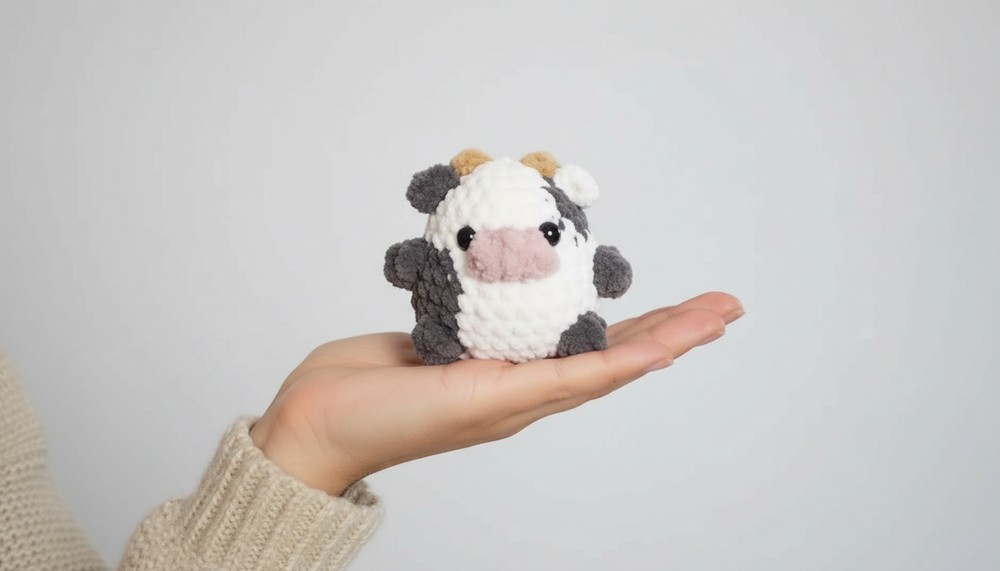
Fun color choices and expressive features give it tons of personality, making every piece feel special. This pattern turns simple yarn into a joyful, lovable figure that blends creativity, comfort, and playful style in the most delightful way.
Special Features
- No-sew design: Only attachable parts are the ears. The rest is crocheted in one piece.
- Two types of popcorn stitches: Create soft horns and textured details.
- Custom color placement for spots and accents.
- Option to use scrap yarn for stuffing inside.
Difficulty Level
Easy to Intermediate.
The pattern uses basic stitches (single crochet, double crochet), simple increases and decreases, and basic color changes. Popcorn stitches and magic ring may challenge complete beginners, but the tutorial explains each step thoroughly.
Suggested Uses
- Cute plushies for gifts or desk companions
- Baby or nursery decoration
- Collectible amigurumi
- Customizable gifts by changing spot or accent colors
Materials
- Yarn: Chenille or soft plush yarn in white, black (or gray), brown, pink (for the muzzle), and a small amount of yellow (for horns)
- Safety Eyes: 2 pieces, around 8mm
- Hook: Size to match your yarn (usually 3.5mm–5mm for plush yarn)
- Stuffing: Polyester or fiberfill
- Yarn needle: For ear sewing and finishing
- Scissors
- Stitch Marker: Optional but recommended
Tutor’s Suggestions
- Yarn Under vs. Yarn Over: Both methods work; yarn under gives a slightly tighter stitch.
- Chenille Yarn: This can snap if pulled too hard; work gently when tightening magic ring or closing pieces.
- Color Changes: Cut yarn after each switch, then knot tails together inside the plush for a neat finish.
- Stitch Markers: Use them to keep track of your rounds and decreases.
- Safety Eyes: Place between rounds 6 and 7 for the cutest face.
Step-by-Step Pattern
Head & Body: Work continuously in rounds.
1. Start with a Magic Ring (White Yarn):
- Make a magic ring, chain 1.
- Round 1: 6 single crochet (sc) into ring. Tighten and join.
2. Round 2 (Increases + Horns):
- Increase in each stitch for 12 sc total.
- As you work, change to brown or yellow for horn positions using a 3-stitch popcorn (3 double crochet [dc] in same stitch, remove hook, insert in first dc, pull last loop through).
- After each popcorn, switch back to white.
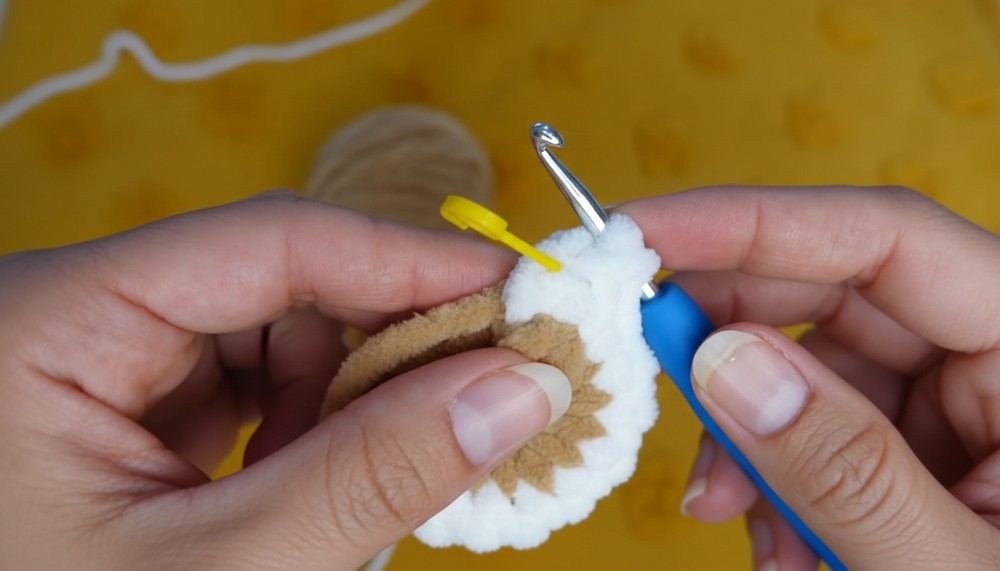
- Continue increases as written in the video.
3. Rounds 3-6 (Shaping & Spot Placement):
- Follow sequence of single crochets and increases as shown, changing to black or gray/spot color for patches.
- Popcorn stitches for horns, arms (later), and muzzle.
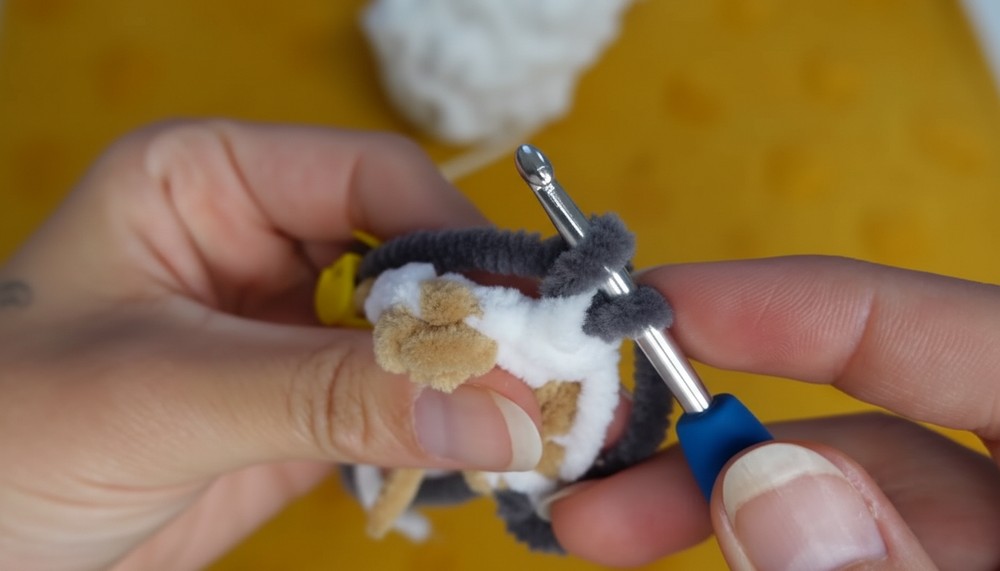
- At round 6, you should have increased to 24 stitches.
4. Rounds 7-8 (Muzzle):
- Insert popcorn (pink, 3-dc) stitches for muzzle, back-to-back, as described.
- Continue shaping, switching back to white, and single crochet around.
5. Rounds 9-12 (Arms, Legs, Spots):
- Work 5-dc popcorns in black for arms and legs.
- Follow spot placements and color changes as per video transcription. Use stitch markers and count stitches carefully.
6. Round 12 (Tail):
- Crochet a chain (about 4), slip stitch back along chain, attach to body for tail base.
- Continue around for rear shaping, working the described increases and color changes.
7. Rounds 13-15 (Shaping to Close):
- Begin to decrease, working two sc followed by a decrease (sc2tog) around.
- Continue decreasing each round, stuffing body before hole gets too small.
- Last rounds: only decreases remain; close hole with darning needle through front loops, pull tight, knot, and weave in.
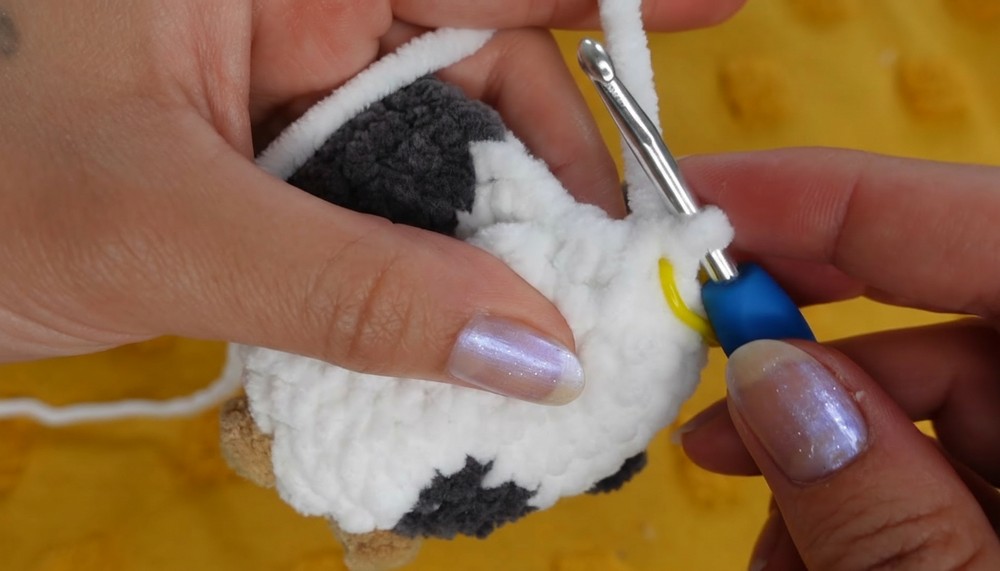
Ears (Make 2, White and Black):
- Chain 3.
- Half double crochet (hdc) in third chain from hook (first chain made).
- Cut, leaving a long tail to sew.
- Pull corners together tightly using one tail, making a folded teardrop shape.
- Sew black ear to white side of head, white ear to spot side, one row ahead of horn for realism.
Horns
- Already created via popcorn stitches in the head rounds; no separate attachment.
Tail Tuft
- Cut several pieces of spot-colored yarn.
- Thread through tail tip with needle, leaving loops.
- Make a few loops, then cut tops and knot tightly near base for a fluffy tuft.
- Trim to desired length.
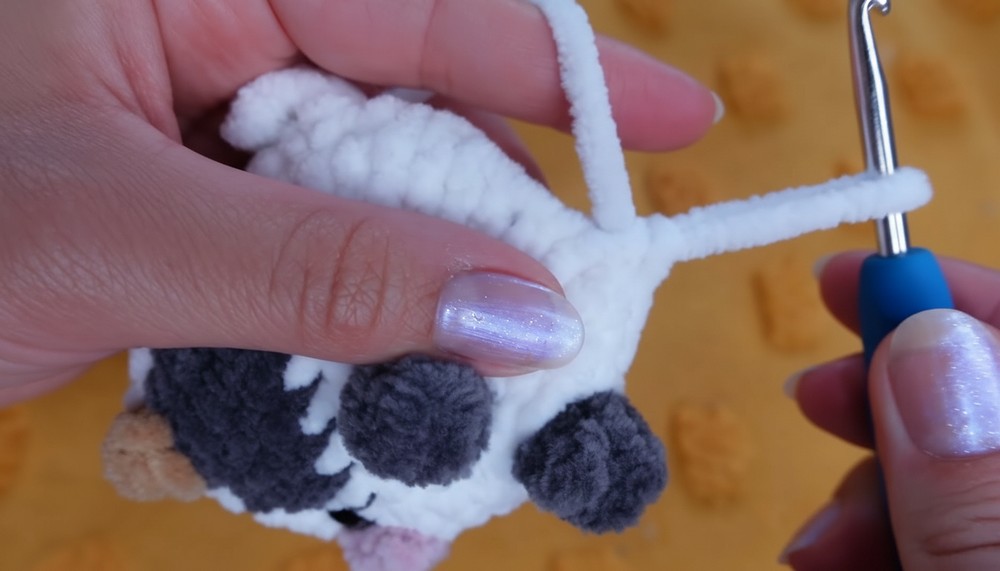
Finishing
- Weave in all ends except intentional stuffing threads inside.
- Place safety eyes beside muzzle between rounds 6 and 7.
- Adjust shape, fluff up popcorns and tail for a cute look.
Conclusion
This Loo Cow plushie combines almost seamless construction with eye-catching detail, making it a joyful project whether you’re a first-time amigurumi maker or looking to try a minimal-sew technique. Customizable spots and colors make each cow unique. Enjoy gifting or keeping this squishy, loveable friend!
Tip:
For easier color changes, always leave a slightly longer tail on each yarn end—this helps with knotting securely and avoids unraveling. Plus, using the short cuttings as stuffing helps reduce waste and gives your plushie extra squishiness.


Leave a Reply