
Flaunt summer style with this Crochet Striped Blouse Pattern, showcasing airy stripes, lightweight textures, and casual chic for sunny days.
Nothing adds charm to your wardrobe quite like a striped blouse made with care and imagination. With its playful mix of colors, this Crochet Striped Blouse Pattern brings energy and style to everyday outfits, pairing well with jeans, skirts, or shorts. The Crochet Striped Blouse Pattern is loved for its flexibility, letting you mix any shades you like to match your personality or the season.
Cheerful Crochet Striped Blouse Pattern Perfect for Weekend Wear
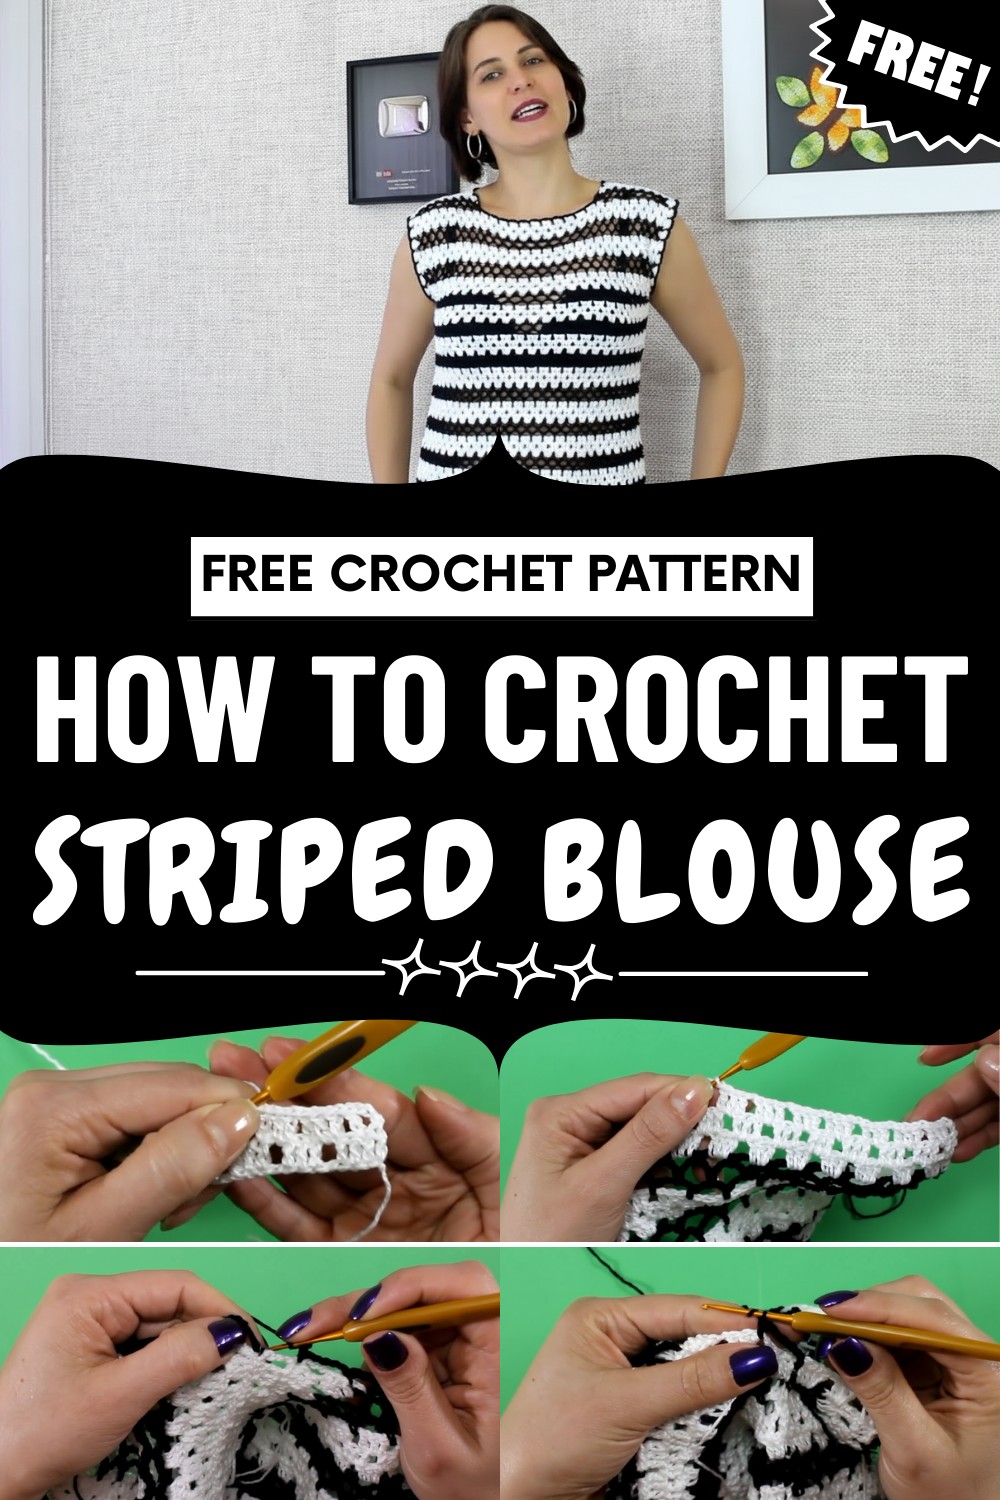
Its airy and soft texture feels comfortable all day, perfect for any time of year. Clean stripes give a modern and lively look, while easy stitches help everyone from beginners to experienced makers enjoy the process.
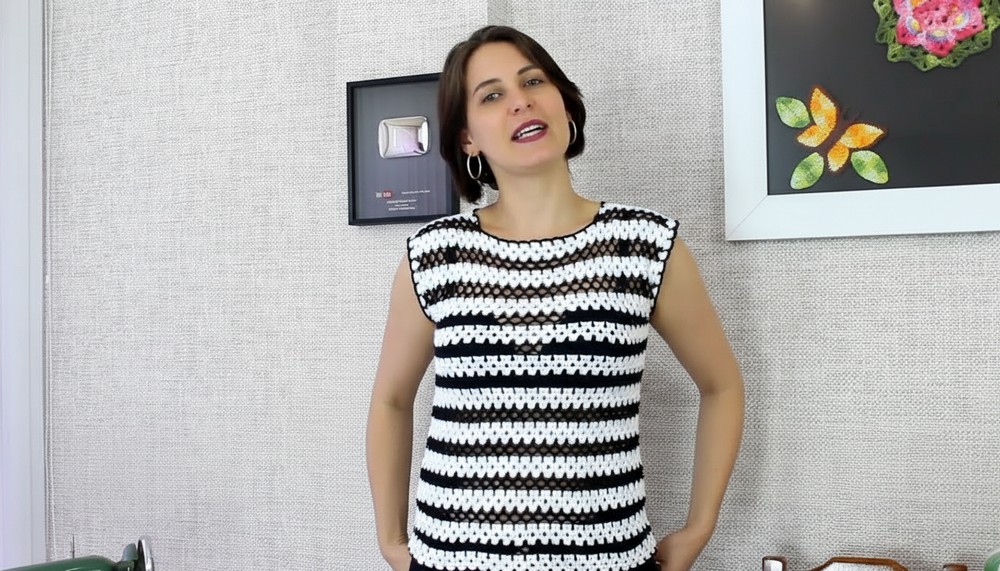
The finished blouse feels both relaxed and stylish, ideal for busy days, casual weekends, or lunch with friends. Every piece shows off your eye for color and design, letting your fashion sense shine in a way only a handmade garment can.
Special Features
- Striking black-and-white stripes for a classic, elegant look
- Stitched in rows using 'fancy stitch 2', which creates solid and mesh textures
- Comfortable, light, and breathable – perfect for warmer weather
- Seamed construction with set-in sleeves and shaped neckline
- Easy to customize for any size
- Detailed color block finishing at the hem, sleeves, and neckline
- Finely finished seams for polished look inside and out
Level of Difficulty
Advanced Beginner / Intermediate:
You should be confident with double crochet, single crochet, crocheting in rows, seaming, and sewing in ends, especially with color changes.
Tutor’s Suggestions
- Make a sample of the “fancy stitch 2” before starting, for best results.
- Always check your row and color counts to ensure that the stripe sequence aligns on all pieces.
- Take extra time finishing the inside and color-change areas to give your blouse a professional polish.
- Adapt measurements to your own size using the instructions as a guide.
Uses
- Everyday casual wear
- Sporty/trendy layering piece
- Handmade gifts
- Sophisticated summer wardrobe staple
Materials
- Yarn: Anne 100% cotton, 500 m per skein
- White (Color 8001): 1.5 skeins (~750 m)
- Black (Color 8990): a little over half a skein (250-300 m)
- Hook: 2 mm crochet hook
- Notions: Tapestry needle, measuring tape, scissors, scrap yarn or stitch markers
Step-by-Step Pattern
1. Start with the Back Panel
- With white yarn and a 2 mm hook, chain 111 for size M (adjust for your size).
- (Row 1): Starting in 4th ch from hook, work 4 dc, ch 1, skip 1 ch, 3 dc; repeat to end, finishing with 4 dc at the last group.
- (Rows 2–3): Ch 3, maintain pattern of 4/3 dc + ch 1/skipped stitch, continue across.
- Change to black yarn.
- (Rows 4–6): With black yarn, work “mesh stitch” rows: Ch 2 (counts as sc), ch 5, sc in next space; repeat across.
- Alternate 3 white rows ("fancy stitch 2") and 3 black rows (mesh) throughout the panel.
- Repeat this color sequence until the panel measures 4 cm less than desired length (e.g., for 55 cm blouse, stop at 51 cm).
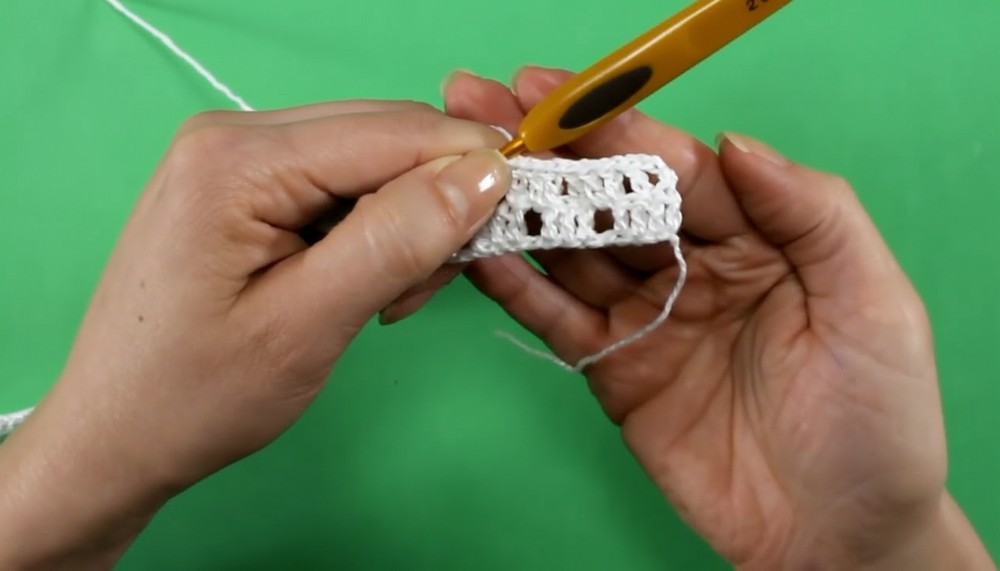
2. Shape the Back Neck & Shoulders
- Mark the neck and shoulder sections using the ⅓ rule:
- Each shoulder: 12 cm, Center neck: 17 cm (for M, adjust for other sizes).
- Work each shoulder separately:
- Continue alternating rows, following the established stitch pattern for white rows at the shoulders, decreasing at the neck edge on each row as described:
- Row 1: Work group to neck marker only.
- Row 2: Decrease 1 dc at neck.
- Row 3: Decrease again at neck, end with 2 dc at shoulder edge.
- Mirror decreases on both shoulders, repeating for 3 rows.
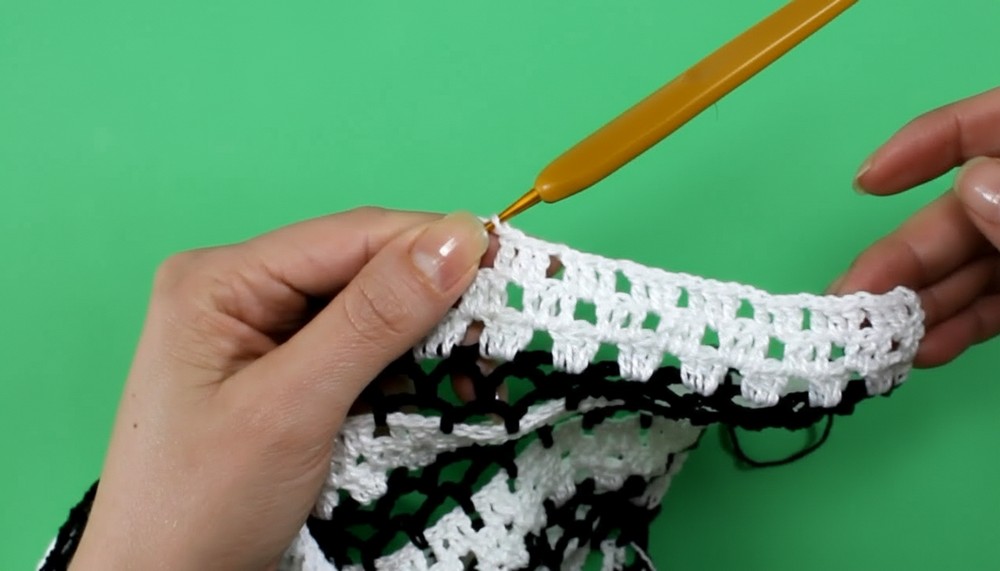
- Continue alternating rows, following the established stitch pattern for white rows at the shoulders, decreasing at the neck edge on each row as described:
- Finish off and set aside.
3. Work the Front Panel
- Repeat as for back until the 11th set of white stripes (solid stitch section), matching the back for size.
- Create a deeper neckline:
- When you reach rows to begin mesh stitch (in black), work mesh pattern over only 8 spaces instead of the full width.
- After 3 mesh rows, proceed with shoulder shaping, matching number of stitches/decreases to back shoulder.
4. Join Front and Back Panels
- Using the tapestry needle, sew shoulders together.
- Take care to align stripes and shape; always seam right sides facing out using only the outer loops of the stitches for a neat seam.
5. Neckline Finish
- Attach white yarn at a shoulder seam or back neck.
- Round 1: Ch 2 (counts as sc), ch 5, skip next section, sc in next space; repeat all around neckline.
- Join with a slip stitch to starting sc.
- Weave in all ends.
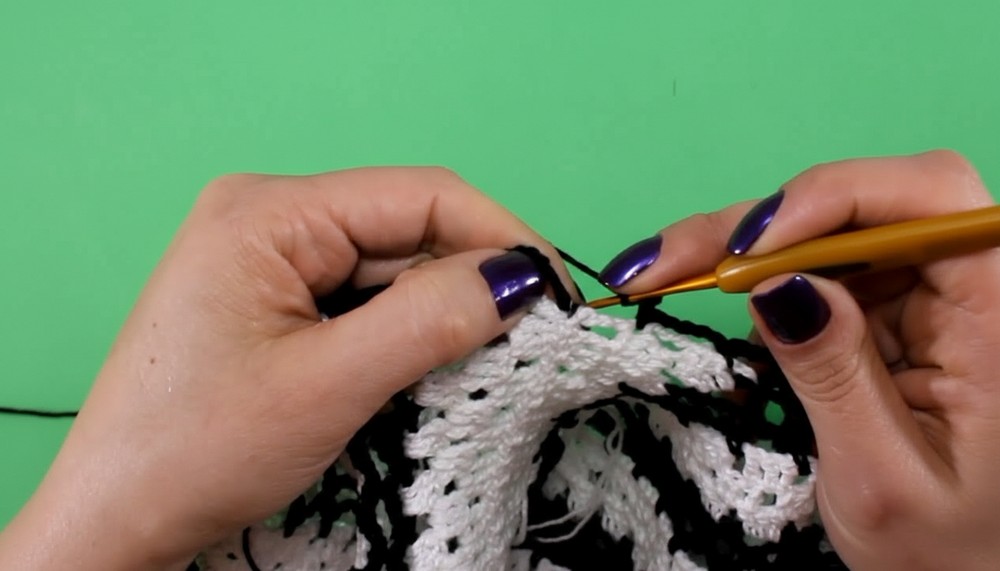
6. Side Seams
- Mark 20 cm down from the shoulder (or your preferred armhole size) with scrap yarn or stitch markers on both sides.
- With right sides together, seam sides from bottom up to marker using white yarn and tapestry needle, matching stitch pattern and color sections (white on white, black on black), and using special technique in black sections (as described).
7. Sleeve Openings
- Attach white yarn at underarm.
- Round 1: Ch 3, 3 dc in next group, ch 1, work 3 dc in each group or mesh space around the arm opening, mirroring body stitch pattern. Finish with 4 dc at end, close round, finish off.
- Attach black yarn, repeat mesh rows as on body (ch 5, sc in space); join and finish off.
8. Hem - Finishing Edge
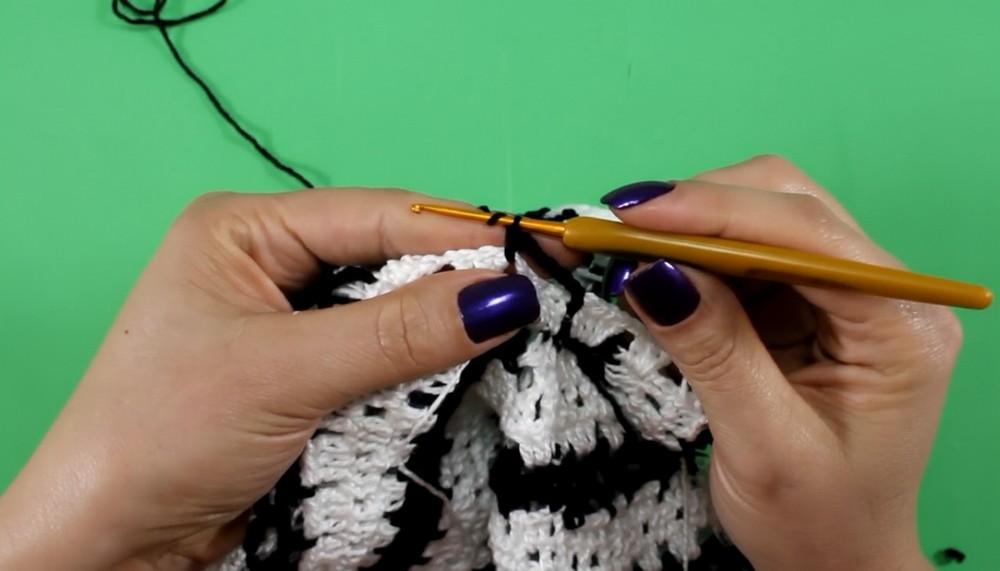
- Attach black yarn to bottom edge.
- Work mesh row as on sleeves and neckline: ch 5, sc in space, repeat around, join and finish off.
9. Final Finishing
- Turn blouse inside out and weave all color-change tails and seaming ends with a tapestry needle – always work black on black, white on white for invisible finishing.
- Turn right side out, trim any excess yarn ends.
- Block gently if needed.
Conclusion
Congratulations on crafting a stunning striped crochet blouse—a timeless, breezy addition to any wardrobe! This project gives you both classic style and hands-on experience in colorwork, shaping, and fine finishing, offering wardrobe versatility for seasons to come.
Tip
For invisible seams and professional finishing, painstakingly match colors and always use a tapestry needle to hide ends inside the seams and stitch structure!




Leave a Reply