
Snuggle up with this Free Crochet Granny Blanket Pattern that guides you to cozy, colorful squares perfect for warm and cheerful blankets.
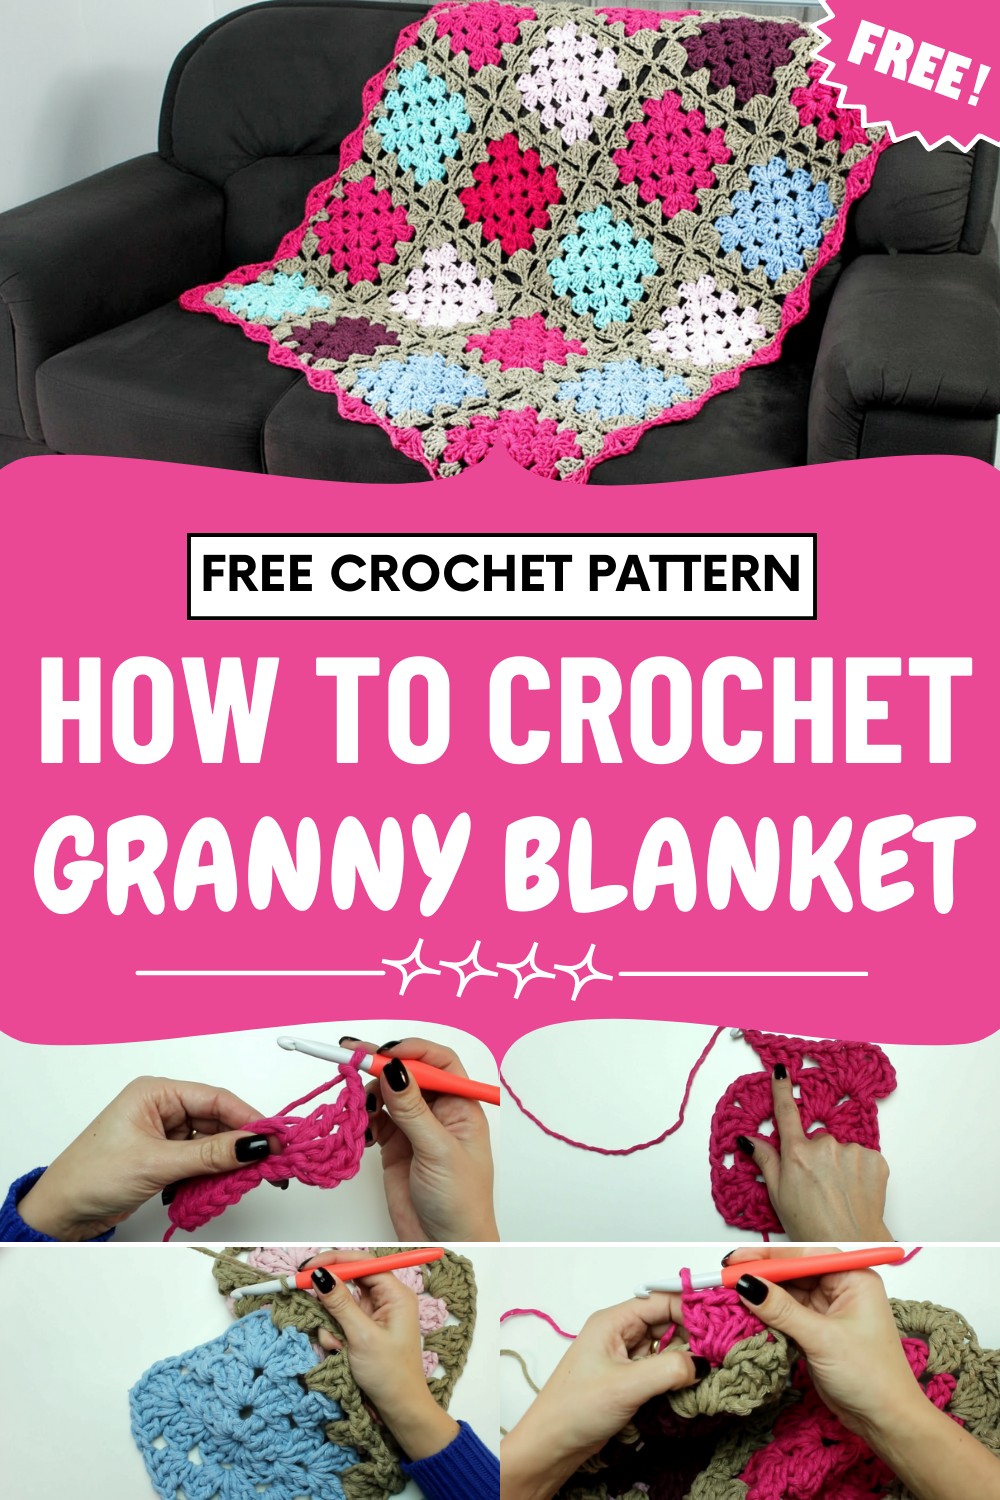
Perfect for personal use, gifting, or enhancing home décor, the design allows for endless color combinations to match seasonal trends, interior palettes, or individual style. Its modular format makes resizing simple, whether crocheting a small throw or a large statement piece, without disrupting the pattern’s harmony.
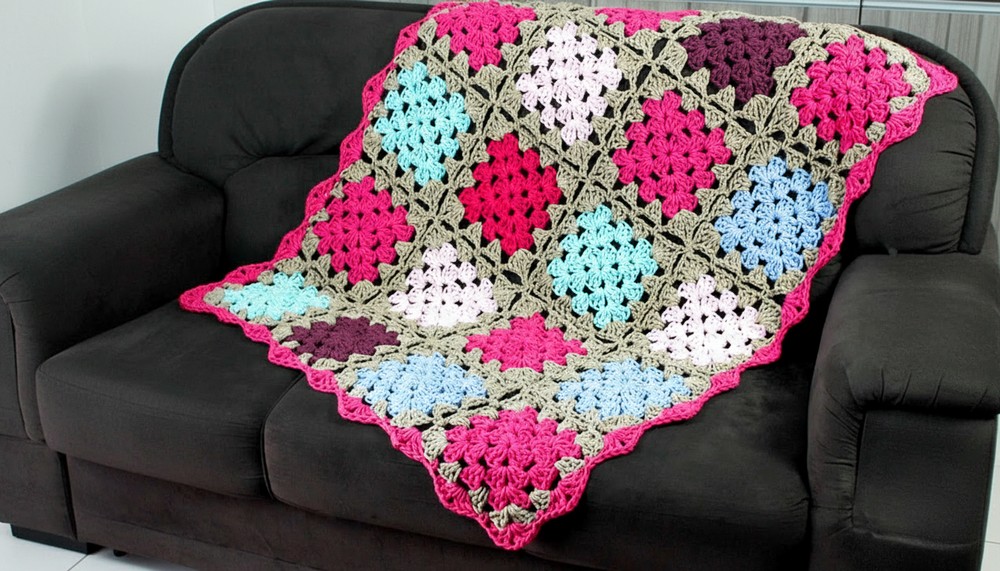
The Crochet Granny Blanket Pattern combines practicality with aesthetic appeal, offering a functional yet stylish addition to any home. Finished blankets provide warmth, refined handmade beauty, and versatility, enhancing both traditional and contemporary interiors with effortless charm and lasting appeal.
Special Features
- Great stash buster – uses yarn leftovers.
- Customizable size and color.
- Modular: Create as many or as few squares as desired.
- Continuous joining method for a neat look.
Difficulty
Easy. If you’re comfortable with chain, slip stitch, single crochet, and double or treble crochet (US terms), you can make this blanket.
Materials
- Thick leftover yarn (Euro Roma suggested; any thick cotton or acrylic yarn works)
- Colors used in video: baby blue (900), aquamarine (800), beige (1110), baby pink (510), burgundy (1050), pink (550)
- 9mm crochet hook (Clover Amour recommended)
- Tapestry needle for weaving in ends
- Scissors
Tutor's Suggestions & Uses
- Mix and match colors as your leftovers provide.
- Use a single color to join all motifs for a cohesive finish.
- Adjust yarn and hook size if using other weights, keeping the square size in mind.
- Works great as a couch blanket, armrest cover, or a small throw.
Step-By-Step Pattern
Make the Squares
- Foundation:
- Chain (ch) 6. Join with a slip stitch (sl st) to form a ring.
- Round 1:
- Ch 3 (counts as 1 dc), work 2 double crochet (dc) into ring.
- Ch 2, 3 dc into ring, repeat from * to * three more times (four corners).
- Ch 2, join with sl st to top of beginning ch-3.
- Round 2:
- Sl st over to corner space.
- Ch 3, 2 dc in corner, ch 2, 3 dc in same corner space.
- Ch 1, move to next corner, (3 dc, ch 2, 3 dc) in corner space, repeat around.
- Finish with ch 1, join with sl st to top of beginning ch-3.

- Round 3:
- Sl st over to corner space.
- Ch 3, 2 dc, ch 2, 3 dc in corner.
- Ch 1, 3 dc in side space, ch 1, (3 dc, ch 2, 3 dc) in next corner, repeat around.
- Continue pattern, join with sl st. Cut yarn, fasten off, and weave in ends.
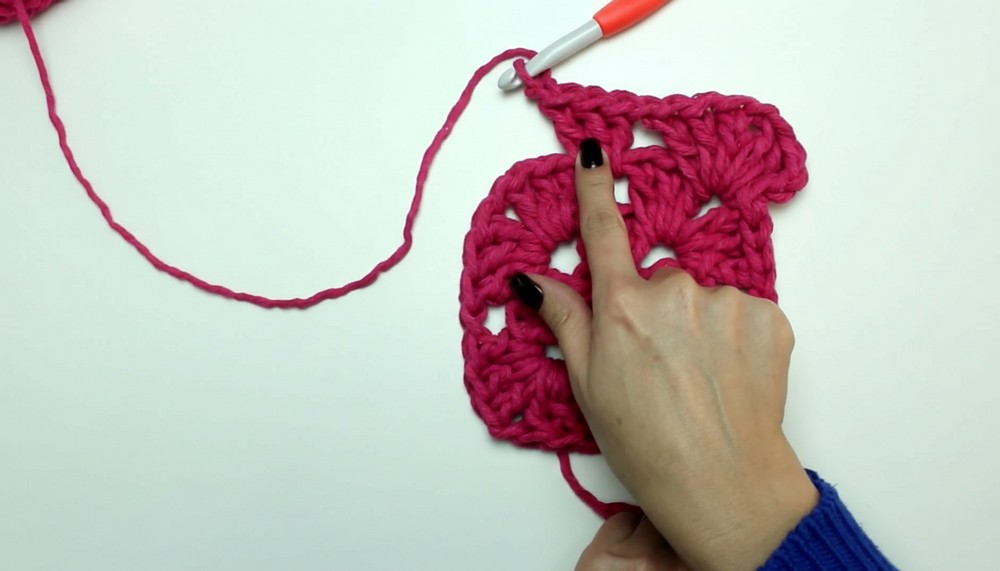
Each finished square should be about 19cm.
Join the Squares
- Layout:
- Arrange four squares (or desired number) in a square or rectangle.
- Joining Round:
- Use a single color for neatness.
- With right sides facing up, join yarn in any corner.
- Work a joining round for each square as follows:
- In corner: (3 dc, ch 2, 3 dc).
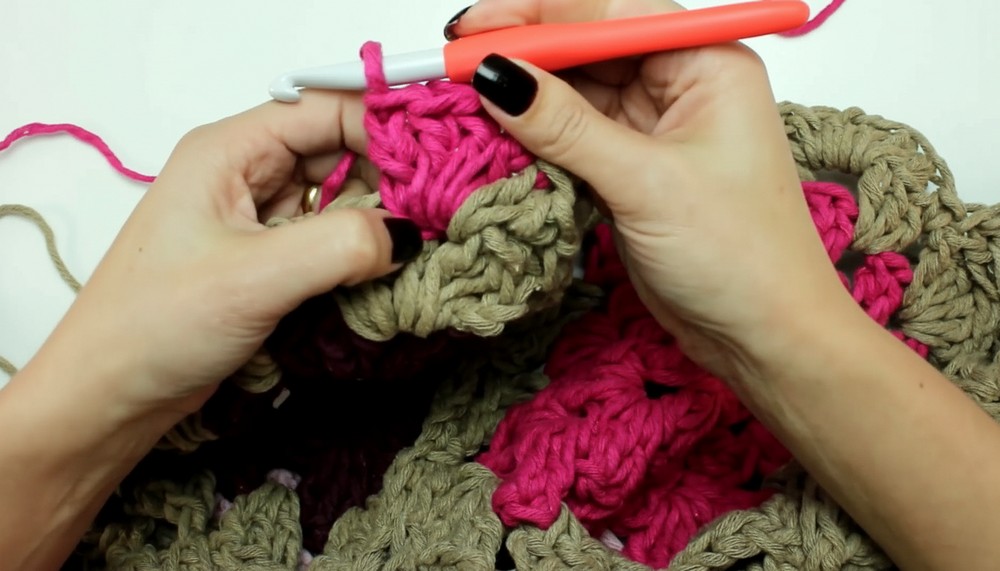
- For “joining” edge: Use single crochet (sc) and chain stitches to connect adjacent squares as you work the joining round. Insert hook into ch-sp of both motifs and sc together, then ch 1.
- Refer to video/timecode for step-by-step single crochet joins at corners and sides.
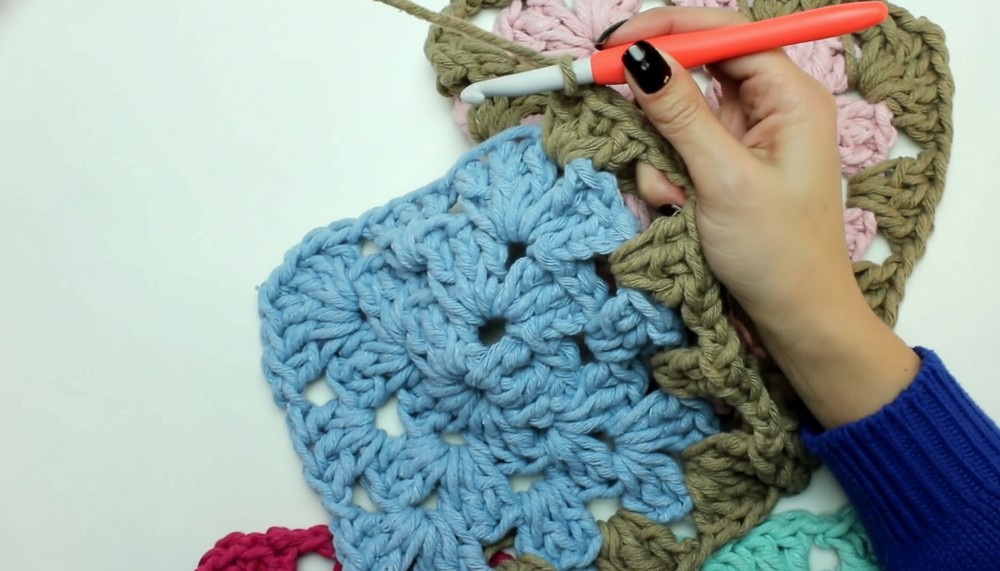
- Continue:
- Join additional squares row by row using this joining method.
Border
- At the blanket’s edges, add a border:
- Join any color in a corner.
- In each corner: (3 dc, ch 2, 3 dc).
- Along edges: (3 dc, ch 2, 3 dc) in spaces, sc in between.
- When changing color, close last stitch with new yarn for clean transitions.
- Weave in all ends securely, hiding them at the back.
Finishing Touches
- Use a tapestry needle to hide all yarn ends securely.
- For extra hold, a dab of hot glue or fabric glue on the back after weaving in can prevent unraveling.
Conclusion
You turn leftover yarn into a practical and beautiful accent perfect for your home. This easy blanket adds style to sofas, armchairs, or even beds.
Bonus Crochet Tip
Join all squares with the same color for a seamless, elegant look. Plan your layout before joining to balance colors and patterns.




Leave a Reply