Embrace cozy style with this Crochet Checkered Sweater Pattern perfect for stylish layers, playful outfits, and comfortable everyday looks.
Elegant Crochet Checkered Sweater Pattern for Cozy Chic Style

Working through this design helps improve shaping, stitch consistency, and finishing techniques, making the process engaging and rewarding. Soft yet resilient yarn ensures comfort against the skin while maintaining the garment’s shape over time. The timeless checkered motif adds visual interest and personality, transforming a simple sweater into a stylish statement piece.
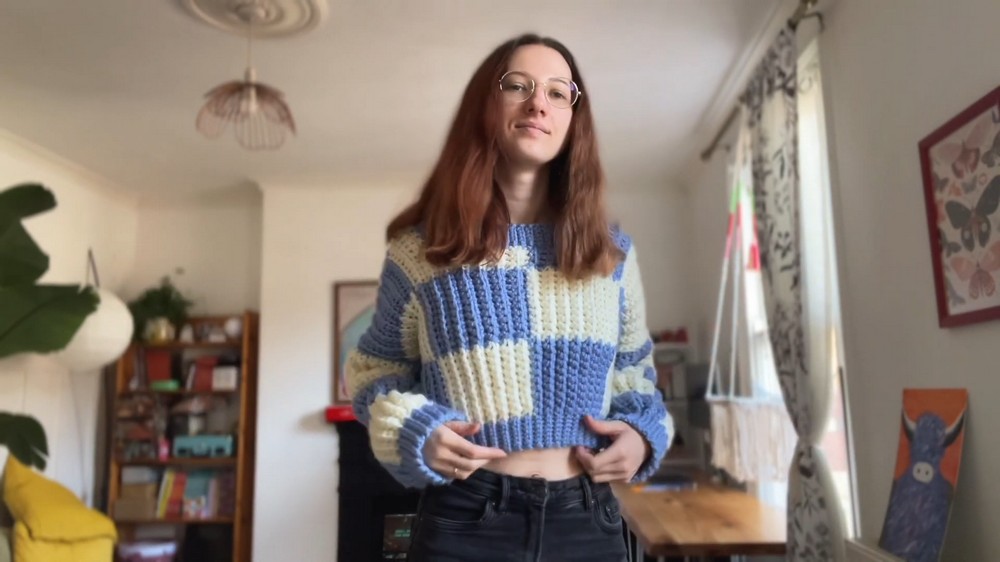
Finished pieces drape beautifully and pair effortlessly with jeans, skirts, or layered outfits, offering both functionality and elegance. This design turns ordinary yarn into a wearable piece of artistry that combines creativity, practicality, and contemporary charm seamlessly.
Special Features
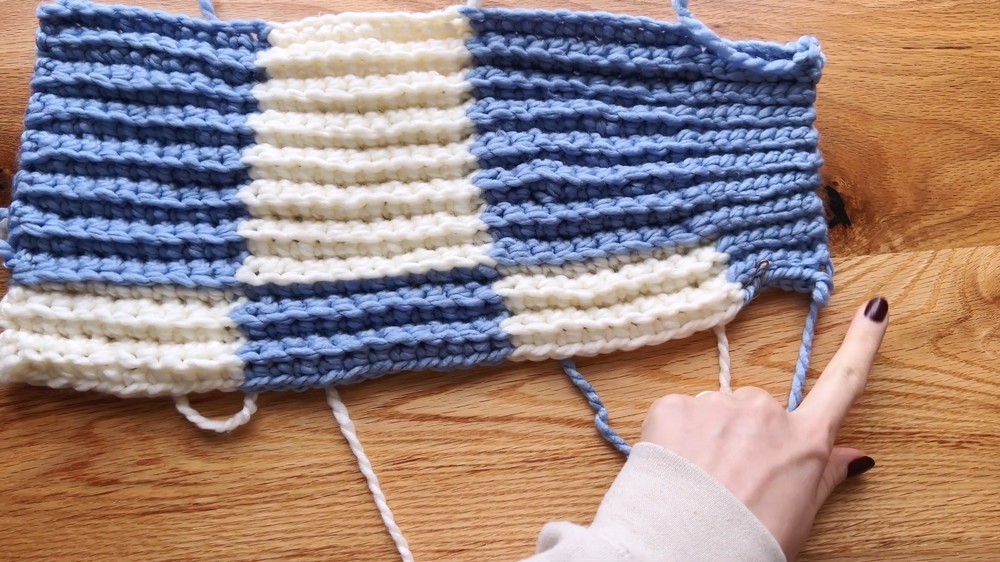
- Bold checkerboard look with alternating color squares
- Ribbing and main body are crocheted together for an integrated finish
- Simple neckline shaping for a custom fit
- Minimal sewing required; most construction done with basic stitches
Difficulty Level
This is a confident beginner or easy project. Single crochet, slip stitch, color changes, basic increases and decreases are the main techniques.
Materials
- Chunky weight yarn in two colors (Blue and White suggested; 3–4 balls each)
- Crochet hook, size to match yarn (typically 6–8mm)
- Stitch markers
- Tapestry needle
- Scissors
Tutor’s Suggestions
- Pull all color changes and loose ends to one side for a clean front
- Use a second ball of your color for large sections to cut down on weaving in ends
- Mark the first row of each color block for easier counting
- Customize length and width with extra squares as needed
Uses
This sweater is perfect for everyday wear, layering in cold weather or as a standout handmade gift.
Step-by-Step Pattern
1. Sweater Front Panel
Foundation Chain
- Make a slip knot with Blue. Chain 7 for ribbing; place a marker in the 7th chain.
- Chain 11 more in Blue for the body.
- Switch to White, chain 11.
- Switch back to Blue (using a second ball), chain 11.
- Chain one additional stitch (total chain: 41).

Row 1 (Setup Row)
- Turn, skip first chain. Work single crochet (SC) in each chain across: 11 Blue, 11 White, 11 Blue.
- Change color on last pull through of each section (start SC in Blue, finish with White, etc.).
- In ribbing (7 stitches), work slip stitch (SS).
- Move stitch marker up to keep track of ribbing location.
Row 2 and Beyond (Checker Pattern)
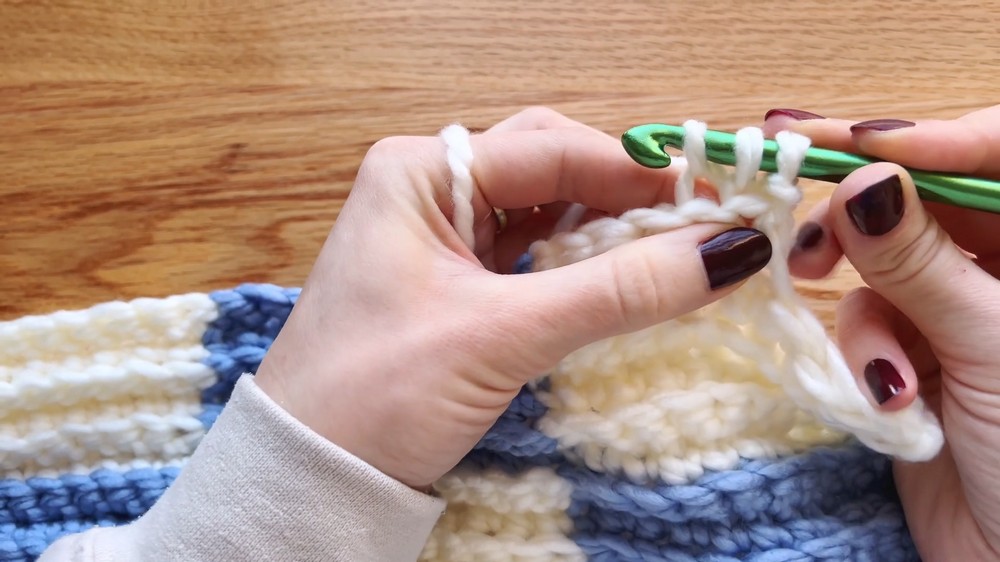
- Chain 1, turn. Work all stitches in the back loop only (BLO).
- For ribbing: SS in BLO, move marker on first stitch.
For main sweater: SC in BLO, carefully change colors as you reach the last stitch of each colored block. - Continue until you complete 15 rows of this block order (Blue ribbing, Blue, White, Blue squares).
Alternating Color Blocks
- After 15 rows, switch color sequence to White-Blue-White above Blue ribbing.
- Repeat checker pattern for 5 rows.
- Mark start of each section for easier counting.
- Continue with checker blocks, keeping all color changes and yarn tails at one side.
2. Neckline Shaping (Front Panel)
Start after the 5-row section
- In next row, leave last 4 stitches unworked.
- Chain 1, turn. Make a decrease at each end with single crochet two together (SC2TOG).
- Continue working SC in BLO.
- Repeat decreases at each end until this block section is 15 rows tall.
3. Shoulder & Neck Slope
- After shaping neckline, switch color blocks again (Blue ribbing, Blue, White, Blue).
- Work 6 rows flat in this sequence; then start increases.
- At each end, make two single crochets in the last stitch (increase).
- Chain 5 at one shoulder end to even up the side. SC BLO back across.
- Complete 10 rows, then switch color for one last block. Work 15 rows as before.

4. Back Panel
- Follow all steps as with the front, but skip neckline shaping. Make a plain rectangle.
5. Sleeves
- Set up ribbing as for body (7 chains).
- Work checker blocks: two full squares plus 6 rows for a third square (to avoid extra-wide sleeves).
- Adjust sleeve width and length as desired.
6. Assembly
Sewing
- Place wrong sides out.
- Sew shoulders using a tapestry needle and yarn.
- Attach sleeves at midpoint of shoulder; count rows to center sleeve.
- Sew sleeve and side seams using an invisible stitch, matching rows and stitches as you go.
7. Neckline Ribbing
- Attach yarn at neckline edge.
- Chain 6, turn. Work slip stitch BLO back to neckline.
- Attach ribbing by slip stitch to the body at each row end.
- Continue all around the neckline. Sew ribbing ends together.
8. Finishing Steps
- Weave in all loose ends for a tidy look.
Conclusion
Enjoy your stylish, chunky checker sweater! The easy colorwork and ribbing make this project both fun and practical. Its soft, warm finish is perfect for everyday wear or gifting.
Tip
Count your rows as you go and mark your color changes. This helps avoid mistakes and keeps your checker sections even.


Leave a Reply