
Want to Learn? Christmas Star Crochet Pattern for quick Holiday Decor
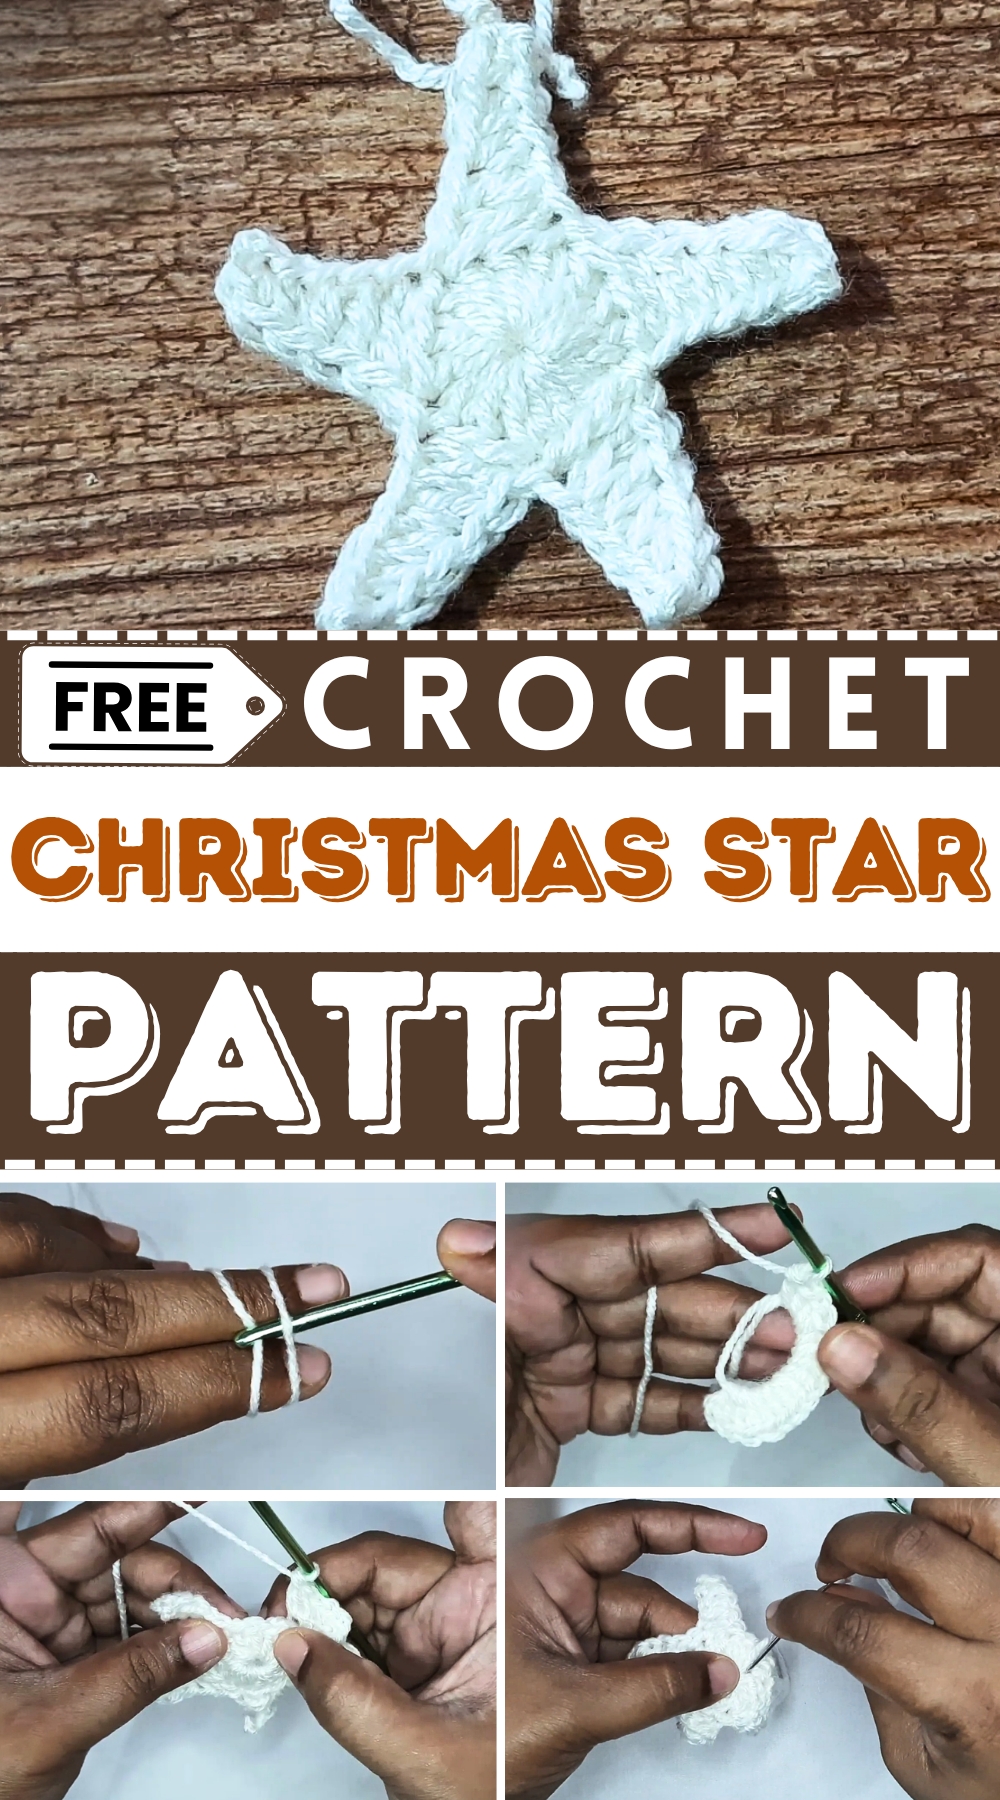
One of the biggest advantages of this pattern is its simplicity, making it ideal for beginners and those looking for a quick result. It’s a great way to use up leftover yarn or experiment with textures and color combinations.
Whether you want a subtle design or a sparkling starry centerpiece, it’s all possible with just a few easy stitches and a little creativity. Bring warmth and personality to your holiday celebrations while enjoying the satisfying process of making something with your own hands.
Materials Required
- Yarn: White yarn is used, but you can use any color or weight depending on your preferences. Chenille or cotton is a great option for a firm finish.
- Hook: A 4mm crochet hook. Other hook sizes can be used to match your yarn thickness.
- Optional Decorations: Tiny seed beads attached with fabric glue for added sparkle.
- Needle: For weaving in the tails.
- Scissors: To trim the yarn.
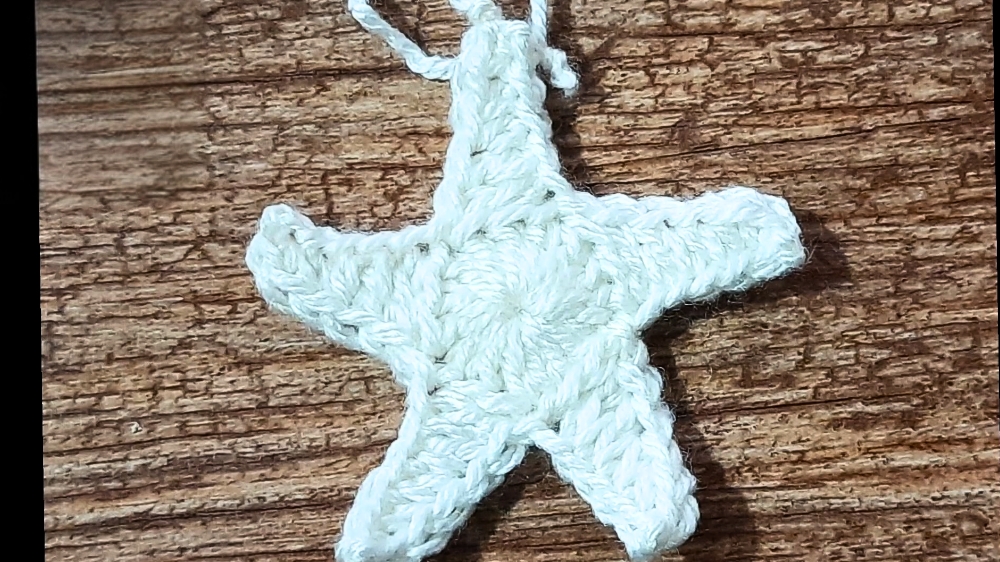
Special Features
- Customizable Size: Using thicker yarn creates a larger star, allowing you to make stars in various sizes to suit different decorations.
- Optional Beads: You can attach colorful seed beads for added flair using fabric glue, or keep it simple without decorations.
- Multi-use Design: Perfect for Christmas tree ornaments, gift tags, festive garlands, or even jewelry such as earrings.
- Modern, Minimal Design: Clean and crisp star appearance with five symmetrical points.
Level of Difficulty
This project is beginner-friendly, requiring just a few basic stitches—including chains, single crochet, double crochet, and slip stitches. It’s an excellent choice for anyone who’s new to crochet or wants a quick and satisfying project.
Tutor's Suggestions
- Use fabric glue when attaching beads for a secure and neat finish.
- To achieve a firm star shape, weave and cinch the tails tightly and press the star before using.
- Avoid counting the initial chains as stitches during the double crochet process to maintain the correct stitch count.
- You can hang the star by adding a yarn loop on the top. This loop can also double as a decorative accent or be used to create jewelry.
Step-by-Step Instructions
1. Start with a Magic Circle
- Wrap the yarn around your two fingers and loop it to form an adjustable ring.
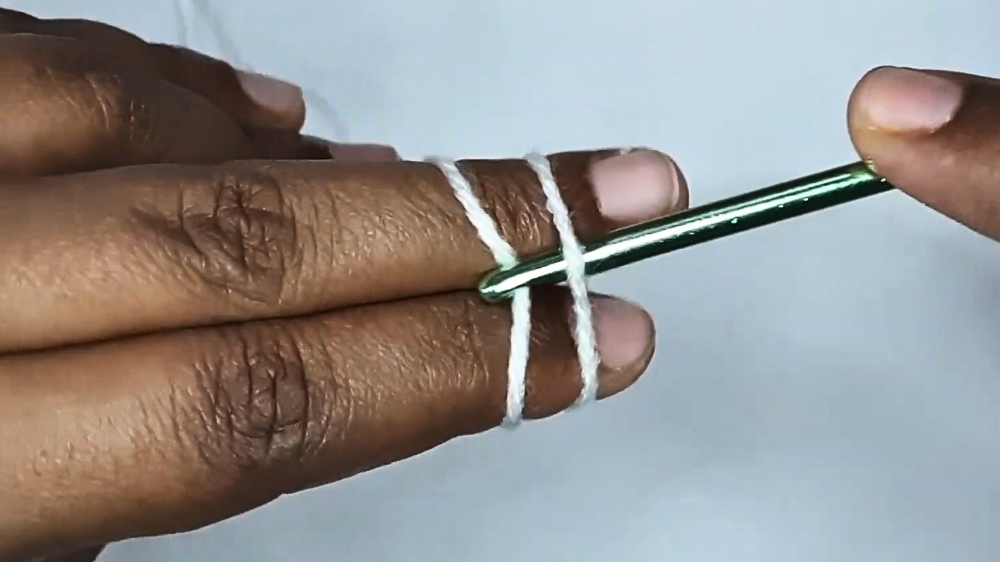
- Grab the yarn through the ring, pull out a loop, and make a chain stitch to secure the circle.
2. Create Double Crochets
- Make 15 double crochets into the magic circle. The first two chains do not count as a stitch. After completing, pull the tail tightly to close the circle.
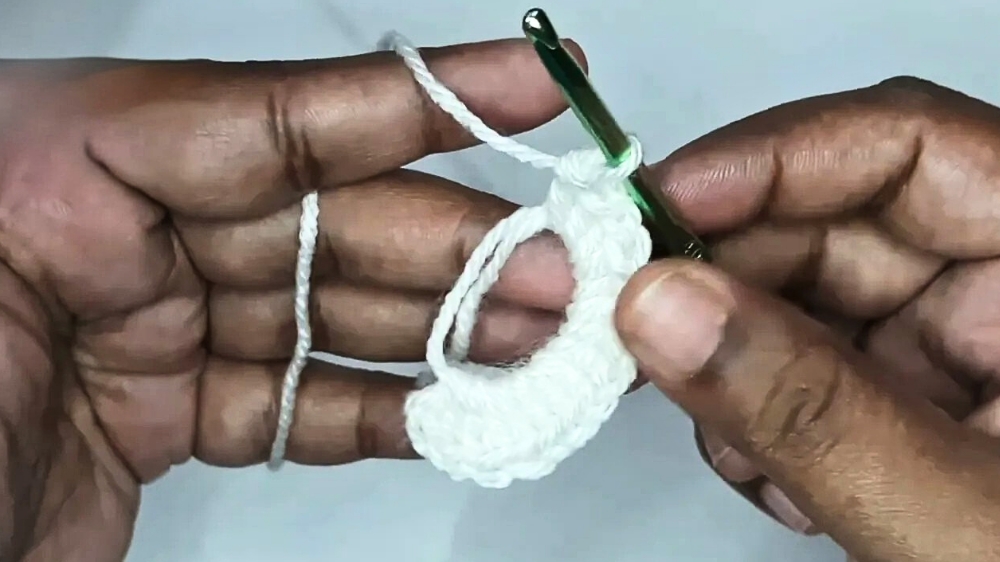
- Slip stitch into the first double crochet stitch to join your work.
3. Forming the First Star Point
- Chain six right after the slip stitch.
- Turn the chain, but don’t turn the entire work. Work into the back loop of the chain. Skip the first chain and make:
-
- 1 single crochet into the second chain from the hook.
- 1 half double crochet into the next chain. Repeat for another.
- 2 double crochets, one in each of the last two chains.
-
- Skip the next two stitches from the base row and slip stitch into the third stitch to finish the first point.
4. Repeat for the Remaining Points
- Start the next points the same way: Chain six, work into the second chain, and continue with the same stitch pattern (single crochet, two half double crochets, and two double crochets).
- Always skip two stitches and slip stitch into the third stitch on the base row to attach the points.
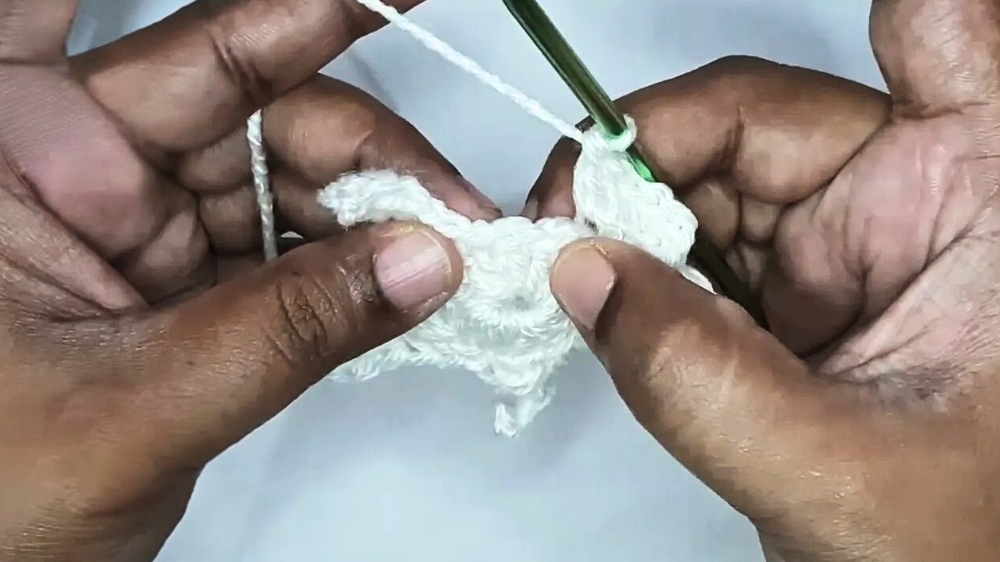
- Repeat this process until all five points of the star are complete.
5. Join the Star’s Points
- Once the last point is completed, slip stitch back into the initial starting stitch and chain one.
- Pull up the loop slightly, snip the yarn, and fasten it securely.
6. Finish by Weaving Ends
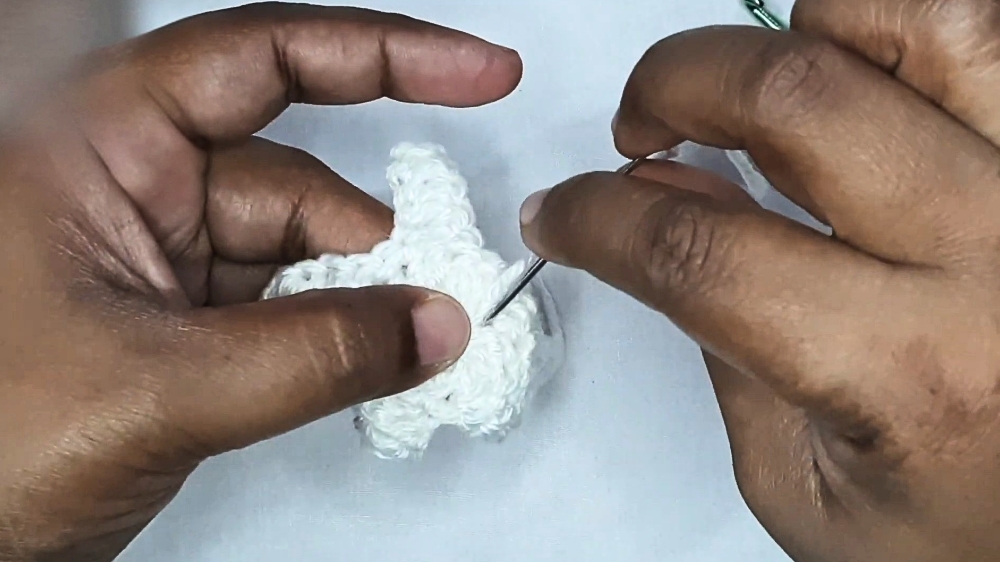
Weave in both yarn tails at the back of the star using a needle. Tighten the center circle tail for a neat finish.
7. Create a Hanging Loop
- Cut a small piece of yarn (approximately 12 inches or desired length).
- Thread the yarn through the top of one star point, tie a knot, and fasten it securely to create your hanging loop.
Conclusion
You’ve now completed a simple yet beautiful Christmas star perfect for holiday decorating. With a firm structure that keeps its shape after pressing, it’s sure to add a festive touch to your Christmas tree, gifts, or even your wardrobe.
Bonus Tip
For added charm, experiment with different yarn textures like glitter yarn or multicolored threads. You can also use fabric glue to fix tiny seed beads to the surface for a festive effect.




Leave a Reply