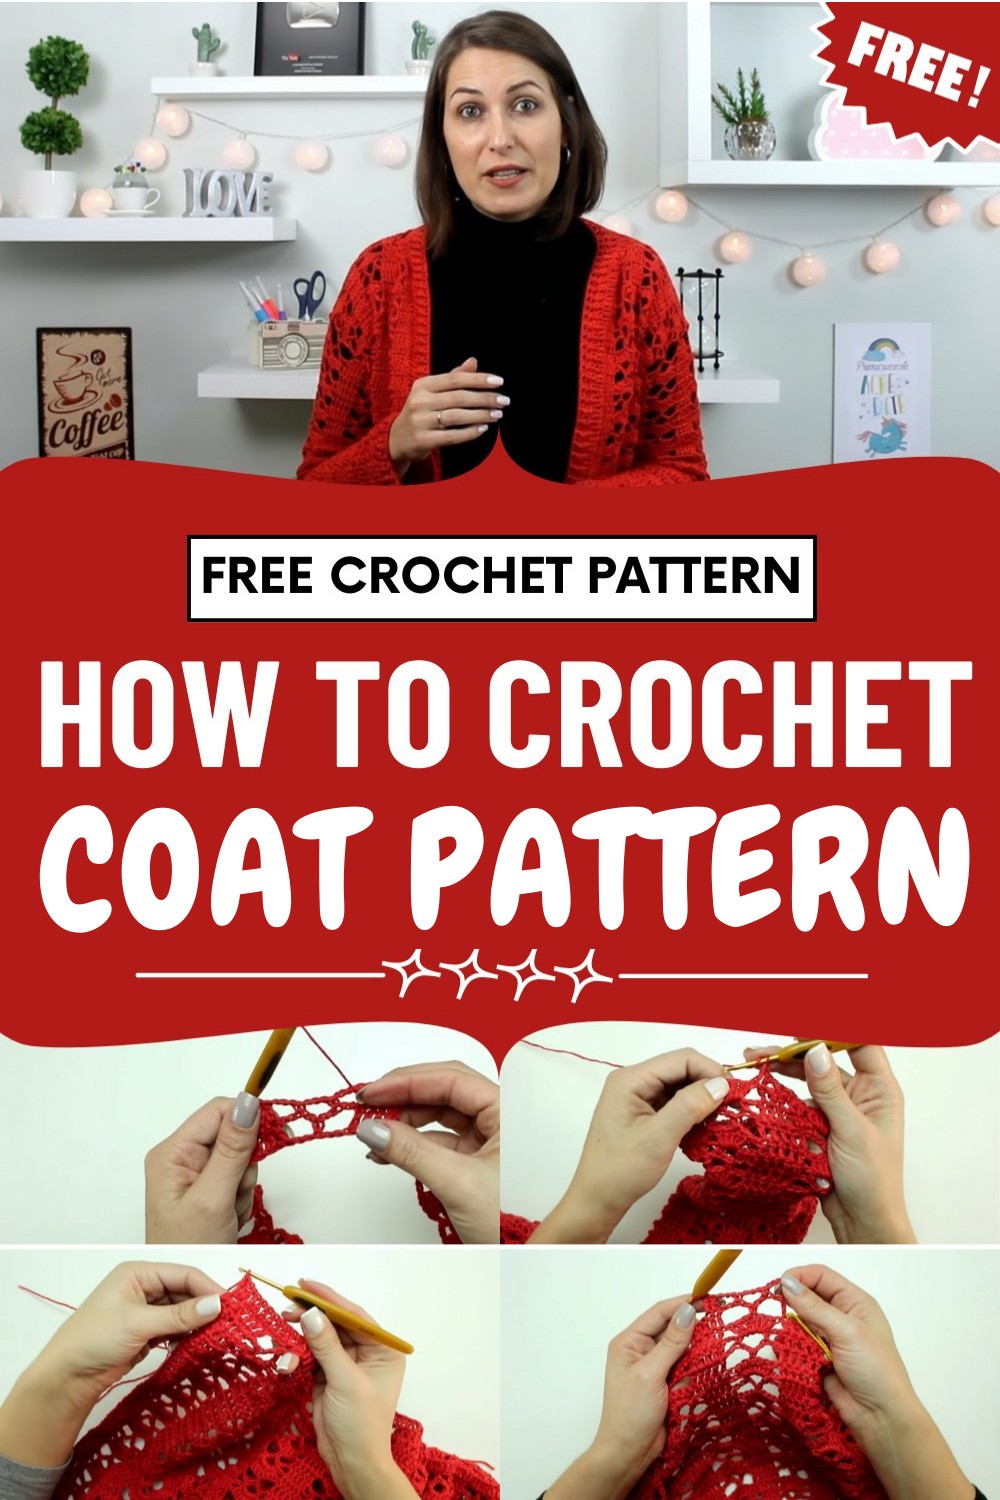
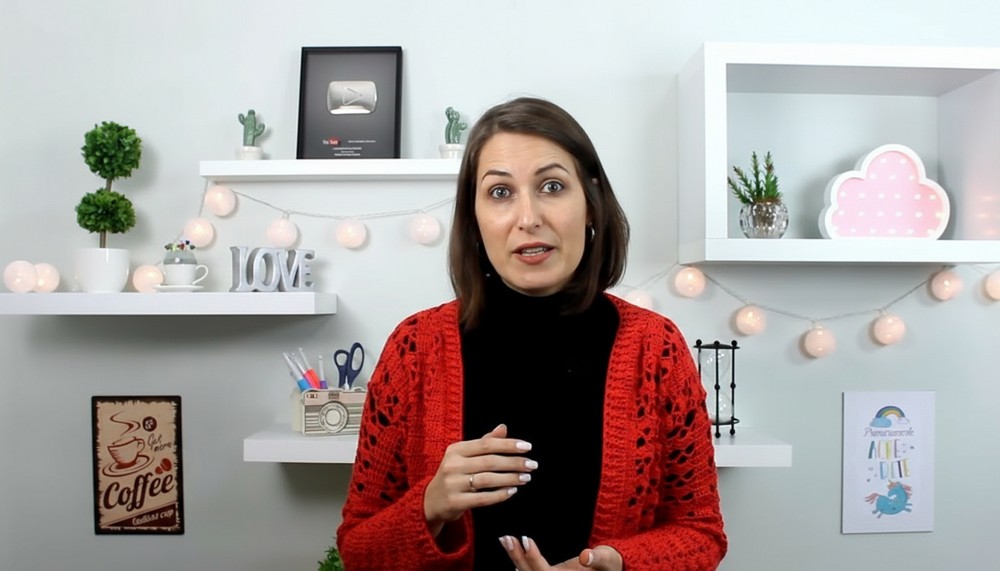
Stay warm and stylish with this Free Crochet Coat Pattern that's an ideal option for easy layering and refreshing your look on chilly days.
Bringing both style and comfort to your wardrobe, this project is perfect for different seasons and occasions. You can wear it over casual clothes for extra warmth or pair it with your favorite outfits to make them really stand out. One of the best things about a crochet coat pattern is how easy it is to adjust—which means you can change the size or color to match your personal taste and needs.
Sleek Crochet Coat Pattern Perfect Your Minimalist Layered Look
The process of making your own coat is rewarding, and the finished item is both practical and attractive. By using a crochet coat pattern, you also choose a handmade and eco-friendly way to refresh your clothing instead of buying from stores.
Every stitch adds a special touch, showing your creativity and care. Whether you want to give a unique gift to someone or make something special for yourself, a crochet coat pattern helps you create a cozy, stylish, and timeless piece.
Special Features
- Seamless construction: Entire body is crocheted in rows, with minimal sewing only at shoulders.
- Adaptable sizing: Custom chain counts based on body measurements, guided by multiples of 10 + 7.
- Versatile yarn options: Use cotton for breathability or acrylic for cozy warmth.
- Elegant texture: Features a classic fancy stitch pattern (groups of double crochets and chain spaces).
- Great for beginners and confident beginners: Clear repetition, simple shaping, and easy finishing.
Tutor's Suggestions
- Adjust chain count to your bust measurement; always use multiples of 10 plus 7.
- If your tension is tight, use a larger hook for your foundation chain so the base is not narrower than your fabric.
- For longer coats, increase length before splitting for front/back.
- Use stitch markers for easy division and precise shaping.
Uses
- Lightweight layering piece for spring or autumn
- Cozy winter jacket (when made with acrylic yarn)
- Stylish handmade gift
- Practical wardrobe staple
Materials
- Yarn: Charme 100% cotton, color 3581 (Red), 3 skeins (M / P), 4–5 skeins (G), 396m per skein
- Crochet Hook: 3 mm (use 3.5 mm for foundation chain if needed)
- Tapestry Needle: For sewing and weaving in ends
- Measuring Tape: For sizing
- Scissors
Step-by-Step Pattern
Step 1: Foundation Chain and Sizing
- Measure bust (e.g., 92 cm for size M).
- Make a foundation chain in multiples of 10 + 7 until it reaches the bust width. Example: 147 chains for 92 cm.
- If needed, adjust by adding or removing chains to maintain the multiple (e.g., 147, 157).
Step 2: Fancy Stitch Pattern (Repeat for Length)
Row 1:
- Skip first 3 chains. Work 1 dc in next chain, and 1 dc in each of next 3 chains (total 5 dc).
- Chain 5, skip 2 chains, sc in next chain.
- Chain 5, skip 2, 5 dc in next 5 chains, chain 5, skip 2, sc in next chain.
- Repeat the sequence to end. Finish with 5 dc.
Row 2:
- Turn, chain 3. Dc in next 4 sts (total 5 dc).
- In chain-5 space: chain 3, sc in third chain of the space.
- Repeat for each chain-5 space. After completing 3 chain spaces, repeat 5 dc group.
- Continue to end. Finish with 5 dc.

Row 3:
- Turn, chain 3. Dc in next 4 stitches (total 5 dc).
- Skip chain space, work 7 dc in next space.
- Continue pattern: 5 dc, skip space, 7 dc in next space; repeat to end.
Continue repeating Rows 1–3 for pattern.
Step 3: Body Length
- Work pattern repeat until the body reaches 35 cm from hem to underarm.
Step 4: Divide for Back & Fronts
- Measure back width (e.g., 48 cm).
- Deduct back width and 6 cm for armholes (3 cm per side) from total bust width.
- Split remaining stitches evenly for left and right front.
- Mark stitches for back and fronts.

Step 5: Back Section
- Continue pattern in straight rows over back stitches for 19 cm (armhole depth).
Step 6: Front Sections
- Work each front separately for 10 cm straight in pattern.
- Begin neckline shaping with decreases (see next step).
Step 7: Neckline Shaping (Each Front)
Decrease rows:
- Work decreases (dc2tog) at neckline edge, as directed in transcript.
- First decrease: Work 3 chains, dc2tog over next 2 stitches.
- Work remaining stitch groups as usual.
- Continue decreases as directed, until you have the same number of rows as back (16 rows).
- Mirror the process for the second front.
Step 8: Shoulder Seaming
- Align fronts and back so right sides face each other.
- Use tapestry needle and yarn to sew shoulder seams using chain stitches, alternating top and bottom layer (as per transcript).
Step 9: Sleeves
- Attach yarn at marked armhole.
- Work in pattern (groups of 5 dc, chain spaces, sc) in the round or back-and-forth, skipping 2–3 spaces as indicated (for looser sleeves, skip 2).
- Work for 18 rows, then start decreases for sleeve shaping:
- Change chain spaces from 5 to 3, then to 2 chains; change 7 dc groups to 5 dc as directed.
- Work a total of 45 rows (counting pattern rows and decreases).
- Work finishing row in bar stitch (front/back post double crochet alternating).

Step 10: Finishing Edges
- Work double crochet rows and bar stitch rows in front, bottom edge, and sleeve edges.
- Add extra dc in corners and sides as needed.
- Finish with bar stitch rounds for professional edge.
Step 11: Weaving in Ends
- Use tapestry needle to securely hide all yarn tails inside the fabric.
- Make finishing stitches to lock in the yarn.

Conclusion
You have now completed your seamless crochet coat! This garment combines comfort, warmth, and a classic texture. Enjoy your handmade piece, and share your finished coat with fellow crocheters or on social media for inspiration.
Pro Tip
Use stitch markers for every major division and decrease. If your starting chain is too tight, use a larger hook for chains and then switch to your project hook for the body. This prevents puckering.


Leave a Reply