
Lift room appeal with this Free Crochet Lilac Rug Pattern bringing soft tones, cozy texture, and soothing charm to everyday home corners.
Softness and sophistication come together in this subtle yet captivating floor accent. The crochet lilac rug pattern introduces gentle hues and delicate texture, perfectly suited for freshening up living rooms, bedrooms, or nursery spaces. Present decor trends celebrate pastel shades for their calming effect and graceful versatility, and this lilac design stands out as both modern and timeless.
Soothing Crochet Lilac Rug Pattern Made for Tranquil Spaces
The opportunity to personalize dimensions ensures a perfect fit for any area, while the sturdy construction lends durability for everyday use. Additionally, the inviting plushness offers comfort underfoot, ideal for play areas, reading nooks, or as a striking touch beside the bed.
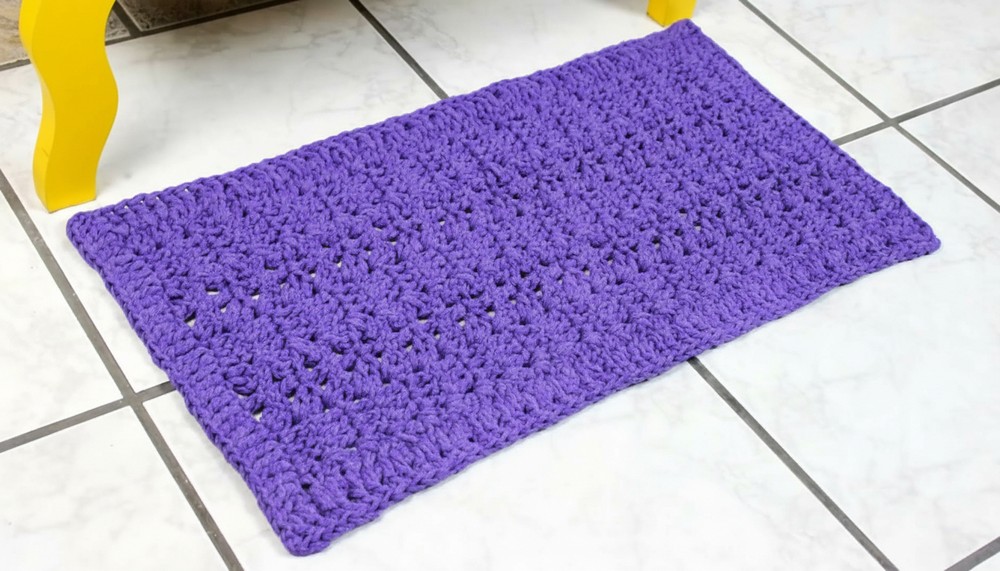
Lilac’s serene undertone harmonizes with a wide range of color palettes, complementing minimalist, modern, or even whimsical interiors. The overall effect is elegant and inviting, making it an effortless way to infuse charm and tranquility into the home environment.
Project Details
-
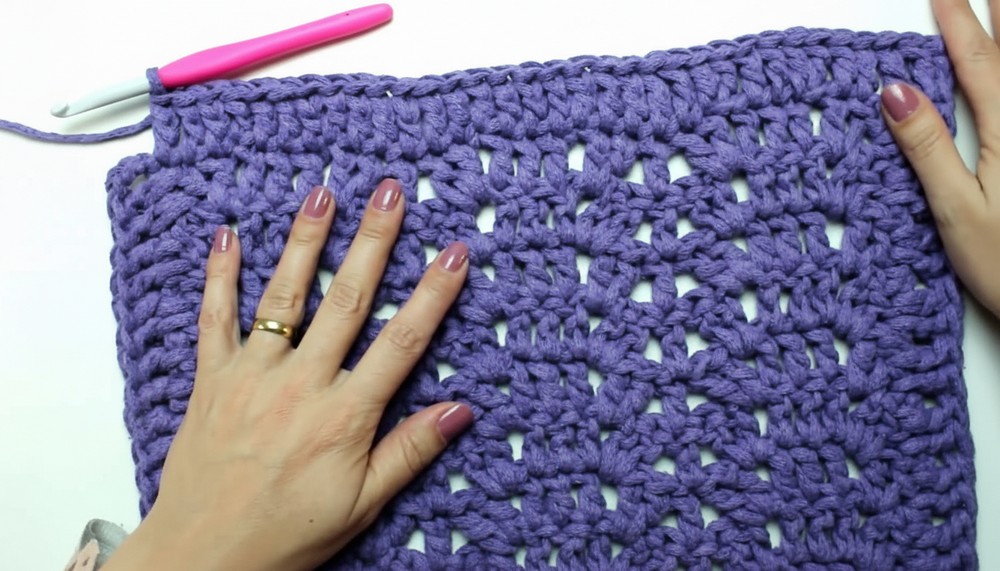
Special Features: The rug utilizes a specialized "Fantasy Point" that repeats in multiples of 10 plus 3, allowing for easy size customization. It features a solid double-crochet border for a clean, professional finish and uses thick knit strips for a sturdy, cushioned feel.
-
Level of Difficulty: Beginner. The project focuses on double crochet clusters and chain spaces, with simple row-by-row repetition.
-
Tutor's Suggestions: Work based on measurements rather than just stitch counts. If you use thinner yarn (like size 6 or 8 string), 33 chains will result in a very small piece; always aim for approximately 38 cm in width for a standard rug.
-
Uses: Ideal as a high-traffic floor mat for bathrooms, kitchens, or as a decorative accent in a bedroom.
-
Materials: * 700g of Fial knit strips (Color 85 Lilac).
-
8mm crochet hook (larger than the recommended 7mm for a softer drape).
-
Tapestry needle and scissors.
-
Pattern Details
Phase 1: Foundation and Initial Row
-
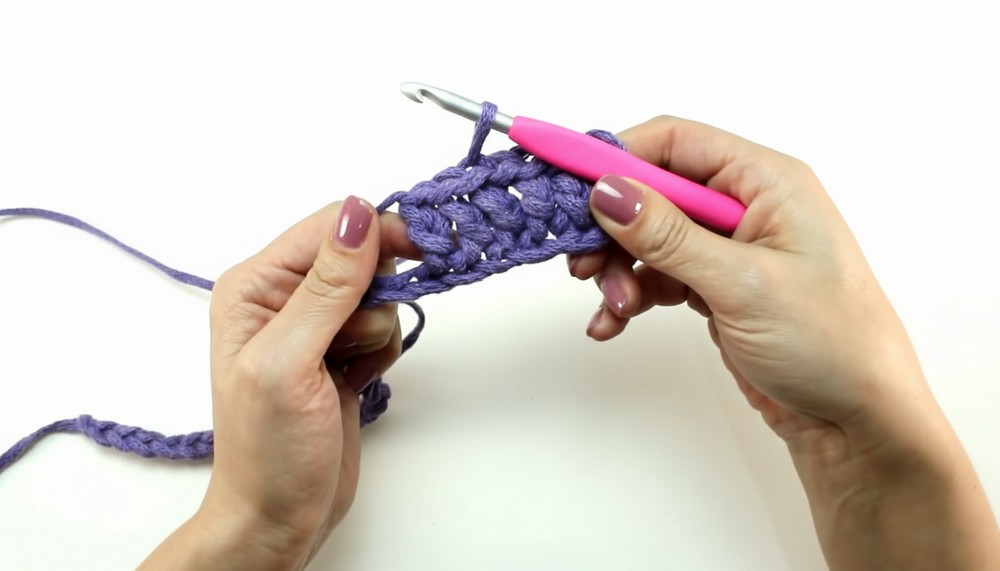
Start: Create an initial loop and chain 33 stitches (approx. 38 cm).
-
Setup: Skip the first 5 chains (3 for a double crochet and 2 for space).
-
Stitch Sequence: In the 6th chain, work 2 double crochets.
-
Main Pattern: Chain 1, skip 1, work 1 double crochet in each of the next 3 stitches. Chain 1, skip 1, work 2 double crochets in the next stitch.
-
End of Row: Repeat the sequence and end with 1 double crochet in the very last chain.
2: Building the Body
-
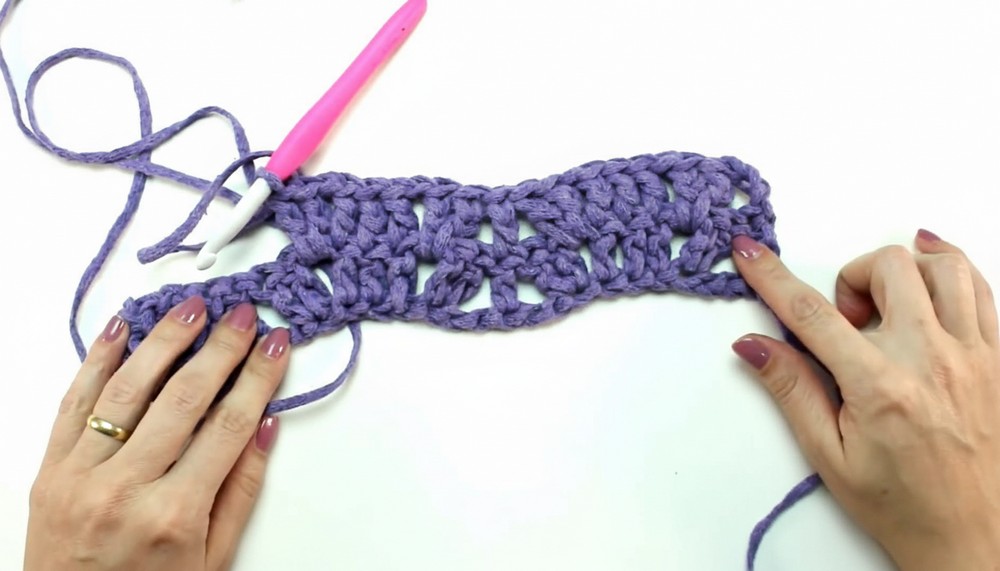
Row 2: Chain 3 to climb and turn. Work 2 double crochets into the first chain space.
-
Interlocking Pattern: Repeat the established sequence from Row 1, ensuring the clusters of 2 double crochets are worked into the chain spaces created in the previous row.
-
Consistency: Maintain the high-point over high-point alignment to ensure the design remains symmetrical.
-
Growth: Continue repeating this sequence until the rug reaches a total length of 60 cm.
3: Border and Finishing
-
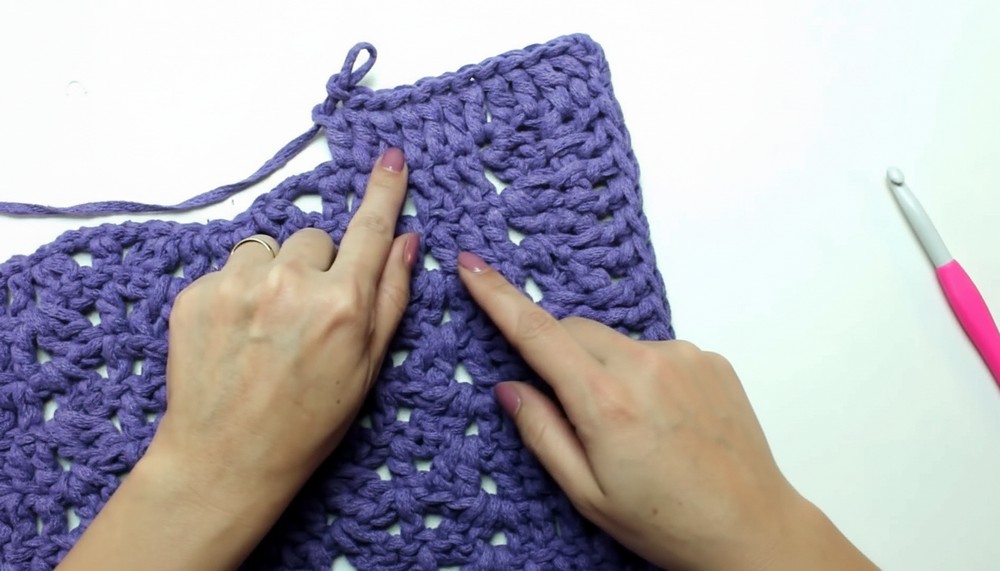
Frame the Work: Work a border of solid double crochets around all four sides of the rug.
-
No-Hole Technique: To prevent gaps at the edges, pick up the "foot" or handle of the stitches from the row below when working the side border.
-
Corners: Work 3 double crochets into each corner chain to allow the border to turn smoothly without curling.
-
Final Join: Use a tapestry needle to weave the thick knit strip tail behind the previous stitches on the "wrong" side for an invisible finish.
Conclusion
Finishing your lilac fantasy rug provides you with a robust, handmade home essential that showcases your technical consistency. By mastering the rhythmic clusters and the gap-free border technique, you’ve created a piece that is as practical as it is stylish. Once you weave in the final threads and give the rug a gentle stretch to settle the stitches, your new creation is ready to use.
Pro Tip: When working with thick knit strips, the fabric can sometimes appear slightly "sideways" or distorted while you are crocheting. Once you finish, lay the rug flat and manually "tug" and adjust the edges to settle the tension and lock the rectangular shape into place.




Leave a Reply