
Grab your hook and make With this Free Crochet Flower Headband Pattern that's adds a bright and unique, blooming touch to any outfit.
Delicate blooms bring a soft and charming touch to hairstyles, effortlessly turning everyday looks into something special. Lightweight and comfortable, it rests gently while keeping hair neatly in place, making it suitable for casual outings, festive events, or photo-ready moments. The Crochet Flower Headband Pattern adds intricate floral details that give texture, depth, and a refined, eye-catching appearance.
Lovely Crochet Flower Headband Pattern For Everyday Wear
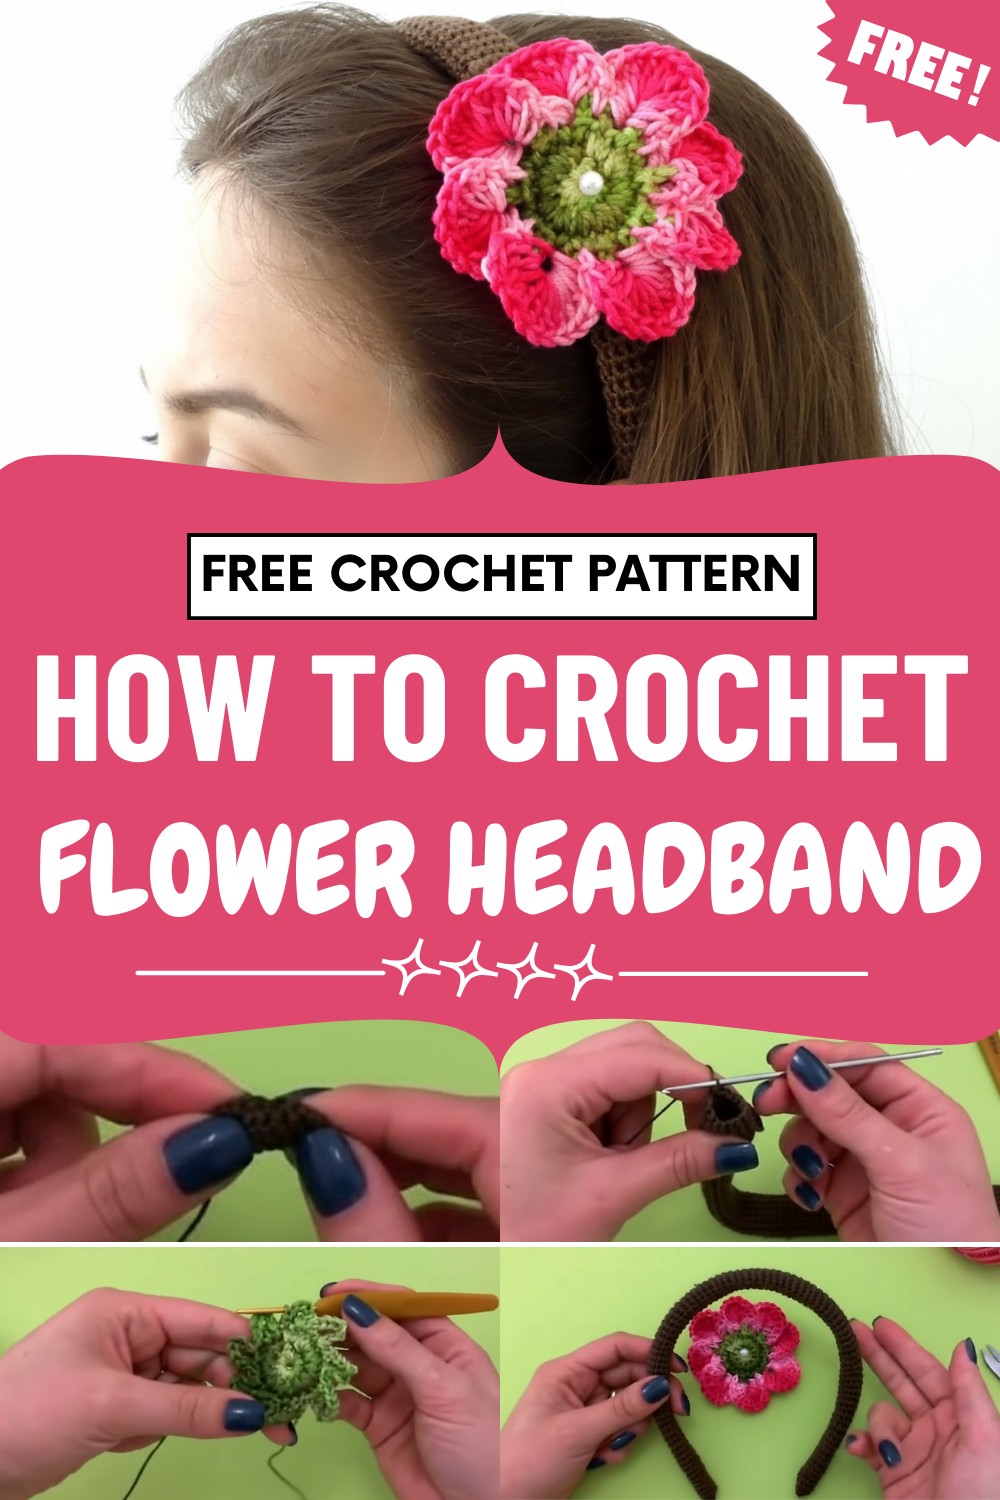
Its design allows for experimentation with colors, yarn types, and flower arrangements, ensuring every piece feels unique and personalized. Perfect as a thoughtful gift or a standout accessory in any wardrobe, it enhances both simple and elegant outfits with ease.
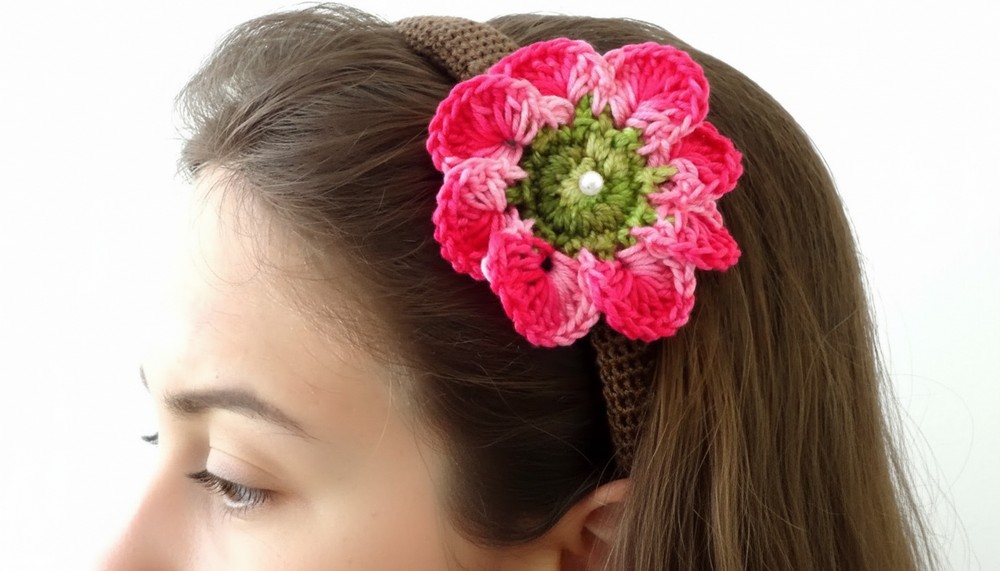
Combining practicality with beauty, this headband balances comfort, versatility, and style. Every bloom reflects attention to detail, transforming hairstyles into charming statements. With its playful yet sophisticated appeal, it celebrates feminine elegance and adds a delightful accent to any look.
Special Features
- Sturdy Base: Covers a plastic headband for durability and comfort.
- Layered Flower: Adds an elegant touch with dimension and option for a pearl center.
- Moveable Appliqué: Flower is attached with elastic, so you can reposition it wherever you like.
- Customizable: Easily use different colors and yarn weights for creative combinations.
- Sustainable: Great for using up leftover or scrap yarn.
Level of Difficulty
Advanced Beginner to Intermediate
Familiarity with working in rows, simple increases, creating an oval, and making basic flowers and appliqués is recommended.
Tutor’s Suggestions & Uses
- Always measure your crochet cover as you work, ensuring a snug fit around the headband.
- For a delicate look, use finer yarn and a matching thin hook.
- Use hot glue for quick flower attachment; use elastic for repositioning.
- This headband makes a wonderful handmade gift for children or adults.
Materials
- Plastic headband (tiara), 1 cm width
- Brown acrylic yarn (for cover)
- Variegated green and pink 100% cotton yarn (flower center and petals)
- Fine green elastic
- Pearl bead (center for flower)
- Hot glue
- Crochet hook: 1.5 mm and 2.5 mm
- Scissors
- Tapestry needle
Step-by-Step Pattern
1. Headband Cover (Brown Yarn)
- Foundation:
- With 1.5 mm hook and brown yarn, chain 5.
- Row 1: Skip 2 chains from hook, work 1 sc in each of next 3 chains (4 sc total).
- Turn & Increase: At the end, work 3 sc into the same stitch to make a turn.
- Work Down the Other Side: Work 1 sc in each stitch along the other side (4 sc).
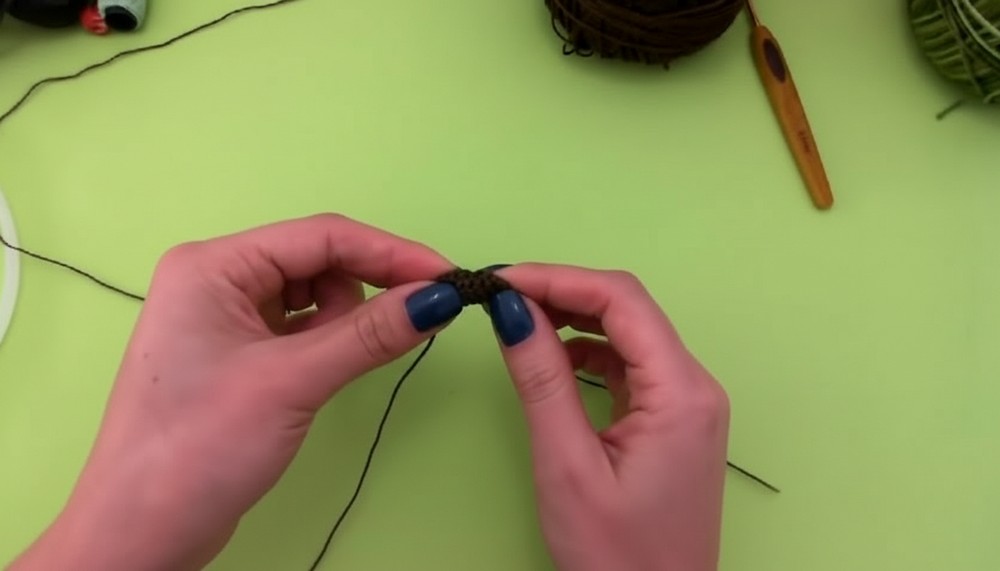
- Turn Again: Work 3 sc (to turn) into the last stitch; join with a sl st in first sc.
- Continue in the Round:
- Work single crochet in each sc around (14 sc per round—4 on top, 4 on bottom, and 3 in each turning corner). Do not increase further.
- Each round: Ch 2 to begin (counts as first sc), work sc in each stitch.
- Join each round with sl st to second ch. Work for a total of 31 cm.
- Finishing:
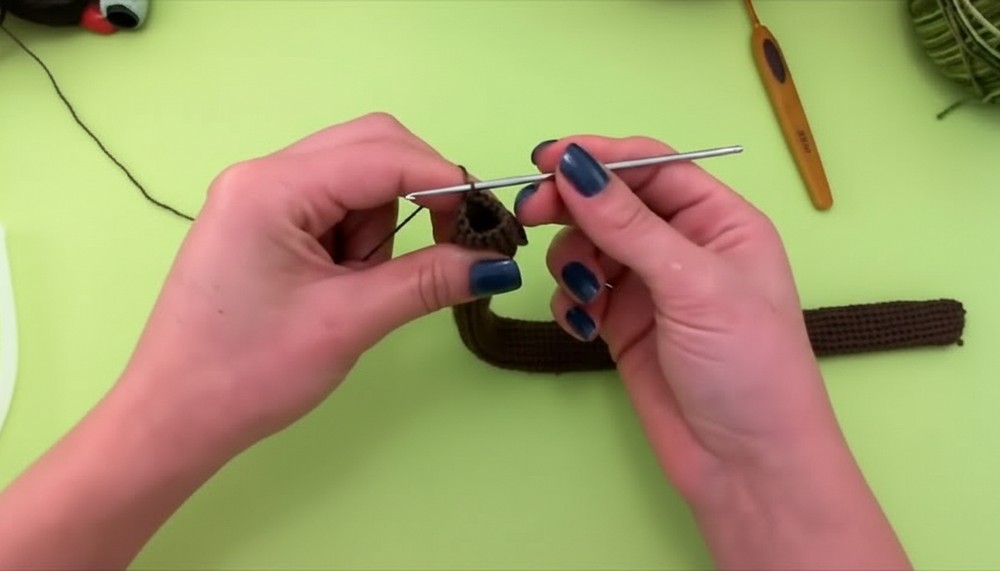
- Turn work right side out. Insert headband inside the crochet tube, stretching slightly to fit snugly.
- Work slip stitch decreases across stitches at the last opening to close the end.
- Weave in all ends.
2. Layered Flower (Appliqué)
A. Green Center (2.5 mm hook with green yarn):
- Magic Ring: Create a magic ring.
- Round 1: Work 11 sc into the ring. Pull tight to close. Join with sl st to first sc.
B. Make Petal Bases:
3. Round 2:
- Ch 2 (counts as first sc).
- Work 2 sc into each stitch around, making increases in each st (total 23 sc at end). Join with sl st to starting ch.
- Petal Loops:
- (Ch 6, sl st in next st), sl st in following 2 st—repeat around to create 8 petal bases. Join with sl st to first chain. Fasten off and weave in ends.
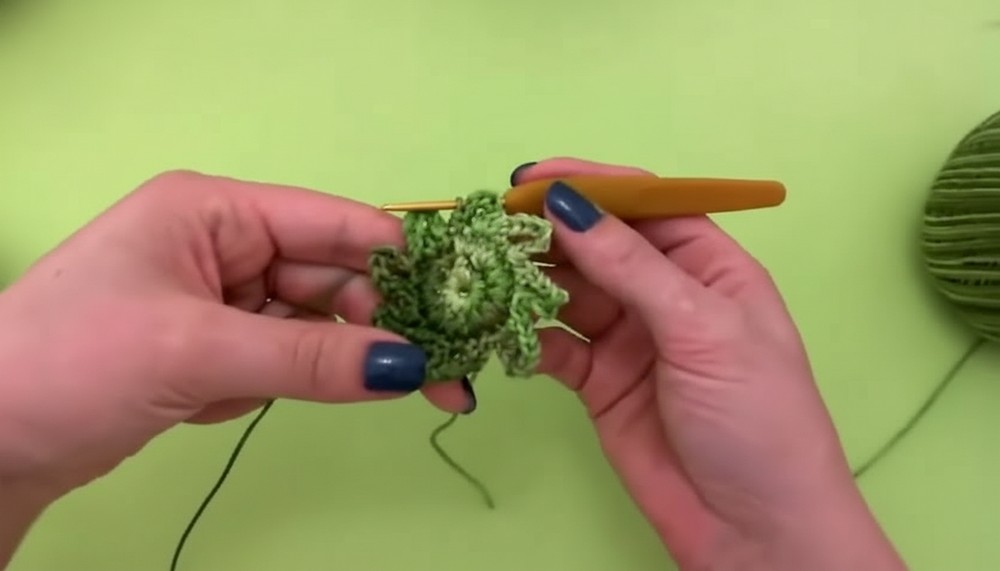
- (Ch 6, sl st in next st), sl st in following 2 st—repeat around to create 8 petal bases. Join with sl st to first chain. Fasten off and weave in ends.
C. Petals (Pink Yarn):
5. Join pink yarn at the base of a petal.
- (Ch 3, 12 dc into petal base loop.)
- Sl st in the next low st between petal bases. Repeat for all 8 petals. Join with sl st at end.
- Weave in yarn end on the wrong side of petals.
3. Flower Assembly & Attachment
- Fix Petal Arrangement:
- Overlap petals slightly so that each covers the base of the previous one for fullness and layering.
- Attach Pearl:
- Use hot glue to secure a pearl in the center of the flower.
- Create Elastic Loop:
- Thread green elastic on a needle.
- Pass through base/back of flower center, making two knots to fasten.
- Ch 5 with the elastic, join on opposite side of flower back with sl st, knot again, and weave in elastic tail.
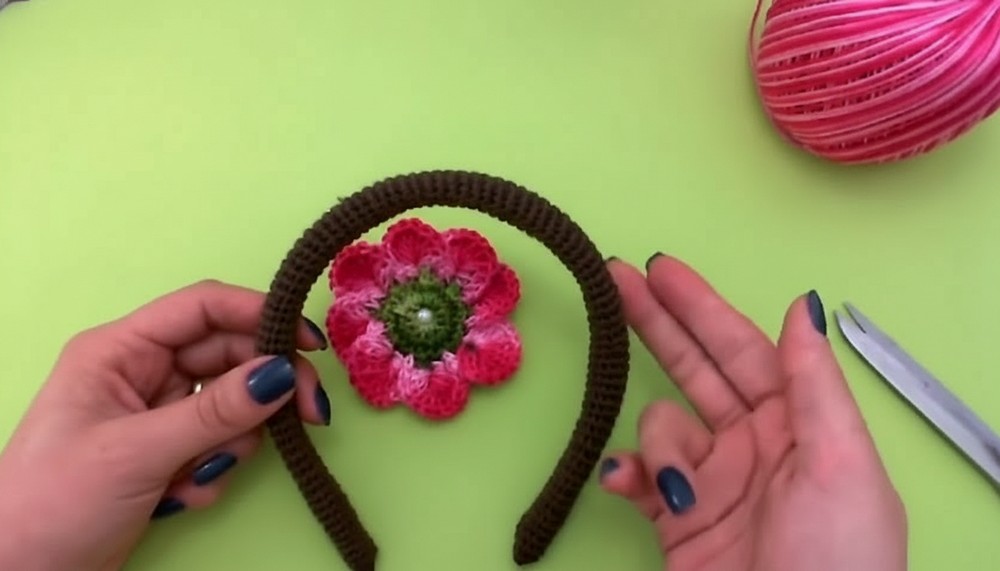
- Attach Flower to Tiara:
- Slide elastic over the covered headband.
- Flower can now be slid along the tiara and positioned as you like.
Conclusion
Congratulations! You have made a durable and elegant crochet headband with a floral appliqué. Enjoy using it as a practical, stylish accessory or give it as a handmade gift.
Tip
For more delicate or dramatic effects, use different yarn textures and bead centers. Always check your flower position after fitting and re-position easily thanks to the elastic!




Leave a Reply