
A bloom that never fades, crochet rose flower blend timeless beauty with endless possibilities for décor, accessories, or heartfelt gifts.
What if you could hold onto the beauty of a rose forever? Crochet rose flower pattern make this possible by capturing the timeless charm of nature’s most beloved bloom. Unlike fresh flower, this intricate creations never fade, allowing you to enjoy their elegance year-round. They are a wonderful balance of artistry and functionality, designed to add a personal touch to your décor or accessories.
Beautiful Crochet Roses to Spruce Up Your Décor
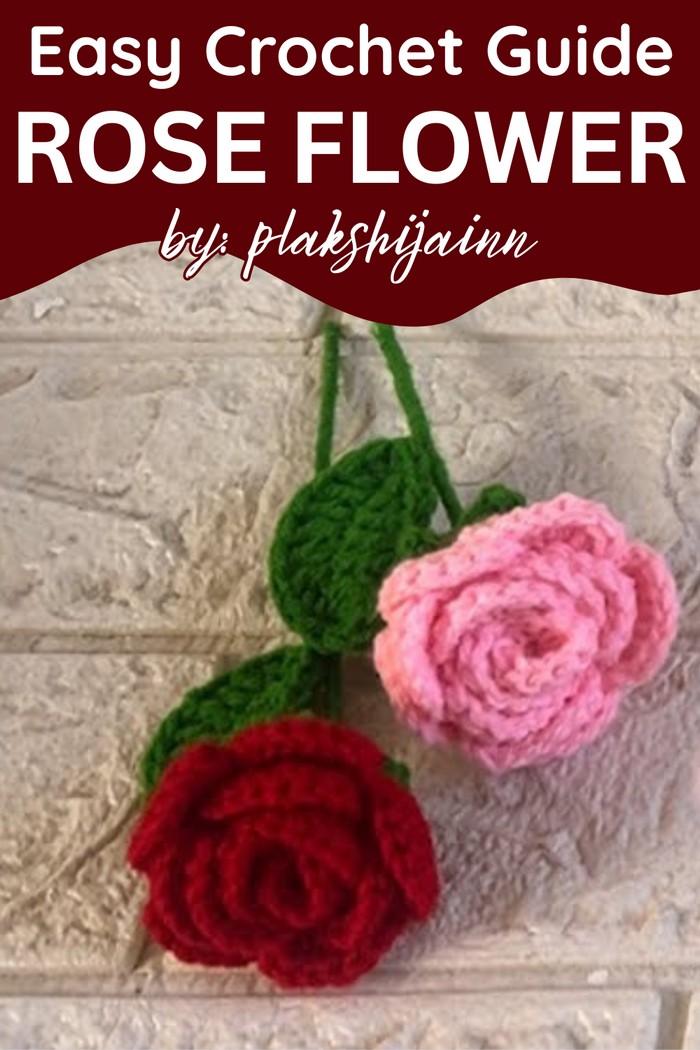
This lovely creation are perfect for a variety of uses—from embellishing hats, bags, and clothing to serving as unique table centerpieces or thoughtful, handmade gifts. They hold special meaning when used in weddings, anniversaries, or as cherished keepsakes for loved ones. Their versatility means they can brighten up everyday items or add sophistication to life’s most memorable moments.
Above their practical uses, the benefits of working on crochet rose patterns extend to emotional well-being. The repetitive nature of crocheting helps reduce stress, improve concentration, and provide a sense of accomplishment. Whether they’re used to decorate, accessorize, or as heartfelt gifts, crochet roses combine beauty and purpose, making them an inspiring addition to any home or celebration.
Materials
- Yarn: Preferred types include three-ply or thicker for durability.
- Crochet Hook: Suitable size for chosen yarn.
- Wire: 0.4mm wire for leaf construction.
- Needle and Thread: For sewing petals together.
- Optional Glue: For attaching the stem and base securely.
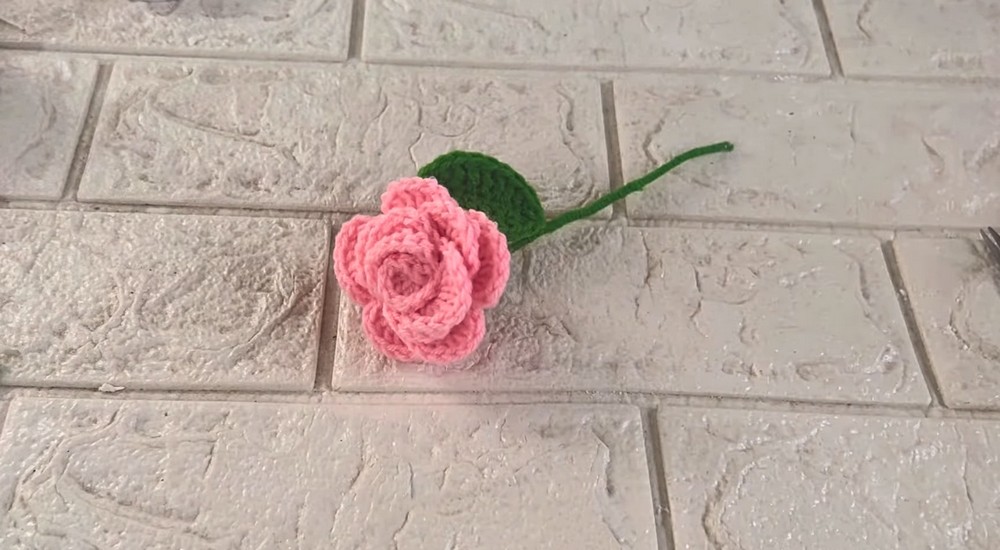
Step-by-Step Guide Crochet Rose flower
Crochet roses are a timeless and charming handmade project, perfect for gift-giving, decorating, or creating keepsakes for Valentine’s Day and special occasions. The pattern explained through this pattern offers a flexible and beginner-to-intermediate-friendly approach to creating a crochet rose, its bud, and an intricate leaf. The inclusion of wire adds stability to the design, making it durable and realistic.
Step-by-Step Instructions
1. Creating the Base of the Rose
- Chain Foundation: Start by chaining a base. In the fourth chain from the hook, make two double crochets, chain four, and skip four chains to continue.
- Repeat the Pattern: Repeat this pattern until reaching the end of the chain. Expect to have about 12–13 holes, though the specific count isn’t strict.
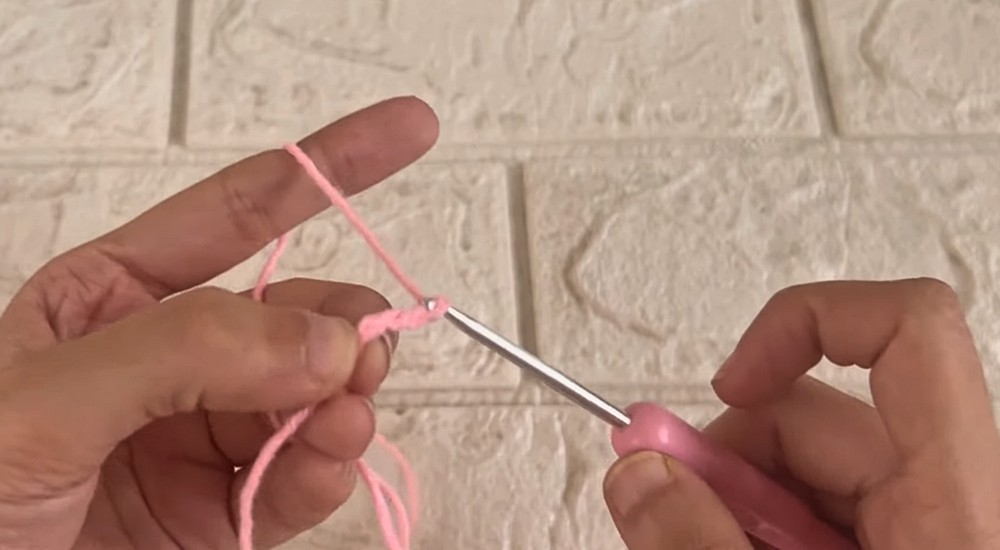
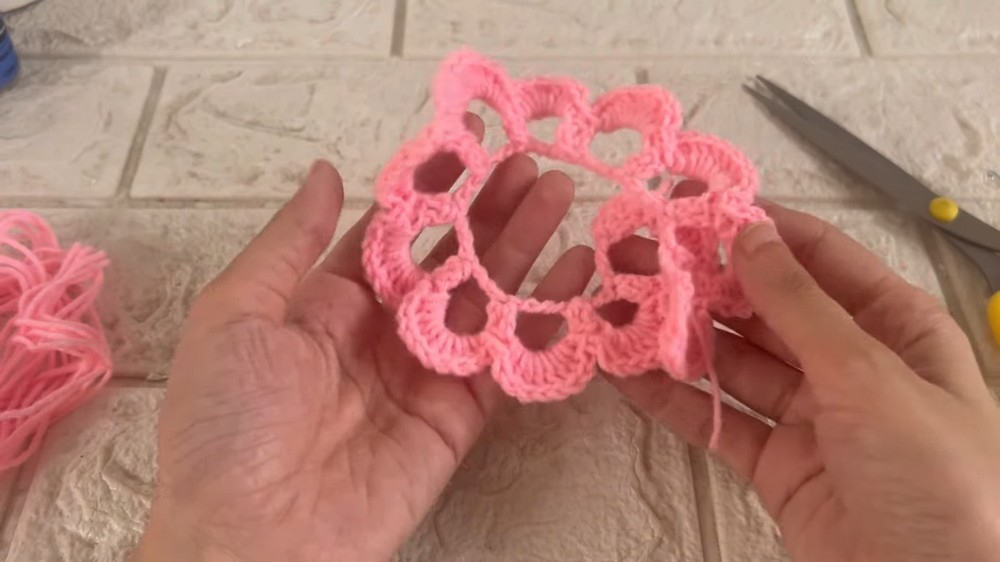
- Building Petals: Turn the work and build the petals by inserting:
- One single crochet in the first hole.
- Ten double crochets in the same hole.
- Single crochet to close the petal.
- Repeat for all remaining holes.
- Finishing the Base: Once all petals are complete, cut off excess yarn to finalize the base of the rose.
2. Making the Bud for Support
- Magic Ring: Create a magic ring by chaining one and crocheting five single crochets into the ring.
- Shaping the Bud:
- Pull the thread tight to close the ring, slip stitch into the first stitch, and chain four.
- Create variations in stitches for depth: Single crochet in the second chain from the hook, half-double crochet in the next stitch, and double crochet in the third stitch.
- Repeat this process around the bud until you have five petals.
- Securing the Bud: Tie off loose ends and cut excess yarn.
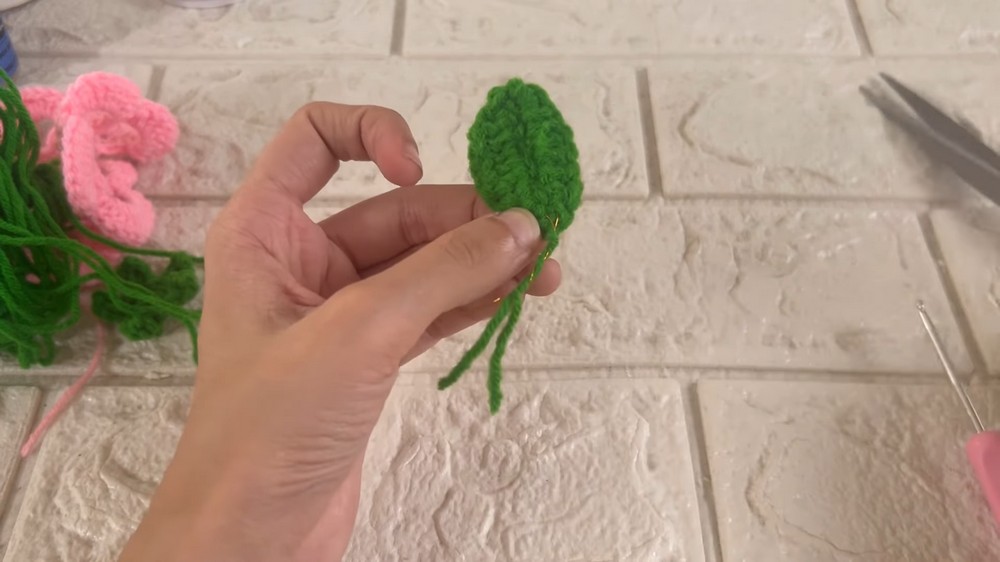
3. Crafting the Leaf
- Wire Addition: Use a 0.4mm wire for sturdy shaping.
- Double Threading: For a thicker appearance, two strands of yarn are recommended, though single strands can be used for thicker plies.
- Creating the Leaf:
- Start with a slip knot and chain ten. Attach the wire to the chain as you crochet.
- Crochet with the wire included, add two single crochets in the last chain, and mirror the same pattern on the other side of the foundation chain, forming a leaf shape.
- Finishing Touches: Trim excess yarn and secure the ends for a polished look.
4. Assembling the Rose
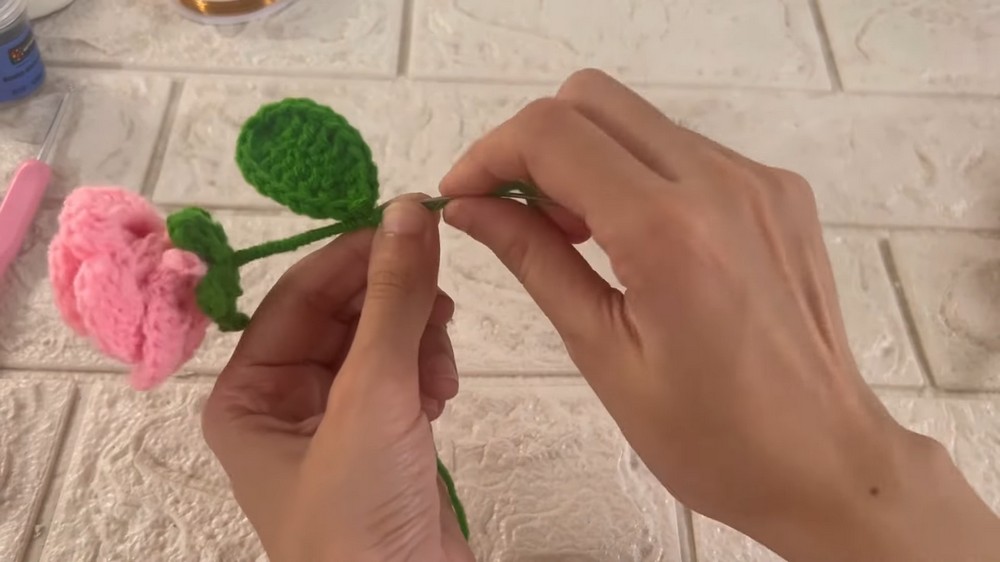
- Arranging Petals: Rotate the petals carefully, mimicking the shape of a real rose. Adjust as needed for symmetry.
- Sewing Method: Avoid glue guns for assembly; use a long thread and needle to carefully stitch the petals together. This allows flexibility in shaping before securing the final design.
- Attaching the Stem: Use a wire or stick for the stem. Apply glue to attach the bud for added support.
5. Final Touches
- Attach the leaf to the rose using thread or glue.
- Adjust the final placement of petals and leaves for a realistic appearance.
Special Features
- Dynamic Design: Includes the rose base, bud, and leaf for a complete look.
- Durable Construction: Incorporates wire to enhance durability and stability.
- Customizable: Flexible petal arrangement allows personalization of size, shape, and style.
- Hand-Stitched Assembly: Sewing offers more control over design compared to using glue.
Level of Difficulty
- Skill Level: Beginner-friendly for the crochet rose base, with slightly higher difficulty for the bud and wire-based leaf. Users should be familiar with basic crochet techniques like chaining, single crochet, double crochet, and slip stitching.
- Time Commitment: Expect about one to two hours for the entire process, depending on experience level.
Tutor’s Suggestions
- Use Sewing Instead of Glue: The creator recommends hand-stitching the rose for a more natural and adjustable appearance.
- Thread and Ply Recommendations: For leaves, use double threads for thinner yarns and single threads for thicker yarns.
- Adjust Petals Before Finalizing: Take your time rotating petals before stitching to perfect the rose shape.
Uses
- Gift-Giving: Perfect for Valentine’s Day, weddings, or heartfelt presents.
- Home Décor: Use as table centerpieces or floral arrangements.
- Keepsakes: Create long-lasting, sentimental flowers that never wilt.
- Craft Projects: Add crochet roses to clothing, hair accessories, or bags for embellishment.
Extra Tip
"For a Realistic Look, Use Yarn in Gradients or Variegated Colors:" This adds depth to the petals and enhances the lifelike appearance of the rose. Don't forget to work gently when shaping and sewing to avoid ruining the overall form.
Conclusion
This pattern offers a detailed process for creating a beautiful crochet rose, complete with petals, buds, and a sturdy leaf. The mixture of wire threading, hand stitching, and careful petal arrangement results in a professional-looking rose that’s perfect for both decorative and sentimental purposes. Take your time to enjoy the crochet process, and you’ll have a masterpiece that lasts forever.




Leave a Reply