
Heighten your décor with a radiant Crochet Sparkly Star Pillow, easy-to-make, eye-catching, and perfect for adding a touch of handmade sparkle.
Soft glimmers can completely change the ambiance of a room, and crocheted sparkly star pillows bring that touch of magic effortlessly. With their star-shaped design infused with subtle shimmer, this pillow are more than just decorations, they’re cozy, stylish additions to any space. Ideal for a living room accent or a playful element in a child’s bedroom, they add personality while being practical. Their soft, plush texture offers gentle support while still shining as a centerpiece.
Dazzling Star Crochet Pillow for Home Décor
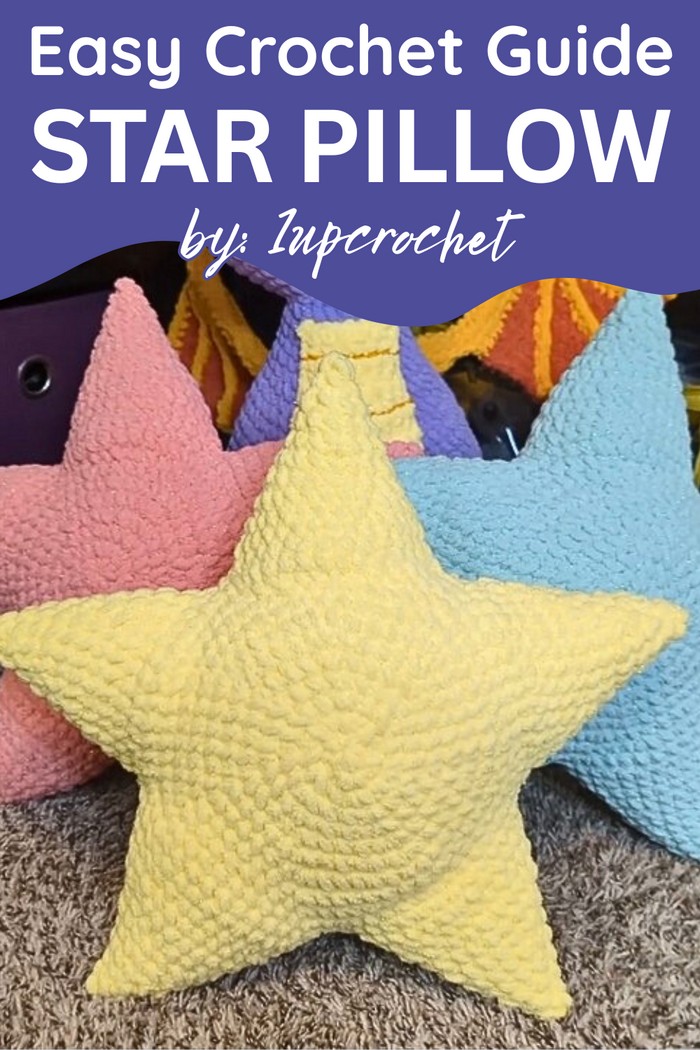
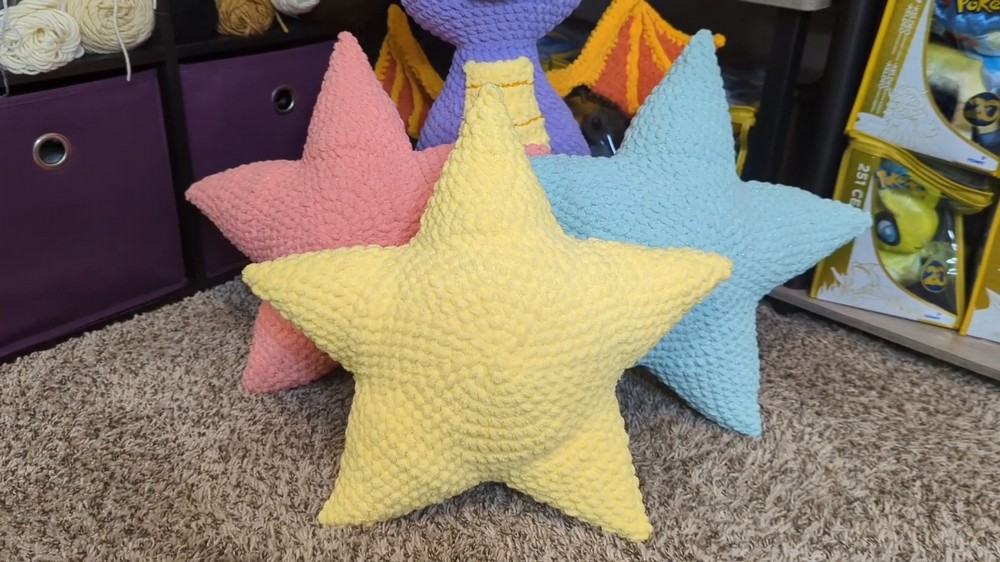
These star pillows are a versatile addition, blending in seamlessly with various themes, from festive arrangements to everyday comfort. They can also be a thoughtful handmade gift, carrying a unique charm that store-bought items often lack. Perfect for seasonal decorations or simply elevating a room’s aesthetic, their sparkle is subtle but impactful, offering visual warmth.
Whether lounging on a sofa or used for bedroom décor, the combination of comfort and style makes these pillows a standout piece. They reflect creativity while offering lasting durability, fitting into almost any interior without overwhelming the space. With sparkly accents and their comforting feel, these star-shaped pillows quickly become favorites, balancing practicality with a little extra shine every day.
Materials Needed
To create a sparkly star amigurumi pillow, you’ll need:
- Blanket Yarn: The tutorial uses Burnett Baby Blanket Sparkle yarn, but any weight 6 super bulky blanket yarn will work.
- K Crochet Hook (6.5mm): Slightly smaller than the recommended size on the yarn label to ensure tight stitches.
- Scissors
- Yarn Needle: For minimal sewing during the project.
- Stitch Markers: About 5-6 to divide sections and keep track of stitches.
- Stuffing Material: To fill the pillow once completed.
Special Features
- Sparkly Yarn: The tutorial uses a glittery blanket yarn (Burnett Baby Blanket Sparkle), enhancing the visual appeal of the pillow.
- Minimal Sewing: Very little sewing is required, making it approachable for crocheters who may not enjoy sewing extra pieces.
- Efficient Use of Yarn: The project uses only one skein of blanket yarn to complete each star pillow.
- Customizable Size: The finished pillow measures about 18 inches tall, but you can modify the size by changing the number of rounds.
Step-by-Step Instructions
1. Creating the Centerpiece for the Star
- Round 1: Crochet 8 single stitches into a magic circle or an alternative method with a slip knot and chain 2.

- Round 2: Do an increase in each stitch to reach 16 stitches in total.
- Round 3: Alternate between 1 single crochet + an increase. Repeat for 8 rounds (total: 24 stitches).
- Follow similar patterns for rounds 4 through 10, increasing stitches gradually until reaching 80 stitches total.

2. Making Two Centerpieces
- Crochet two identical round pieces for the star’s main shape.
- After completing the second one, do not finish it off because they will be joined together.
3. Joining Centerpieces
- Divide into Sections: Use stitch markers to divide the round into 5 equal sections of 16 stitches each (for five star points).
- Sandwich and Align: Stack the two centerpiece rounds on top of each other with the wrong sides facing inward.

4. Forming Star Points
- Begin crocheting one section (16 stitches) to form the first point.
- Follow these steps:
- Rounds 11-12: Single crochet around the section.
- Rounds 13-22: Gradually decrease stitches to form the tip of the point. (Ends with 3 stitches at the tip on round 22.)
- Crochet and close the tip of the point using a needle and yarn to hide the tail.
5. Repeat for Remaining Points
- Repeat the above process to create the remaining 4 star points.
6. Adding Stuffing
- Once 4 points are complete, start stuffing the pillow.
- Continue stuffing while working on the 5th point to ensure it's properly filled.

Tutor's Suggestions
- Hook Size Adjustment: The tutor recommends using a hook size smaller than the yarn label suggests (6.5mm instead of 8mm) for tighter, gap-free stitches.
- Alternative to Magic Circle: If you struggle with a magic circle, use the slip knot and chain 2 method as demonstrated.
- Secure Yarn Ends: Hide yarn tails by crocheting over them instead of sewing them later.
Uses
This sparkly star pillow works beautifully as:
- Decorative Throw Pillow: Perfect for beds, couches, or any space needing a pop of sparkle.
- Personal Gifts: Handmade sparkle stars make thoughtful presents for friends and family.
- Children's Room Accent: The soft and squishy design suits nurseries and kid-friendly spaces.
Level of Difficulty
Beginner-Friendly to Intermediate
The tutorial is simple enough for beginners with basic crochet knowledge but offers some challenge with the precise stitch counts and gradual shaping of the star points.
Tip at the End
When stuffing the pillow, avoid overfilling it, as excessive stuffing may distort the shape of the points. For a smoother finish, sew closed any gaps between the star points before finalizing the last section.
Conclusion
This sparkly star amigurumi pillow is an enjoyable project that combines creativity and practicality, suitable for various occasions and uses. The clear instructions make it accessible for beginners, while its aesthetic appeal and special tips add a touch of uniqueness.




Leave a Reply