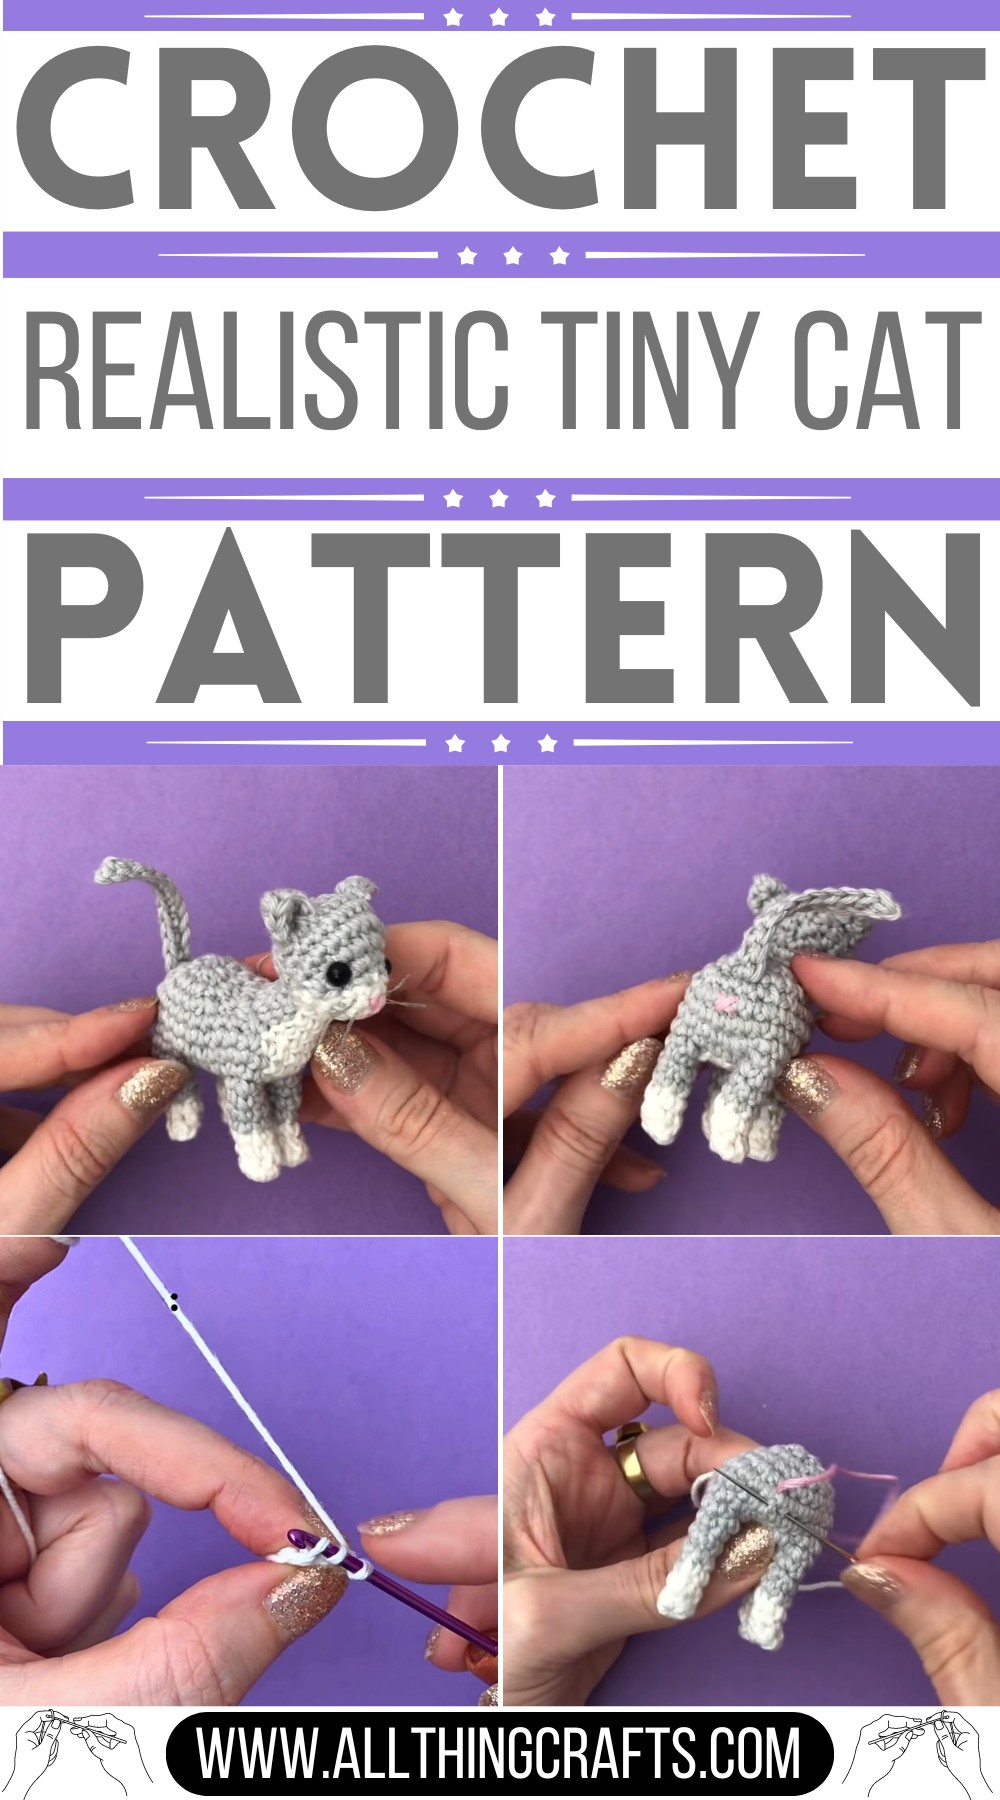
Bring adorable mini cats to life with the "Crochet Realistic Tiny Cat Amigurumi Pattern," featuring lifelike details perfect for cat lovers and crochet enthusiasts.
With this Crochet Realistic Tiny Cat Amigurumi Pattern, you can create a little cat that looks almost like the real thing. The "Crochet Realistic Tiny Cat Amigurumi Pattern" invites you to enjoy the magic of crochet by bringing to life adorable, lifelike feline figures. Each pattern passion seamlessly marries intricate detailing with artistry, guiding you in forming a delightful blend of realism and cuteness. Ideal for cat lovers and crochet enthusiasts alike, these tiny cats are exquisitely designed to captivate hearts. Perfect for home décor or heartfelt gifts, they add a whimsical touch wherever displayed. Whether crocheting for relaxation or to enhance your skills, relish seeing these charming little creatures take shape right in your hands.
Crochet Realistic Tiny Cat Amigurumi Pattern
Overview
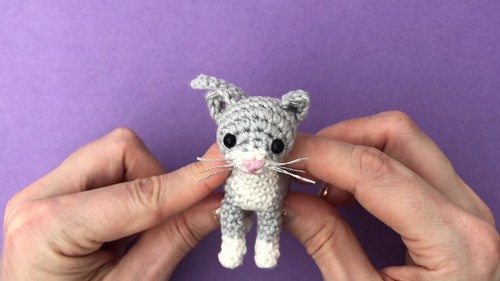
"Using hooks and yarn, you can bring to life a miniature kitty with its own cute paws, perky ears, and a tail that curls just right. Whether you're a beginner or a crochet master, this pattern is your doorway to crafting a pocket-sized companion who's ready to fill your days with a touch of whimsy and a lot of love."
Appearance and Look
- Adorable Paws: Each kitty features meticulously crafted, cute little paws that add to its lifelike charm.
- Perky Ears: The ears are designed to stand tall and perky, giving the kitty an alert and playful look.
- Curled Tail: A tail that curls perfectly, providing a whimsical touch that enhances the overall appearance.
Decorative and Gift Potential
- Home Décor: These miniature kitties can be used to adorn various spaces in your home, like shelves, tables, and mantels, bringing a cozy and cute vibe.
- Heartfelt Gifts: Ideal for gifting, these pocket-sized companions are perfect for cat lovers and add a handmade touch that’s bound to be cherished.
Crafting Experience
- Beginner-Friendly: Suitable for both beginners and experienced crochet enthusiasts, the pattern is straightforward and easy to follow.
- Satisfying Process: The creation process offers a joyful and relaxing experience, making it enjoyable to see the kitty take shape with each stitch.
Materials and Tools
- Basic Crochet Supplies: Requires typical crochet tools such as hooks, yarn, a yarn needle, and stuffing to complete the kitty.
- Simple Preparation: Ensure you have all necessary materials on hand for a smooth and enjoyable crafting session.
Final Touch
- Whimsical Companion: The finished product is a pocket-sized kitty brimming with whimsy and love, ready to brighten your days.
- Handmade Delight: Completing this pattern gives a sense of achievement, resulting in a charming decoration or a cherished gift that showcases your crochet skills.
Materials:
- White yarn
- Gray yarn
- Crochet hook (size appropriate for your yarn)
- Fiberfill
- Yarn needle
- Embroidery thread
- Safety eyes (optional)
Body:

Round 1: Make a magic ring with white yarn.
- Round 2: Sc in the back loops only (2 sc, decrease, sc, decrease).
- Round 3: Change to gray yarn. Sc in the next 5 stitches, then change back to white yarn and sc in the last stitch.
- Round 4: Sc in the first 2 stitches, increase, sc in the next 2 stitches, and increase.
- Round 5: Sc in the first 2 stitches, decrease, sc in the next 2 stitches, and decrease.
- Round 6: Sc in all 6 stitches. Fasten off and cut the yarn.
- Repeat rounds 1-6 for the second leg.
Hind Legs:
Round 1: Chain 4. Sc in the next 2 chains, sc 4 in the last chain, turn, sc in the other side of the next base chain, sc 2 in the same chain, sc in the other side of the next base chain, sc 2 in the same chain, and sc 1 in the same chain.
- Round 2: Change to gray yarn. Sc in the first 2 stitches, increase, sc in the next 2 stitches, and increase.
- Round 3: Sc in the first 2 stitches, decrease, sc in the next 2 stitches, and decrease.
- Round 4: Sc in the first 2 stitches, decrease, sc in the next 2 stitches, and decrease.
- Round 5: Sc in all 6 stitches. Fasten off and cut the yarn.
- Repeat rounds 1-5 for the second hind leg.
Belly:
Round 1: Chain 4. Sc in the next 2 chains, sc 4 in the last chain, turn, sc in the other side of the next base chain, sc 2 in the same chain, sc in the other side of the next base chain, sc 2 in the same chain, and sc 1 in the same chain.
- Round 2: Sc in the first 2 stitches, increase, sc in the next 2 stitches, and increase.
- Round 3: Sc in the first 2 stitches, decrease, sc in the next 2 stitches, and decrease.
- Round 4: Sc in the first 2 stitches, decrease, sc in the next 2 stitches, and decrease.
- Round 5: Sc in the first 2 stitches, decrease, sc in the next 2 stitches, and decrease.
- Round 6: Sc in all 6 stitches. Fasten off and cut the yarn.
- Stuff the belly with fiberfill.
Head:

Round 1: Make a magic ring with white yarn.
- Round 2: Sc in the back loops only (2 sc, decrease, sc, decrease).
- Round 3: Change to gray yarn. Sc in the next 5 stitches, then change back to white yarn and sc in the last stitch.
- Round 4: Sc in the first 2 stitches, increase, sc in the next 2 stitches, and increase.
- Round 5: Sc in the first 2 stitches, decrease, sc in the next 2 stitches, and decrease.
- Round 6: Sc in all 6 stitches. Fasten off and cut the yarn.
- Stuff the head with fiberfill.
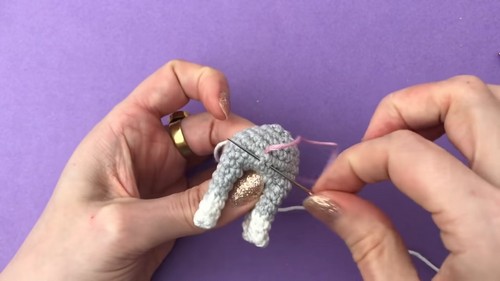
Assembly:

Attach the legs to the body.
- Attach the head to the body.
- Attach the ears to the head.
- Attach the tail to the body.
- Embroider the nose and mouth.
- Attach the whiskers.
- Cut the yarn tails and weave them into the body.


Leave a Reply