
Enhance your table with this Crochet Circular Placemat Pattern perfect for cheerful round accents, stylish settings, and home décor flair.

The pattern allows for customization through a variety of yarn types, colors, and edging styles, making it easy to coordinate with seasonal décor, themed settings, or personal preferences. Lightweight and easy to maintain, this placemat are practical yet visually striking, offering both charm and usability.
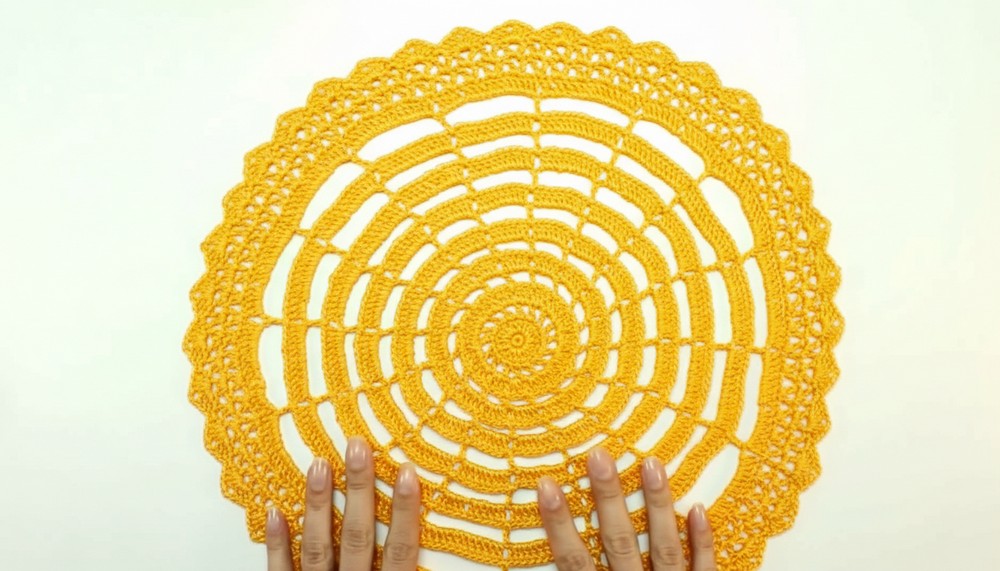
It provides a rewarding project for crocheters looking for a quick, elegant, and versatile creation. Finished pieces combine durability, polished design, and timeless appeal, transforming dining spaces with a handmade aesthetic that is both functional and decorative.
Special Features
- Shiny effect with polypropylene or classic look with cotton
- Quick to finish in just a few hours
- Easy scaling: make larger or smaller by adding rounds
- Durable, with a clever heat-sealing finish for polypropylene
- Suitable for various practical and decorative uses
Level of Difficulty
Easy: If you know how to crochet magic rings, chains, slip stitches, single crochet, and double crochet, you’re set!
Tutor’s Suggestions and Uses
- Use 100% polypropylene for a shiny, modern look, or cotton for a softer finish.
- The motif can be used as a coaster, doily, centerpiece, or decorative placemat.
- Great for gifts, market sets, or home accessories.
- Polypropylene requires heat-sealing for a secure finish, while cotton ends can be woven in.
Materials
- 100% polypropylene or cotton yarn
- Crochet hook (2mm recommended)
- Tapestry needle (for finishing)
- Small lighter (for polypropylene finishing)
Step-by-Step Pattern
1. Magic Ring Foundation
- Make a magic ring.
- Leave a tail long enough for finishing later.
2. Round 1
- Ch 1.
- Crochet 8 single crochet (sc) into the ring.
- Tighten ring and join with slip stitch (sl st).
3. Round 2
- Ch 3 (counts as first dc).
- Work another dc in the same st.
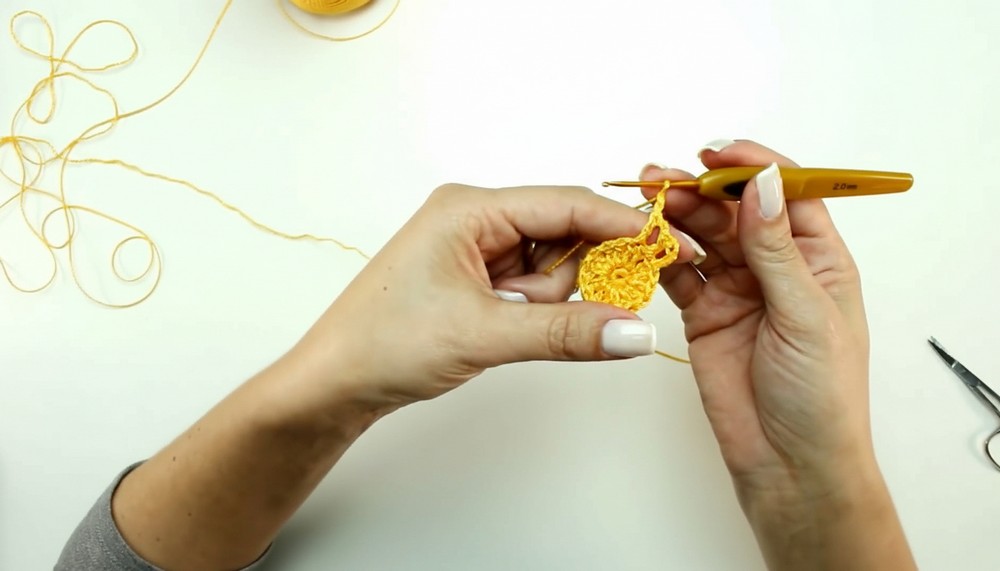
- Work 2 dc in each st around (16 dc total).
- Join with sl st to third ch of starting ch-3.
4. Round 3
- Ch 3 (first dc), ch 2 (space).
- Dc in next st, ch 2. Repeat around.
- Join with sl st to third ch of beginning ch-3.
5. Round 4
- Sl st to first space.
- Ch 3 (first dc), 2 dc in same space.
- In next space: 3 dc. Repeat in every ch-2 space around.
- Join with sl st to third ch of beginning ch-3.

6. Round 5
- Sl st to space between groups.
- Ch 3 (first dc), ch 4 (space).
- Dc in next space between groups, ch 4. Repeat around.
- Join with sl st to third ch.
7. Round 6
- Sl st to first ch-4 space.
- Ch 3 (dc), then 4 more dc (5 dc total) in the space.
- Repeat: 5 dc in every ch-4 space around.
- Join with sl st to third ch.
8. Continue Increasing Rounds
- Alternate between rounds of spaces (ch chains between dc) and rounds of grouped dc (increase group size by one per space—e.g. 7 dc into ch-6, 9 dc into ch-8, etc.).
- Add 2 chains to each space round as the motif increases, and add one dc to each group round.
- Continue expanding until desired size is reached (transcript example reaches motif of 15 dc into ch-14 space, approx. 37cm diameter).

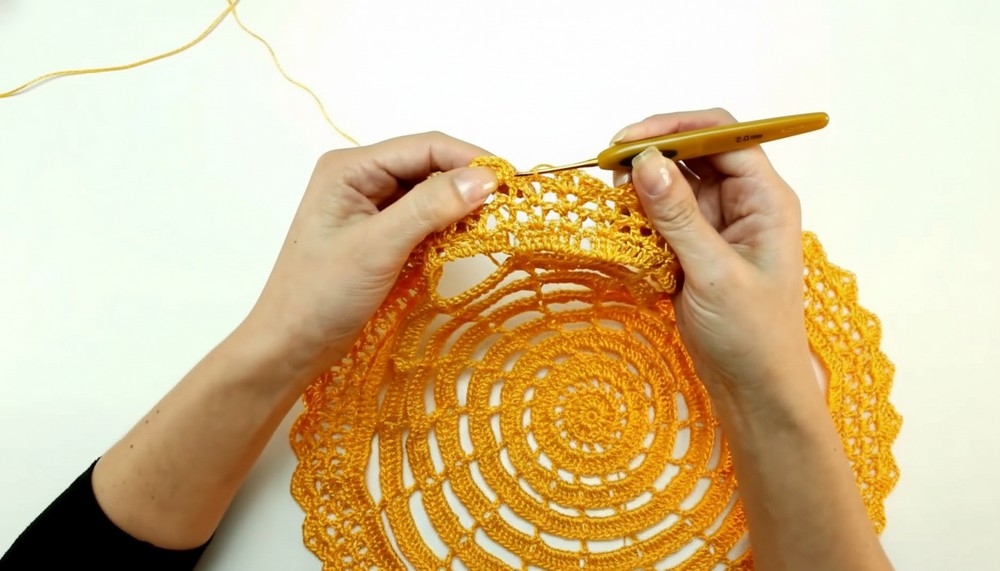
9. Edge Rounds
- Work rounds of: (dc, ch 2, dc) in every second st, skipping two sts each time for a simple lacy edge.
- Optional: Fan edge of [3 dc, ch 2, 3 dc] in each V-space, with sc in next V-space.
10. Finishing
- For polypropylene: Weave in ends with tapestry needle, then carefully melt the tail end with the base of a lighter flame and press with a tool (not fingers!) to seal.
- For cotton: Weave in all tails securely.
Conclusion
Enjoy your shiny, durable round motif as a beautiful addition to your home, or create several for table sets and gifts. The project is easy, fast, and adds an elegant touch to any space.
Tip:
When working with polypropylene, always use the base of the flame for finishing and avoid direct contact—this ensures a neat, secure end without damaging the motif.




Leave a Reply