
Give your decor a fresh fruity touch with this Free Crochet Orange Fruit Pattern that's perfect for playful accents and sweet gift ideas.
Bright and cheerful designs always make people smile. The Crochet Orange Fruit pattern changes simple yarn into a round, juicy-looking orange with a neat shape and a tiny green leaf on top. Its bright color and soft texture give it a fresh and playful look that feels almost real. You can use it as kitchen decoration, children’s play food, photo prop, or a cute handmade gift for friends and family.
Mini Crochet Orange Fruit Pattern That Packs Big Cuteness
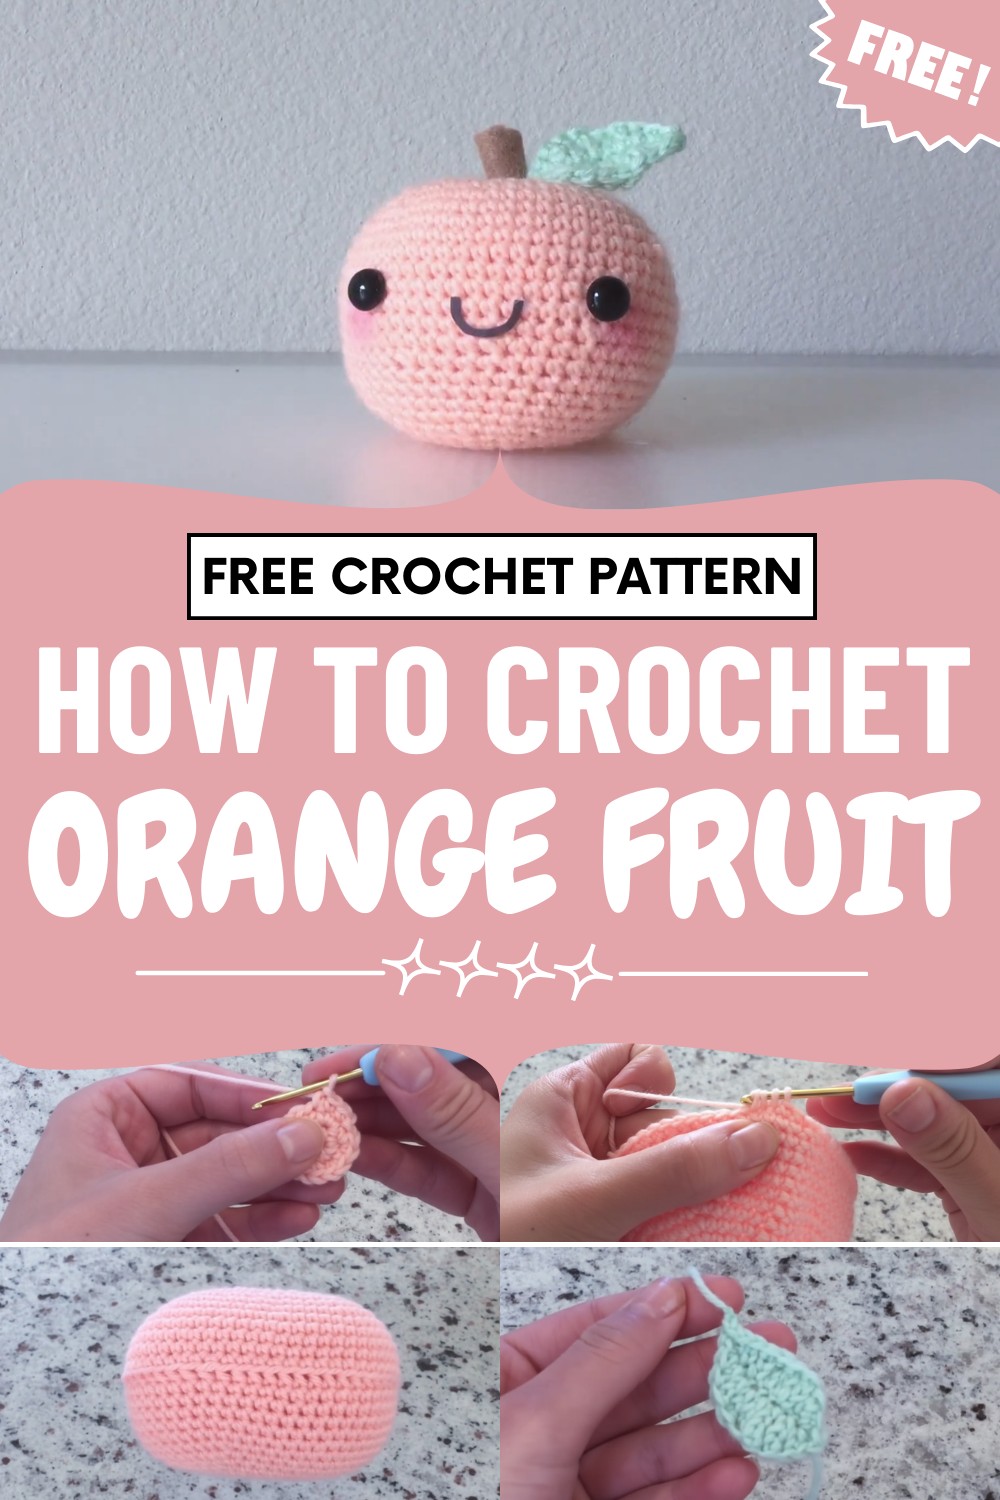
It is light in weight and easy to hold, which makes it safe and fun for kids. The most important feature that makes it unique is its realistic texture made with simple stitches, giving it a natural fruit appearance while staying soft and cozy.
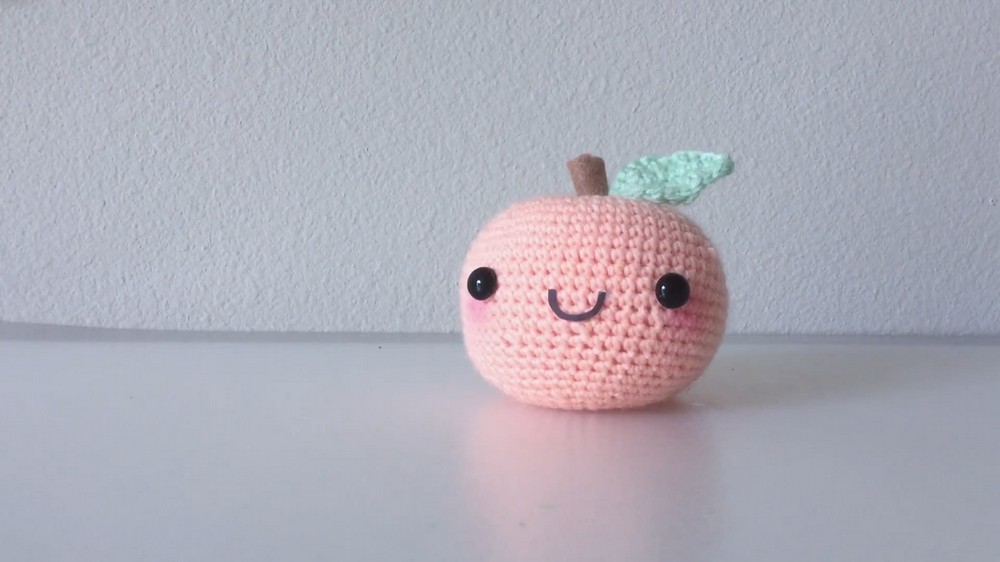
You can also adjust the size and color shade to make sweet oranges or deep ripe ones. This lovely crochet design adds color, warmth, and handmade beauty to any space in a simple and joyful way.
Easy Crochet Orange Amigurumi Tutorial
Features
- Level: Beginner-friendly; suitable for those new to crochet and amigurumi.
- Skill Building: Practice the magic of increasing and decreasing stitches, and experiment with simple shaping.
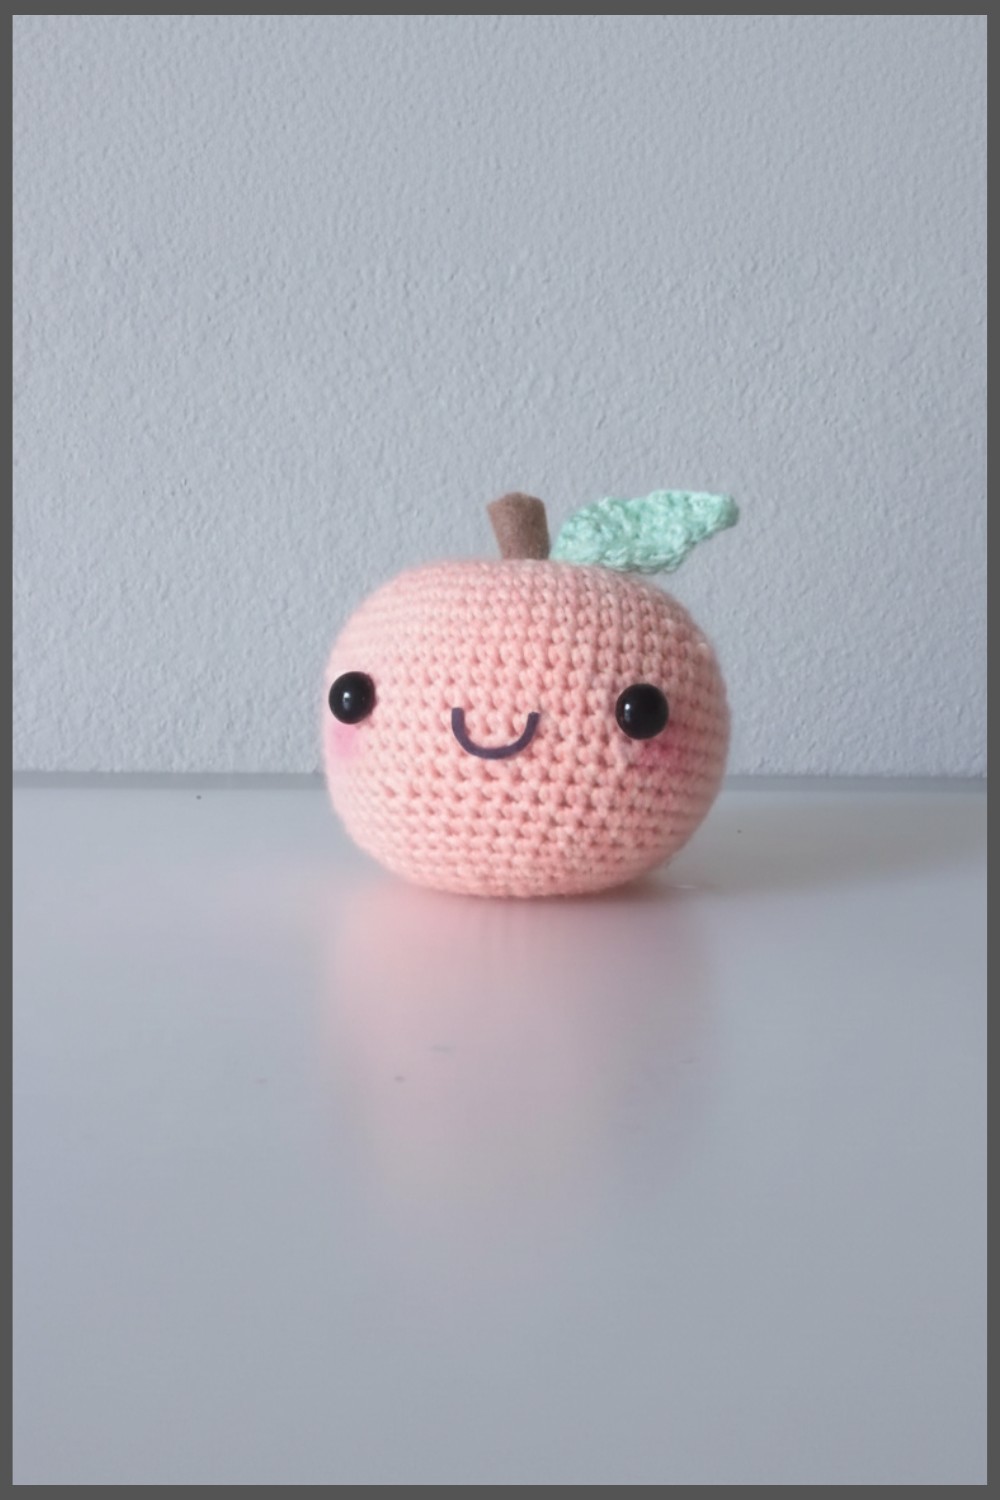
- Customization: You can add a crocheted leaf, felt details, or even a little cute face for extra personality.
- Uses: Makes a cute desk buddy, gift, stress toy, pin cushion, or a cheerful decoration.
Materials Needed
- Orange yarn (worsted weight recommended)
- Small amount of green yarn (for leaf)
- Brown felt or yarn (optional, for the stem)
- Crochet hook (US size G/4.0mm or appropriate for your yarn)
- Polyester fiberfill stuffing
- Yarn needle with blunt end
- Scissors
- Safety eyes or black felt (optional, for face)
- Pink blush or fabric paint (optional, for cheeks)
- Hot glue (optional, for attaching details)
Pattern Steps
1. Make the Orange Sphere
Starting the Base
- Create a slip knot on your hook.
- Chain 2.
- Insert your hook into the first chain. (You’re working into the very first chain you made.)
Forming the Circle
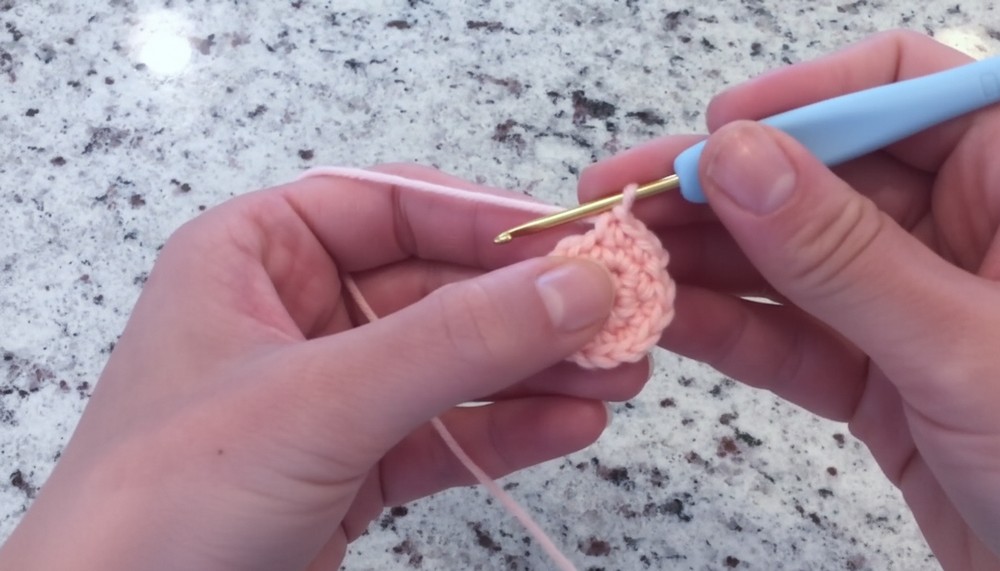
- Make 6 single crochets (sc) into the first chain (all stitches go into the same hole). This will create a small circle.
- Join the round (optional: use a slip stitch to the first sc to close the round).
Rounds of Increases
- Round 2: Increase in every stitch around (2 sc in each st) – 12 sc total.
- Insert hook into the first stitch, sc, then sc again in the same stitch. Repeat for all six stitches.
- Round 3: Increase in every stitch – 24 sc total.
- Repeat: 2 sc in each stitch from the previous round.
- Rounds 4-5: Begin alternating increases.
- Do 2 sc in one stitch, then 1 sc in next. Repeat around.
- You can gradually space out your increases (e.g., every other stitch for a few rounds, then every third, and so on) depending on how “round” you want your orange.
Form the Sides & Make It 3D
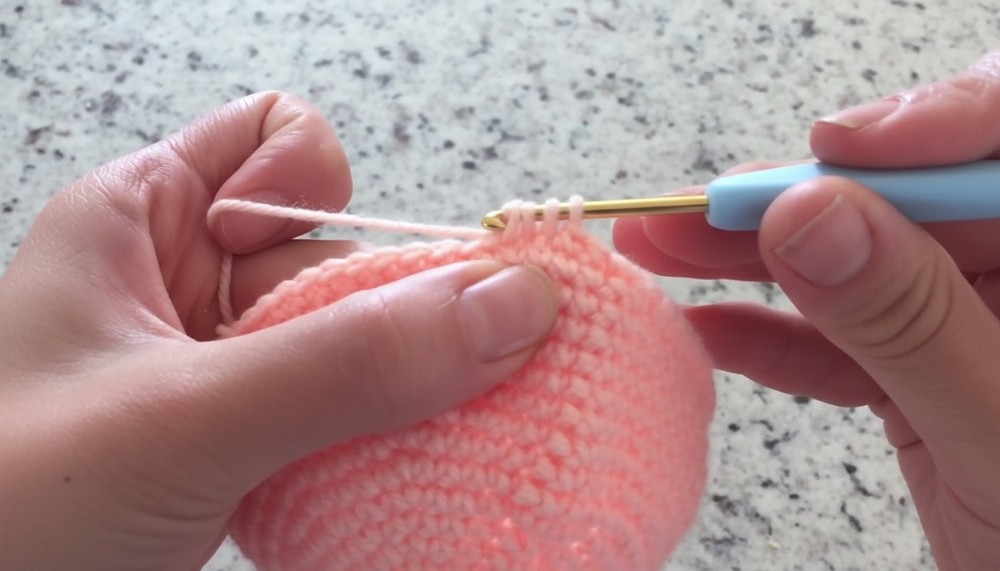
- Continue in single crochet (sc) only rounds (no increases) for several rows to build up the sides. You'll notice your work turning up to form a "bowl."
Shaping the Top (Decreases)
- Start Decreasing:
- Single crochet in one stitch, decrease the next two together (sc2tog).
- Insert your hook into the next two stitches, yarn over and pull through both, then yarn over and pull through both remaining loops.
- Continue crocheting & decreasing 3-4 times per round. Space them evenly for a nice sphere.
- Before the hole closes, stuff firmly with polyester filling so your orange is plump and round.
- Continue closing hole with sc2tog decreases until closed.
- Fasten off and weave in ends.
2. Shape the Orange (Optional Step)
To make your orange look more realistic:
- Thread a yarn needle with a length of orange yarn.
- Insert needle through the center bottom of orange and out the top center.
- Pull yarn tightly to create a slightly squished or “donut” shape.
- Knot your yarn and hide the end inside the orange.
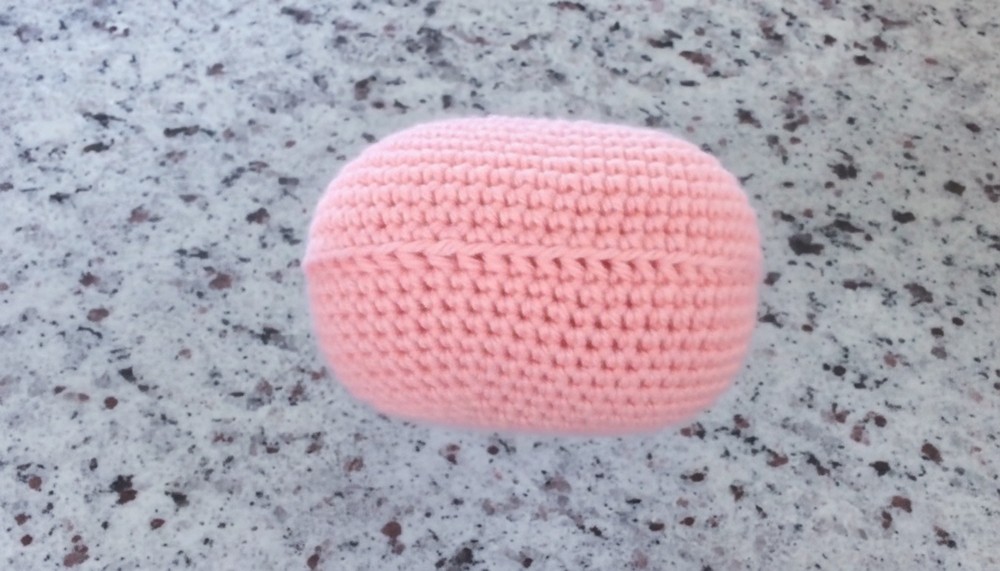
3. Make the Leaf
Foundation Chain
- With green yarn, make a slip knot on your hook.
- Chain 8-10, depending on how long you want the leaf.
Shaping the Leaf
- First Side:
- In the second chain from the hook, sc, and continue single crocheting down the chain.
- In the last chain, make 2-3 sc to turn and begin working up the other side of the foundation chain.
- Second Side:
- Continue with single crochet up the opposite side of the chain.
- End with a slip stitch to the starting single crochet, then fasten off and leave a tail for sewing.
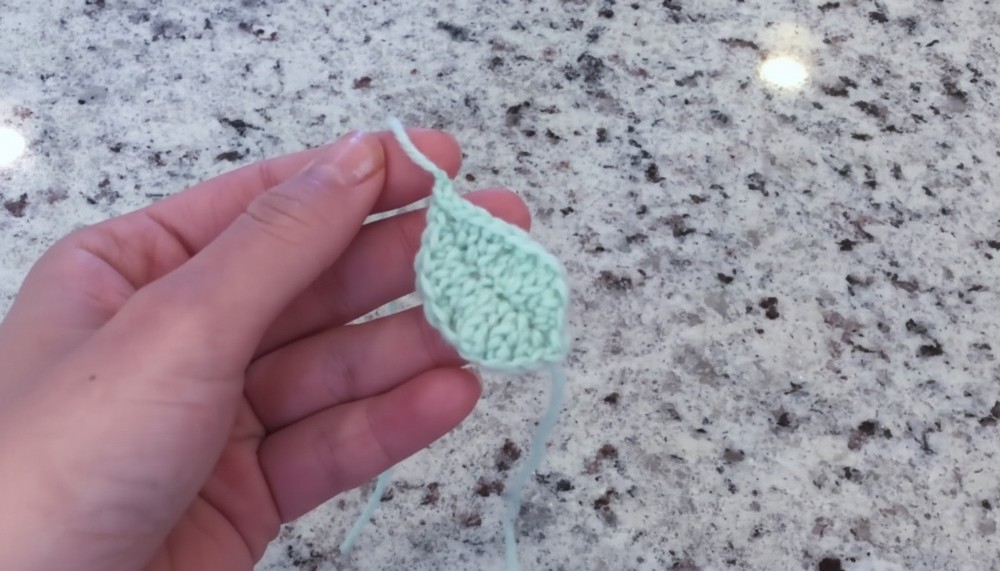
- Optionally, to create the pointed sides as in the tutorial: Cluster multiple sc in the widest part and decrease back down for the tapered end.
Shape and Attach
- Weave in ends and sew or glue the leaf to the top center of your orange.
4. Make and Attach the Stem (Optional)
- Cut a tiny rectangle of brown felt.
- Roll into a small stem and glue to the orange, next to the leaf.
5. Add the Face (Optional)
- Attach safety eyes or sew on tiny black beads/felt.
- Add blush with makeup or fabric paint under the eyes.
- Create a mouth from a thin piece of black felt, embroidery, or paper; glue in place.
Tutor's Suggestions & Tips
- Don’t have green yarn? Substitute with felt for the leaf.
- Don’t overstuff the orange: Use just enough stuffing to plump it, so it keeps its shape and doesn’t bulge.
- Shape Control: Don't add too many increases in the round or your orange will be flat like a coaster. To form the "bowl" shape, only add a few increases every round.
- Decreasing: When closing, don’t skip stitches outright; use the sc2tog method to keep gaps invisible.
Uses
- Desk or shelf decoration
- Cute gift or party favor
- Pin cushion or stress toy
- Encouraging healthy eating with a fun reminder!
Tip
Tip: If your stitches seem loose, try a smaller crochet hook for a neater finish. And remember: Consistent stitch tension makes your amigurumi look professional!
Conclusion
Now you've made your own adorable crochet orange! Perfect for beginners, this project is quick, fun, and a fabulous way to add creativity to your space. Customize as you wish, add a face, or experiment with other fruits – the possibilities are endless.


Leave a Reply