
Nothing beats the joy of making and sharing a cute crochet animal holding a heart. Using a Crochet Animals With Hearts Pattern, this sweet project is not only lovely to look at but also brings smiles to everyone, whether you gift it on Valentine’s Day, for a birthday, or keep it as a special decoration at home. You can easily change the colors and details to match your style or the person you are making it for, making each one unique.
Sweet Crochet Animals With Hearts Pattern for Lovable Keepsakes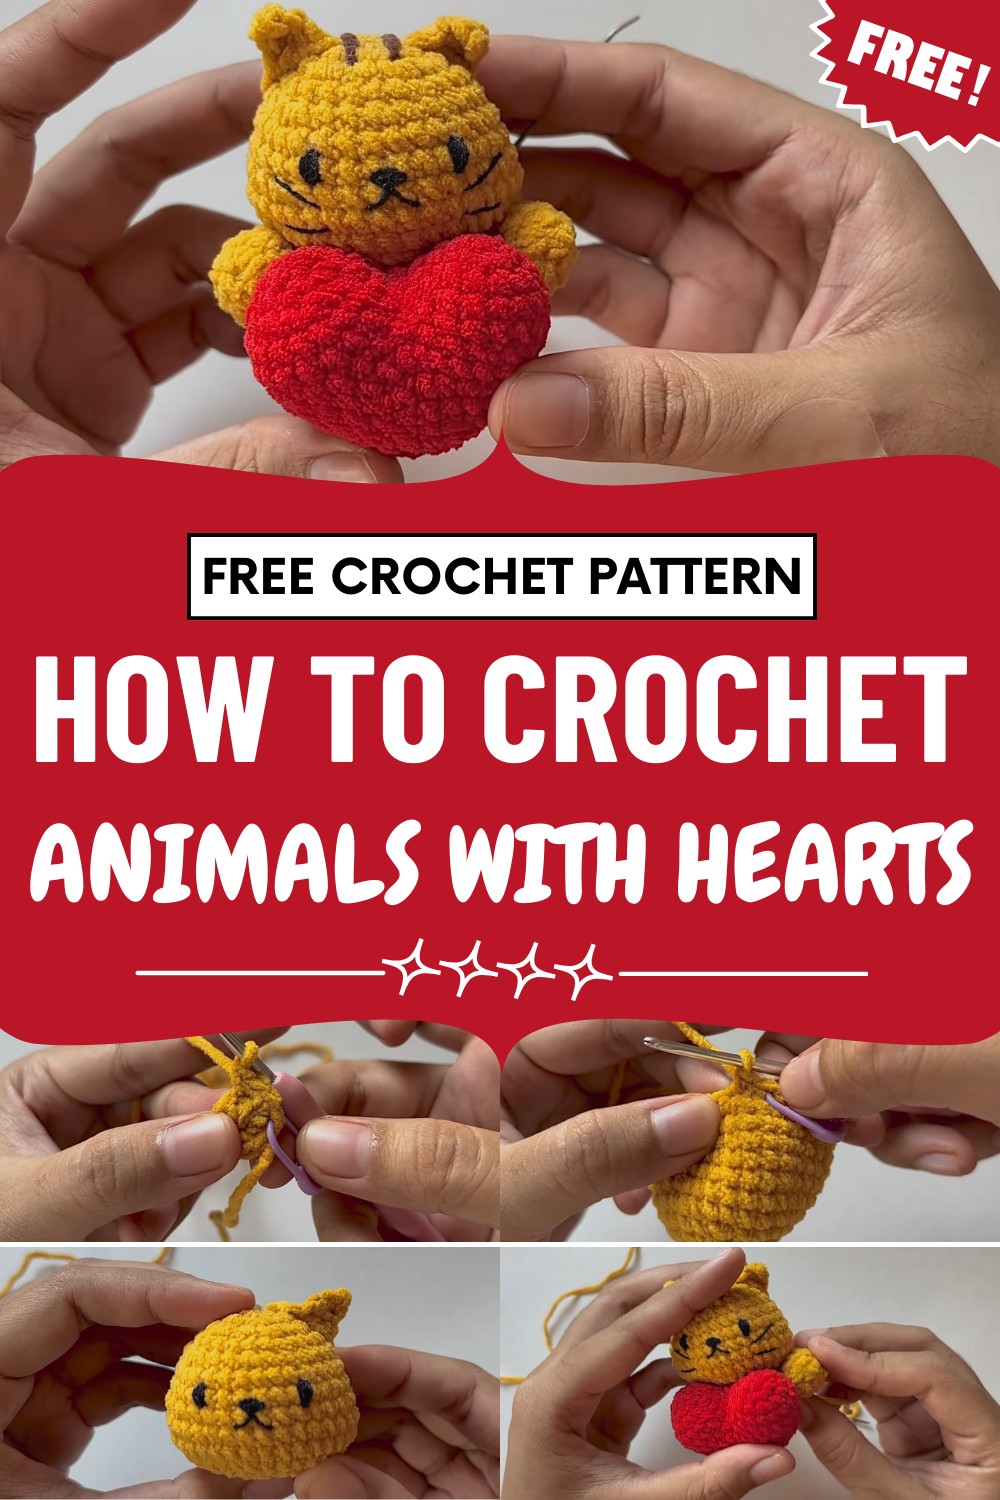
Making this animal is relaxing and fun, and it’s a great way to spend your time while preparing a gift that comes straight from the heart. The finished animal can become a keychain, bag charm, or a simple toy, spreading happiness wherever it goes.
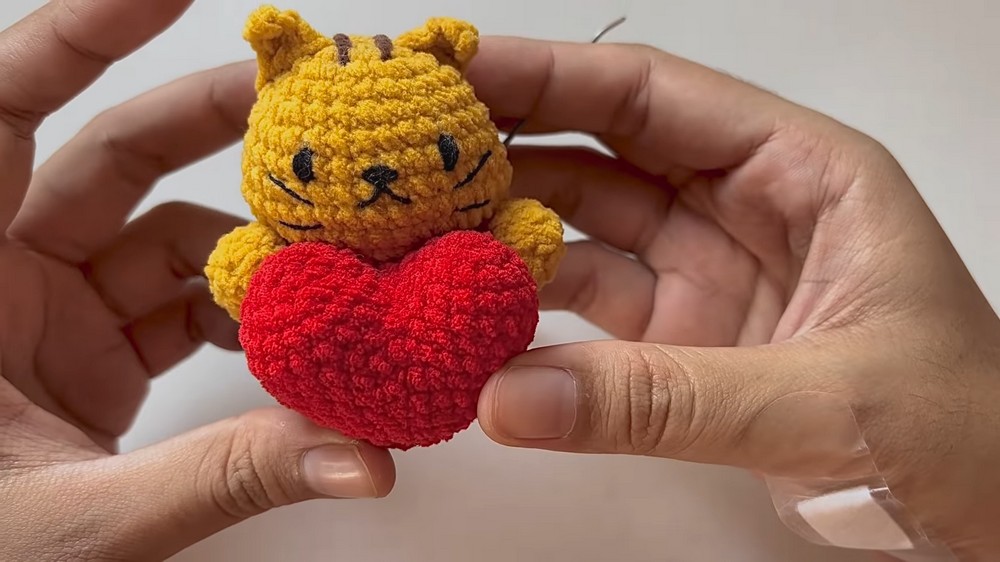
Its soft shape and tiny heart make it perfect for showing love and care, turning your time with yarn and hook into something truly special and memorable for both you and the person who receives it.
Special Features
- Adorable Animal Variations: Cat, Bear, Bunny, and Puppy versions with unique facial details.
- Heart Motif: Each animal holds a small heart.
- Customizable: Mix and match colors for personalization.
- Usable as Keychains: Add a chain for a cute accessory.
Difficulty Level
Confident Beginner – Intermediate
You should be familiar with basic crochet techniques and stitching in the round (magic ring, single crochet, increase, decrease), plus basic sewing of amigurumi parts.
Tutor’s Suggestions
- Take your time when stitching facial features for the best expression.
- Use a stitch marker to keep track of rounds.
- Hot glue or sew on small features for a professional look.
- Try chenille yarn for extra soft and cuddly animals!
Uses
- Valentine’s Day gifts
- Keychains or bag charms
- Car decorations
- Collectibles
- Party favors
Materials Needed
- Yarn: Chanel, velvet, or soft acrylic yarn
- Colors:
- Yellow (Cat)
- Brown (Bear)
- White (Bunny)
- Peach (Puppy)
- Pink (Hearts & Bunny nose)
- Black (Eyes, facial embroidery)
- P-color (Bear nose)
- Colors:
- Crochet Hook: 2.5 mm
- Stitch Marker
- Tapestry/Embroidery Needle
- Polyester Stuffing
- Scissors
- Glue or Hot Glue (optional for attaching details)
- Thread (for finer features like whiskers)
- Pins (for marking and sewing parts)
- Measuring Tape
Abbreviations
- MR: Magic ring
- sc: single crochet
- inc: increase (2 sc in same st)
- dec: invisible decrease
- hdc: half double crochet
- dc: double crochet
- sl st: slip stitch
- ch: chain
- st: stitch
Pattern
1. Head (Make 1 in chosen main color)
Round 1: MR, 8 sc into ring (8)
Round 2: [inc] x8 (16)
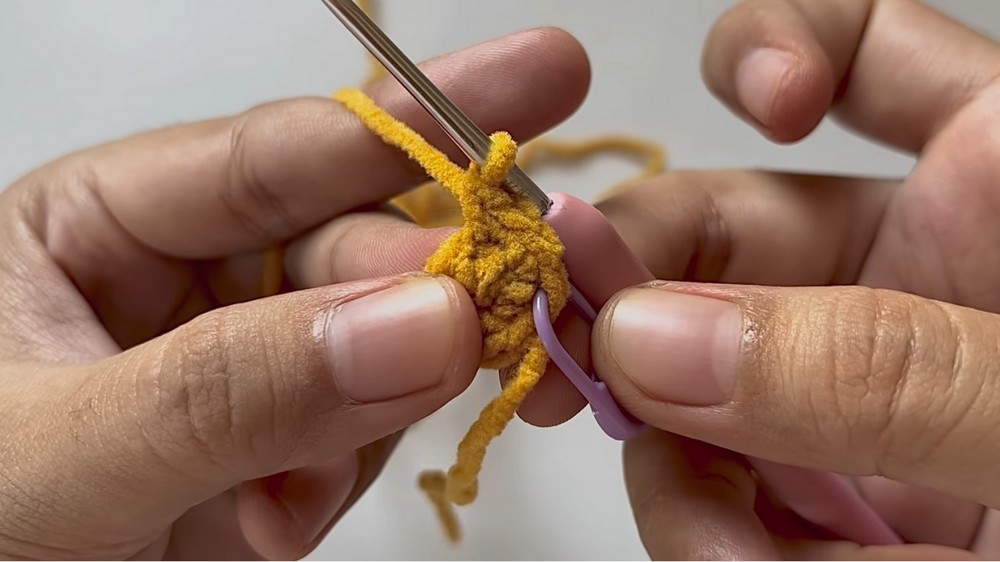
Round 3: [sc, inc] x8 (24)
Round 4: sc in each st around (24)
Round 5: [sc x2, inc] x8 (32)
Rounds 6-7: sc in each st around (32)
Round 8: sc x8, inc, sc, inc, sc x10, inc, sc, inc, sc x8 (36)
Rounds 9-10: sc in each st around (36)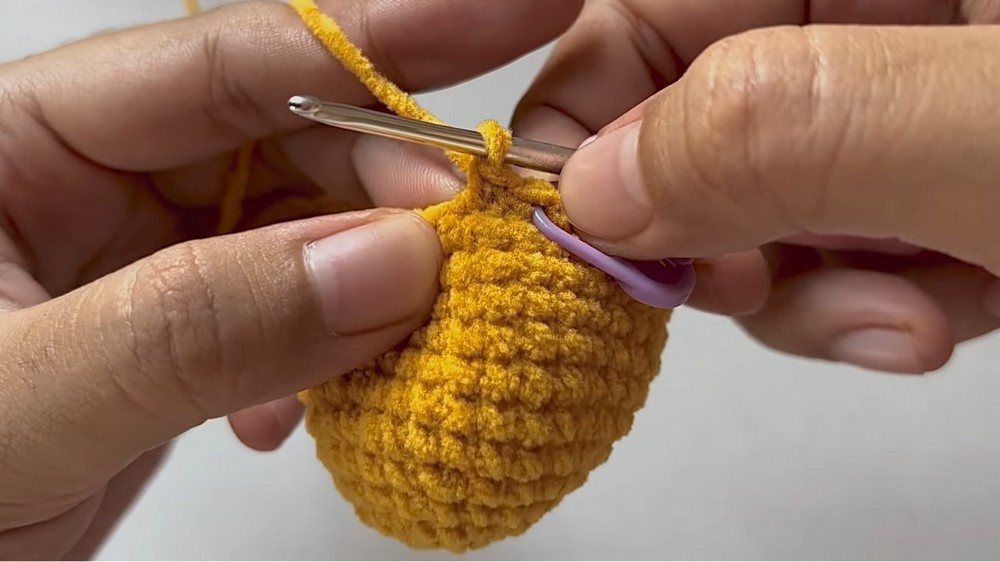
Round 11: sc x8, dec, sc, dec, sc x10, dec, sc, dec, sc x8 (32)
Round 12: [sc x2, dec] x8 (24)
Round 13: [sc, dec] x8 (16)
- Stuff head firmly.
Round 14: [dec] x8 (8) - Fasten off. Weave yarn through front loops of last round, pull tight to close, and hide tail.
2. Eyes (Black)
- Cut 15 cm black yarn, make a knot, attach to needle.
- Embroider eyes on round 7, leaving 6 stitches apart.
- Hide yarn tails.
3. Nose
- Cat & Puppy: Embroider with black yarn/thread between the eyes (over 2 stitches). For the lower nose, use thinner thread and shape a slight curve (not too tight).
- Bunny: Use pink yarn. Stitch nose between the eyes, 2 stitches wide.
- Bear:
- With P-color, MR, 6 sc (6).
- Sl st to first st, ch 1.
- Round 2: [inc] x6 (12).
- Fasten off, sew/ glue oval onto face.
- Embroider a D shape in black for the nose line.
4. Ears
- Cat (Yellow) x2
- Join yarn at round 5 on head.
- Ch 4. Work in foundation ch: sc in 2nd ch from hook, hdc in next ch, dc in next ch.
- Slip stitch to round 2. Fasten off, hide yarn.

- Bunny x2
- Ch 16.
- Row 1: sc in 2nd ch from hook, sc in next 3 (4 sc), hdc in next 5, dc in next 5.
- In last ch, work 5 dc.
- Work along other side: dc in next 5, hdc in next 5, sc in next 4.
- Leave long tail for sewing.
- Sew ears symmetrically between rounds 3 and 4.
- Dog (Brown) x2
- Ch 7.
- Sc in 2nd ch from hook, hdc in next 2, dc in next 2, 5 dc in last ch.
- Work along other side: dc in next 2 ch, hdc in next 2 ch, sc in last ch.
- Leave long tail for sewing.
- Bear (Brown) x2
- MR, 6 hdc in ring. Pull tight, leave long tail.
- Sew onto head, round 4 to 6.
5. Cat’s Stripes & Whiskers (Optional)
- With brown yarn, embroider 2-3 short stripes on top of cat’s head.
- For whiskers, use black thread, embroider lines about one row below eye.
6. Heart (Any Color) Make 1 per animal
- Work two cup shapes, join, and continue:
Make 2 identical cups:
- Round 1: MR, 6 sc (6)
- Round 2: [inc] x6 (12)
- Round 3: [sc, inc] x6 (18)
- Round 4: sc in each st around (18)
Do NOT cut yarn on second cup, join two cups:
- Hold wrong sides together, crochet around both (36).
- Next rounds:
- Round 6: [sc x4, dec] x6 (30)
- Round 7: sc in each st around (30)
- Round 8: [sc x3, dec] x6 (24)
- Round 9: sc in each st around (24)
- Round 10: [sc x2, dec] x6 (18)
- Round 11: sc in each st around (18)
- Stuff firmly.
- Round 12: [sc, dec] x6 (12)
- Round 13: [dec] x6 (6)
- Fasten off, close opening, and hide end.
7. Sewing Head & Heart Together
- Place head on heart, align between rounds 5 and 6 and sew centrally with corresponding yarn (about 4 stitches).
8. Hands (Match to animal color) – Make 2 per animal
Round 1: MR, 6 sc (6)
Round 2: [inc] x6 (12)
Rounds 3-8: sc in each st (12)
- Stuff lightly.
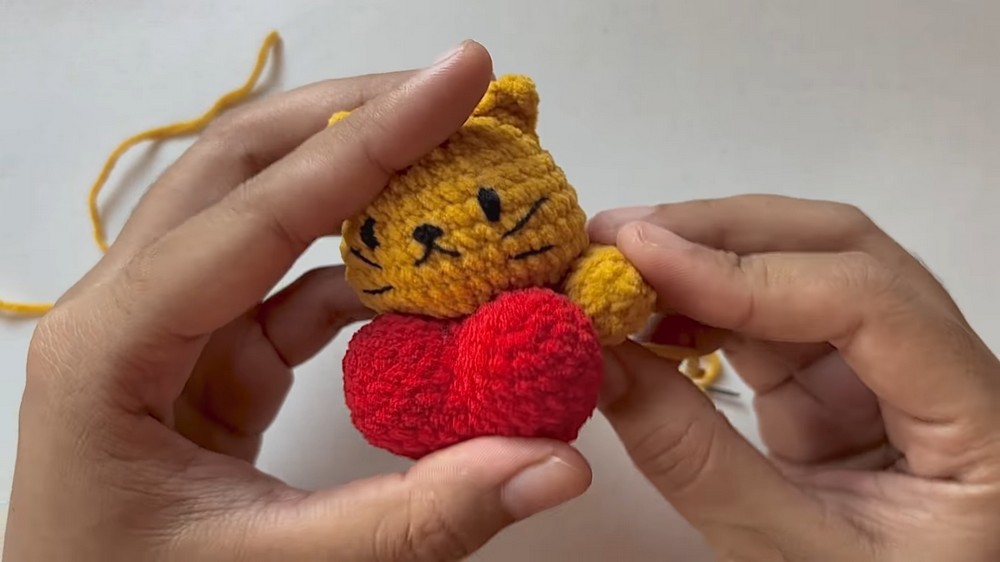
- Flat-close: Insert hook into first then opposite stitch, work together across opening with sc. Total 5 sc to close, then ch 1, leave long tail for sewing.
Sewing: Position each hand in a hugging shape over heart; sew one side near cheek, the other side center of heart. Hide ends.
9. Keychain Hanger (Optional)
- Ch 60, fasten off, thread ends through top of head, tie and trim.
- Attach metal keychain for added strength.
Conclusion
Congratulations! Your hearty animal is complete. These charming little creatures bring joy as gifts, accessories, or tokens of affection. Get creative with colors and embellishments for your own signature flair. Don’t forget to share your finished project to inspire others!
Final Tip
Tip: Use embroidery thread for finer facial details—this will help give your animals the neatest, cutest look with less bulk. And always use stuffing gradually to avoid lumps.




Leave a Reply