
Stitch your own accessory with this Crochet Turtle Bag Charm Pattern and a playful sea friend that gives every bag a sweet, whimsical touch.
Delightfully whimsical and irresistibly cute, the Crochet Turtle Bag Charm Pattern brings a playful ocean-inspired accent to everyday accessories. This charming miniature design adds personality to handbags, backpacks, key rings, and even gift packaging, instantly making them feel more unique and handcrafted. Its compact size makes it a quick and satisfying project, perfect for using leftover yarn while still creating something eye-catching and practical.
Cuddle Crochet Turtle Bag Charm Pattern for Bag Accents
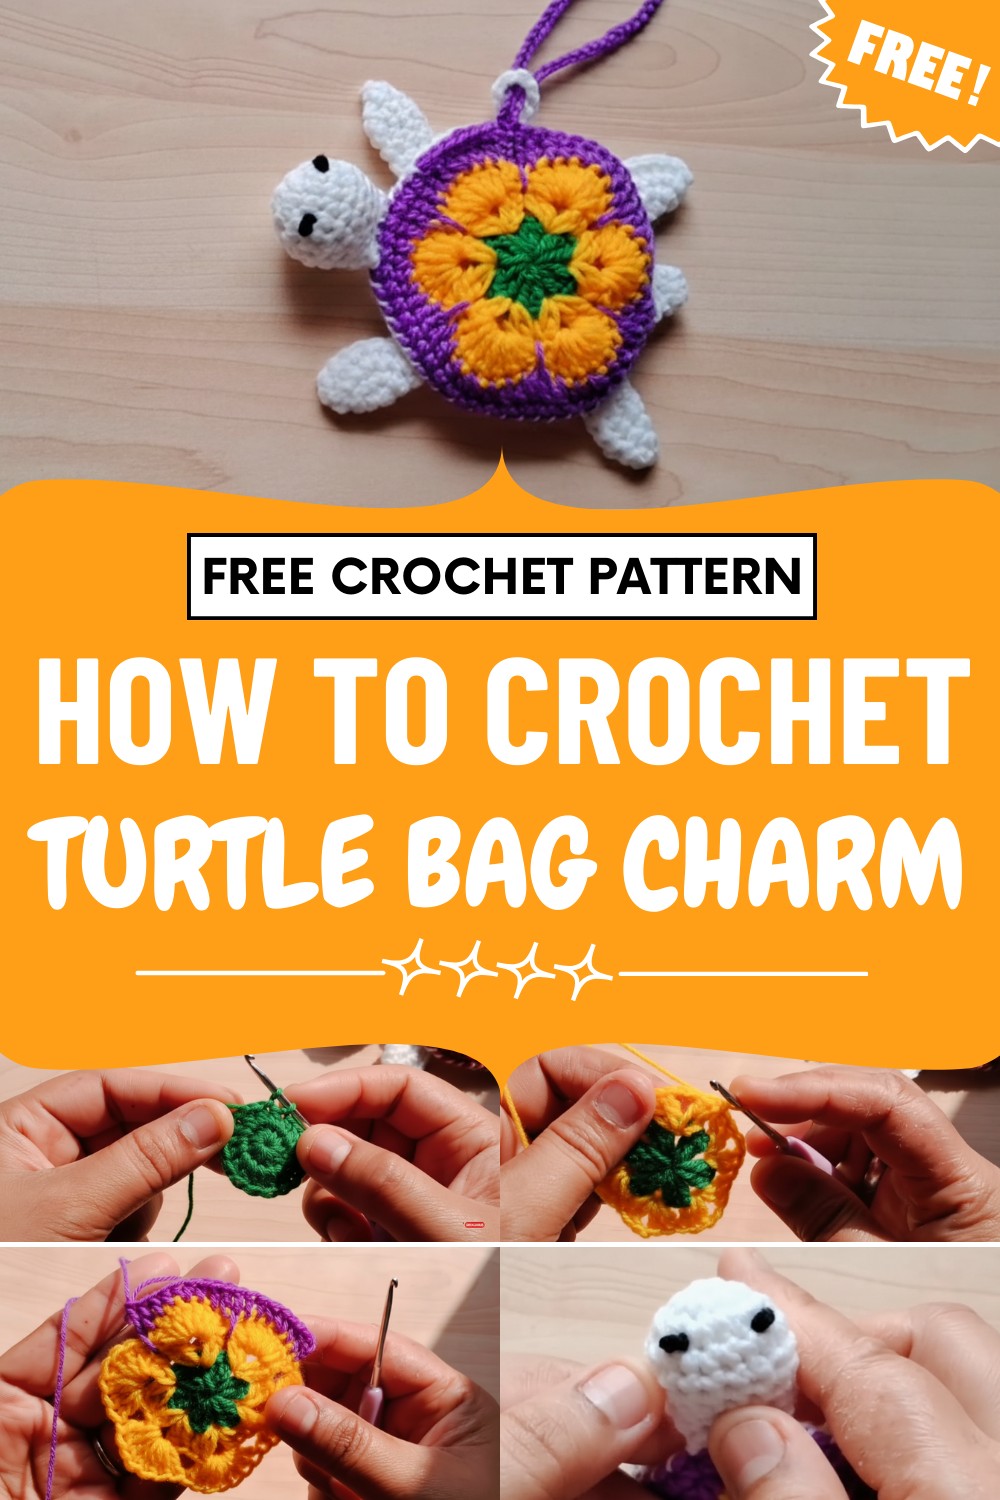
The textured shell details and tiny flippers give it a lifelike yet cozy appearance, blending creativity with elegance. Ideal for beginners and experienced crocheters alike, it offers a relaxing, enjoyable crocheting experience without requiring extensive materials.
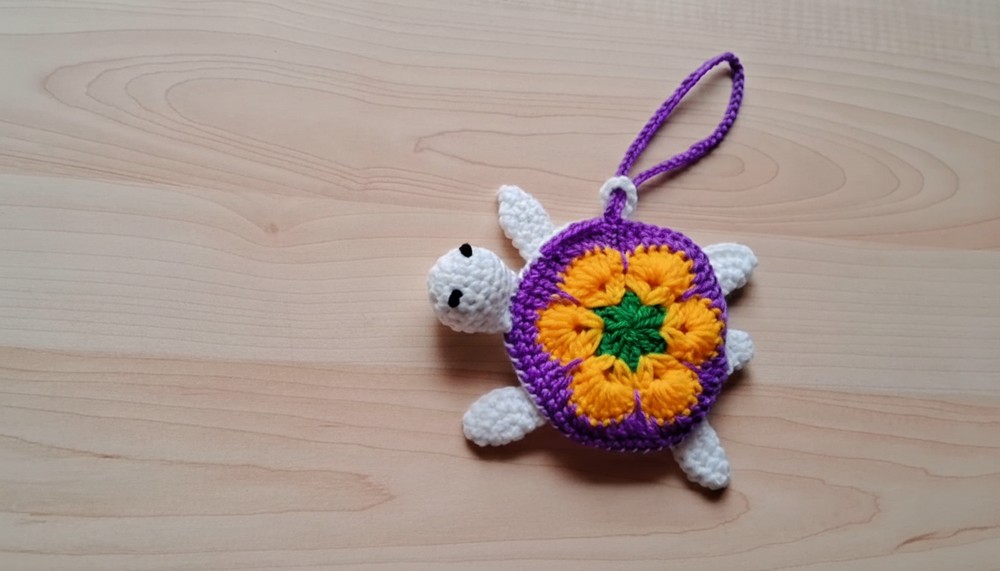
Beyond decoration, it also serves as a thoughtful handmade gift or a small product idea for crochet sellers. Soft, lightweight, and durable, this turtle charm remains secure while adding a splash of cheerful style wherever it goes.
Special Features
- Beginner-friendly: Simple stitches and detailed steps.
- Multi-purpose: Use as a coin pouch, bag charm, keychain, or small gift pouch (great for gifting rakhis or chocolates!).
- Customizable: Try different color combos for the shell and body.
- Handy locking loop and drawstring closure.
Materials Needed
- 4 colors of 4-ply yarn (e.g. green, yellow, purple, white)
- Small amount of black yarn/thread (or safety eyes/buttons for eyes)
- 2.5 mm crochet hook (adjust if using different yarn weight)
- Cotton stuffing
- Yarn needle for sewing and finishing
- Scissors
- Stitch markers (optional)
Level of Difficulty
Beginner – Basic stitches and clear instructions (perfect for first-timers).
Uses
- Bag charm
- Keychain
- Coin or trinket pouch
- Festive Rakshabandhan gift (holds rakhi and shagun)
- Cute mini gift box for chocolates or small surprises
Pattern Steps
1. Crochet the Turtle Shell (Top Piece)
Colors: Green (start), Yellow, Purple
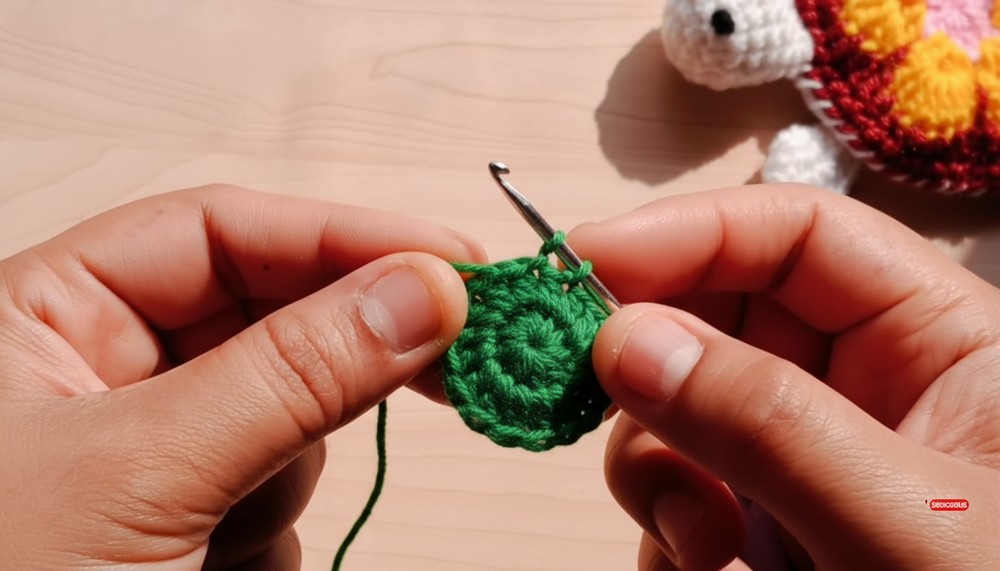
Round 1 (Green):
- Make a magic ring.
- 3 ch (counts as 1 dc), 1 dc in ring. ch 1, 2 dc in ring; repeat * 4 more times (6 pairs total; 12 dc and 6 ch-1 spaces).
- Join to top of starting 3 ch with a slip stitch.
Finish off green. Weave in center to close magic ring tightly.
Round 2 (Yellow):
- Join yellow yarn to any ch-1 space.
- [2 dc, ch 2, 2 dc] in each ch-1 space around.
- Join with a slip stitch to first dc.
Round 3 (Yellow):
- Slip stitch to the first ch-2 space of any "corner."
- Ch 3 (counts as dc), 6 dc in same space (total 7 dc).
- Skip 4 stitches below, 7 dc in next ch-2 space; repeat all the way around.
- Join with slip stitch to first dc. Fasten off.

Round 4 (Purple):
- Join purple to first dc of any 7-dc group.
- Ch 3 (dc), dc in next st.
- hdc in next st, 2 hdc in next st, hdc in next st, dc in next two sts (total 8 sts over 7 dc base).
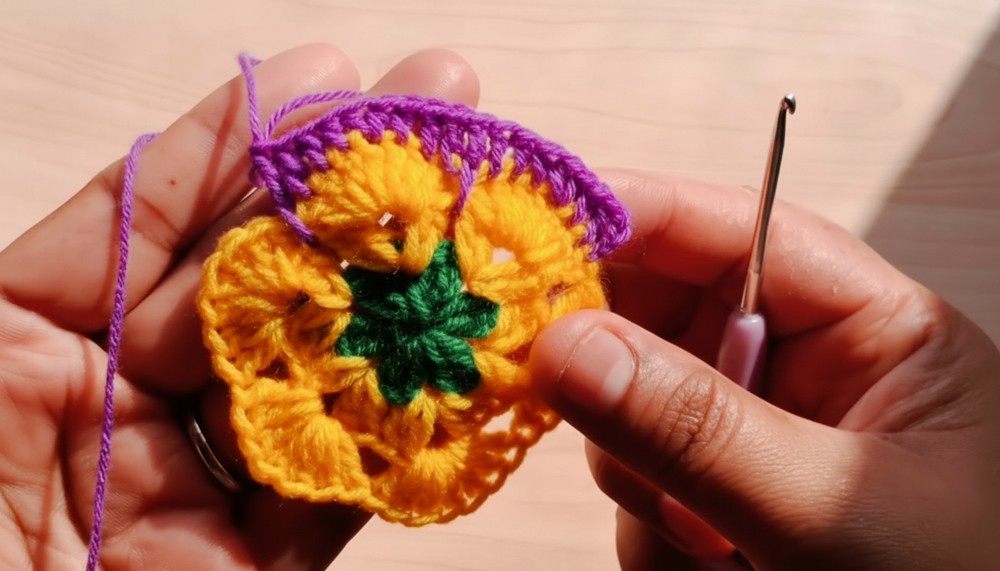
- Trc ("long dc") into row 2 space between shell groups, then repeat shell.
- Continue around: [2 dc, hdc, 2 hdc in same, hdc, 2 dc, trc in row below].
- End with trc, join with slip stitch to first dc.
Round 5 (Purple):
- Ch 1, sc in each st around (54 sc total).
- Join with slip stitch.
Make Drawstring:
- Chain 50, join ends with slip stitch to shell edge, tie off and weave in ends.
2. Crochet the Turtle Belly (Bottom Piece)
Color: White
Round 1:
- Magic ring, 6 sc in ring. Join with slip stitch.
Round 2:
- Ch 1. 2 sc in each st around (12 sc). Join.
Round 3:
- Ch 1. Sc, 2 sc in next st; repeat around (18 sc). Join.
Round 4:
- Ch 1. Sc in next 2 sts, 2 sc in next st; repeat (24 sc). Join.
Round 5:
- Ch 1. Sc in next 3 sts, 2 sc in next st; repeat (30 sc). Join.
Round 6:
- Ch 1. Sc in next 4 sts, 2 sc in next st; repeat (36 sc). Join.
Round 7:
- Ch 1. Sc in next 5 sts, 2 sc in next st; repeat (42 sc). Join.
Round 8:
- Ch 1. Sc in next 6 sts, 2 sc in next st; repeat (48 sc). Join.
Round 9:
- Ch 1. Sc in next 7 sts, 2 sc in next st; repeat (54 sc). Join.
Round 10:
- Ch 1. Sc in each st around.
- When you reach the 7th stitch (use the marker), stop and ch 10 to create the locking loop, join back to same st with slip stitch.
- Continue sc in next sts to end. Join and fasten off, leaving a long tail for sewing.
3. Turtle Head
Color: White
Round 1:
- Magic ring, 6 sc in ring. Join.
Round 2:
- Ch 1. 2 sc in each st (12 sc). Join.
Round 3:
- Ch 1. Sc, 2 sc in next st, repeat (18 sc). Join.
Round 4:
- Ch 1. Sc in each st (18 sc). Join.
Round 5:
- Ch 1. Sc in next 3 sts, sc2tog (decrease over next 2 sts); repeat (to around 15 sts).
Round 6:
- Ch 1. Sc in each st. Join.
Round 7:
- Ch 1. Sc in next 3 sts, sc2tog; repeat (to 12 sts).
Round 8:
- Ch 1. Sc in each st. Join.
- Fill lightly with cotton.
- Flatten, single crochet closed across the opening to join both sides.
- Fasten off, leaving long tail for sewing.
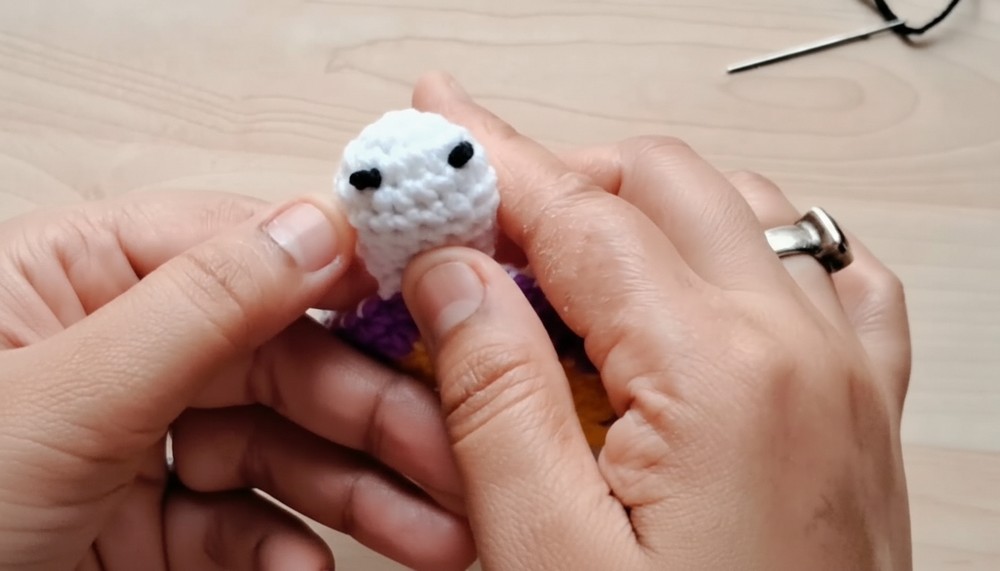
4. Turtle Legs (Make 4)
Each leg is a three-round ball:
- Round 1: Magic ring, 6 sc.
- Round 2: 2 sc in each st (12 sc).
- Round 3: Sc, 2 sc in next st around (18 sc).
- Fold circle in half, single crochet through both sides across (no stuffing).
- Leave a long tail for sewing.
5. Turtle Tail
Round 1: Magic ring, 6 hdc. Join.
Round 2: Fold and single crochet through both sides (forms a flat triangle).
Fasten off leaving tail for sewing.
6. Assembly
Attach Legs
- Use stitch markers to place legs evenly on the 9th round of the belly.
- Sew each leg firmly using tails and yarn needle.
Sew Belly and Shell Together
- With right sides facing out, align locking loop and string gaps.
- Thread long tail and whipstitch or mattress stitch the shell to the belly, leaving string side open for drawstring opening.
Sew Head and Tail
- Sew head securely between two legs at one end.
- Sew tail at opposite end between the other two legs.
Embroider Eyes
- Use black thread to embroider or sew on small round eyes (or attach safety eyes or buttons).
Conclusion
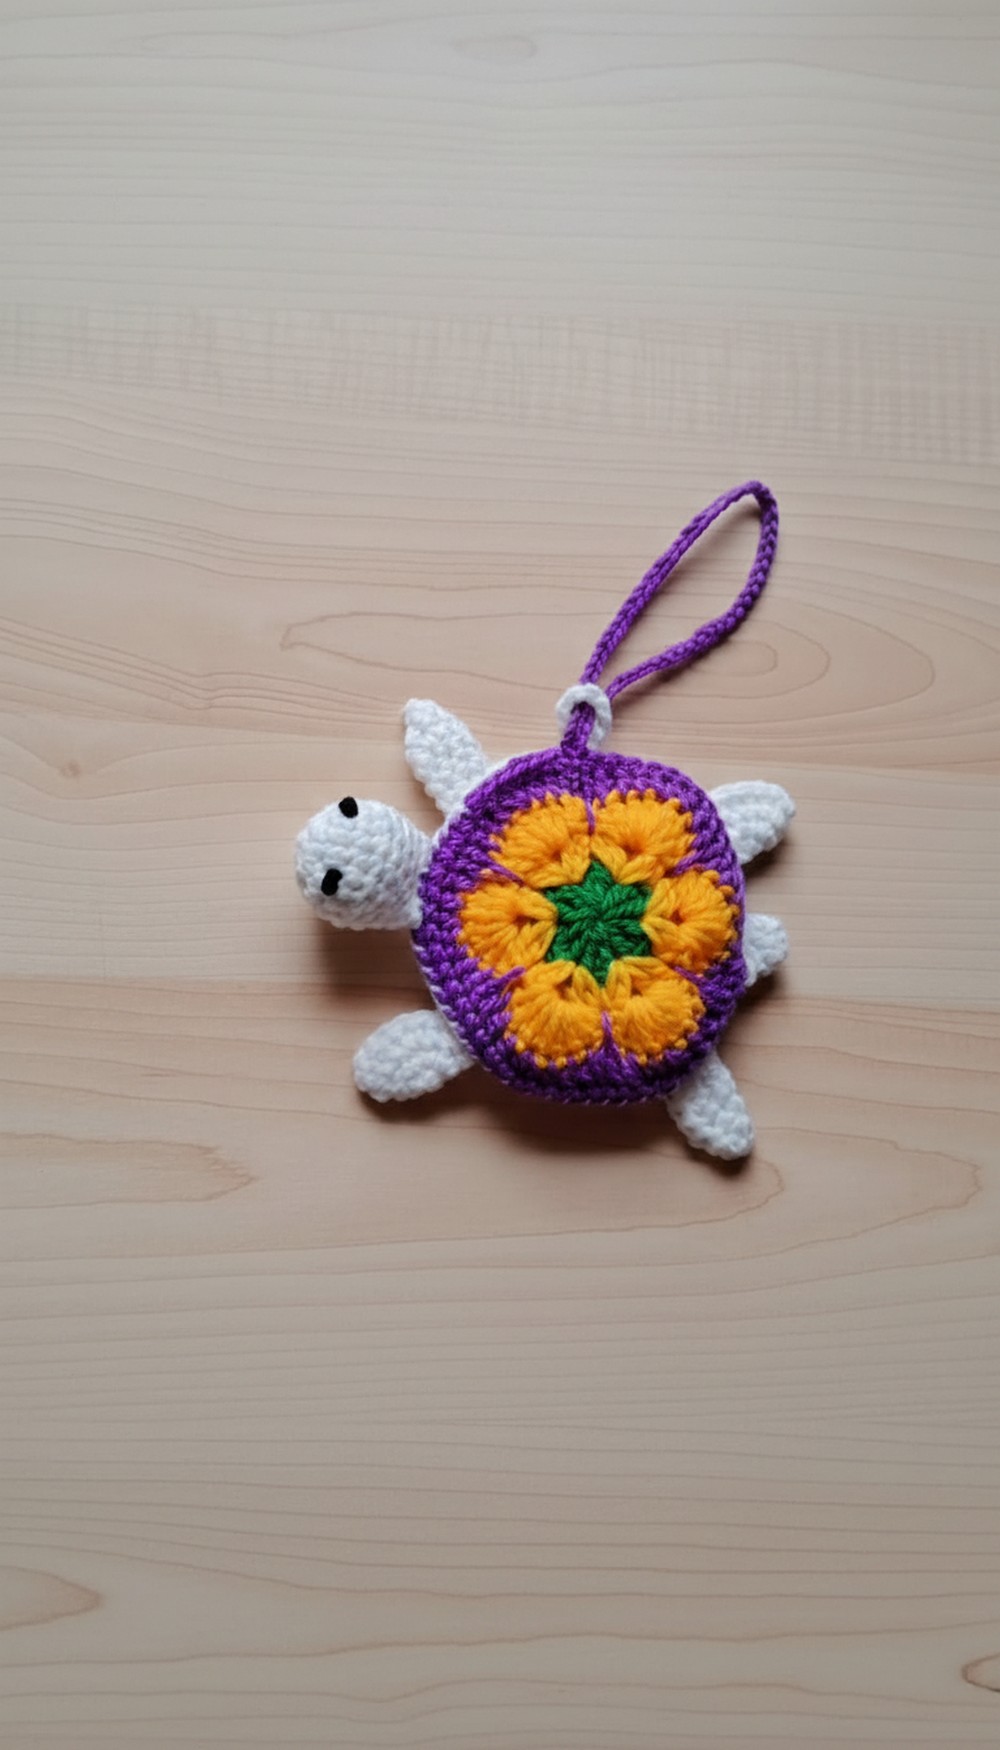
Your cute crochet turtle pouch is now ready! Stuff it with coins, rakhis, or little chocolates and watch smiles happen. This unique pouch is sure to stand out as a bag charm, keychain, or festive handmade gift.
Tutor’s Suggestions
- Use bright, contrasting colors for shell for best visual results.
- You can use safety eyes or embroider the eyes for extra cuteness.
- Do not over-stuff the head; just enough to give it a round shape.
Quick Tip
Mark your rounds and color changes with stitch markers for neater finishing and easy counting.




Leave a Reply