
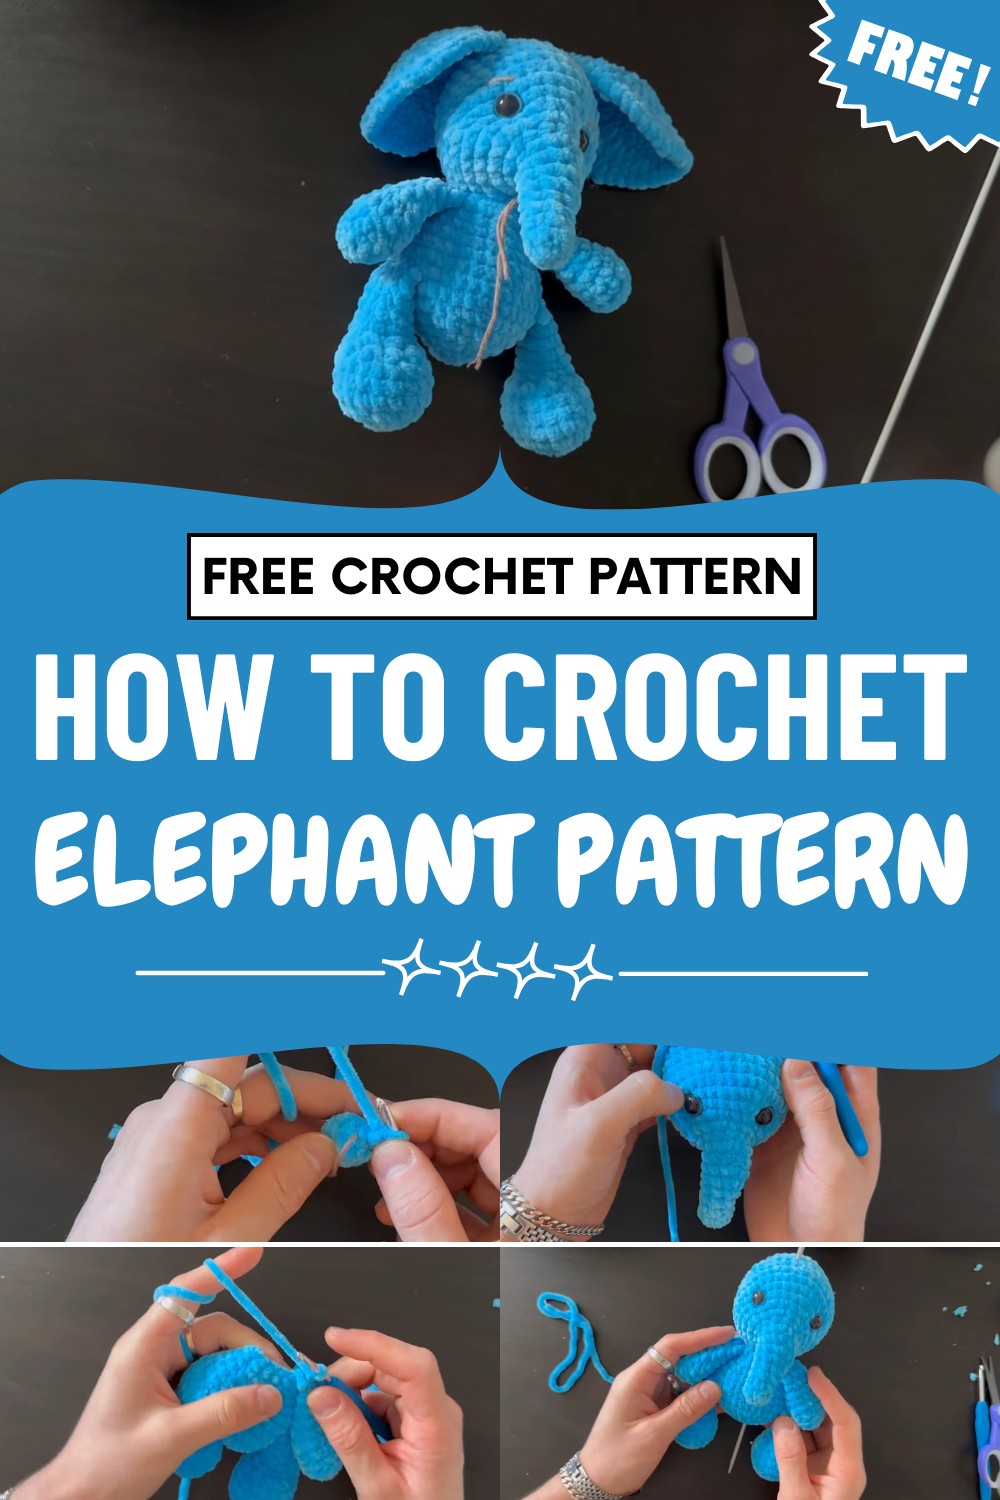
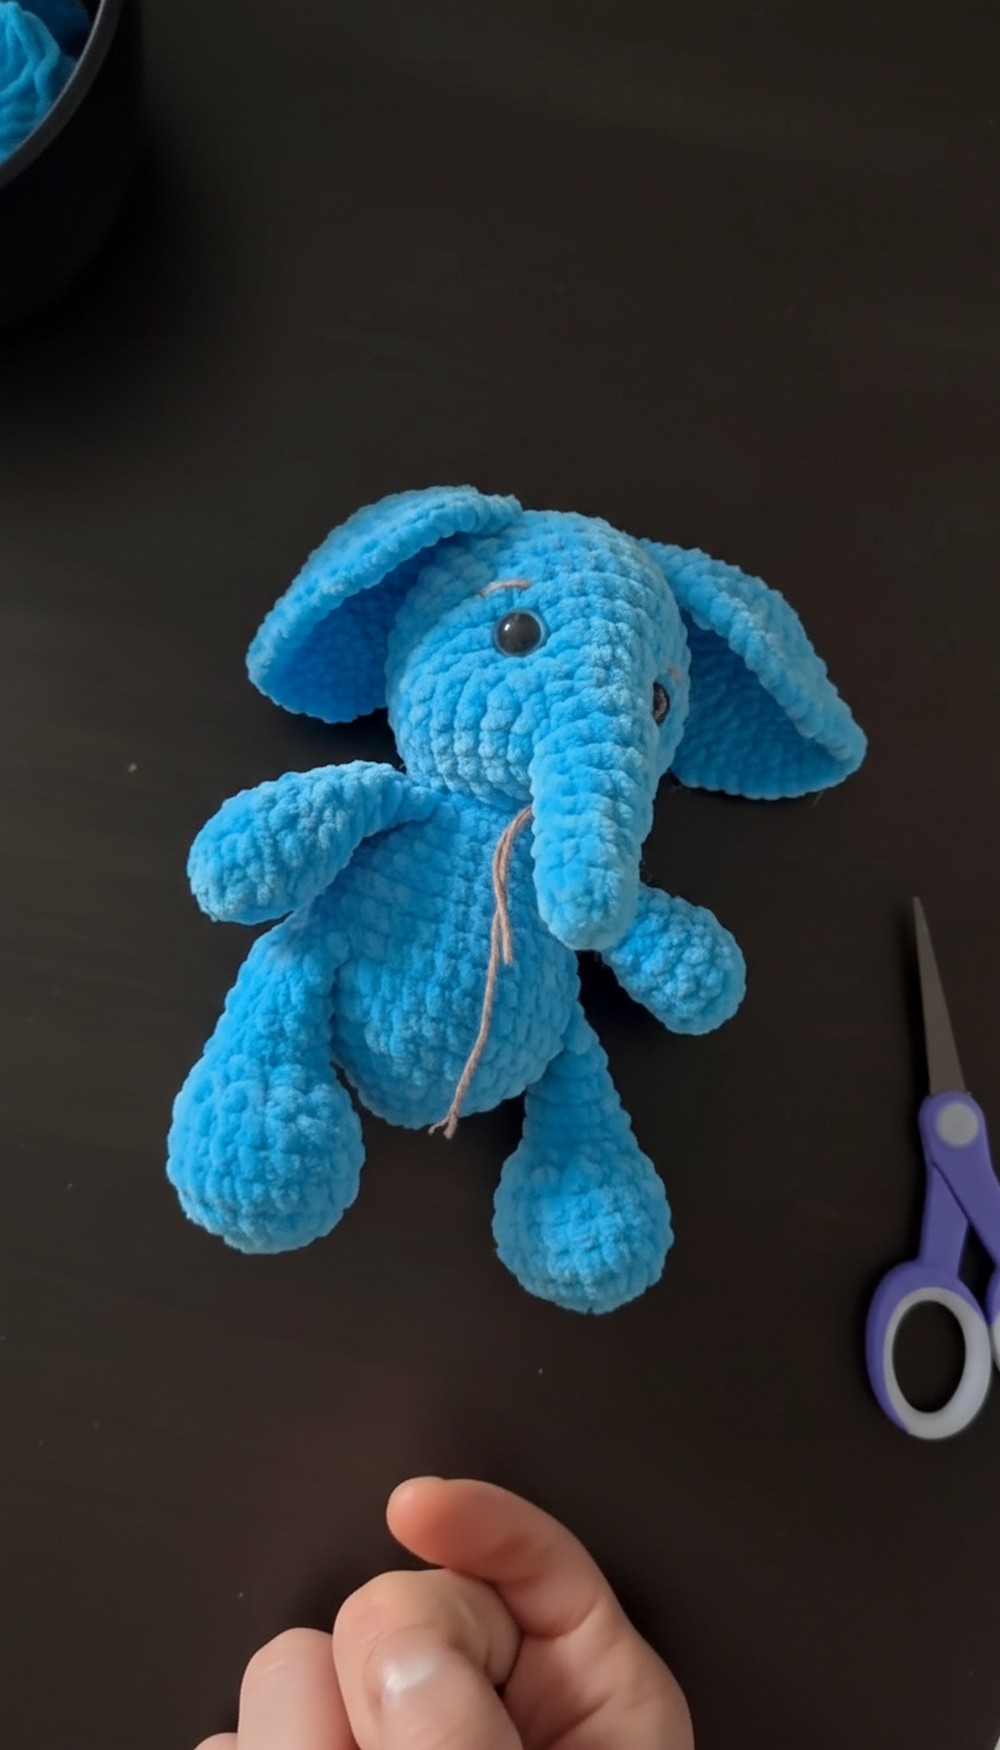
Trek into cuteness with this Free Crochet Elephant Pattern that's perfect for adding charm to nurseries, shelves, or cozy little corners.
Gracefully blending artistry and whimsy this delightful project offers both visual allure and enduring sentimental value. Crochet Elephant Pattern yields a piece that captivates with its elegant form—gentle curves, large expressive ears, and a signature curved trunk add a touch of playful sophistication to any setting. Whether nestled in a nursery, displayed as an artful accent, or cherished as a bespoke gift, this elephant represents both tradition and personal flair.
Sweet Crochet Elephant Pattern perfect for kids’ rooms
The ability to customize color palettes, yarn textures, and embroidered details ensures the result is uniquely yours, transforming a simple pattern into a one-of-a-kind heirloom. More than just a charming decoration, this lovable figure serves practical functions—safe and huggable for children, soothing to make, and endlessly satisfying to give.
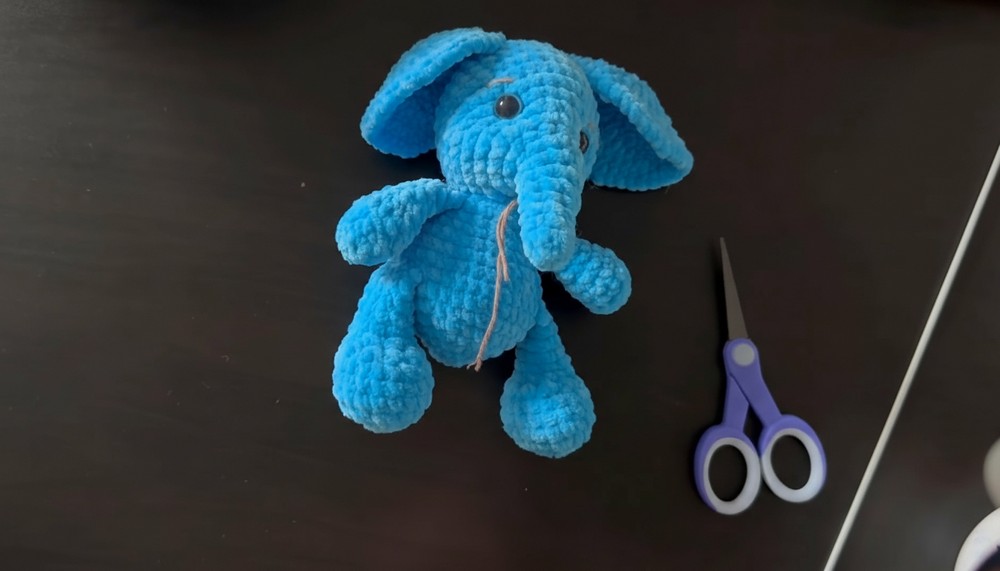
Contemporary yet timeless, the graceful style and joyful appeal of a crocheted elephant turn every stitch into a celebration of skill and imagination.
Special Features
- Curved, soft trunk for a realistic and cute look.
- Large, rounded ears attached with shaping for extra character.
- Fully crocheted legs and arms, joined seamlessly to the body.
- Customizable face with embroidered details (eyebrows, lashes).
- Sturdy build suitable for play or display.
Level of Difficulty
Intermediate:
You should be comfortable with working in rounds, managing increases and decreases, joining limbs as you crochet, and basic embroidery for facial details. Some shaping in trunk and ears is required.
Tutor’s Suggestions
- Use soft, sturdy yarn for a plush feel.
- Safety eyes are recommended for a professional touch, but you can embroider or add beads instead.
- Adjust stuffing to shape limbs and body, leaving some parts soft for a realistic floppy effect.
- Personalize with your own color choices and facial embroidery.
Materials
- Yarn: Blue (main color); fine dark brown for facial details
- Hook: 4 mm
- Safety Eyes: 6–8 mm
- Scissors
- Needle
- Fiberfill Stuffing
Step-by-Step Pattern
1. Trunk and Head
Trunk
- Make a slip knot, chain 2. In second loop from hook, 6 sc.
- Work 1 round of 6 sc.
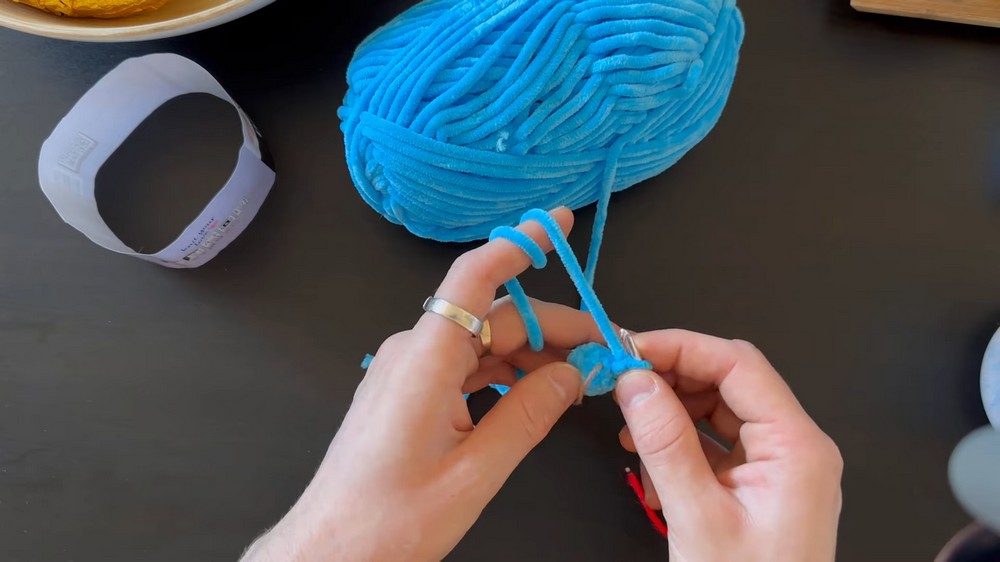
- Turn, mark your row.
- Begin increases at end of each row:
- 5 sc, inc (7 sc),
- 6 sc, inc (8 sc),
- Continue, always increasing at the end of each row until you have 12 sc (final row: 10 sc, inc).
- Next round: 2 sc, 6 closing stitches (see tutor’s method for closing: pull through straight instead of yarn over), and 4 sc.
- Begin normal increases: (1 sc, inc) x 6 (18 sc).
- Next rows:
- (2 sc, inc) x 6,
- (3 sc, inc) x 6,
- (4 sc, inc) x 6 (36 sc).
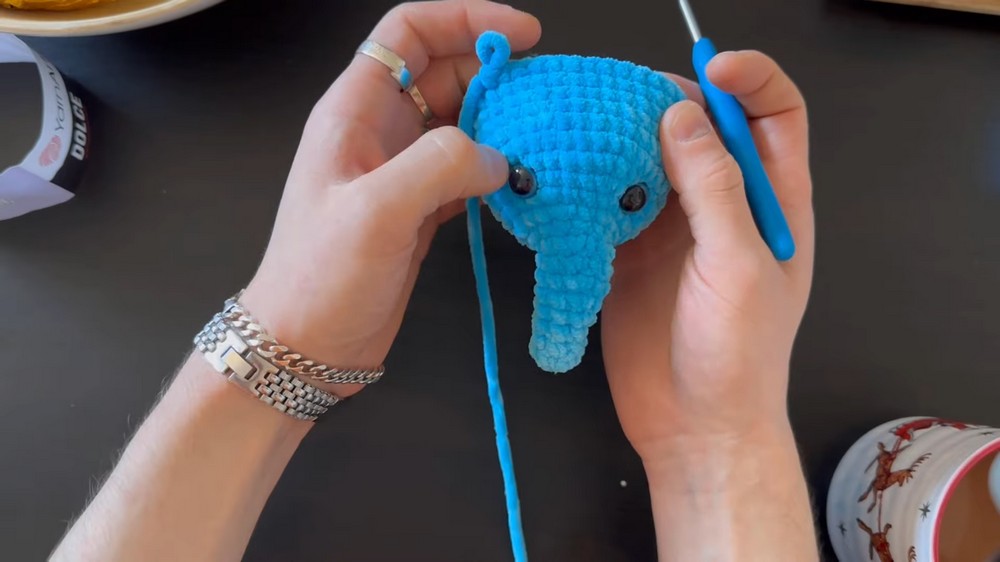
Head Shaping
8. Work 6 rounds in 36 sc.
- Place safety eyes between rounds 12 and 13, 7 stitches apart, centered above trunk/closes.
- Begin decreases while stuffing:
- (4 sc, dec) x 6
- (3 sc, dec) x 6
- (2 sc, dec) x 6
- (1 sc, dec) x 6 (finish off and close the opening, hide thread).
2. Legs (Make 2)
- Chain 2, in second loop, 6 sc.
- (Inc) x 6 (12 sc).
- (1 sc, inc) x 6 (18 sc).
- Work 3 rounds of 18 sc.
- Shape foot: 3 sc, (dec) x 6, 3 sc.
- Next round: 4 sc, 2 dec, 4 sc.
- Fill bottom half firmly, leave top part softer.
- Work 4 rounds of 10 sc.
- Flatten top, sc across both sides (5 sc), slip stitch to finish.
3. Arms (Make 2)
- Chain 2, in second loop, 6 sc.
- (Inc) x 6 (12 sc).
- Work 1 round of 12 sc in back loop only (creates a flat edge).
- Work 2 rounds of 12 sc.
- Lightly stuff.
- Next round: 4 sc, hdc decrease, repeat once.
- Work 1 round of 10 sc.
- Next round: (3 sc, dec) x 2 (8 sc).
- Work 1 round of 8 sc.
- Flatten end, sc across both sides (4 sc), slip stitch to finish.
4. Ears (Make 2)
- Chain 2, in second loop, 6 sc.
- (Inc) x 6 (12 sc).
- (1 sc, inc) x 6 (18 sc).
- Next round: inc, 2 sc, inc, repeat to end.
- Next round: (3 sc, inc) x 6 (30 sc).
- Add occasional random increases for rounded shape.
- Next rounds: (4 sc, inc) x 6 up to (5 sc, inc) x 6 (final round).
- Slip stitch to finish, leave a long tail for sewing.
5. Body
- Chain 2, in second loop, 6 sc.
- (Inc) x 6 (12 sc).
- (1 sc, inc) x 6 (18 sc).
- (2 sc, inc) x 6 (24 sc).
- (3 sc, inc) x 6 (30 sc).
- (4 sc, inc) x 6 (36 sc).
Tail
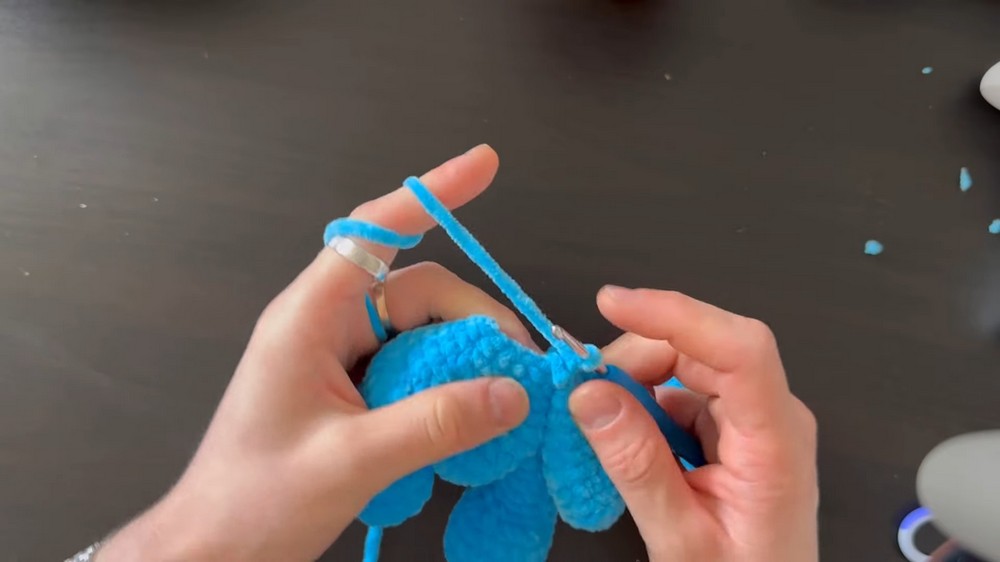
7. At end of last round, chain 8, in second loop, 7 sc, join to next body stitch.
Join Legs
8. Work 36 sc in body, then:
- 7 sc, join 1st leg with 5 sc, 12 sc, join 2nd leg with 5 sc, 7 sc.
- Next round: 4 sc, dec, repeat (with one round in between), then 3 sc, dec, etc., until 18 sc remain.
Join Arms
11. 4 sc, join arm with 4 sc, 4 sc, join arm with 4 sc, 1 sc.
- Slip stitch, leave tail to later sew head.
6. Assembly
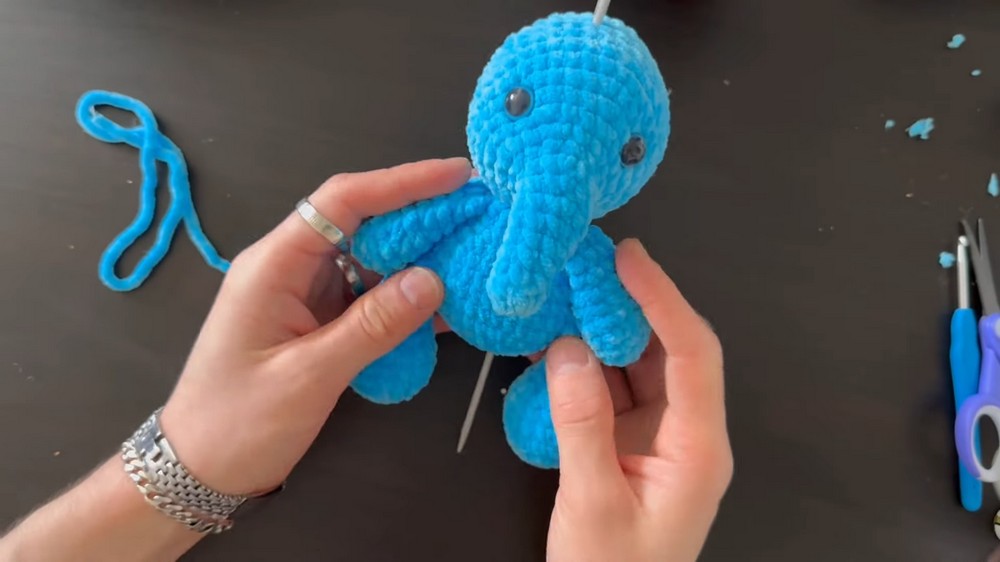
- Stuff body and head, sew head firmly on body.
- Attach ears three stitches below the head slip knot, adjust for symmetry.
- Embroider mouth, eyebrows, and lashes using fine yarn following tutor’s guidance for placement.
- Weave in ends, shape cheeks by gentle pulling and tightening as demonstrated.
Conclusion
Congratulations on completing your crocheted little elephant! This pattern brings soft curves, expressive features, and seamless joins for a delightful result. Perfect for children, gifts, or just as a cheerful addition to any collection, you can personalize it further with different yarns and facial expressions.
Tip
For floppy, expressive ears and trunk, avoid over-stuffing. Use stitch markers to keep track of rows, especially during the increases and decreases, for perfect symmetry.




Leave a Reply