
Start stitching with this Free Crochet Teddy Bear Pattern that’s easy, fun, and perfect for sharing warm smiles with friends and family.
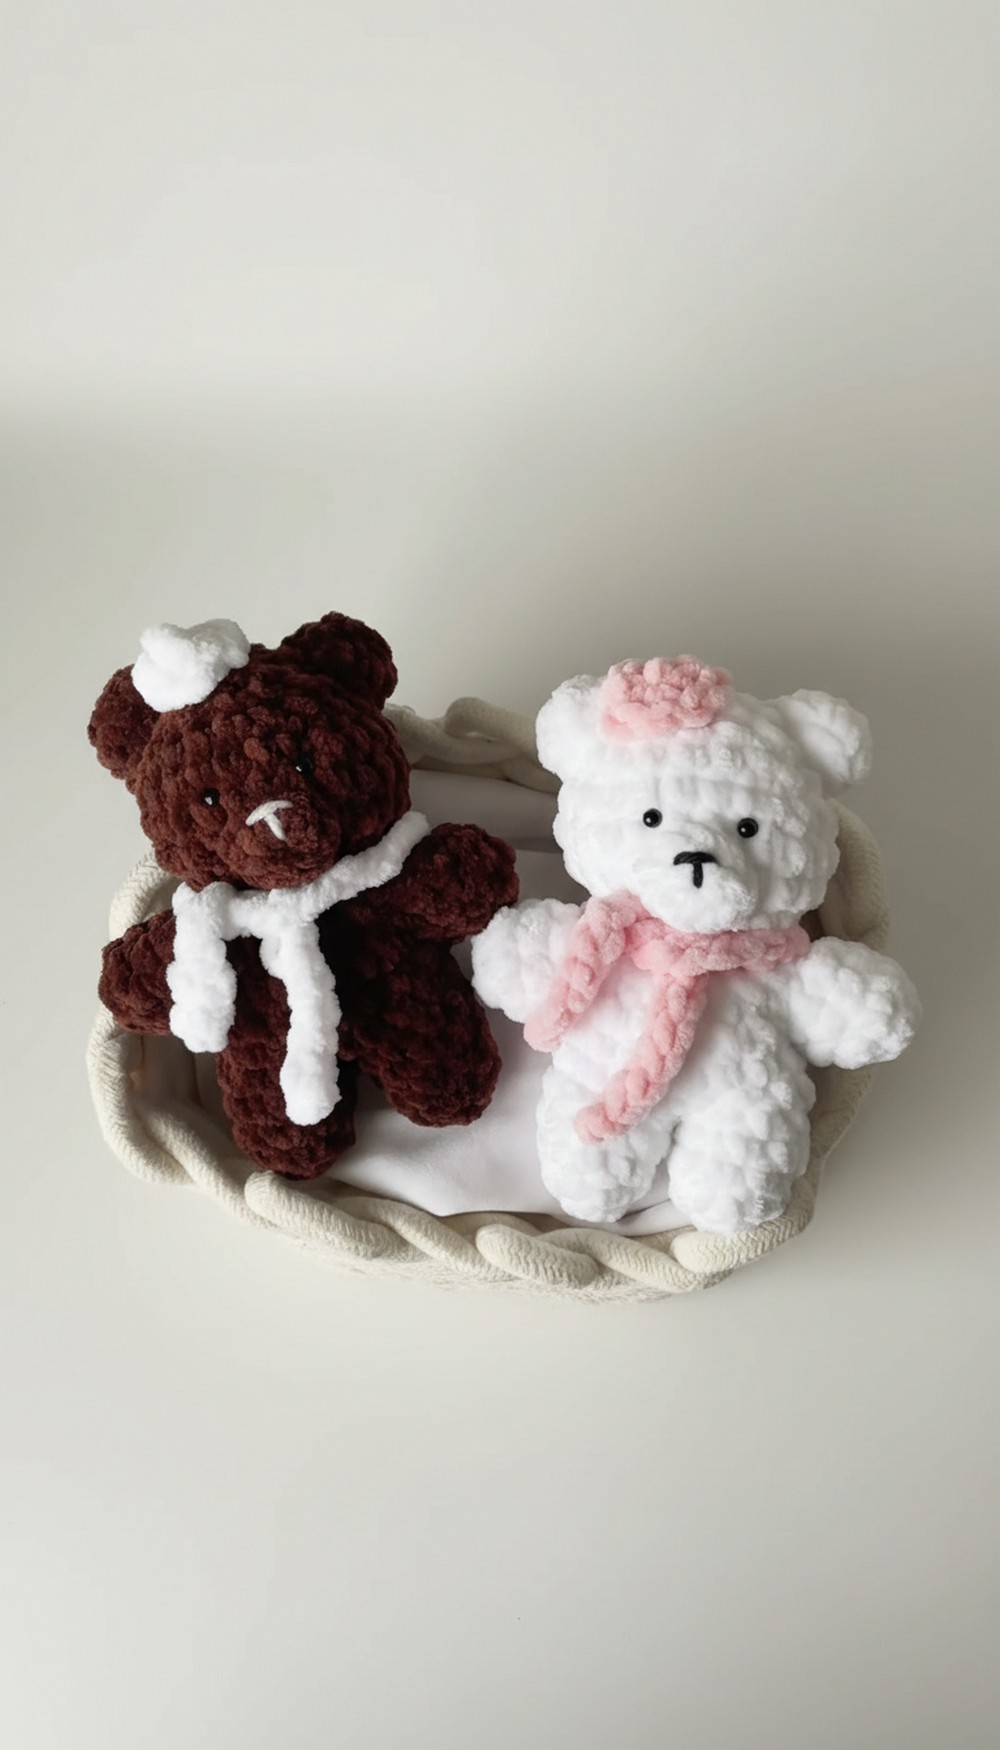
Who wouldn’t love a soft and adorable teddy bear made with simple yarn and easy steps? The crochet teddy bear pattern shows how to make a snuggly stuffed friend that brings comfort and joy to people of all ages. You can use these adorable bears as thoughtful gifts, sweet keepsakes, or charming decorations for a cozy touch in any space.
Whimsical Crochet Teddy Bear Pattern to Make Your Own Plush Pal
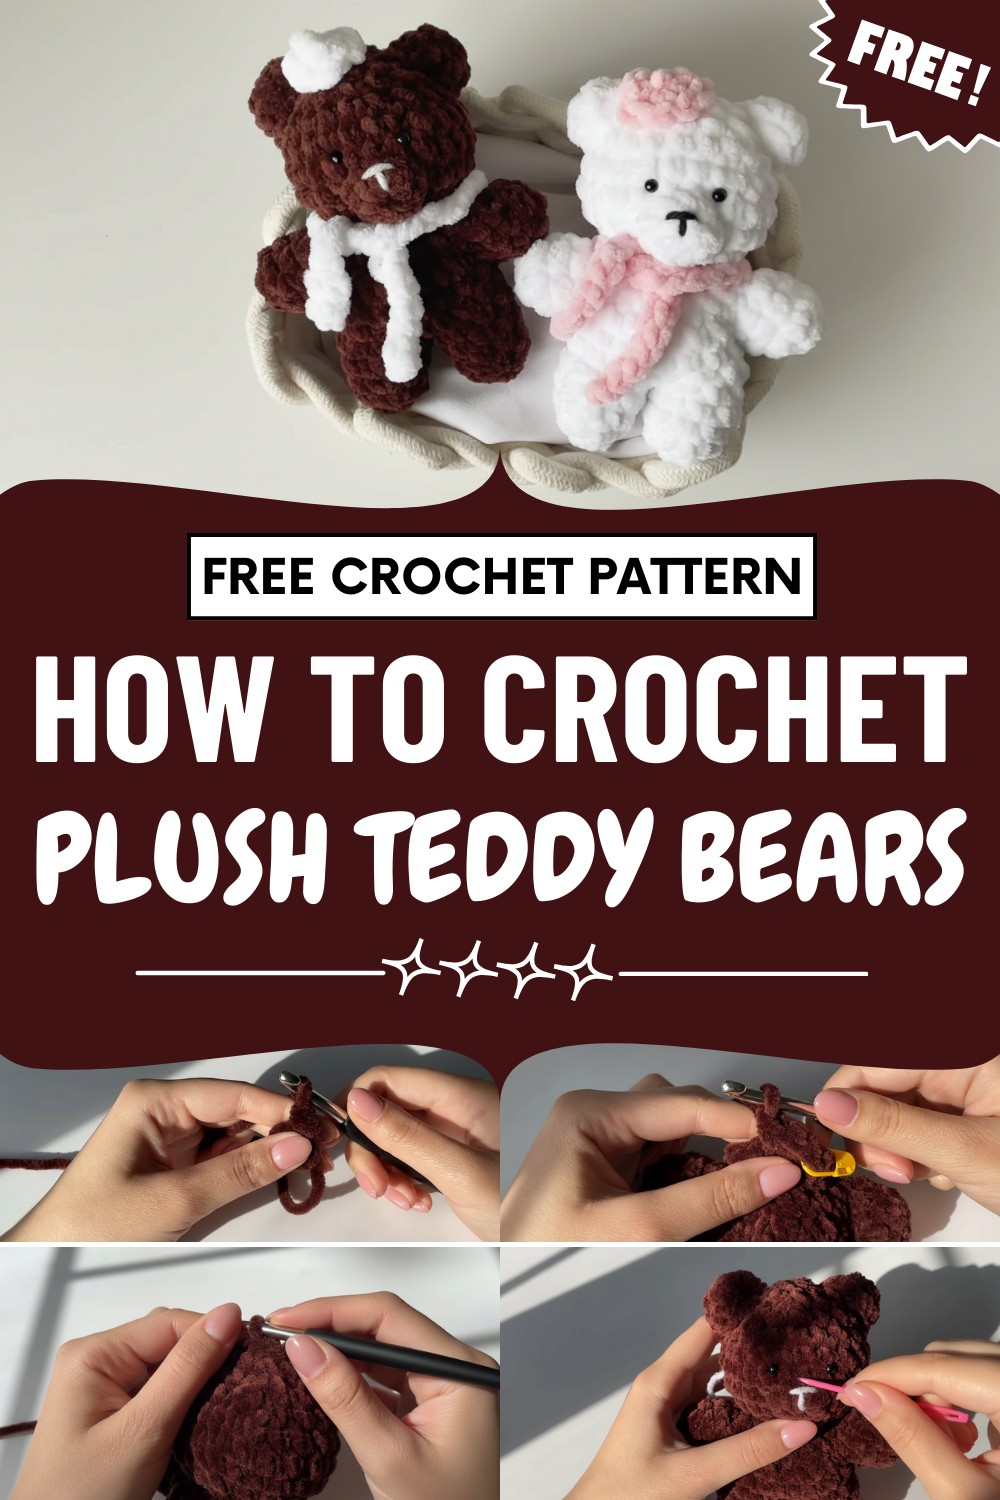
The pattern lets you pick any color you like, add cute accessories such as bows or hats, and change the size to make it just right. Making each teddy bear is a calm and happy process that helps you relax as you see it slowly take shape.
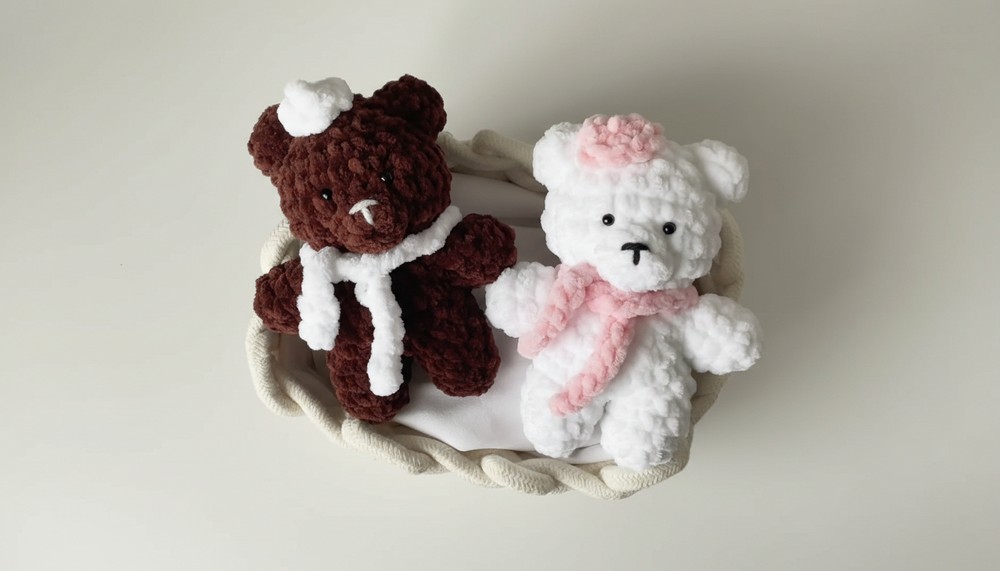
Once finished, the teddy bear feels soft in your hands and is sturdy enough for many hugs. This lovely bear carries a special meaning, reminding everyone of love, kindness, and special memories.
Cute Crochet Bear Pattern
Special Features
- Amigurumi-style 3D bear with seamless construction
- Ideal for customization (change yarn colors, add accessories)
- Pattern includes arms, legs, head, ears, nose, and embroidered features
- Easily adjusted in size by swapping yarn weight and hook
Materials & Abbreviations
Materials
- Worsted or DK weight yarn in brown (main), white/pink (muzzle), and optional accent colors
- Crochet hook suitable for your yarn (typically 3.0–4.0 mm)
- Yarn needle
- Scissors
- Stuffing/fiberfill
- Optional: safety eyes or embroidery floss
Abbreviations
- MR: Magic Ring
- ch: Chain
- sc: Single Crochet
- st: Stitch
- sl st: Slip Stitch
- inc: Increase (2 sc in same st)
- dec: Decrease (sc 2 together)
- rep: Repeat
Pattern Steps
Arms (Make 2)
Row 1:
Start with a magic ring (MR). Make 7 single crochets (sc) into the ring. Pull to close.
Join with sl st to the first sc.
Rows 2–3:
Sc in the same st as sl st, place a stitch marker. Sc in each st around (7 sc total).
Join each row with a sl st.
Finishing:
After Row 3, ch 1, cut the yarn, leaving a tail. Pull tight to secure. Weave in the yarn tail into the arm. Repeat for the second arm.
Legs (Make 2)
Row 1:
Start with MR, make 4 sc into the ring, pull to close.
Join with sl st.
Row 2:
Make 2 sc in each st (inc around) for 8 sc in total. Join with sl st.
Rows 3–4:
Sc in each st around (8 sc per row).
Join with sl st at row end.
Finishing:
After Row 4 of the first leg, cut yarn, weave in tail. After Row 4 of the second, do not cut yarn; you'll now join the legs together.
Body
Joining Legs (Row 5):
Ch 1, sc in first stitch of second leg (place marker; counts as first st of Row 5), then 7 sc around leg (8 total). Sc in the chain joining legs.
Sc in the first leg (8 sc), then sc in chain again. (18 sc total). Join with sl st.
Row 6:
Sc in each st around (18 sc). Join with sl st.
Attaching Arms (Row 7)
Sc 4, place marker in first st.
Join first arm: Insert hook through one st on arm, then through next body st, and complete sc.
Sc 8 across body, join second arm as with first.
Sc 4 to end, join with sl st.
Body/Arms Round (Row 8)
Sc 7 across first arm, sc 18 around body, sc 7 across second arm (32 sc total). Join with sl st.
Body Decreasing
Row 9:
Decrease (sc2tog using front loop only) in each st around, marking the first st.
Join with sl st.
Row 10:
Repeat decrease in each st again—should have 8 sc at the end. Join with sl st.
Head
Row 11:
Inc in every st (2 sc in each)—16 sc total.
Row 12:
Alternate sc 1, inc (two sc in next st) around (24 sc total).
Rows 13–15:
Sc in each st (24 sts per row).
Add safety eyes (between Rounds 14 & 15, three stitches apart), and stuff body.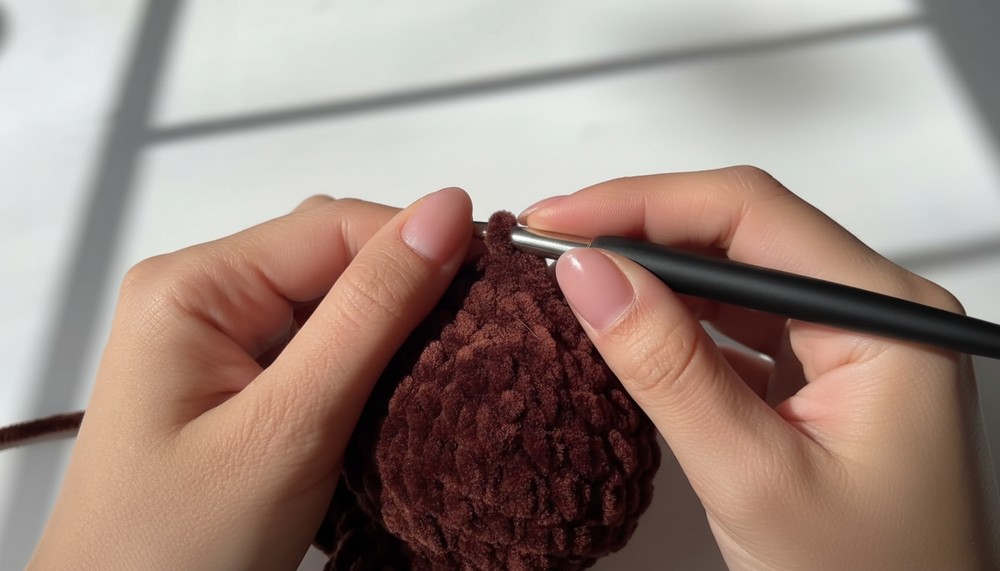
Head Shaping (Decreasing)
Row 16:
[Sc 4, dec] repeat around (last st is a decrease).
Row 17:
[Sc 3, dec] repeat around.
Row 18:
[Sc 2, dec] repeat around—end with 12 sc.
Stuff more if needed.
Row 19:
Dec in every st (6 sc). Join with sl st.
Cut yarn, leaving a long tail for sewing.
Finishing:
Thread needle, weave tail through remaining stitches, pull tight to close. Knot securely, hide end inside the head.
Ears (Make 2)
Row 1:
MR, 8 sc in ring. Pull tight, join with sl st.
Row 2:
Sc in each st around (8 sc), sl st to join.
Ch 1, cut yarn, leaving long tail.
Finishing:
Place ears as desired on head. Sew on carefully, keeping round shape. Fasten off, hide ends.
Nose
Row 1:
MR, 6 sc into ring. Pull tight, join with sl st.
Ch 1, cut yarn, leaving long tail.
Sew nose onto head, trimming yarn and hiding tail inside when finished.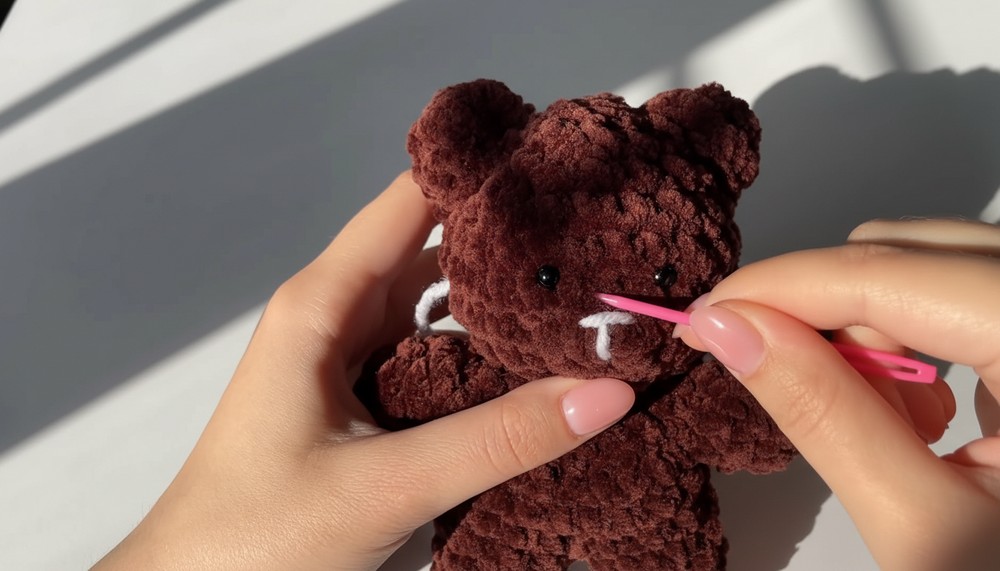
Embroider Features
- With white yarn or embroidery floss, embroider the nose and mouth. Insert from head side to just left of nose, then just right, then down beneath, adjusting tension for shape. Secure and hide tail inside head.
Optional: Scarf & Hat
You can crochet accessories like a scarf and hat to dress up your bear. Free patterns are often available on craft sites.
Tutor’s Suggestions
- Use a stitch marker for first st in every round – it helps keep your place!
- Add safety eyes before stuffing and closing the head.
- Stuff the bear firmly but avoid stretching stitches.
Uses
- Plush toy or cuddle buddy
- Nursery or bedroom decor
- Handmade gift for children or loved ones
- Charity projects
Tip
To maintain a smooth shape, stuff lightly as you go and avoid overfilling the limbs. For extra cuteness, embroider blush circles with pink yarn on the bear’s cheeks!
Conclusion
You’ve now created a delightful crochet bear—an adorable companion to cherish or gift. This pattern is perfect for beginners and experienced crocheters alike. Enjoy customizing your bear with unique colors or playful accessories.




Leave a Reply