
Stitch your way to cuteness with this Crochet Teddy Bear Pattern, perfect for thoughtful gifts, cozy keepsakes, and playful decor accents.
Soft textures and charming details come together to form an adorable plush that’s loved by all ages when you create with a crochet teddy bear pattern. This project offers crocheters the opportunity to bring a delightful, huggable companion to life—perfect for gifting to children, decorating a nursery, or simply adding a whimsical touch to your collection.
Whimsical Crochet Teddy Bear Pattern That Delights All Ages
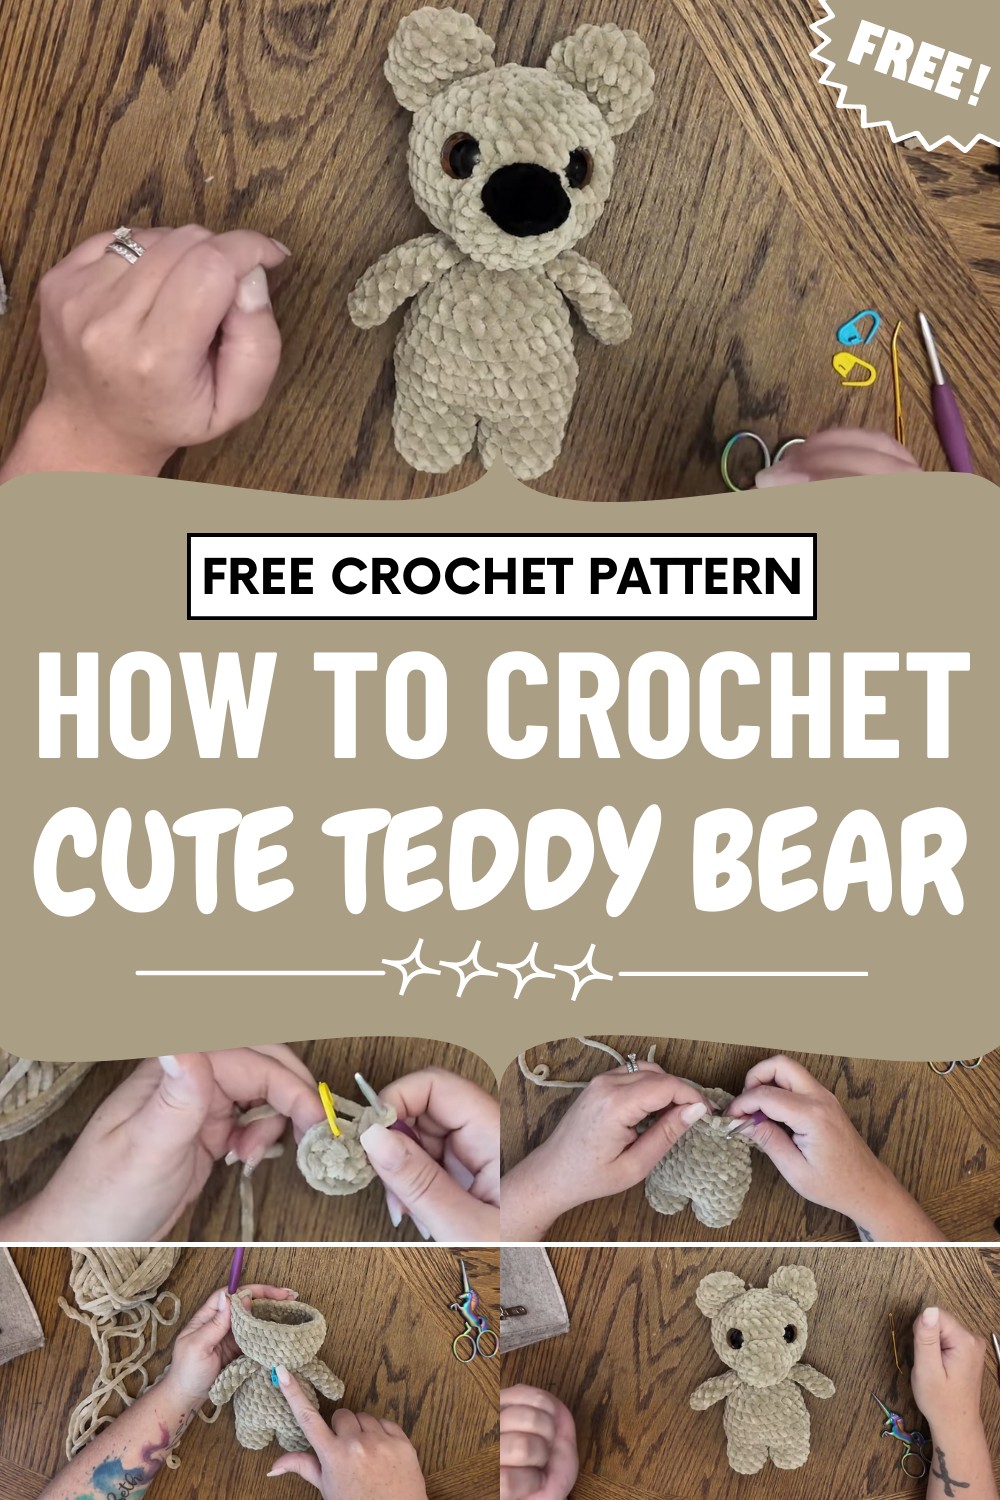
With its gentle curves and classic bear silhouette, a crochet teddy bear pattern always yields a visually appealing result, whether you choose chunky chenille yarn for a snuggly feel or cotton for sweet, delicate accents. Completing this pattern helps build versatile skills such as seamless joins and shaped construction, while the finished bear radiates warmth and lasting comfort.
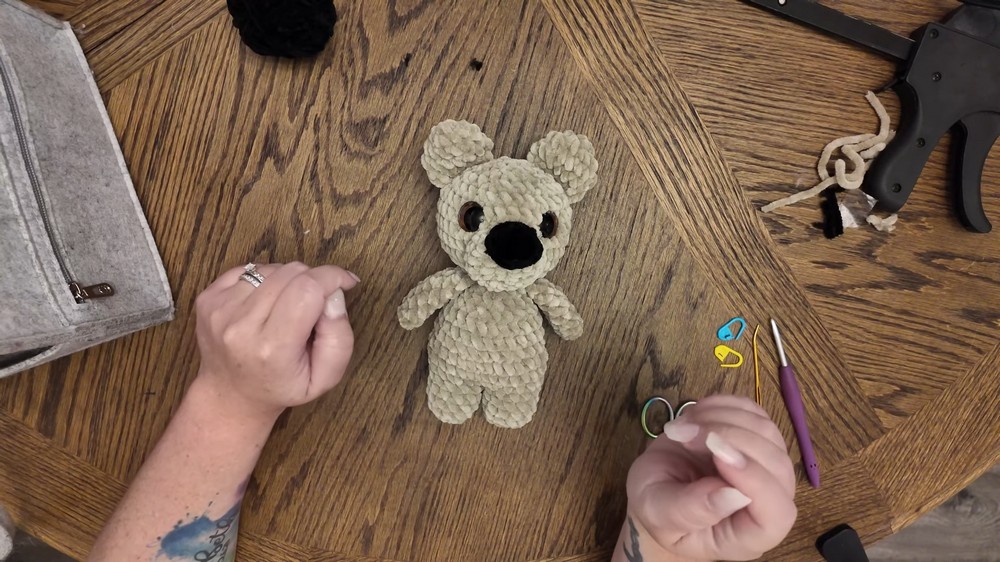
Make it your own with embroidered features or safety eyes, and customize colors and size to suit any occasion. The crochet teddy bear pattern produces a timeless keepsake, combining elegance and cuddliness in every stitch.
Materials
- Chenille or blanket yarn – Main color (e.g. Parfait Chunky in Toffee)
- Black yarn – For the nose
- 4mm crochet hook
- Scissors
- Stitch markers
- Yarn needle
- Safety eyes (20mm or 25mm, as preferred)
- Polyester stuffing/fiberfill
- (Optional) Double-ended knitting needles or pins for securing pieces while sewing
Skill Level: Beginner to Confident Beginner
Special Features:
- Adorable, cuddly amigurumi teddy bear
- Super soft texture with plush chenille or blanket yarn
- No-sew leg join avoids holes between legs
- Secure, seamless arm and ear attachment
- Tips for stuffing, finishing, and eye placement for a professional look
Pattern Steps
Arms (Make 2)
- Magic Ring: Start with a magic ring.
- Round 1: Work 6 single crochet (sc) into the ring. Pull to close.
- Rounds 2–8: Sc in each stitch around (6).Tip: Pull the ring closed gently; chenille yarn can be tricky.
- Finishing: Fold the arm in half and crochet 3 sc across both sides to close. Pull yarn through, tighten, and fasten off. Leave a short tail (will be crocheted into the body).
Tutor Suggestion: Stuffing the arms is optional; you can leave them unstuffed for a floppier look.
Legs & Joining for Body (Make 2)
- Magic Ring: Start with a magic ring.
- Round 1: Work 6 sc into the ring.
- Round 2: 2 sc in each stitch around (12).
- Rounds 3–5: Sc in each stitch around (12).
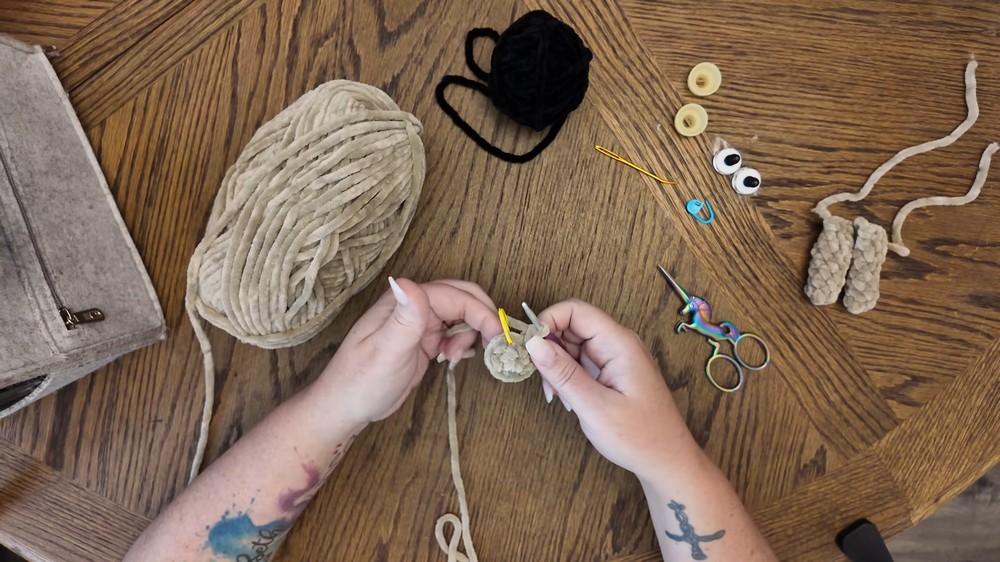
- First Leg: Fasten off.
- Second Leg: Do not fasten off. Instead, after finishing round 5, join to the first leg by single crocheting into the first fastened-off leg (12 stitches per leg).
No-Sew Join:
- Crochet around the first leg, then do a decrease across the space to second leg to avoid a hole. Continue to crochet around the second leg.
- Tip: Push yarn tails into legs to hide them.
Lower Body & Shaping
- Round 1: (3 sc, inc) x6 (30)
- Rounds 2–3: Sc in each stitch (30)
- Round 4: (3 sc, dec) x6 (24)
- Rounds 5–6: Sc around (24)
- Stuff the feet and lower body firmly at this stage
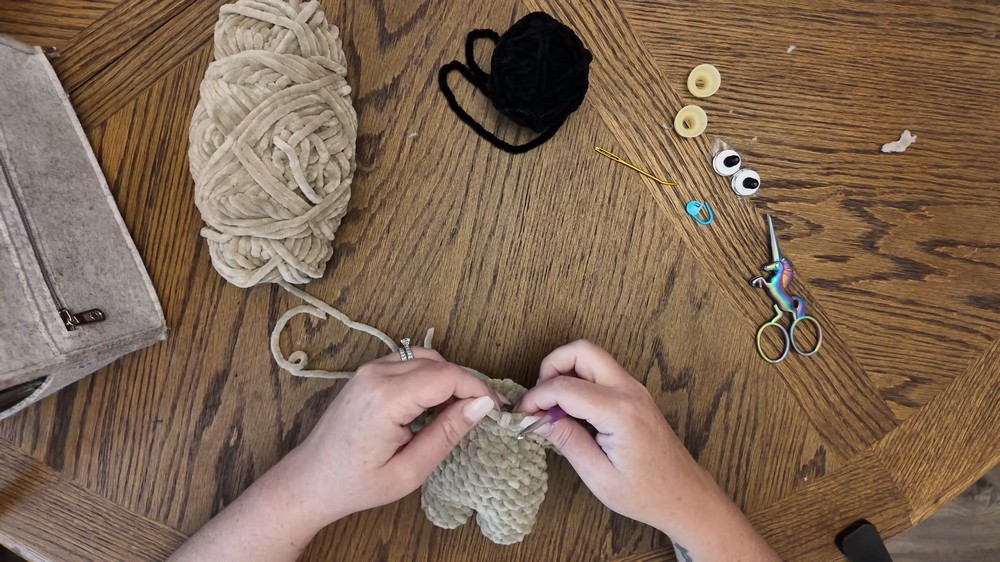
- Stuff the feet and lower body firmly at this stage
- Round 7: (2 sc, dec) x6 (18)
- Round 8: Sc around (18)
- Round 9: (sc, dec) x6 (12)
Attaching Arms & Upper Body
- Round 10: Sc 3, attach one arm (sc through both body and arm for next 3 stitches), sc 3, attach second arm (sc next 3), sc to end (12).
- Round 11: Inc in each stitch (24)
- Stuff body and tie arm tails inside the body for security
- Round 12: (sc, inc) x12 (36)
- Round 13: Sc around (36)
- Rounds 14–17: Sc around for 4 more rows, making 5 total rows of 36.
- Place a stitch marker at the front as a visual reference for eye placement.
Decreasing for Head
- Round 18: (4 sc, dec) x6 (30)
- Round 19: (3 sc, dec) x6 (24)
- Place eyes on this round using stitch marker as a guide. Insert safety eyes about 4–5 stitches apart, and attach backs securely.
- Round 20: (2 sc, dec) x6 (18)
- Stuff head as you go, especially between eyes.
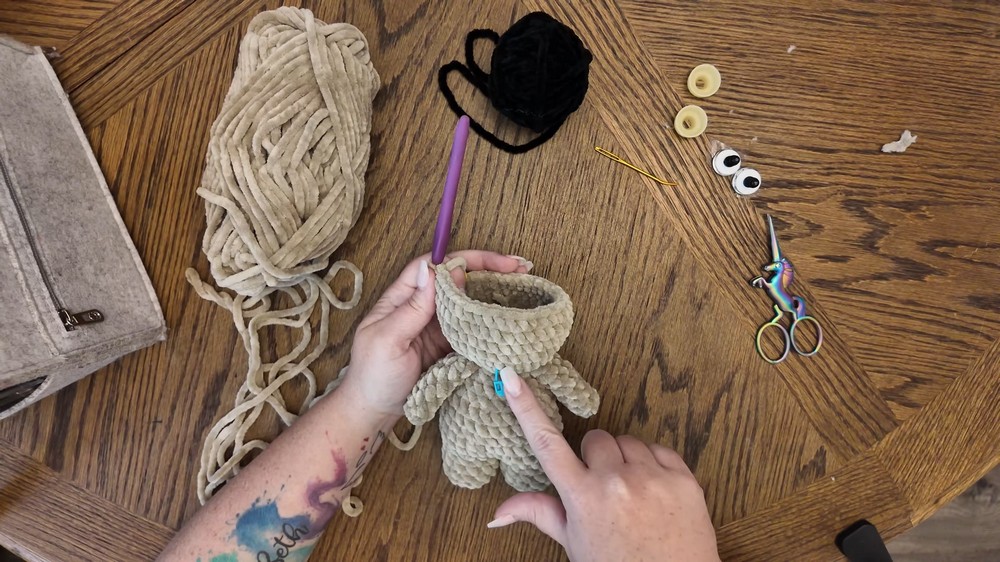
- Stuff head as you go, especially between eyes.
- Round 21: (sc, dec) x6 (12)
- Round 22: Dec x6 (6)
- Fasten off, sew up opening.
Muzzle
- Magic Ring: 6 sc into ring.
- Round 1: 2 sc in each stitch (12).
- Round 2: (sc, inc) x6 (18)
- Round 3: Sc around (18)
- Fasten off, leaving a long tail for sewing.
- Stuff lightly, sew under and between eyes.
Ears (Make 2)
- Magic Ring: 6 sc into ring.
- Round 1: 2 sc in each stitch (12).
- Round 2: (3 sc, inc) x3 (15)
- Round 3: (3 sc, dec) x3 (12)
- Fold ear in half, sc 6 across to close.
- Leave a long tail.
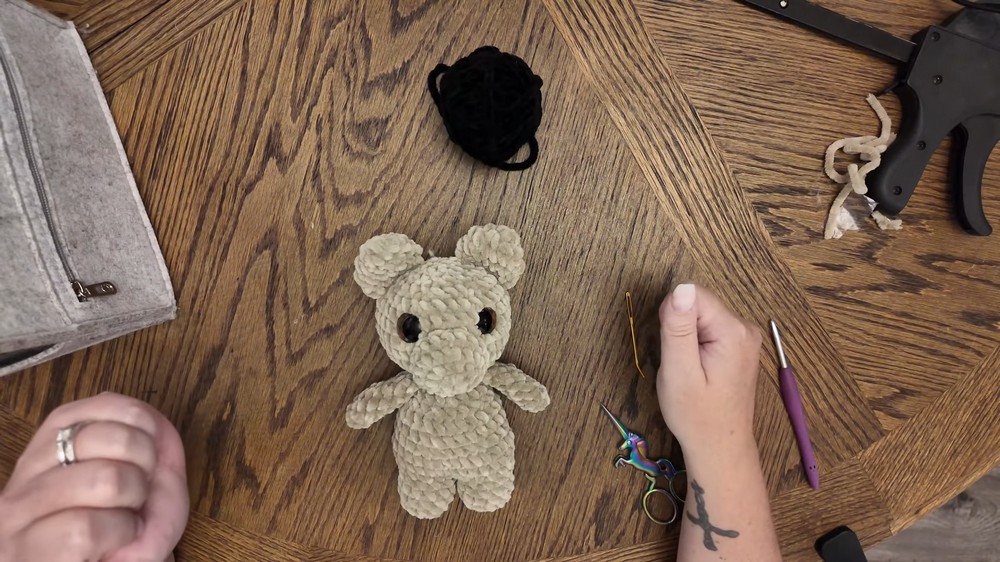
- Sew each ear two rows down from head center, with widest part aligned with top of eye.
Nose
- With black yarn and needle, embroider nose in center of muzzle, using satin stitch (multiple passes for even coverage).
- Finish with a horizontal stitch across top for neatness.
- Tie off yarn securely and tuck tails inside.
Tutor's Suggestions
- Check for holes after joining body and legs, and sew closed if needed before stuffing.
- Don’t over-stuff to avoid distortion; stuff firmly for shape, but allow some squish.
- Try different eye sizes based on your yarn for ideal proportion.
Uses
- Baby shower gifts and children’s toys (use embroidered eyes for children under 3)
- Nursery or kid’s room decor
- Cuddly companion or comfort plushie
- Handmade gifts for any occasion
Tip
When attaching limbs, always tuck and knot the tails inside the body for extra durability – this keeps your teddy bear looking neat and lasting longer!
Conclusion
You’ve created an irresistibly cute crochet teddy bear! This fun project builds useful amigurumi skills and leaves you with a perfect gift or keepsake. Don’t forget—you can scale the bear up or down by adjusting yarn and hook size.




Leave a Reply