
Surprise someone special with this cute Free Crochet Teddy Bear With Heart Pattern that's perfect for joyful, easy, and heartfelt creations.
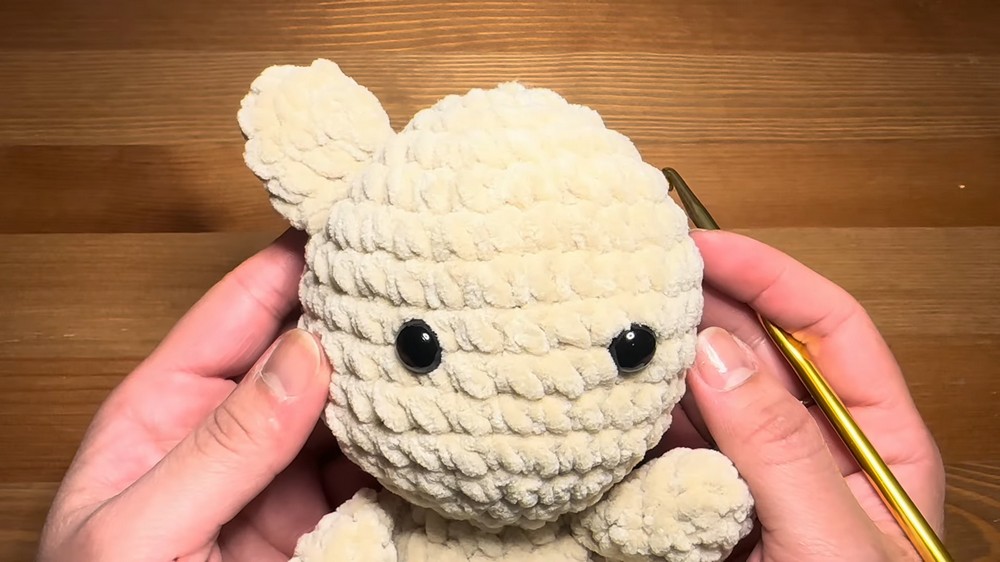
Everyone agrees this teddy bear is one of the sweetest crochet projects you can make. With its soft body and cute little heart hugged between its paws, it brings smiles for any occasion. People love to give it as a Valentine’s Day present, a birthday gift, or simply to show someone they care. The charming look and gentle curves make it perfect for kids, friends, or as a lovely decoration in a nursery or on a desk.
Snuggly Crochet Teddy Bear With Heart Pattern for Cozy Day Creations
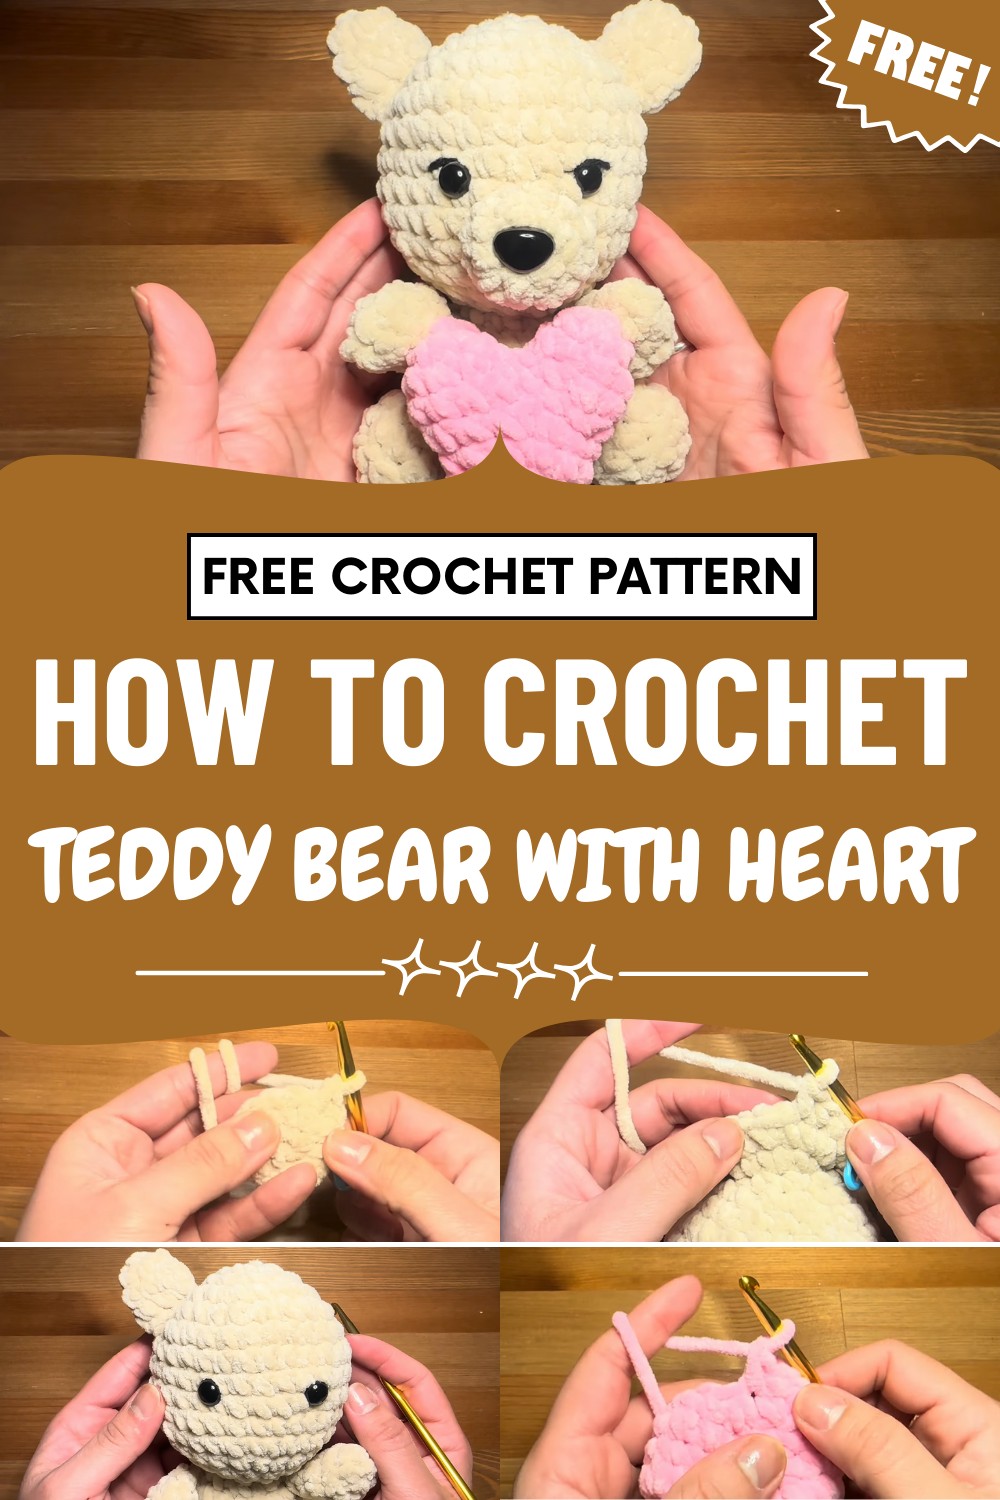
The pattern for a Crochet Teddy Bear With Heart is simple to follow and great for beginners, yet the finished bear always looks neat and special. You can use your favorite colors to make it personal and unique.
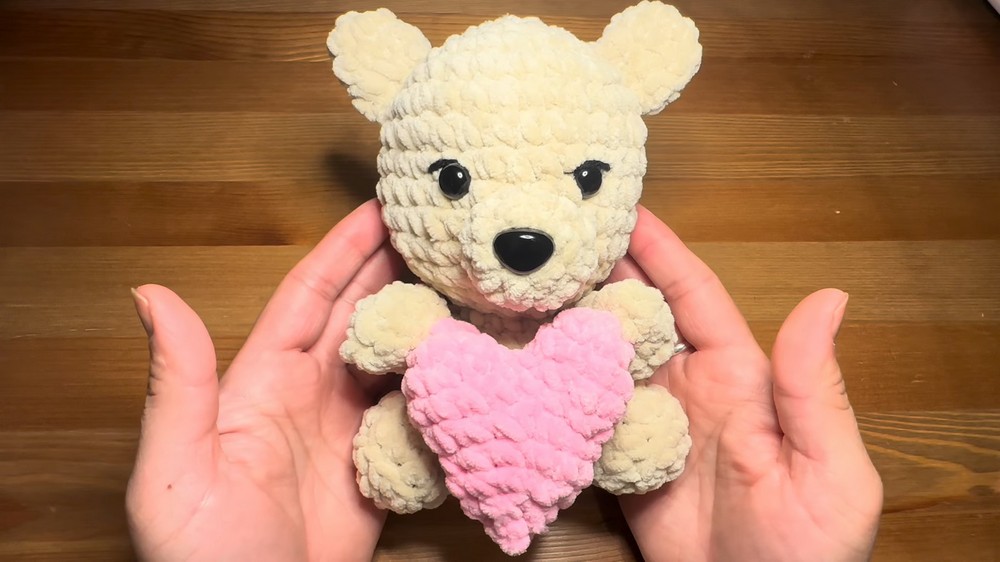
Quick to finish and easy to customize, this adorable bear is not just a toy—it’s a wonderful way to share love and happiness with anyone, right now.
Special Features
- Soft, squishy texture from plush yarn
- Cute bear holding a heart, ideal for gifts
- Easy-to-follow, repetitive construction
- Beginner-friendly with lots of helpful assembly guidance
Level of Difficulty
Beginner—If you know how to make a single crochet, work in rounds, and increase or decrease, you can make this bear! Perfect for those new to plush amigurumi.
Materials Needed
- Plush yarn in two colors (one for the bear, one for the heart)
- 5.5 mm crochet hook
- Safety eyes (10–12 mm)
- Black yarn for eye details and nose (if not using a plastic nose)
- Plastic safety nose (optional)
- Stitch marker
- Darning/tapestry needle
- Scissors
- Fiberfill stuffing
Tutor’s Suggestions
- Use a stitch marker to keep track of your rounds.
- If you’re new to starting with a chain instead of a magic ring, either method is fine.
- Adjust the face expression with embroidery for extra personality.
- Take your time assembling—placement of the arms, legs, ears, and heart makes a big difference to its cuteness!
Step-by-Step Pattern
Head
- Start: Slip knot, chain 2.
- Rnd 1: Work 6 sc in the second chain from hook. (6)
- Rnd 2: 2 sc in each st around (increase in every stitch). (12)
- Rnd 3: (Sc 1, inc) repeat around. (18)
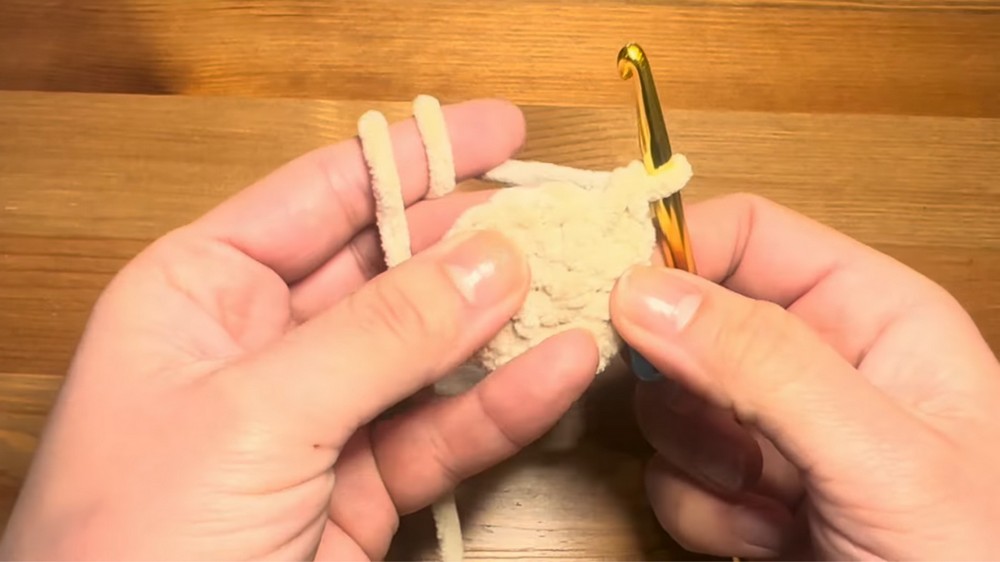
- Rnd 4: (Sc 2, inc) repeat around. (24)
- Rnd 5: (Sc 3, inc) repeat around. (30)
- Rnd 6-11: Sc in each st around. (6 rounds) (30)
- Insert Safety Eyes: Between rounds 3 and 4, 4–5 stitches apart.
- Rnd 12: (Sc 3, dec) repeat around. (24)
- Rnd 13: (Sc 2, dec) repeat around. (18)
- Rnd 14: (Sc 1, dec) repeat around. (12)
- Rnd 15: (Sc 1, dec) x4 (8)
Body
- Rnd 1 (Body, attach to head): (Inc) x8 (16)
- Rnd 2: (Sc 1, inc) x8 (24)
- Stuff head before next rounds.
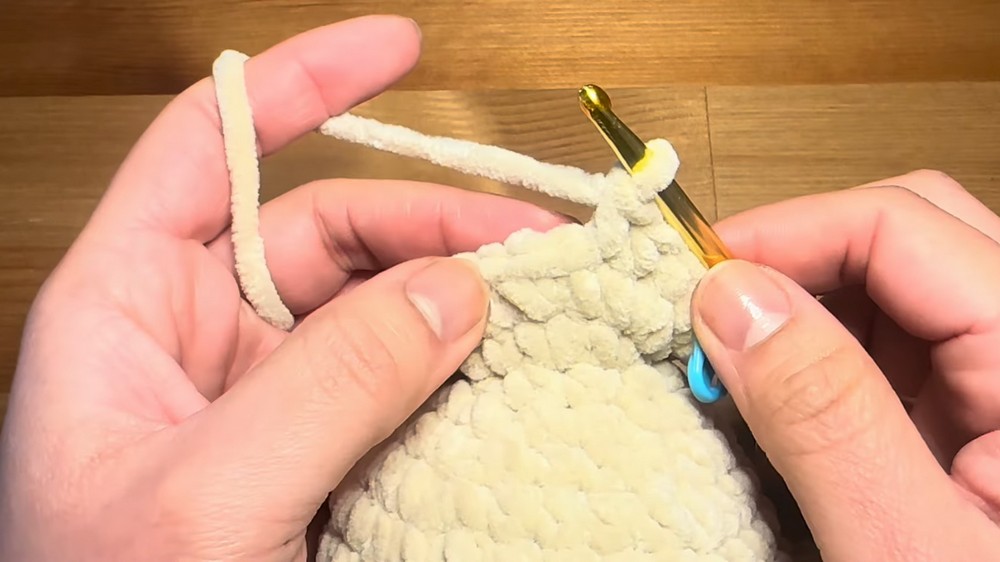
- Rnd 3-5: Sc in each st around (3 rounds) (24)
- Rnd 6: (Sc 2, dec) repeat around. (18)
- Rnd 7: (Sc in back loops only) (Sc 1, dec) repeat around. (12)
- Stuff body.
- Rnd 8: (Dec) x6 (6)
- Close & fasten off.
Legs (Make 2)
- Start: Slip knot, chain 2.
- Rnd 1: 6 sc in second chain from hook.
- Rnd 2: (Inc) x6 (12)
- Rnd 3: Sc in back loops only around. (12)
- Rnd 4: Sc in each st around. (12)
- Rnd 5: (Dec) x6 (6)
- Stuff before closing.
- Slip stitch, fasten off, leave a long tail for sewing.
Arms (Make 2)
- Start: Slip knot, chain 2.
- Rnd 1: 6 sc in second chain from hook.
- Rnd 2: (Sc 1, inc) x3 (9)
- Rnd 3–4: Sc in each st around. (9)
- Stuff lightly using the yarn tail.
- Rnd 5: (Sc 1, dec) x2 (6)
- Rnd 6: (Dec) x3 (3)
- Slip stitch, fasten off, leave tail for sewing.
Muzzle
- Start: Slip knot, chain 2.
- Rnd 1: 6 sc in second chain from hook.
- Rnd 2: (Inc) x6 (12)
- Rnd 3: Sc in each st around. (12)
- Slip stitch, fasten off, leave tail.
- Insert safety nose or embroider nose. Lightly stuff. Sew to head between eyes.
Ears (Make 2)
- Start: Slip knot, chain 2.
- Rnd 1: 6 sc in second chain from hook.
- Rnd 2: (Sc 1, inc) x3 (9)
- Rnd 3: Sc in each st around. (9)
- Rnd 4: (Sc 1, dec) x3 (6)
- Slip stitch, fasten off, leave tail for sewing.
Tail
- Same steps as for ears.
- Sew to back, bottom center of the body.
Heart
- Make 2 rounded tops:
- Slip knot, chain 2.
- Rnd 1: 6 sc in second chain from hook.
- Rnd 2: (Sc 1, inc) x3 (9)
- Rnd 3: Sc in each st. (9)
- For one piece, slip stitch and fasten off.
- For the other, do not fasten off.
- Join the 2 pieces with a slip stitch in the same sc as your last st.
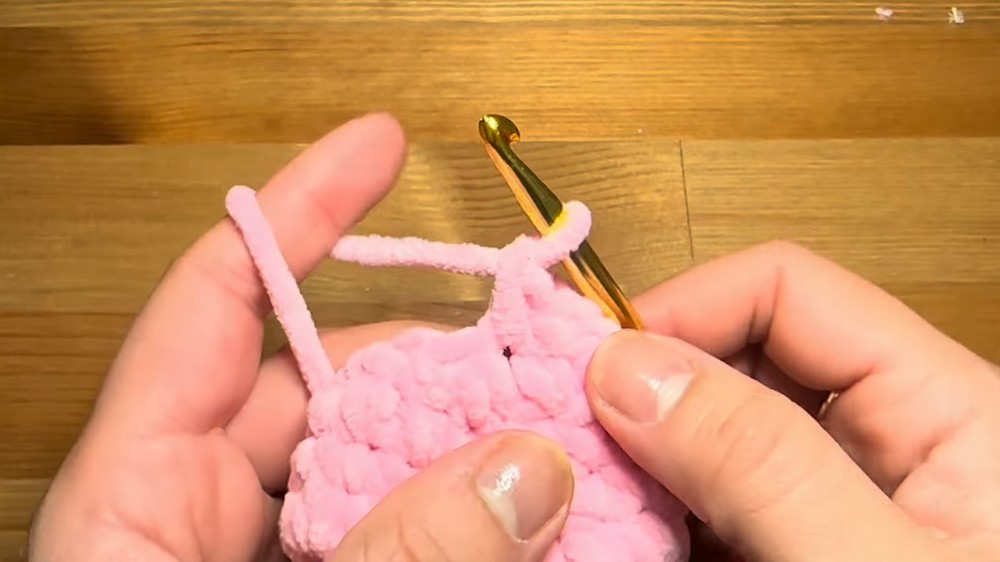
- Rnd 4: Sc around both pieces (18).
- Rnd 5: (Sc 1, dec) x6 (12).
- Rnd 6-7: Sc in each st around for 2 rounds. (12)
- Stuff the heart.
- Rnd 8: (Dec) x6 (6)
- Close & fasten off, shove tail inside.
Assembly
- Sew tail to back.
- Attach legs to the bottom of the body, centered under the eyes.
- Attach arms, matching edge of arms to legs, so bear can “hold” the heart.
- Pinch ears in half and sew to the top side of the head, aligning with eyes.
- Sew the muzzle between the eyes.
- Embroider or add eye detail with black yarn for extra cuteness.
- Sew the heart to the front “hands” so it looks like the bear is holding it.
- Massage stuffing to shape the toy and smooth any lumps.
Uses
- Valentine’s Day gift
- Kids’ plush toy
- Keepsake for loved ones
- Cute room décor or bag charm
Tip
Stuff each part as you go—especially small parts like legs and heart—because it’s hard to fill them later! For extra cuteness, add a tiny blush with embroidery floss or a little fabric paint.
Conclusion
Enjoy gifting or displaying your adorable bear with heart! This simple, cuddly amigurumi project is sure to bring smiles—all thanks to your creativity and some yarn magic.




Leave a Reply