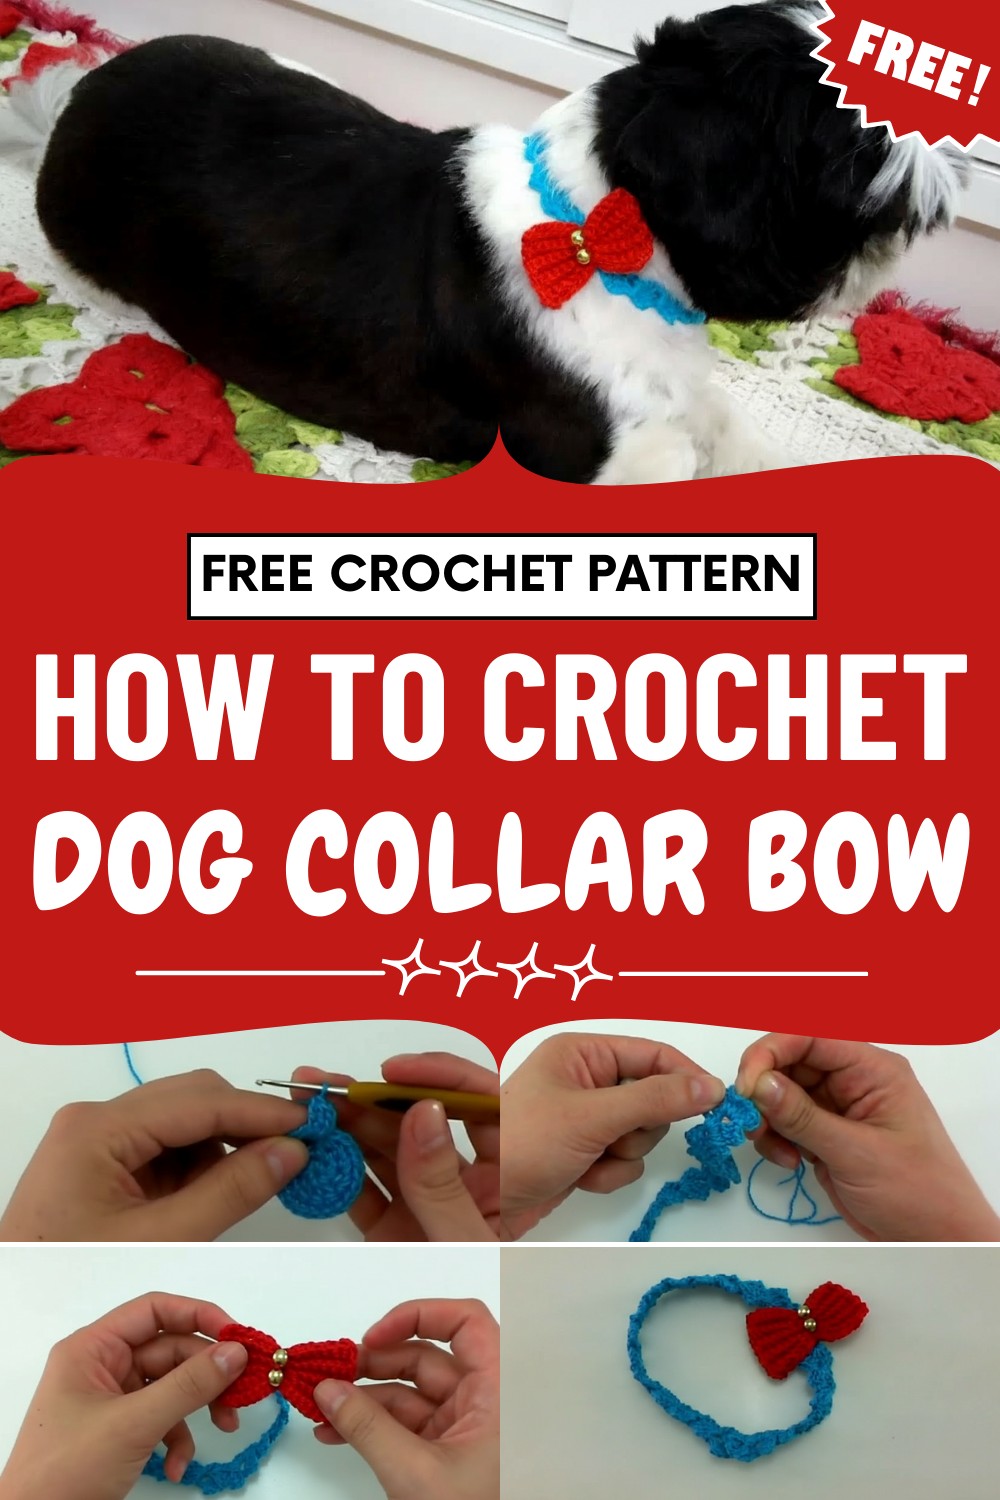
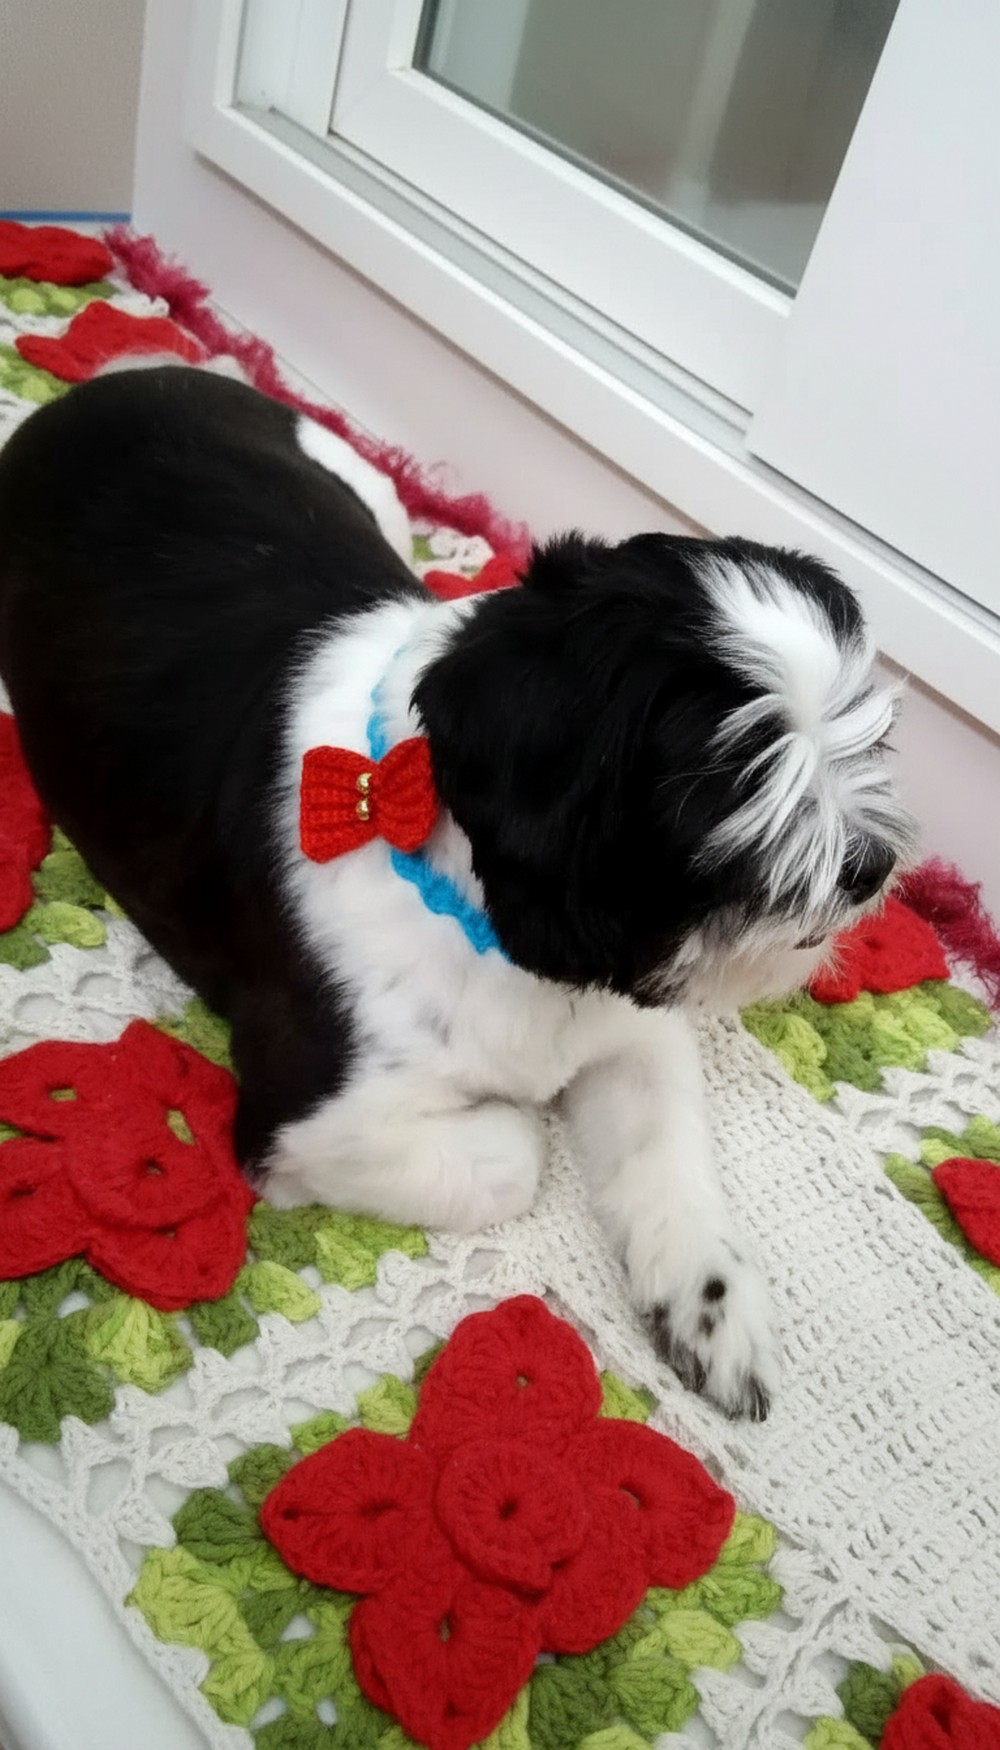
Pamper pets with this Free Crochet Dog Collar Bow Pattern for cute flair, comfy wear, and tail-wagging charm on daily walks everywhere.
Bringing a fun and stylish twist to your pet’s daily look, this playful crochet dog collar bow pattern lets you crochet eye-catching bows that fit perfectly on any dog collar. This handmade bow can be made in any colors you like, making it easy to celebrate a holiday, show off your dog’s unique character, or simply add a bit of cheerful flair to everyday walks.
Lovely Crochet Dog Collar Bow Pattern For Happy Pups
The finished bows are soft and gentle on your dog’s neck, so they won’t bother your pet during playtime or naps. Easy to attach and remove, you can switch out different bows for different moods or events.
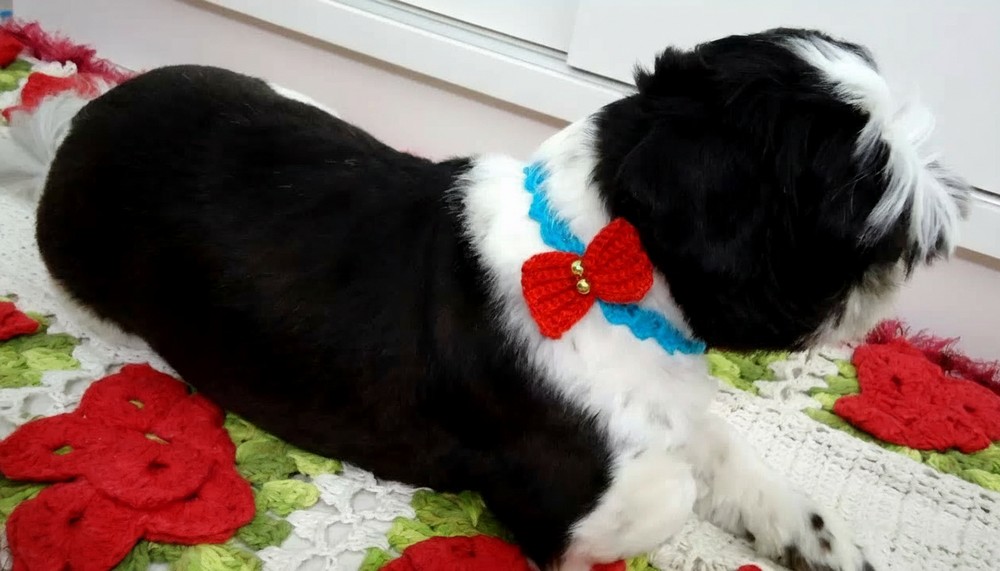
Today, many pet owners enjoy making this bow because they are quick to work up, allow for endless creativity, and bring a special, personal touch to their dog’s outfits. This project is an easy way to make both you and your furry companion smile.
Materials Needed
-
Yarn: Leftover 100% cotton yarn (Color: Blue or your choice).
-
Hook: 1.75 mm crochet hook.
-
Button: One small "half-pearl" style button with a loop/shank on the back.
-
Bow: A pre-made or crocheted bow (red or contrasting color).
-
Tools: Tapestry needle and scissors.
Pattern Details
-
Stitch Guide: * dc (double crochet): Yarn over, insert hook, pull up loop, (yarn over, pull through 2) twice.
-
sl st (slip stitch): Insert hook, yarn over, pull through all loops.
-
Triple V-Stitch: (3 dc, ch 2, 3 dc) worked into the same space.
-
-
Sizing: The tutorial uses a length of 31 cm. Measure your dog’s neck and continue rows until you reach that circumference.
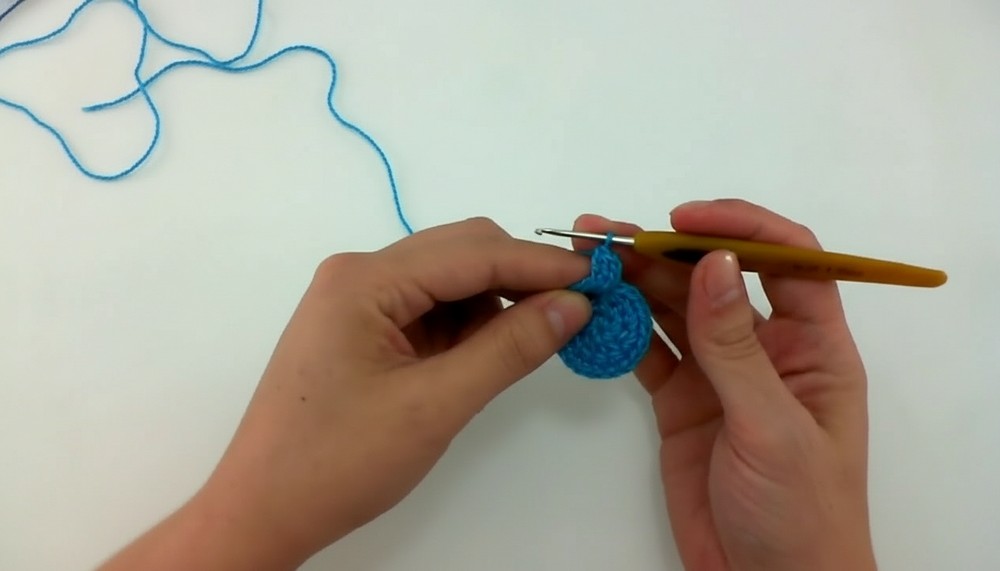
Phase 1: The Collar Body
-
Foundation: Create a slip knot and chain 6. Join with a sl st to the first chain to form a small ring.
-
Row 1: Ch 3 (counts as 1 dc). Work 2 dc into the ring, ch 2, then work 3 dc into the same ring.
-
Row 2: Turn your work. sl st in each of the first 3 dc stitches until you reach the ch-2 space in the center.
-
Ch 3, work 2 dc in the ch-2 space.
-
Ch 2, work 3 dc in the same ch-2 space.
-
-
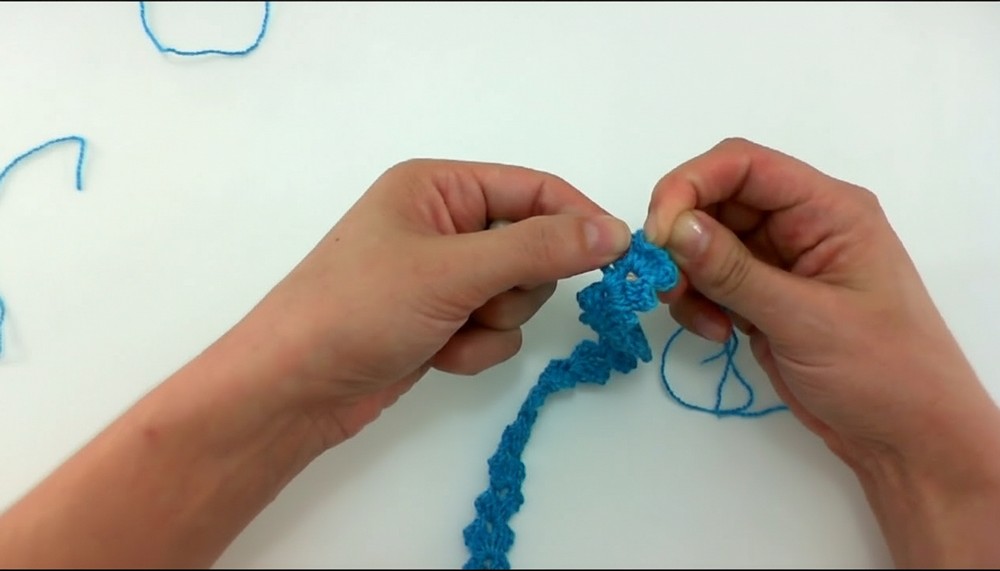
Growth: Repeat Row 2 (turn, slip stitch to center, work Triple V-stitch) until the collar reaches the desired length for your pet's neck.
-
Finish: Fasten off and weave in the yarn tail on the reverse side of the last V-stitch.
Phase 2: The Button & Closure
The button is applied to one end of the collar, and the initial foundation ring from Row 1 serves as the buttonhole.
-
Preparation: Thread your tapestry needle with a small piece of matching yarn.
-
Placement: Position the button at the center of the last V-stitch you crocheted.
-
Attachment: Pass the needle through the stitches, through the button shank, and back down into the crochet fabric. Repeat 3–4 times to ensure it is very firm.
-
Secure: Tie a secure knot on the back and trim the excess thread.
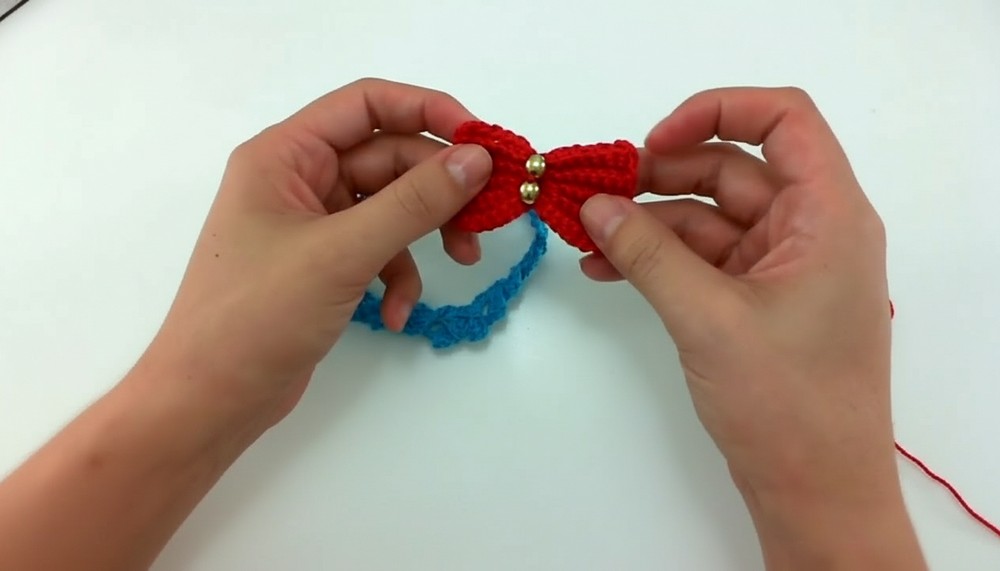
Phase 3: The Decorative Bow
-
Placement: Position the bow slightly to the side of the button closure for a stylish look.
-
Sewing: Use matching thread (e.g., red thread for a red bow) to stitch the bow onto the collar.
-
Note: Do not use glue, as it can easily detach with the dog's movement. Sewing is much safer for pets.
-
-
Finish: Work a double knot on the underside of the collar to finish.
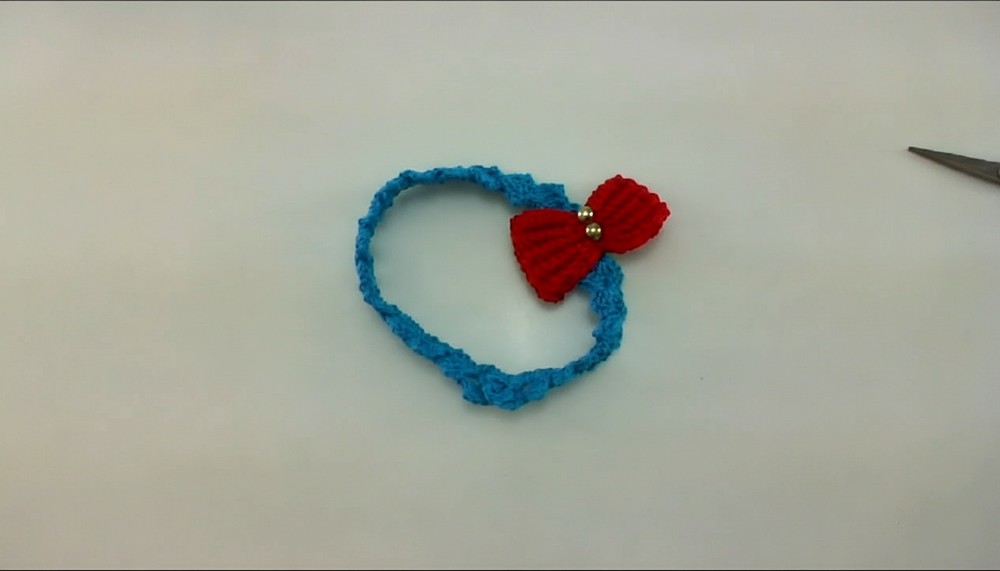
Conclusion
Your pet collar is now ready! Simply wrap it around your dog's neck and secure the button through the ring at the opposite end.


Leave a Reply