
Wear cozy layers with this Crochet Square Poncho Pattern, featuring geometric charm, relaxed drape, and easy comfort for everyday outings.
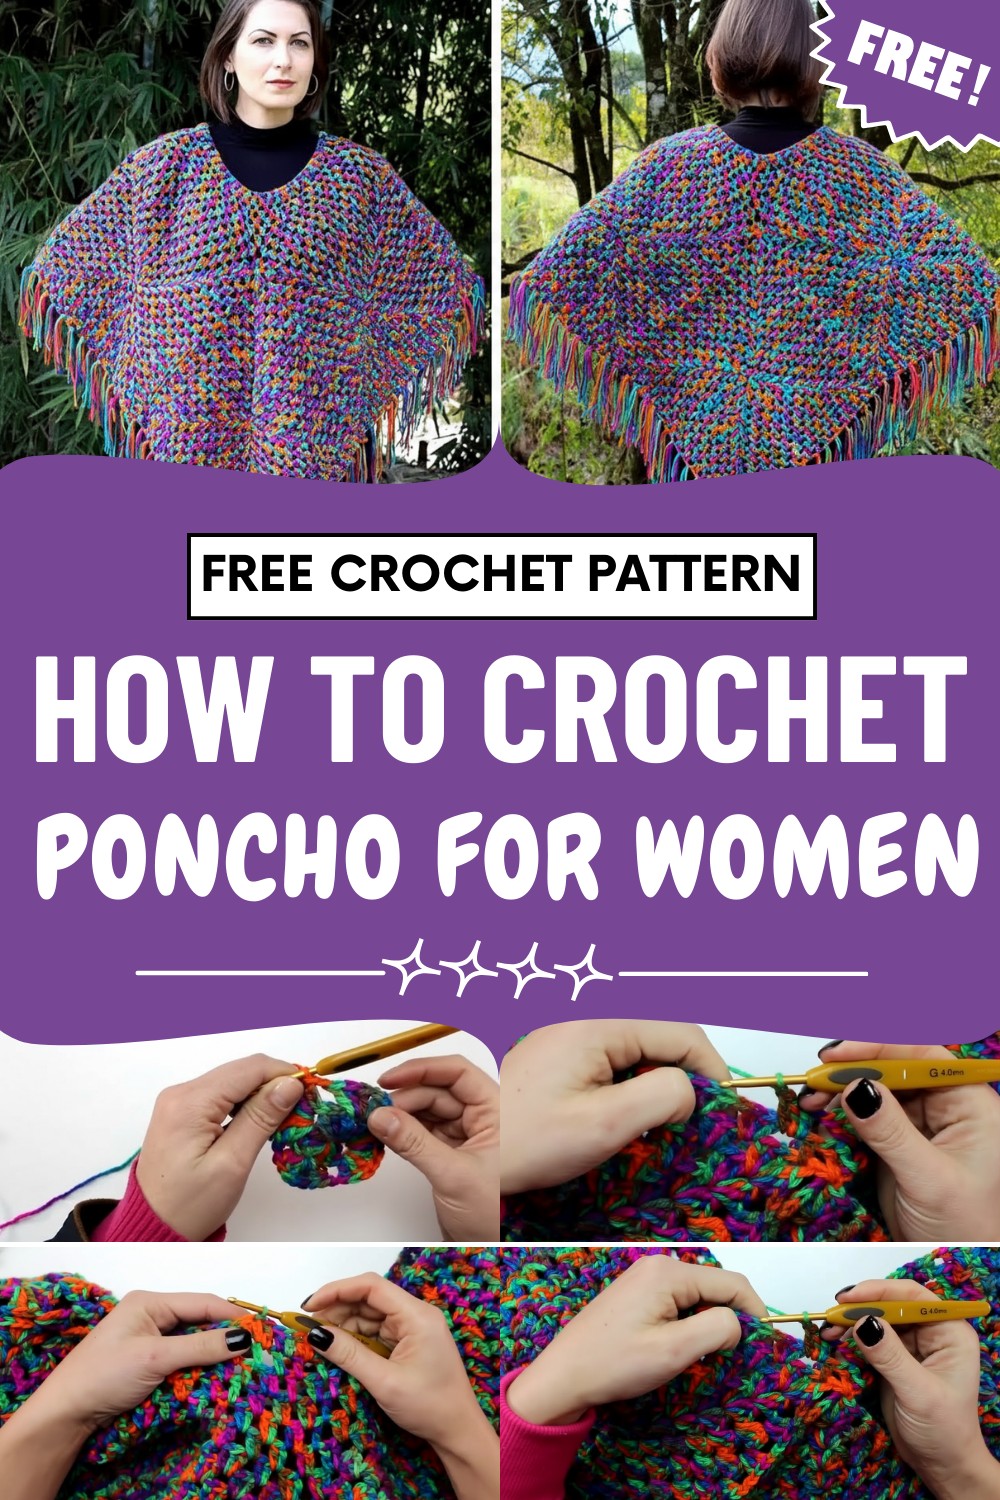
Versatility stands out, since size, length, and color choices adapt effortlessly to different body types and wardrobes. Textured stitches add visual interest and depth, creating a polished look that suits casual outfits or dressier layers. Repeating motifs keep the process engaging and help refine stitch consistency and tension.
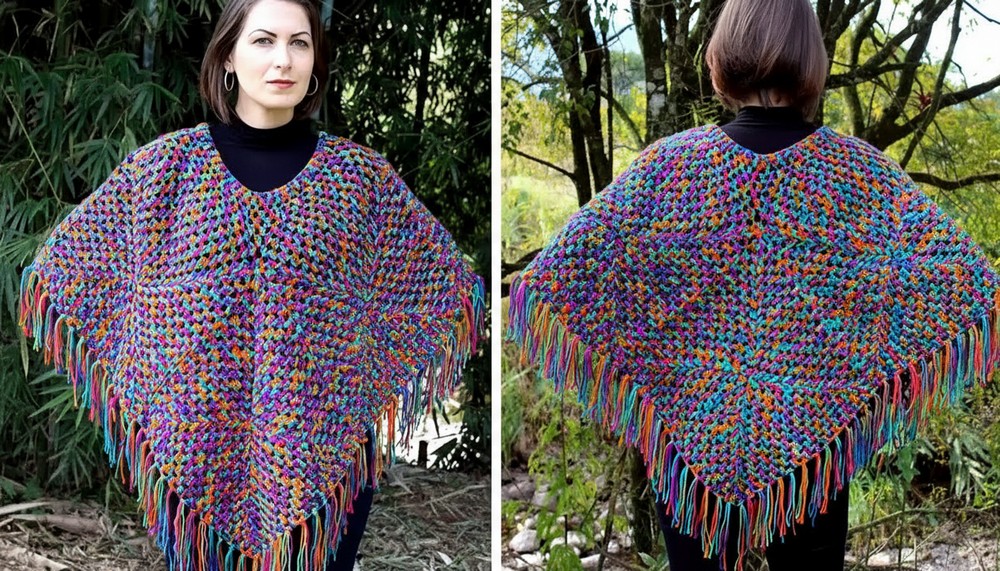
Lightweight yarns feel breathable, while sturdier fibers provide structure and cozy coverage. The finished poncho layers beautifully over tops, dresses, or long sleeves, delivering comfort, elegance, and practicality. With its timeless shape and adaptable design, the pattern offers a stylish outer layer that feels modern, flattering.
Special Features
- Made from connected squares giving a trendy patchwork look
- Adaptable for different sizes, lengths, and colors
- Fringed edge for a boho finish or can be left plain
- Beginner-friendly with basic stitches
Level of Difficulty
Easy
Suitable for beginners who know chain, slip stitch, single crochet, and double crochet.
Materials
- Yarn: Folia yarn (color 9142), six skeins (100g each, 200m per skein), or use leftover yarns for a colorful effect
- Crochet Hook: 4 mm
- Cardboard piece: For cutting even lengths of fringe
- Scissors
Step-by-Step Pattern
Step 1: Making a Square
- Foundation: Chain 6, join to form a circle.
- Round 1: Chain 3 (counts as first double crochet), make 2 more double crochets. (Chain 2, 3 double crochets) repeat for four corners. Finish with chain 2, slip stitch into the third chain.
- Round 2: Slip stitch to corner space. Chain 3 (counts as first double crochet), make 2 more double crochets, chain 1, 3 double crochets in the same space. Chain 1, in next corner: 3 double crochets, chain 1, 3 double crochets repeat around. Finish round.
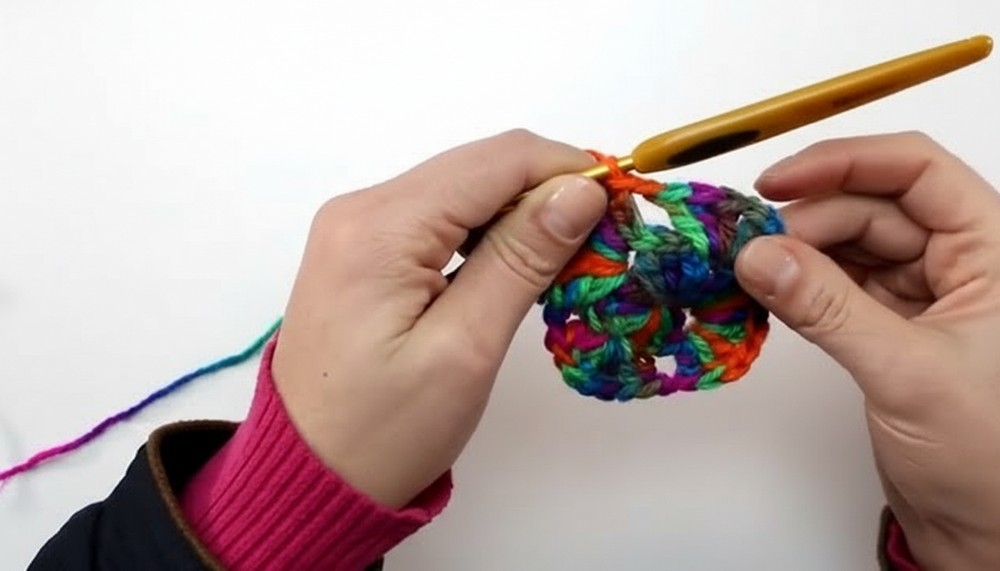
- Round 3+: Continue as above, always working corner groups ([3 double crochets, chain, 3 double crochets]) in each corner space and [chain, 3 double crochets] in each side space. Squares grow with more side spaces each round.
Tip: For a poncho that is 35 cm wide, your square will have about 12-13 rounds (with 11 groups of 3 double crochets per side).
Step 2: Joining Squares
- Make two identical squares for the poncho's base.
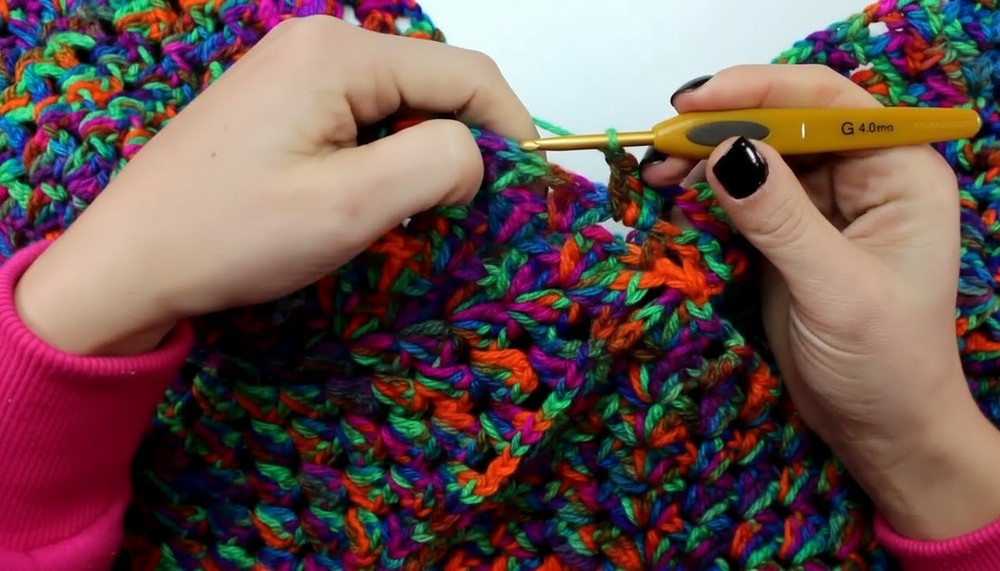
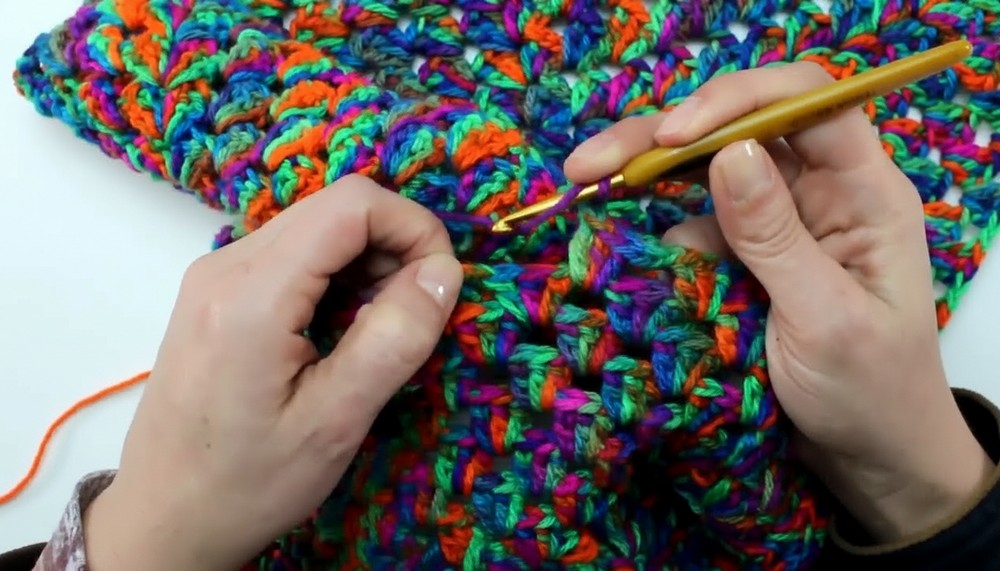
- Join squares as you go: On the final row of Square 2, line up wrong sides together, join with single crochet in chain spaces between motifs (square sections), switching back and forth between the squares. Continue until sides are joined.
- Make a third square, join diagonally to the first two for the triangle poncho shape.
- Repeat to create a second mirrored part. Attach this to the first by joining at the top (shoulder and neckline areas) and sides.
Step 3: Finishing the Neckline
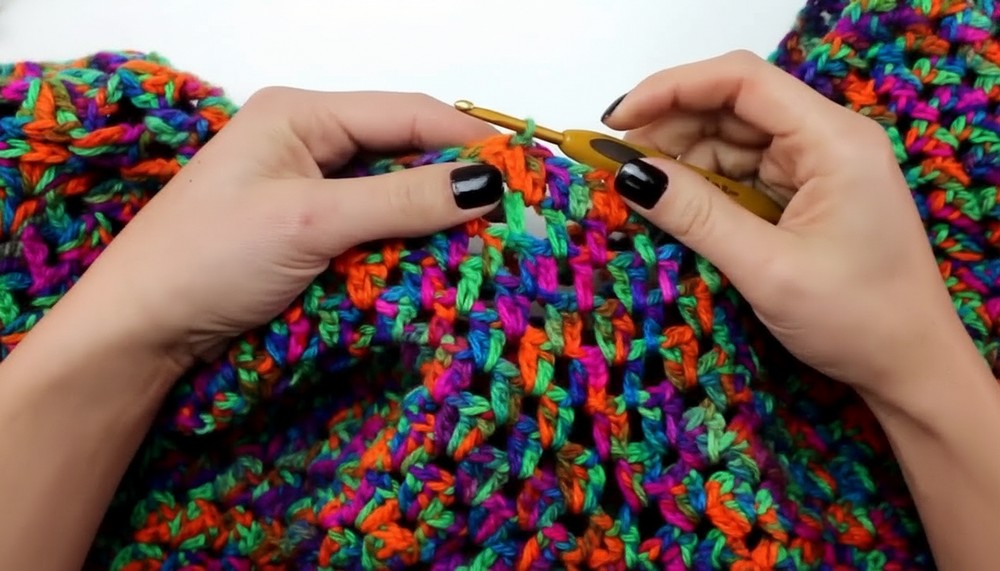
- Work rounds of [3 double crochets, chain, 3 double crochets] in each space around the opening.
- Decrease by alternating groups of 3 double crochets with groups of 2, following the guide: for every two groups of 3, make one group of 2. Continue decreasing until the neckline fits well.
- In final rounds, use rib stitch (front and back post double crochet) for a neat edge.
Step 4: Bottom Edging
- Work edges around the bottom with [3 double crochets, chain] in each space.
- Add fringe: Cut yarn to length (about 12 cm). For each fringe, fold three strands in half, pull through chain space at bottom edge, loop ends through and tighten.
Tutor's Suggestions
- Don’t fasten stitches tightly; looser work gives the poncho a softer drape.
- Use leftover yarn for squares to make a unique and colorful patchwork effect.
- Adjust size by working more rounds for larger squares or fewer for a smaller poncho.
Uses
- Perfect as a cozy cover-up for chilly evenings.
- Great for layering over shirts or sweaters.
- Stylish and customizable for any wardrobe.
Conclusion
This square-based poncho is simple enough for beginners and offers endless creative possibilities. With clear steps and flexibility for color and size, you’ll make a fashionable garment that’s fun to wear and show off.
Tip
If you want a closer neckline, just add more rounds of rib stitch at the top. Don’t be afraid to play with color—leftover yarns work beautifully in this design.




Leave a Reply