
Break away from ordinary fashion with this crochet top, versatile, eco-friendly designs that combine creativity, comfort, and timeless style.
Mass-produced clothing often lacks the personal touch and individuality that many seek in their wardrobe. Crochet tops offer a refreshing alternative, standing out as handcrafted pieces imbued with charm and creativity. These garments are not only stylish but practical, suitable for everything from casual outings to elegant layering during cooler months. Their lightweight and breathable nature make them ideal for warm weather, while the adaptability of patterns ensures a perfect fit for every body type.
Stylish Crochet a Top Pattern That Fits You Perfectly
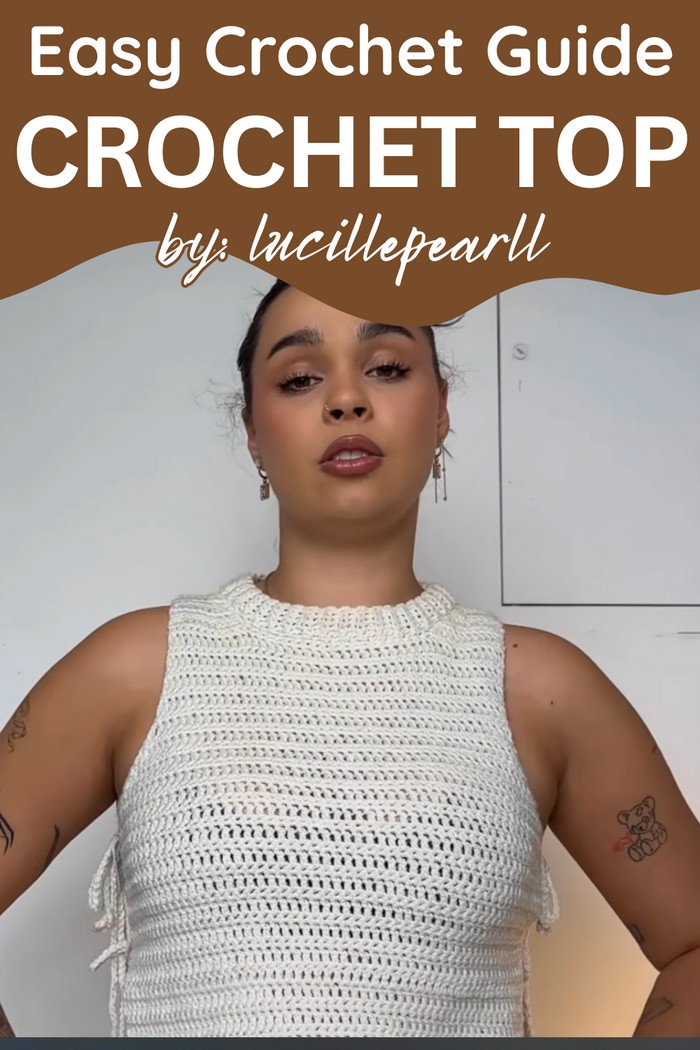
The beauty of crochet tops lies in their uniqueness, giving wearers the freedom to incorporate personalized designs, textures, and colors that align with their style. Unlike fast-fashion items, they are built to last, promoting a more sustainable and eco-conscious approach to clothing. Beyond their practicality, the stitching and artistry behind these tops give them a sense of value that mass-produced clothing simply cannot match.
These tops also offer emotional value, as they can be handmade gifts or cherished items created by oneself. Whether worn on a breezy summer day or layered with complementary pieces, crochet tops add character to any outfit. By choosing or creating a crochet top, you’re not just adding to your wardrobe—you’re investing in clothing that balances beauty, comfort, and thoughtful design.
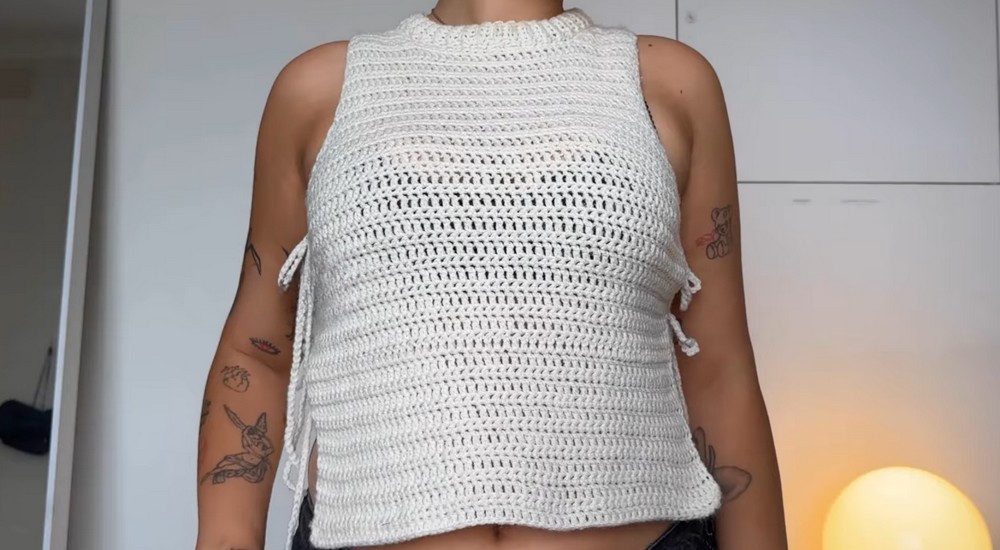
How To Crochet Top
This pattern introduces an easy-to-make crochet top that is perfect for beginners who are venturing into garment-making. While many crocheters stick to toys and knick-knacks, this top offers a simple and customizable way to create wearable clothing. It’s an everyday garment that balances functionality with aesthetics, making it less “showy” than typical crochet wear. The tutor shares clear guidance on how to tailor this piece to individual measurements, ensuring it fits seamlessly into anyone's wardrobe.
Special Features
- Beginner-Friendly Design: The tutorial simplifies crochet garment-making using alternating rows of double crochets and single crochets.
- Customizable Fit: The top’s measurements are based on your body size, including your bust and desired length, offering a personalized finish.
- Adjustable Stitches and Gauge: You can use either a 4mm or 5mm crochet hook to control stitch tightness and coverage.
- Comfortable Fit: The design avoids tightness at the bottom by working into back loops when starting chains, allowing for stretch and flexibility.
- Side Ties: Custom ties at the armhole and waist provide an adjustable fit and add stylish details.
- Ribbed Collar: The neckline features detailed ribbing achieved through back-loop single crochets for a polished, professional look.
Materials
- Medium-Weight Acrylic Yarn: 8-ply yarn is recommended, though you can use other compositions.
- Crochet Hook: Either 5mm for looser coverage or 4mm for tighter stitches.
- General Tools: Stitch markers, scissors, and measuring tape.
Step-by-Step Process
1. Measurements:
- Measure your bust and desired top length.
- Divide your bust measurement by two for the panel width, then subtract 2–3 inches for the tie gap between panels.
2. Setting Up:
- Create a gauge swatch based on your hook size (5mm: 15 stitches/12 rows per 4 inches; 4mm: 16 stitches/13 rows per 4 inches).
- Start with a slip knot and chain an odd number of stitches plus two extra for a turning chain.
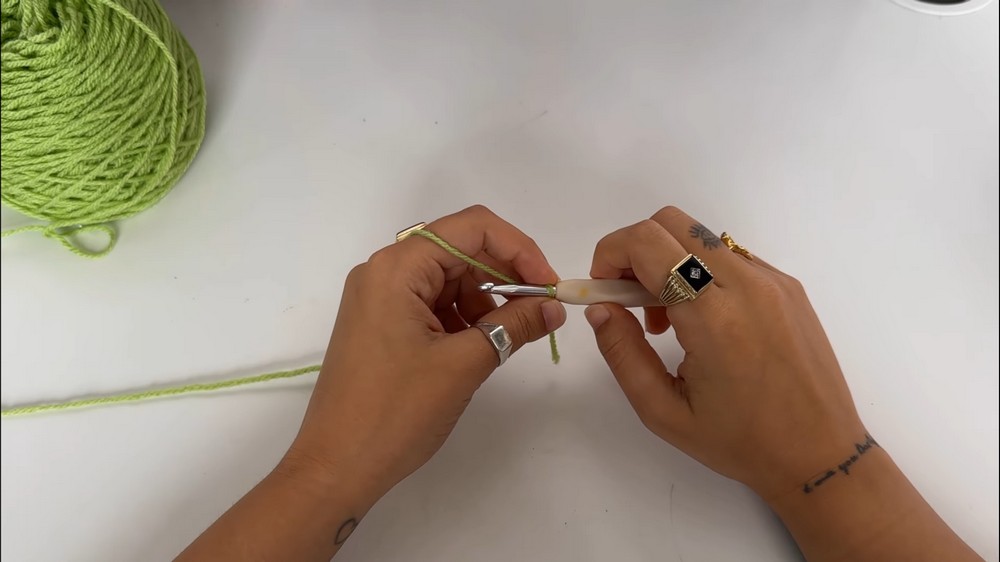
3. Panels:
- Work alternating rows of double crochets and single crochets.

- Complete 18 rows before transitioning to the bottom section for your panel length.

4. Shaping Armholes:
- Decrease at the beginning and end of rows for 8 rows to shape the armholes.
- Continue with alternating rows of double and single crochets above the armholes (10 rows for the front panel, 16 rows for the back panel).
5. Neckline:
- Mark 21 stitches for the front neckline and shape it across six rows using decreases.
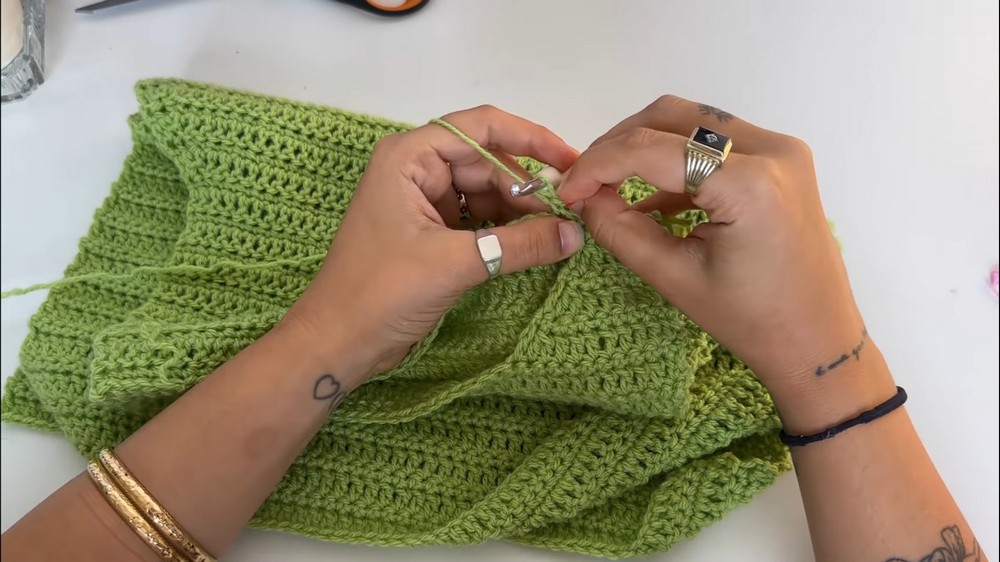
- For side seams, use slip stitches to join panels, ensuring smooth and neat edges.
6. Ribbing Collar:
- Add a foundation row of single crochets around the neckline.
- Work ribbing with back-loop single crochets by chaining 5, completing the row, and slip stitching it in place.
7. Side Ties:
- Use chains to form ties at the armhole and waist areas.
- Each tie involves chaining 50 stitches and securing them at the marked sections.
Level of Difficulty
This crochet top is categorized as beginner-friendly, as it utilizes simple stitches like chains, single crochets, and double crochets. The tutor also explains techniques like decreases and slip stitching in a way that's accessible to those just starting out with garment-making.
Tutor's Suggestions
- Choose your hook size based on desired stitch tightness and coverage.
- Work into back loops to ensure flexibility and prevent tightness in starting rows.
- Use stitch markers to keep track of decreases and row progress if you’re new to crocheting.
- Always try the garment on during key steps (neckline shaping and tie placement) to ensure proper fit.
Uses
This top is perfect for daily wear, offering a casual yet handmade touch to your wardrobe. Its customizable ties at the waist and armholes make it comfortable to wear and adjust, while its ribbed neckline adds sophistication.
Tip
Always create a gauge swatch before starting to ensure your stitches align with your measurements. This step will save time and prevent fitting issues later.
Conclusion
This beginner-friendly crochet top bridges the gap between practical clothing and creativity. By following the provided steps, anyone can crochet a stylish, comfortable garment tailored to their exact measurements. With its simplicity and thoughtful design, this project not only boosts your crochet skills but also shows how handmade clothing can elevate your wardrobe.




Leave a Reply