
Carry your essentials in style with this Free Crochet Mobile Bag Pattern that's perfect for cute, practical, and fun everyday accessories.
A handmade bag is a useful thing that can make your life easier and add beauty to your style. With a Crochet Mobile Bag pattern, you can make a soft and colorful cover for your mobile phone. This bag keeps your phone safe from scratches, dust, and getting lost. You can use bright yarn and lovely designs, like flowers or shapes, to make the bag look pretty.
Unique Crochet Mobile Bag Pattern That Brightens Your Day
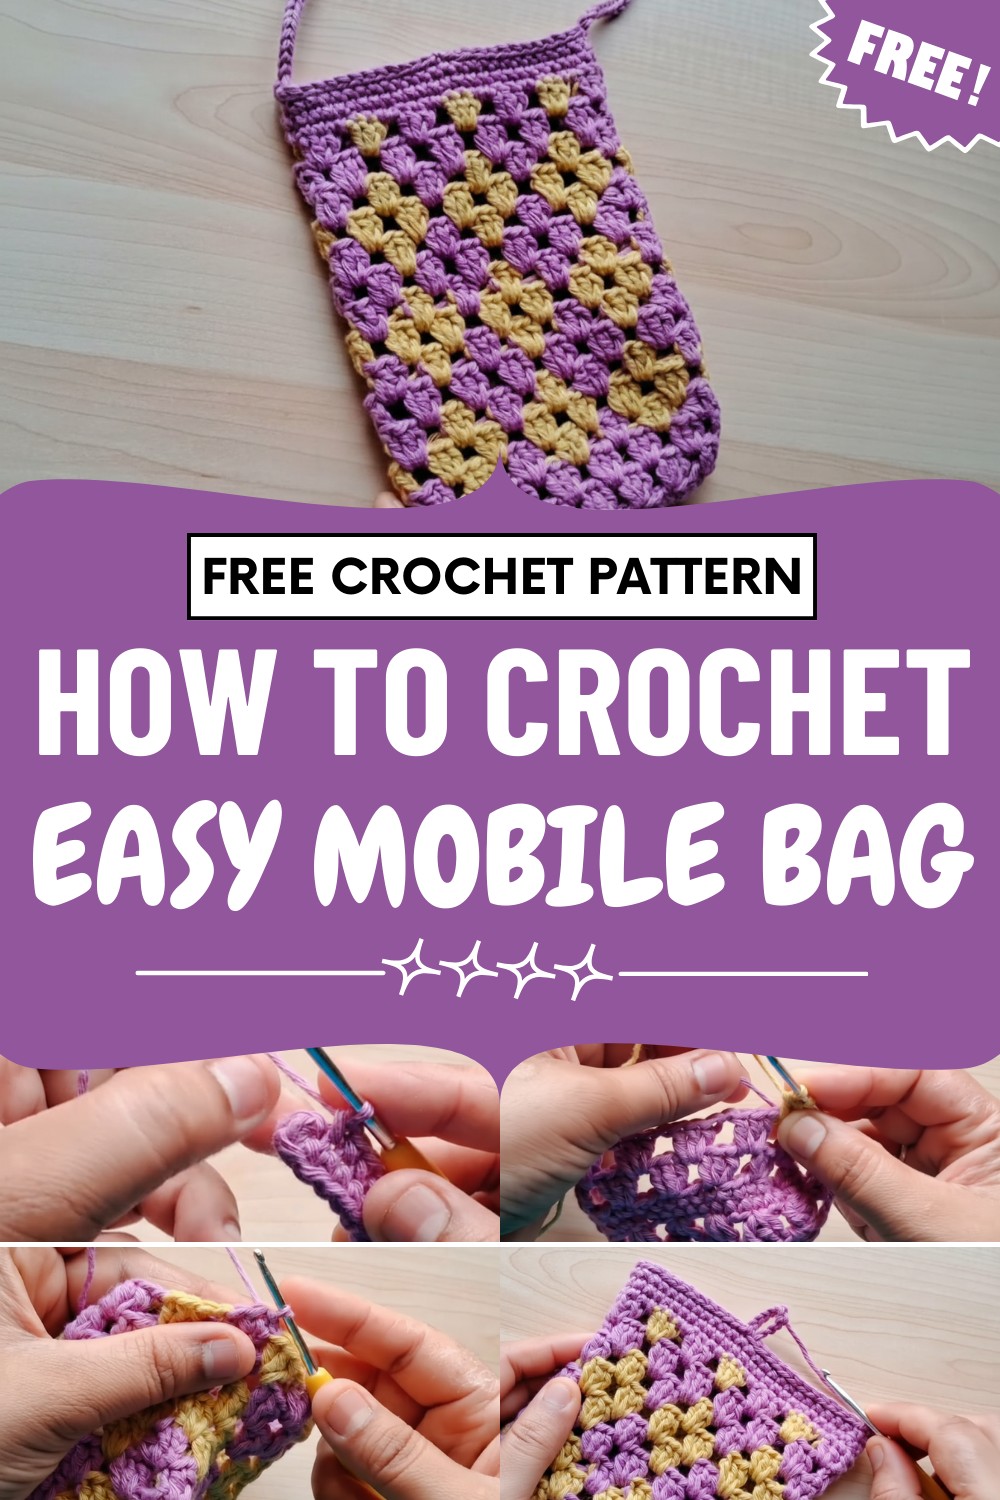
It can have a button to keep your phone inside and a long strap to wear around your shoulder or neck, making it easy to carry when you go out. The biggest benefit is that it is light and easy to wash, so you can use it every day and keep it clean.

The specialty of this bag is that anyone can make it at home with simple crochet stitches and basic tools. It is also a great handmade gift for your friends and family, showing care and love.
Step-by-Step Stylish Handmade Mobile Bag Pattern
Special Features
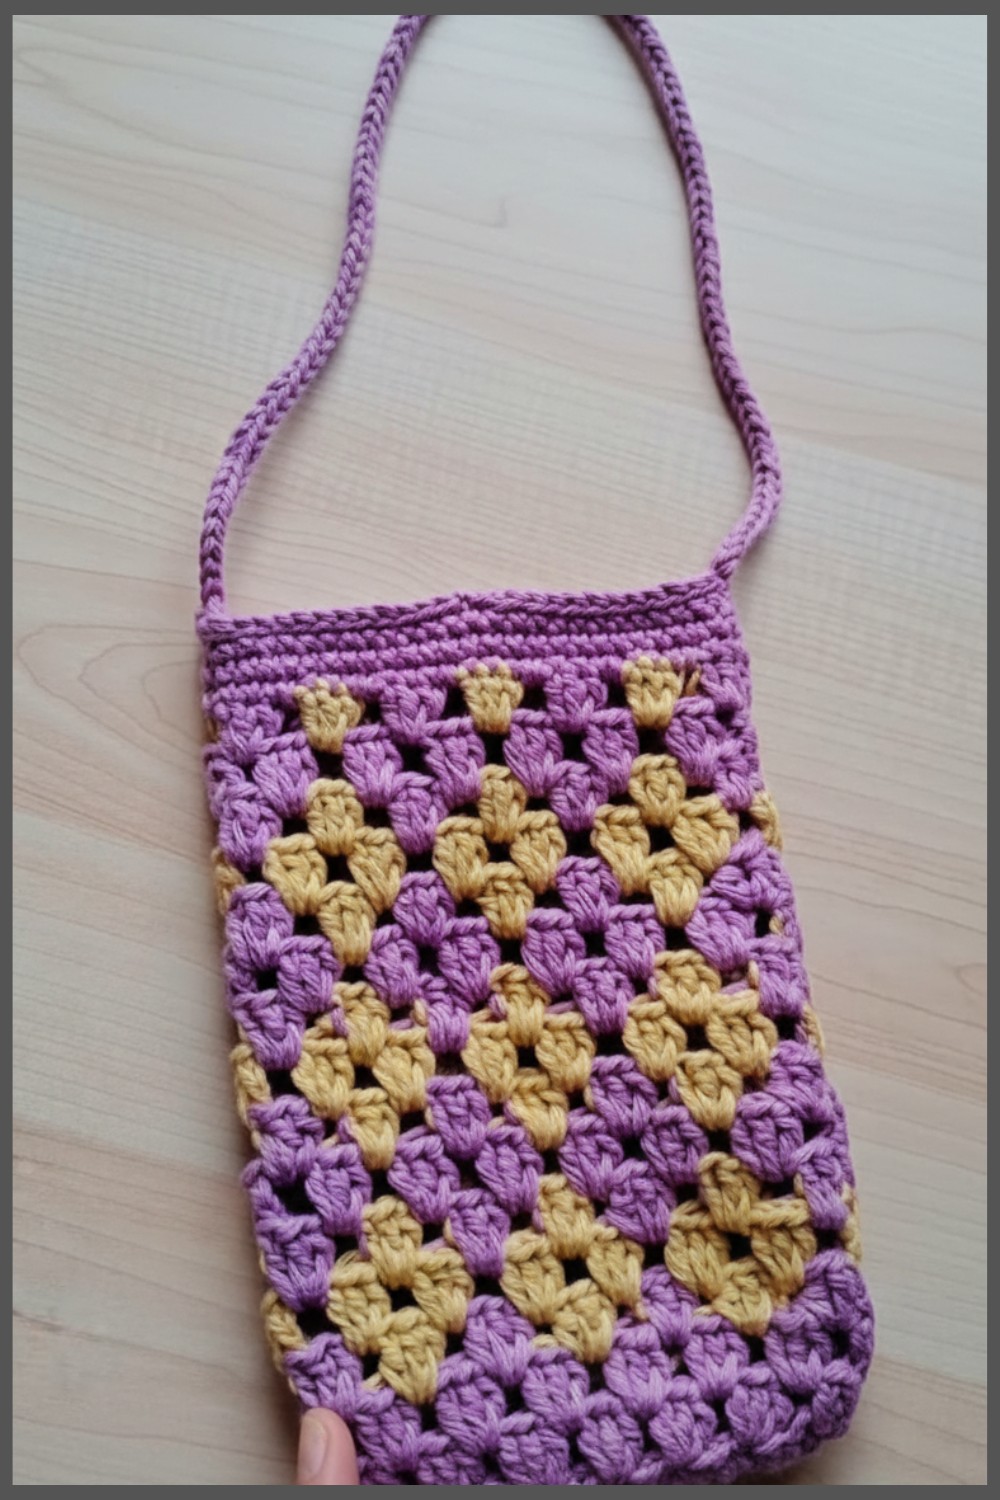
- Unique Diamond Pattern: The alternating colors create a diamond effect, making it attractive and trendy.
- Fully Handmade: Personalize colors and size easily.
- Beginner Friendly: Uses only single crochet and double crochet stitches.
- Functional Closure: Button loop keeps your phone safe.
- Durable and Washable: Suitable for everyday use.
Level of Difficulty
Beginner
Anyone with basic knowledge of single crochet and double crochet can make this bag. The pattern repeats and the stitch count makes it easy for learners.
Tutor’s Suggestions
- Use contrasting colors for a bold design.
- Make sure to count stitches accurately for a perfect finish.
- Keep changing colors as shown to create a neat diamond pattern.
- Weave in ends nicely for a cleaner look.
Uses
- Mobile phone bag/case
- Small purse for essentials
- Gift for birthdays or festivals like Rakhi
- Everyday use accessory
Materials
- Yarn: Purple and yellow (medium weight, acrylic recommended)
- Hook: 3 mm crochet hook
- Button: For closure
- Scissors
- Measuring Tape
- Needle (for sewing and weaving ends)
Step-by-Step Pattern
1. Foundation/Base
- Make a slip knot.
- Chain 19.
- Skip the first chain from the hook. In the 2nd chain, make 2 single crochetes (sc).
- Make 1 sc in each next chain across (total 16 sc).
- In the last chain, make 4 sc (turns the work for the other side).
- Work 1 sc in each stitch (other side of the chain) back to the start (another 16 sc).
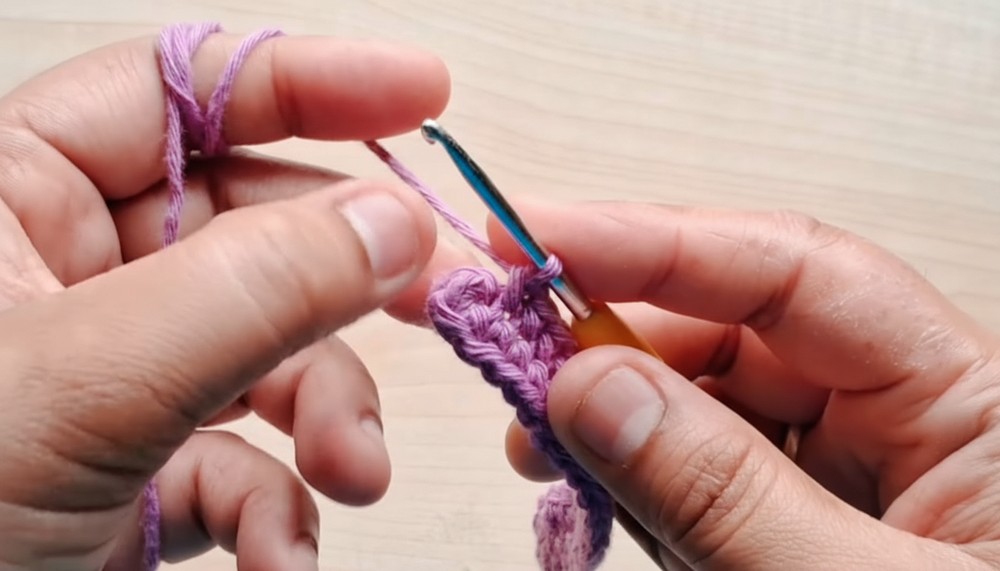
- In the last (beginning) chain, add 2 more sc (now 4 in the corner).
- Join with a slip stitch to the first sc. (40 sc total)
2. Diamond Pattern Body (alternating colors)
Round 2
- Chain 2 (counts as 1 dc - double crochet).
- In same stitch, make 2 dc (total 3 dc in one stitch).
- Chain 1, skip 2 stitches, then 3 dc in the next stitch.
- Repeat: (3 dc, chain 1, skip 2) all around.
- Join with slip stitch on top of starting chain.
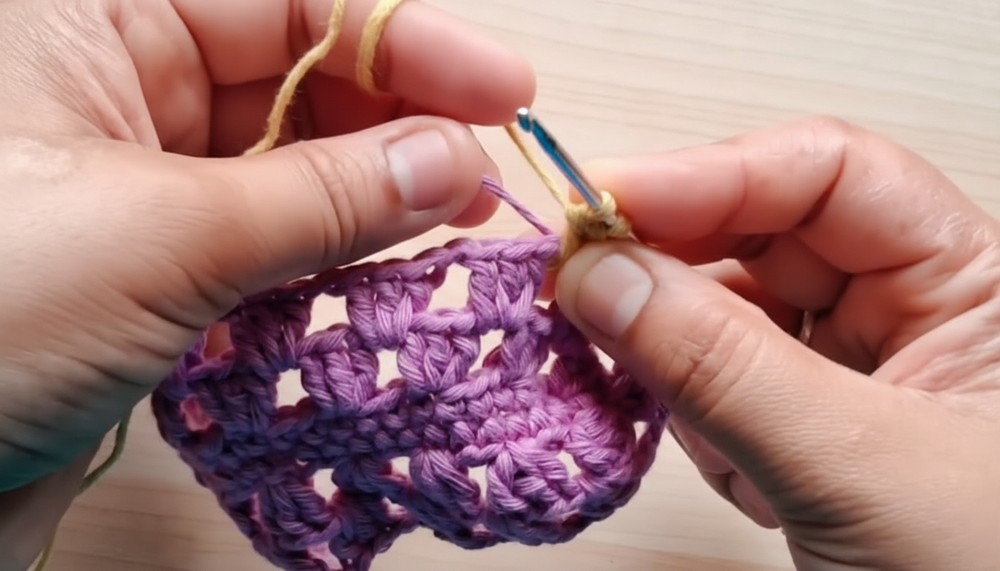
Round 3
- Chain 2, chain 1 (gap), 3 dc into each 1-chain gap across, chain 1 each time.
- Repeat all around and join with slip stitch.
Round 4 (Color Changing)
- Repeat as previous round, but alternate colors after 3 dc clusters.
- To change color: In the last step of the third dc, switch yarns so new color is on hook for next stitches.
- Continue alternating yellow and purple to form the diamond effect.
Round 5
- Work the entire round in yellow (or 2nd color), repeating the same pattern: 3 dc in each gap, chain 1 between clusters.

Continue Rounds
- Repeat pattern:
- Odd rounds (like Round 5, Round 7, etc.): Single color (alternate between yellow and purple)
- Even rounds: Color changing round (alternate every 3 dc cluster)
- Work up to 16 rounds or desired height.
3. Finishing Border
Rounds 17–19
- Switch to purple yarn for border rounds.
- On Round 17: Work 1 sc into every double crochet and chain gap around.
- For next 2 rounds: 1 sc into each sc all around.
4. Slip Stitch & Button Loop
Round 20
- Work slip stitch in every stitch.
- On one side, when at center, chain 10 (for the button loop), join to the last slip stitch to form loop, then continue slip stitches around to end.
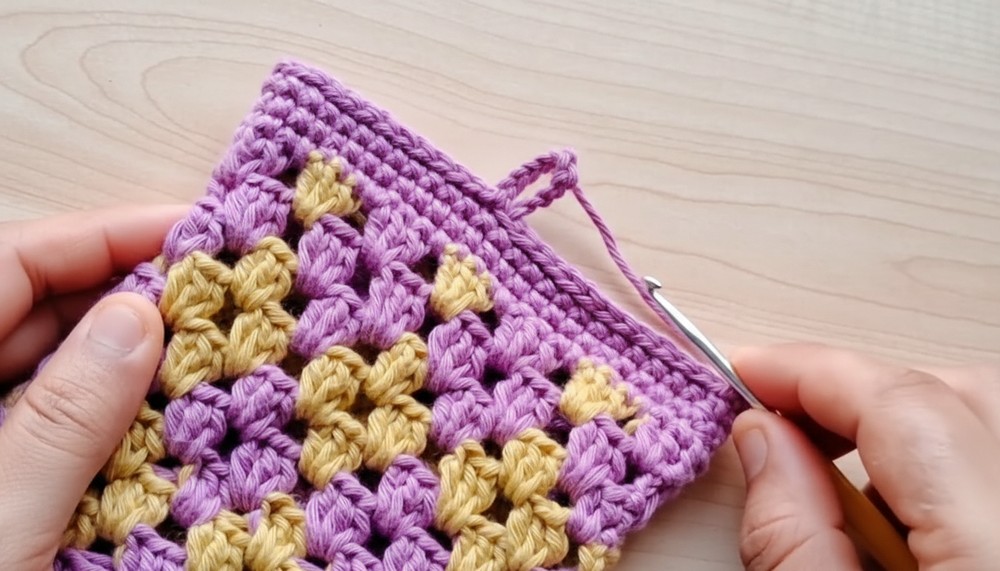
5. String/Strap
- To double the yarn, take both ends from one ball or use two separate balls.
- Attach at one side and chain 230 for a long strap.
- Secure and sew the other end to the opposite side using needle.
- Hide yarn tails.
6. Attaching Button
- Sew a button just below button loop for closure.
Tip
When changing colors for the diamond pattern, always finish the last yarn-over of the third double crochet with your new color. This keeps color changes neat and prevents loose ends.
Conclusion
You now have a stylish, durable, and fully handmade mobile bag! Its unique diamond design and bright colors make it the perfect accessory or gift. Even beginners can achieve a beautiful result with simple, repeated stitches. Personalize it with your favorite colors, and enjoy a fashionable bag made by your own hands!



Leave a Reply