
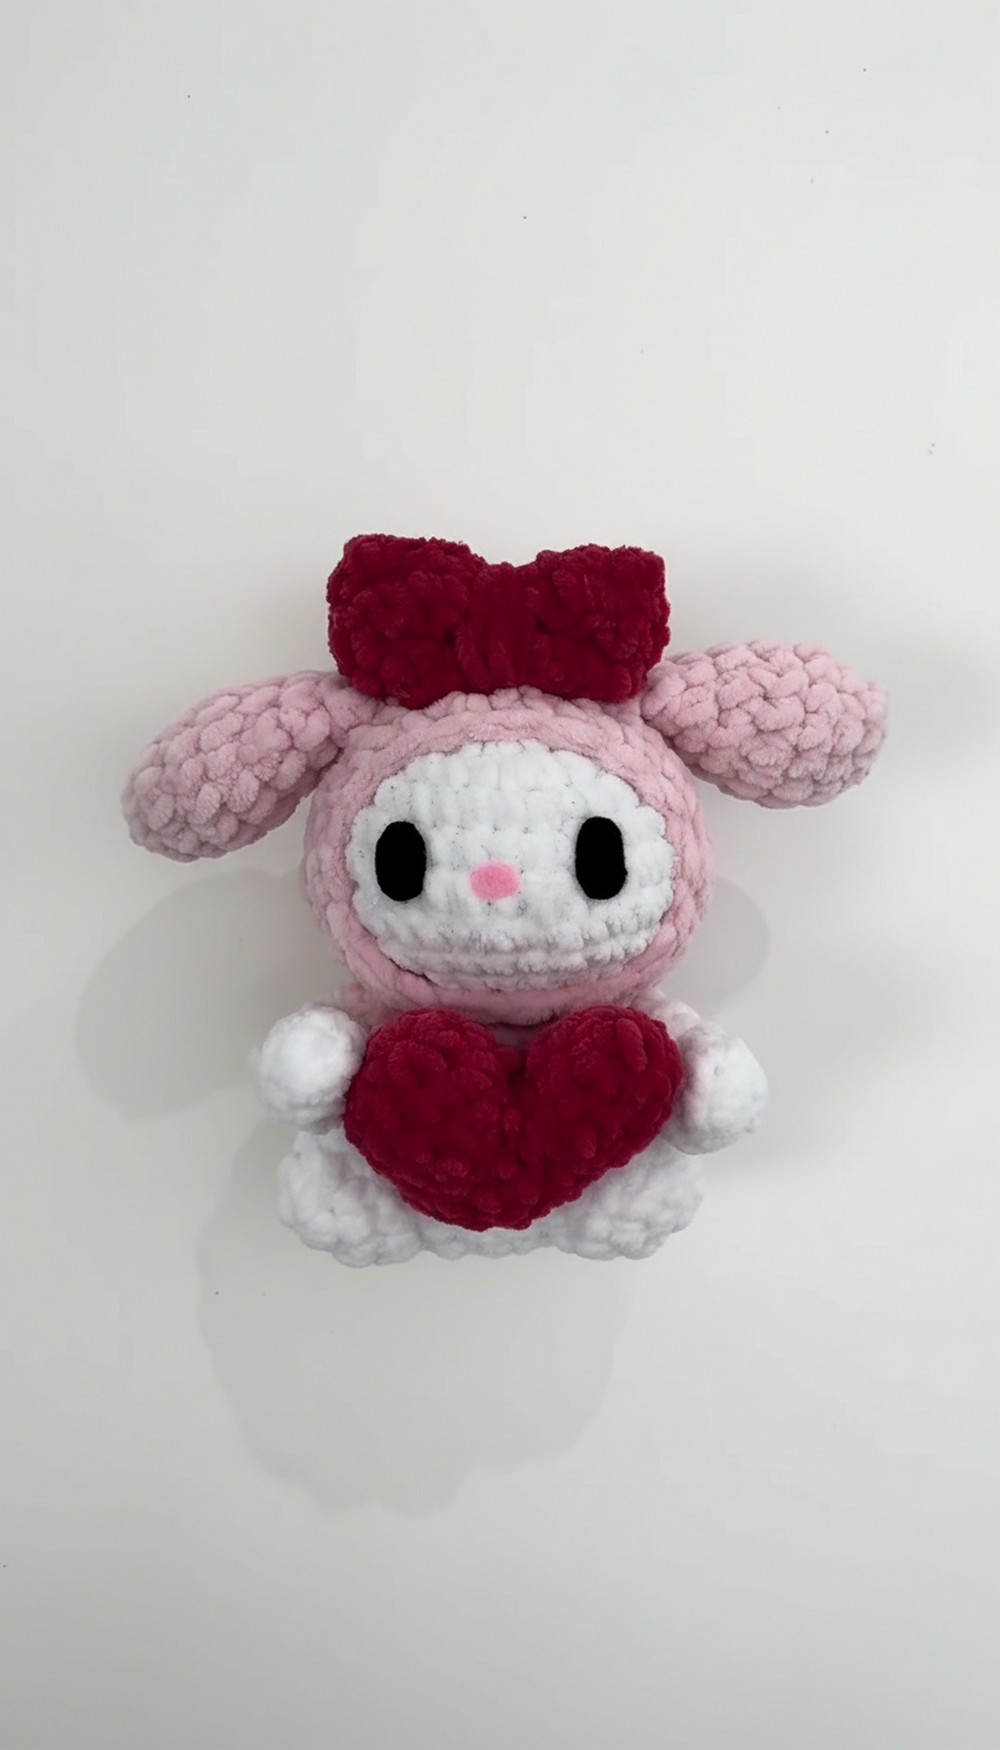
Bring extra cuteness to your space with this Free Crochet My Melody Pattern perfect for adorable toys and sweet, fun gifts anyone will love.
Bright colors and sweet shapes bring happiness for everyone who loves cute toys. With a Crochet My Melody pattern you get to make a soft bunny friend with big floppy ears and a lovely pink hood with a big bow. This special look makes her easy to recognize and gives her a gentle and friendly style. You can use this pattern to create a huggable gift for a child a happy room decoration or even a small keychain or bag charm to take everywhere.
Delightful Little Crochet My Melody Pattern That Wows
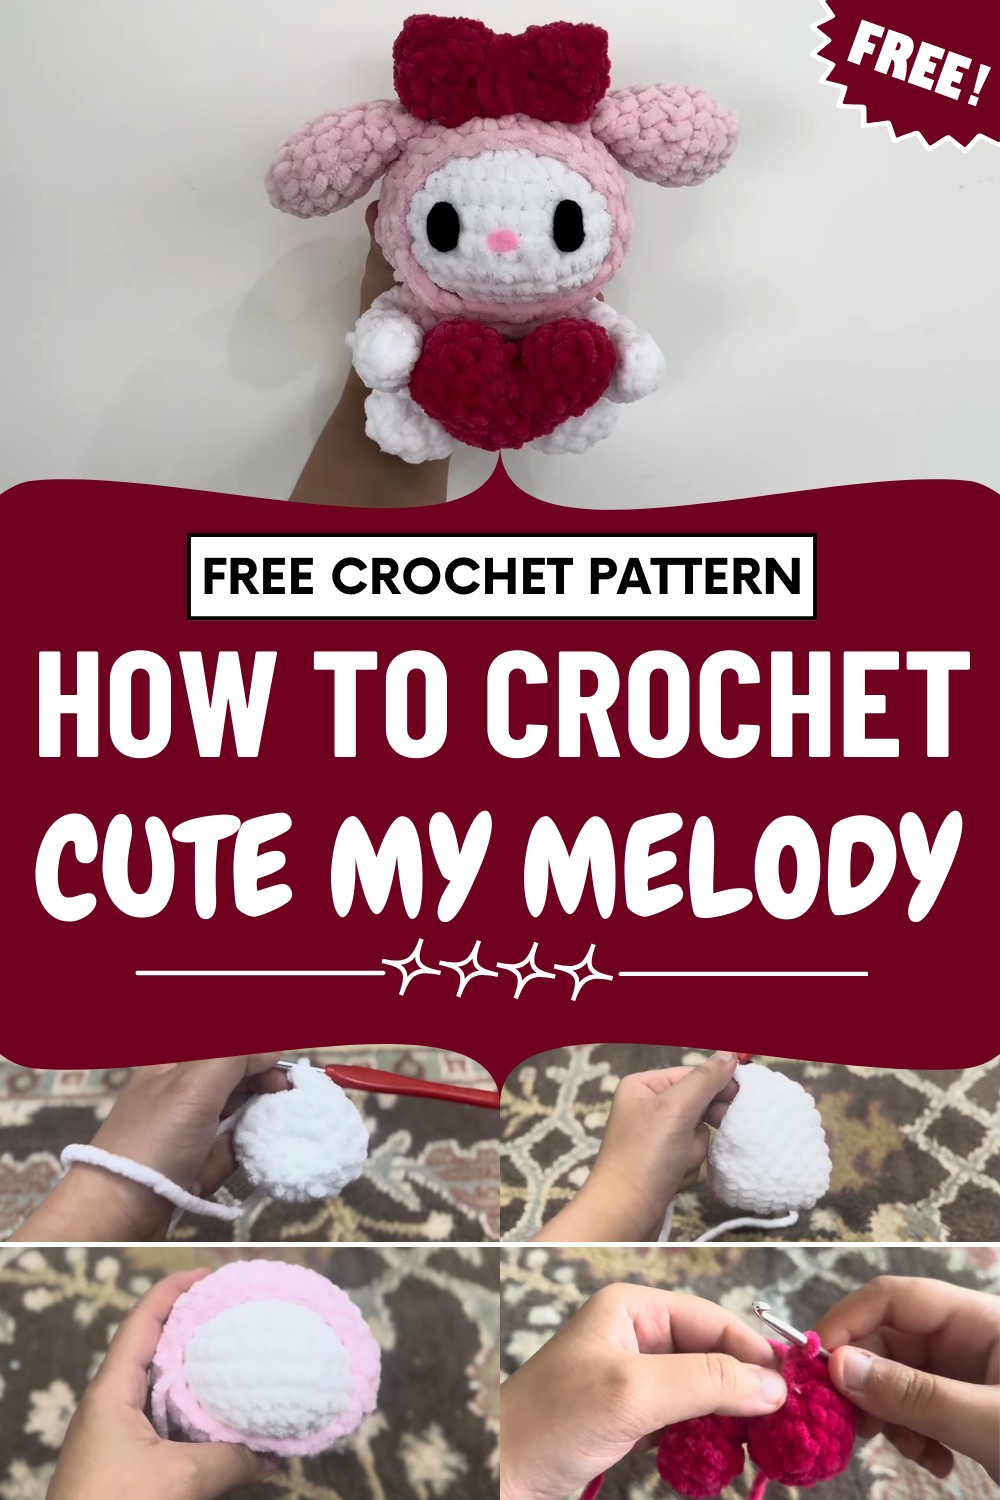
Her cheerful face and round body spread joy wherever you place her. One important feature is her beautiful hood with the famous bow which makes her truly stand out.

Using soft yarn a simple hook and stuffing you can follow easy steps to finish your very own My Melody. This Crochet My Melody pattern is perfect for fans of Sanrio kawaii and anyone who wants to share smiles.
Special Features
- Magic ring used for seamless starts
- Beginner-friendly stepwise increases and decreases
- Simple bow and heart shapes
- Customizable hood and body
- Clear joining/sewing techniques
Level of Difficulty
Beginner to Advanced Beginner
If you know basic crochet stitches (single crochet, increase, decrease), you can easily follow along. The step-by-step explanation also suits first-time amigurumi makers!
Suggested Uses
- Gifts for loved ones
- Valentine’s Day decorations
- Customizable plush toys
- Desk or shelf decor
Materials Needed
- Worsted or DK weight yarn:
- Main color (white for the body/head)
- Secondary color (for the hood)
- Accent colors (for the bow and heart)
- Crochet hook (size to match your yarn, usually 2.5–3.5mm for amigurumi)
- Stitch markers
- Yarn/tapestry needle
- Scissors
- Polyfil/stuffing fiber
- Safety eyes (optional), felt for facial features (optional)
Pattern Steps
1. Head
- Magic Ring:
- Wrap white yarn around fingers twice.
- Insert hook under loops, pull working yarn through, twist, and yarn over. Pull through for a secure ring.
- Single Crochet Foundation:
- Work 6 single crochets (sc) into the ring.
- Tighten ring using the yarn tail, pull in the right sequence for a neat close.
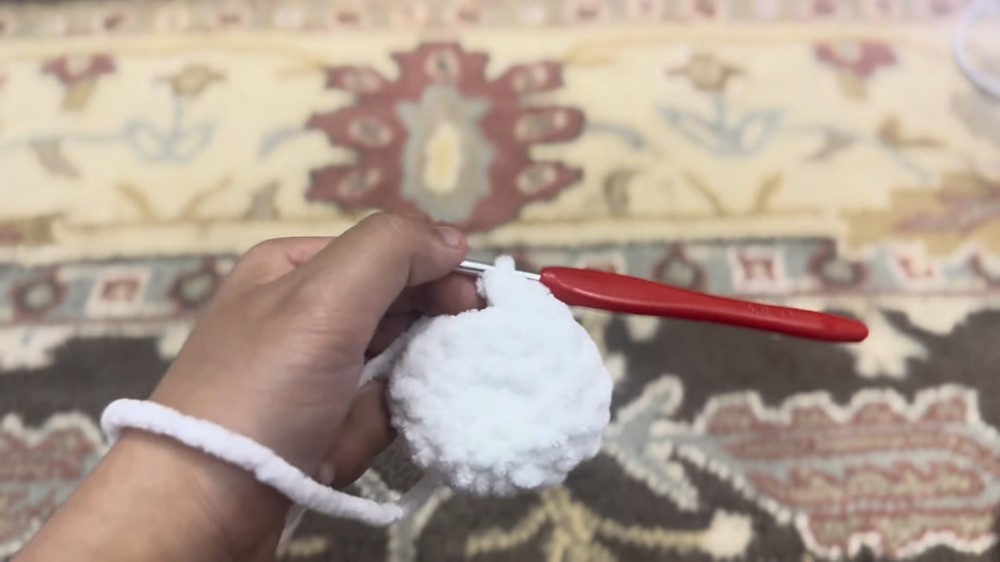
- Marking Rounds:
- Place a stitch marker in the last stitch of the round to keep track.
- Increasing Rounds for Head:
- Round 2: Increase (2 sc in each st) around. (12 sts)
- Round 3: (1 sc, inc) around. (18 sts)
- Round 4: (2 sc, inc) around. (24 sts)
- Round 5: (3 sc, inc) around. (30 sts)
- Round 6: (4 sc, inc) around. (36 sts)
- Next 2 rounds: 1 sc in each stitch.
- Decreasing for Shaping:
- (4 sc, dec) around.
- (3 sc, dec) around.
- (2 sc, dec) around.
- Stuff the head.
- (1 sc, dec) around.
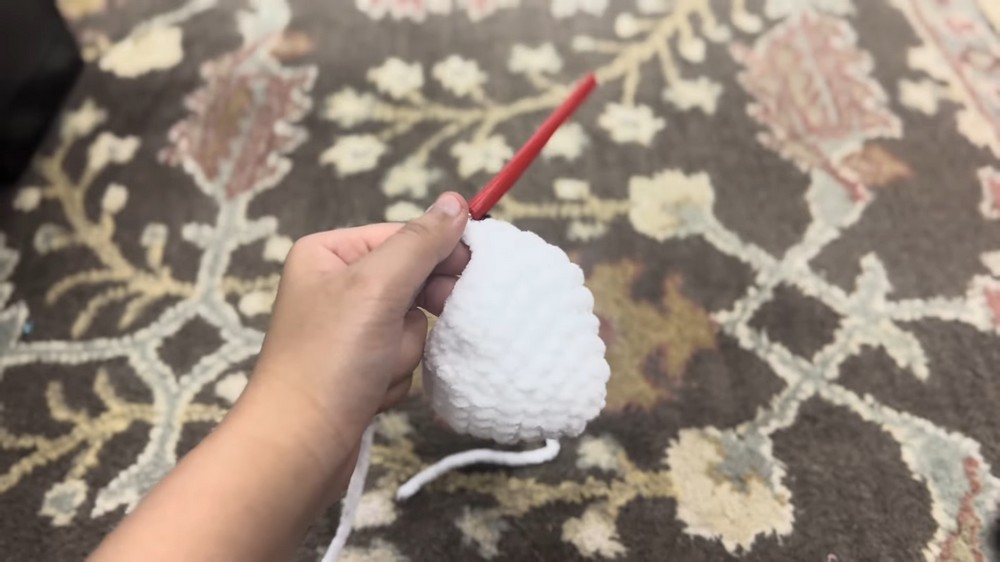
- Finishing the Head:
- Fasten off with a slip stitch.
- Leave a tail; thread a needle through the front loops of the last round, pull closed, weave in ends.
2. Hood
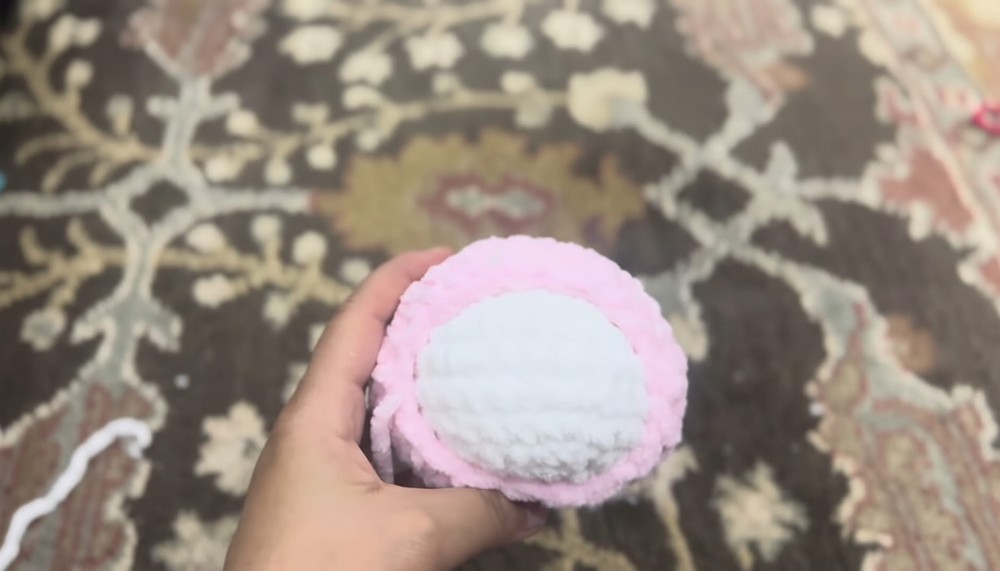
- Repeat head pattern up to 1 sc all around, but do an extra round for a better hood fit.
- Continue with 4 sc, dec around; 3 sc, dec around; 2 sc, dec around; fasten off with a tail for sewing.
- Assembly: Place the hood over the finished head; crochet the final rounds with the head inside for a snug fit.
3. Arms (make 2)
- 5 sc in a magic ring.
- Increase in each st. (10 sts)
- (1 sc, inc) in each st around. (15 sts)
- 2 rounds of 1 sc in each st.
- (1 sc, dec) all around.
- 2 rounds of 1 sc in each st.
- Lightly stuff, slip stitch close, and fasten off with a tail for sewing.
4. Body
- 6 sc in a magic ring.
- Follow head/hood increase steps up to 3 sc, inc.
- 5 rounds of 1 sc in each stitch.
- Slip stitch and fasten off with a sewing-length tail.
5. Legs (make 2)
- 6 sc in a magic ring.
- 7 rounds of 1 sc in each stitch.
- Fasten off the first leg; on the second, do not fasten off—continue to join.
6. Bow
- Make a slipknot in accent color; chain 20.
- Extra chain for turning.
- Work 1 sc in each chain (ignore the first, work from the 2nd ch from hook).
- 2 more rows of sc for a total of 3 rows.
- Chain 1, cut yarn, leave a long tail.
- Fold, sew short ends together, weave middle tight with the long yarn tail, and use tail to sew onto head.
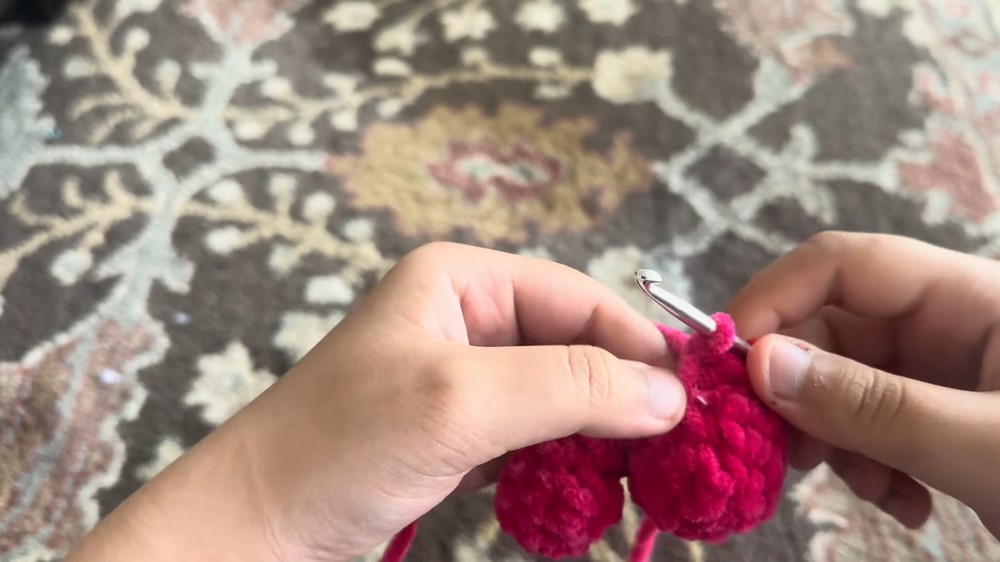
7. Heart
- Make 6 sc in magic ring, increase in each stitch. (12 sts)
- 2 rounds of 1 sc in each st.
- Make a second half, do not fasten off second half.
- Join both halves with sc.
- Decreasing Rounds: (1 sc, dec) around.
- Fill and close; sew gap between halves closed.
8. Ears
- Chain 15 in accent color.
- Row 1: Into 2nd chain from hook,: hdc, dc, dc, hdc, slip st 5 times, then in reverse hdc, dc, dc, hdc.
- Fasten off, leave a long tail for sewing on both sides of the hood.
9. Assembly
- Sew hood to head.
- Attach arms and legs to body.
- Sew bow and heart to body/head.
- Weave in all ends securely.
Tips
Stuff gradually: Adding stuffing in stages prevents lumpy or misshapen amigurumi and helps keep the shape neat and uniform.
Conclusion
Congratulations! You’ve crocheted an adorable heart character with a bow and hoodie. This amigurumi pattern is perfect for gifting or displaying, and you can personalize colors and accessories to make it your own.


Leave a Reply