
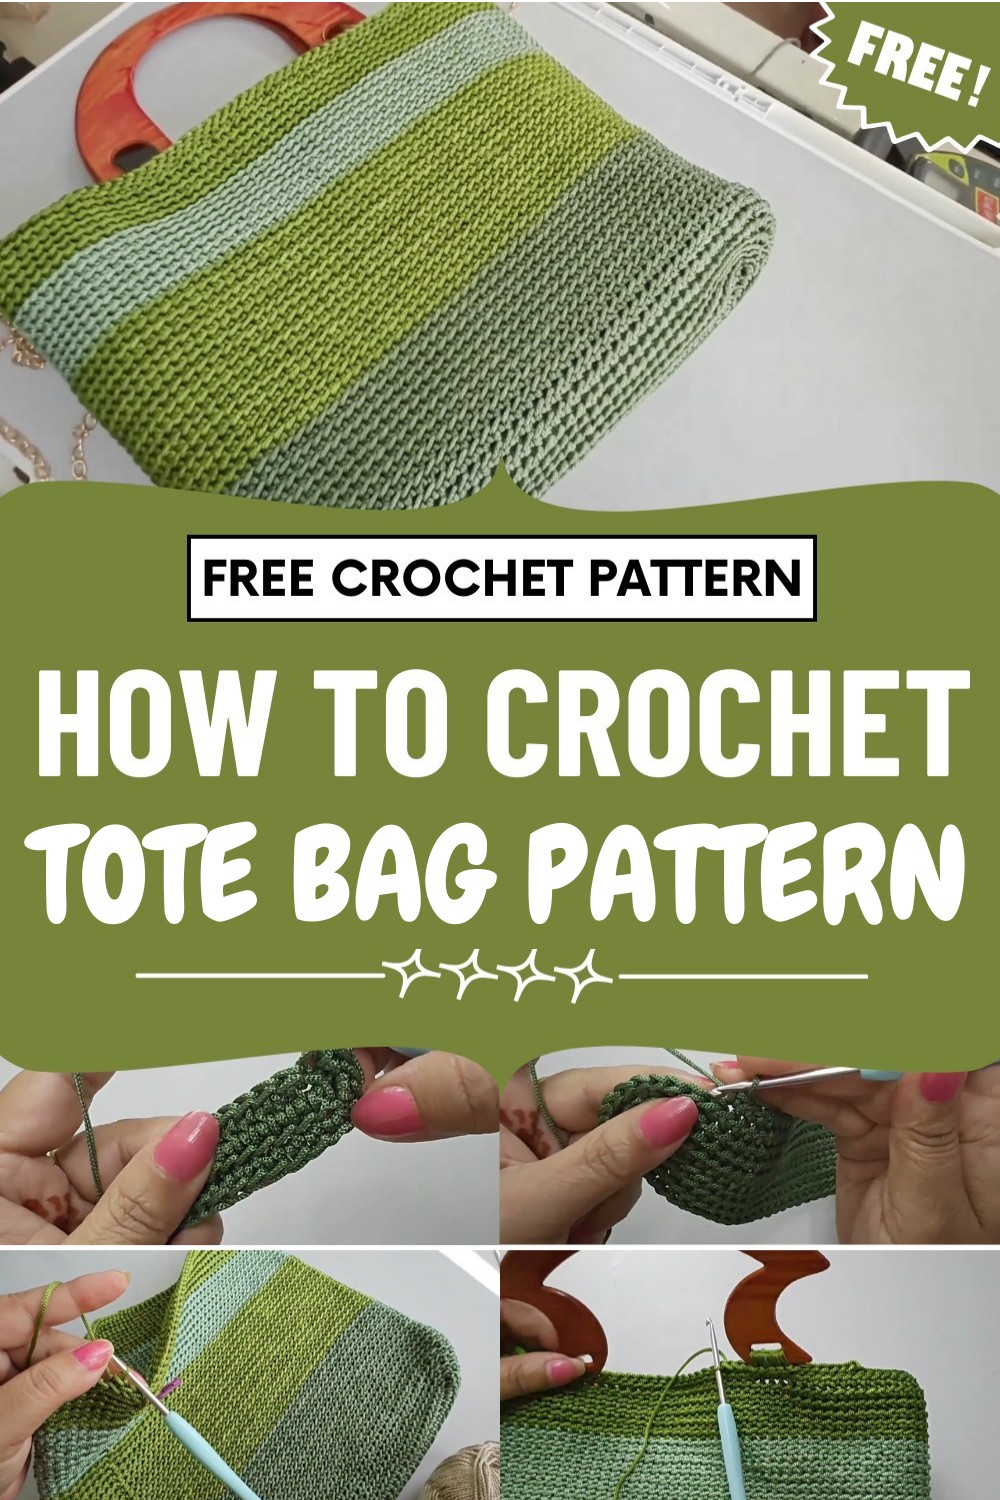
Style your day with this Crochet Tote Bag Pattern for a roomy, trendy accessory that adds charm and elegance to every outing effortlessly.
Handmade elegance meets everyday utility as this Crochet Tote Bag Pattern enhances both your style and your routine. Present trends show a growing appreciation for bags that are eco-friendly and reusable, making them ideal companions for shopping trips, errands, or leisure activities. The roomy interior provides ample space for essentials while sturdy handles ensure comfortable carrying.
Chic Crochet Tote Bag Pattern for stylish everyday errands
Unique textures and self-chosen color palettes offer a chance to reflect your personal taste, making each creation truly one of a kind. When choosing a crochet tote bag pattern, you gain more than a functional item—it tells a story of craftsmanship and creativity.
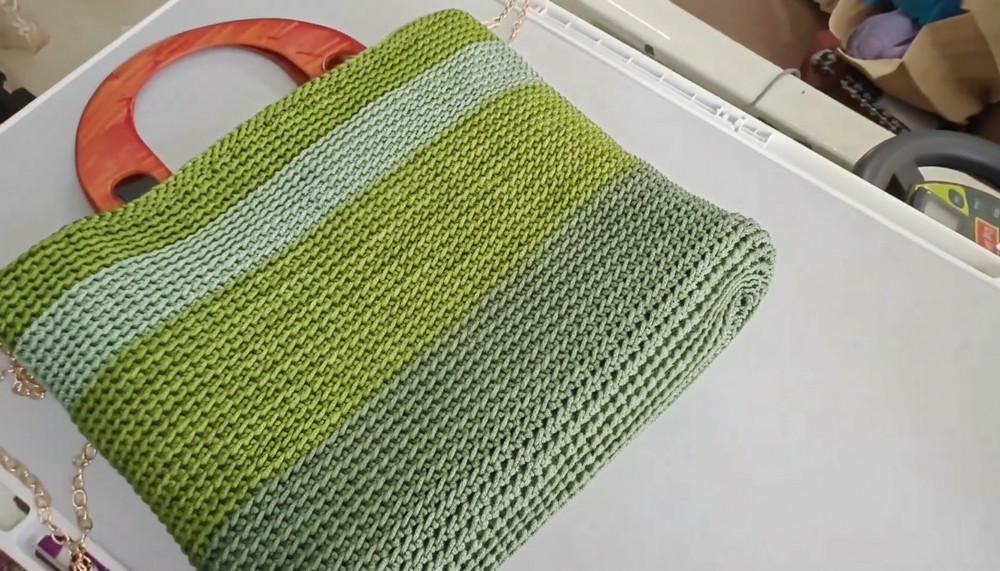
Their durability means you can enjoy both beauty and practicality for years to come. Whether dressing up a laid-back look or offering a thoughtful handmade gift, you bring both style and meaning into everyday life with this project.
Materials Needed
- Polyester thread (choose several shades of green or your preferred combo)
- 3 mm crochet hook
- Stitch markers or safety pins/thread
- Plastic handles
- Decorative golden chain (optional)
- Scissors
Special Features
- Eye-catching color combinations
- Sturdy base and sides
- Plastic handles for durability
- Stylish golden chain for closure or decoration
- Quick, one-day project (for fast crocheters)
Level of Difficulty
Beginner to Intermediate: This pattern uses single crochet, slip stitch, and basic color changes. Markers are recommended for keeping track of rounds.
Step-by-Step Pattern
1. Base Foundation
- Make a slip knot.
- Chain 40 (not too tight, not too loose).
- Chain one more for turning.
2. Creating the Oval Base
- In the 40th chain, make 3 single crochets.
- Mark the first chain stitch for reference in each round.
- Work 38 single crochets along the next chains.
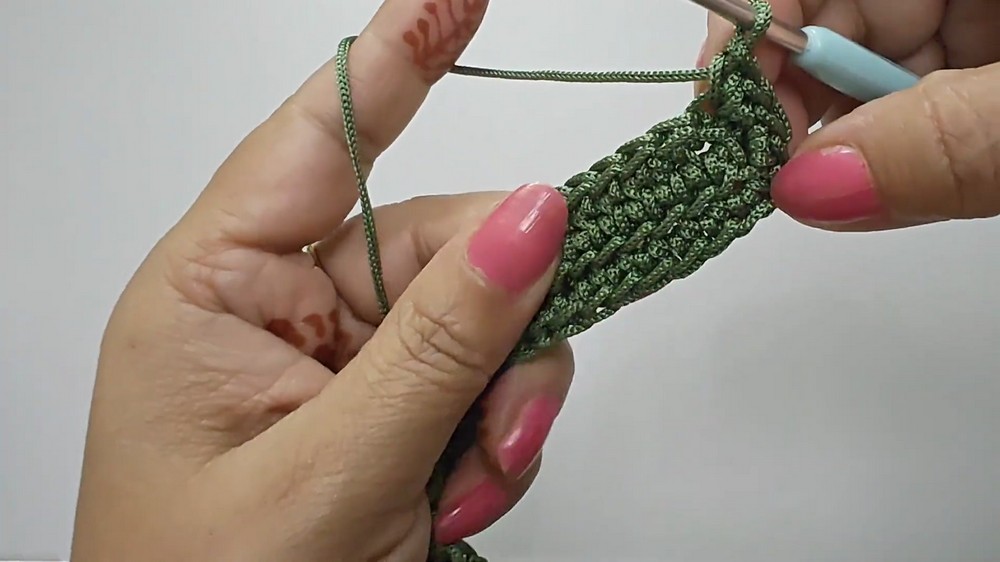
- In the last chain, make another 3 single crochets.
- Turn and work 38 single crochets on the opposite side of the chain.
- Join to the starting single crochet with a slip stitch (on the marked stitch).
You should have an oval-shaped base.
3. Increasing the Rounds
- Next round:
- Chain 1 (counts as single crochet).
- In the marked chain spaces (the oval's ends), increase by making two single crochets in one space, following a pattern of 1, 2 (single, double), or 2, 1, as described.
- Work single crochets one by one along the sides.
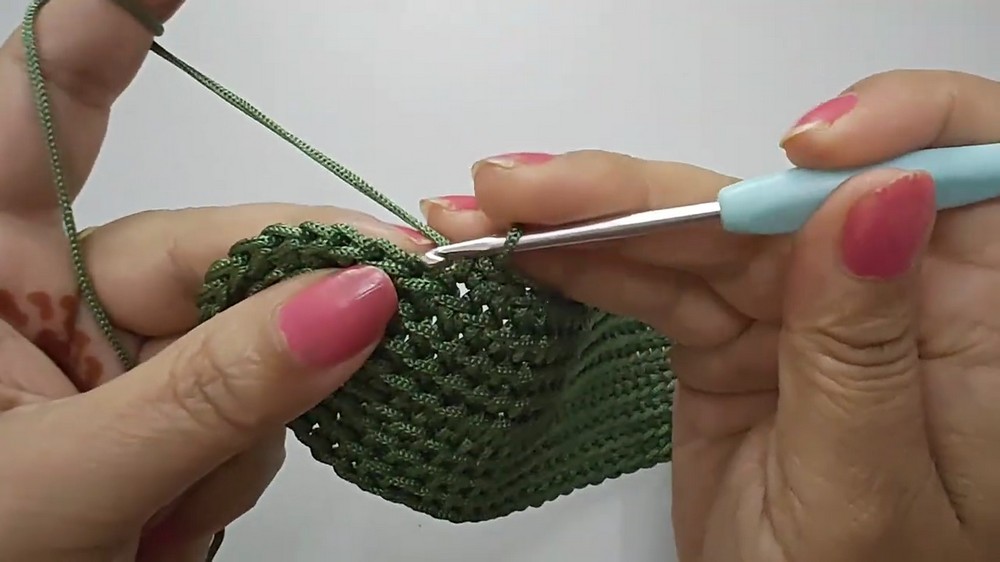 Continue increasing at the ends of the oval in each round, following these increments:
- First end: (1, 2, 1, 2...)
- Sides: single crochet one in each stitch
- Second end: repeat increase pattern
- Use markers after each slip stitch and at increases for easier tracking.
4. Shaping the Bag
- Continue repeating the rounds, always increasing at the ends and single crocheting along the sides.
- Continue until your base measures about 11–12 inches across (width).
- At this stage, you will have 112 stitches per round.
- If you desire a larger bag, keep increasing for extra rounds.
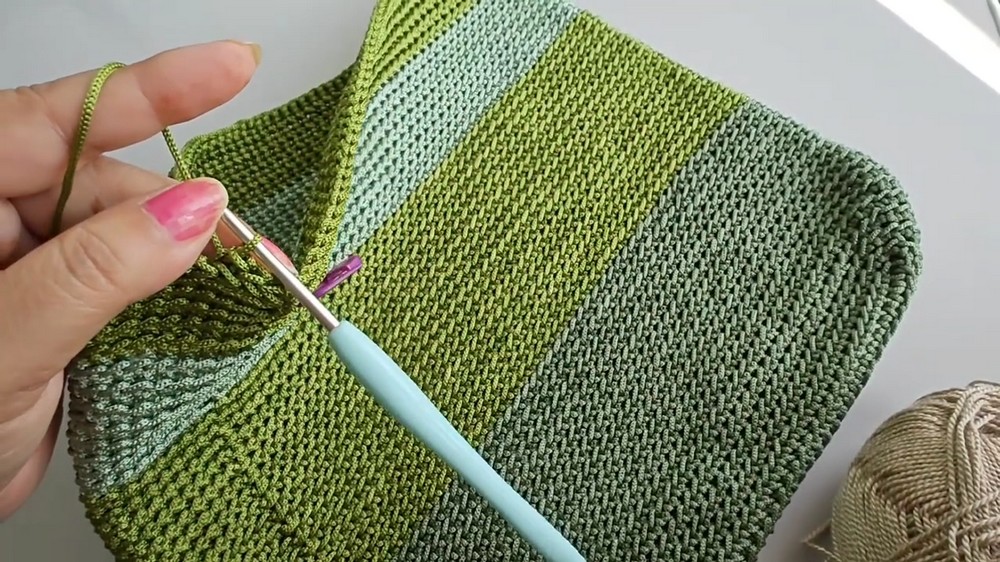
5. Building the Body
- Crochet single crochets in every stitch, *no further increases.
- Change colors as desired – make changes at your stitch marker for crisp transitions.
- Keep working in the round, maintaining 112 stitches per round.
- Continue until the body reaches about 9½ inches in height (as measured in the sample), or as long as you prefer.
- The pattern in the tutorial consists of 46 rounds.
6. Finishing the Top Edge
- Work 1–2 rounds of slip stitches along the top to give a firm edge.
- Avoid single crochet for the edge to keep it from softening.
- Use only slip stitches for a crisp finish.
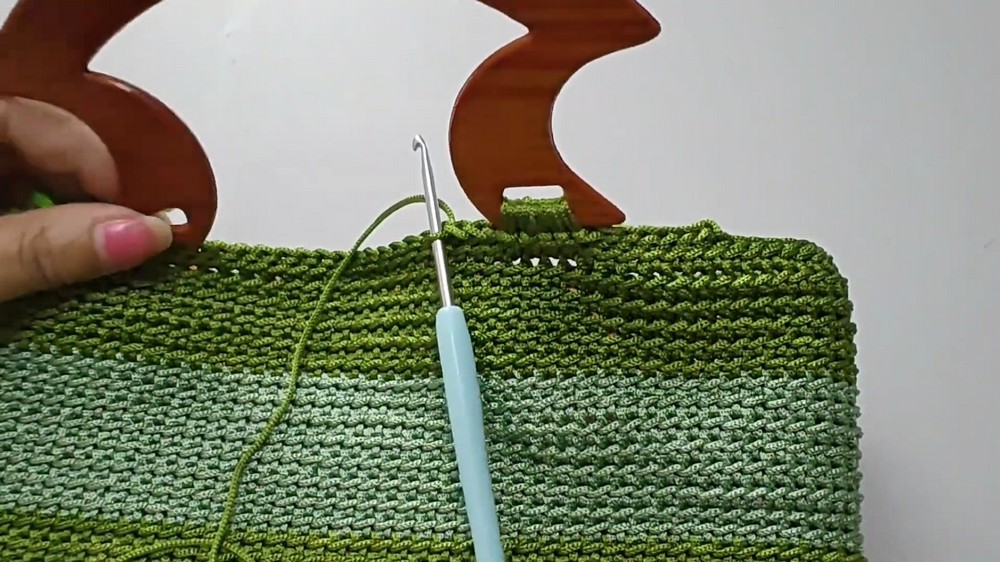
7. Attaching Handles
- Mark the stitches where you want the handles (opposite sides).
- At each marker:
- Remove the marker and pull up a loop.
- Pass your hook through the handle hole and pull up a loop.
- Join the two loops with a slip stitch.
- Repeat this process for each stitch area covered by the handle, securing the handle neatly.
- Repeat for the opposite side.
8. Optional Chain/Closure
- Attach the golden chain for added style, or crochet a string and add it as a decorative closure.
Tutor’s Suggestions
- Always use stitch markers after slip stitches and at increases—this keeps your counts accurate.
- Change colors at the marker for sharp, clean transitions.
- Keep your stitches even and avoid loose gaps at the base.
- Handles can be attached from the inside for a neat look.
Uses
- Shopping tote
- Casual handbag
- Gift bag
- Fashion accessory
Tip
When finishing the top edge, use only slip stitches for a hard and durable rim. This prevents the bag from sagging and helps it hold its shape.
Conclusion
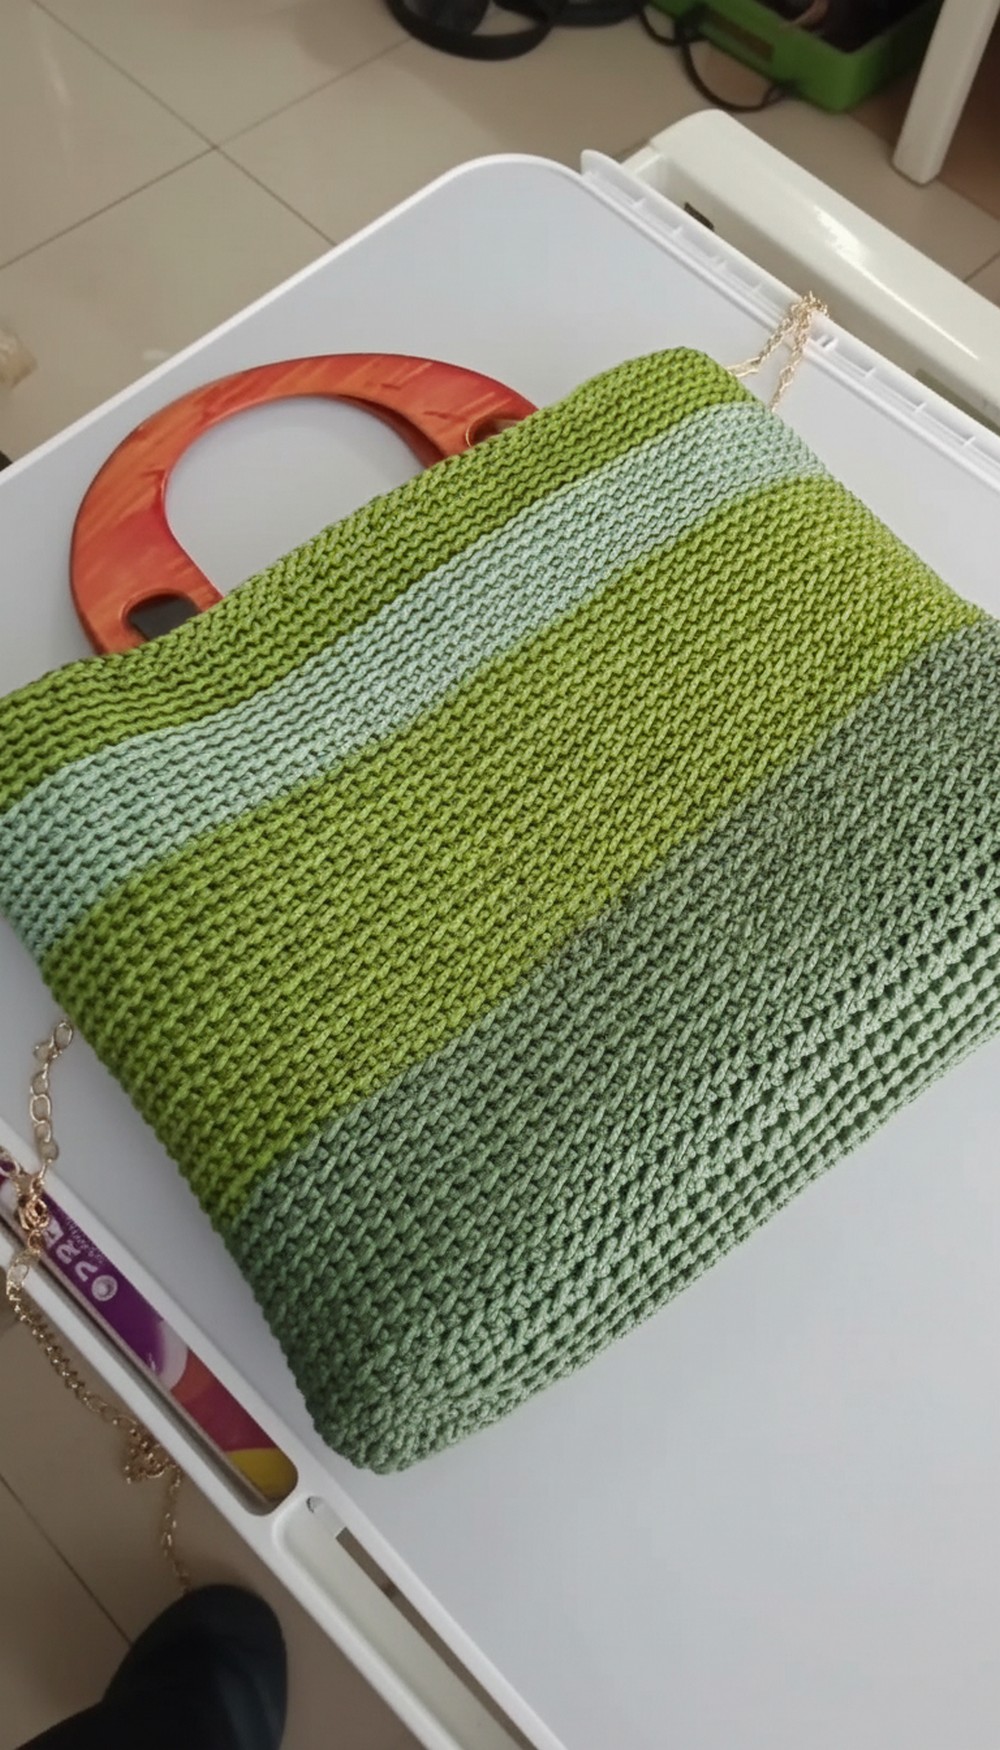
This speedy tote bag project infuses style with practicality. Its color-blocked design and sturdy handles make it a go-to accessory for everyday errands or outings. With clear instructions and room for creativity, you’ll finish a bag you’ll love to carry or gift.




Leave a Reply