
Nothing says autumn quite like the cozy charm of handmade décor. With a crochet pumpkin pattern, you can change ordinary yarn into adorable seasonal accents perfect for sprucing up your home during the fall months. This pumpkin is not just decorative—it's versatile, budget-friendly, and completely customizable to suit your style. Whether displayed on mantles, nestled into table centerpieces, or gifted to loved ones, they effortlessly bring warmth and personality to any space. Designed for all skill levels, this pattern combines simplicity with creativity, making it ideal for beginners and seasoned crocheters alike.
Step-by-Step Crochet Pumpkin Pattern for Charming Seasonal Displays
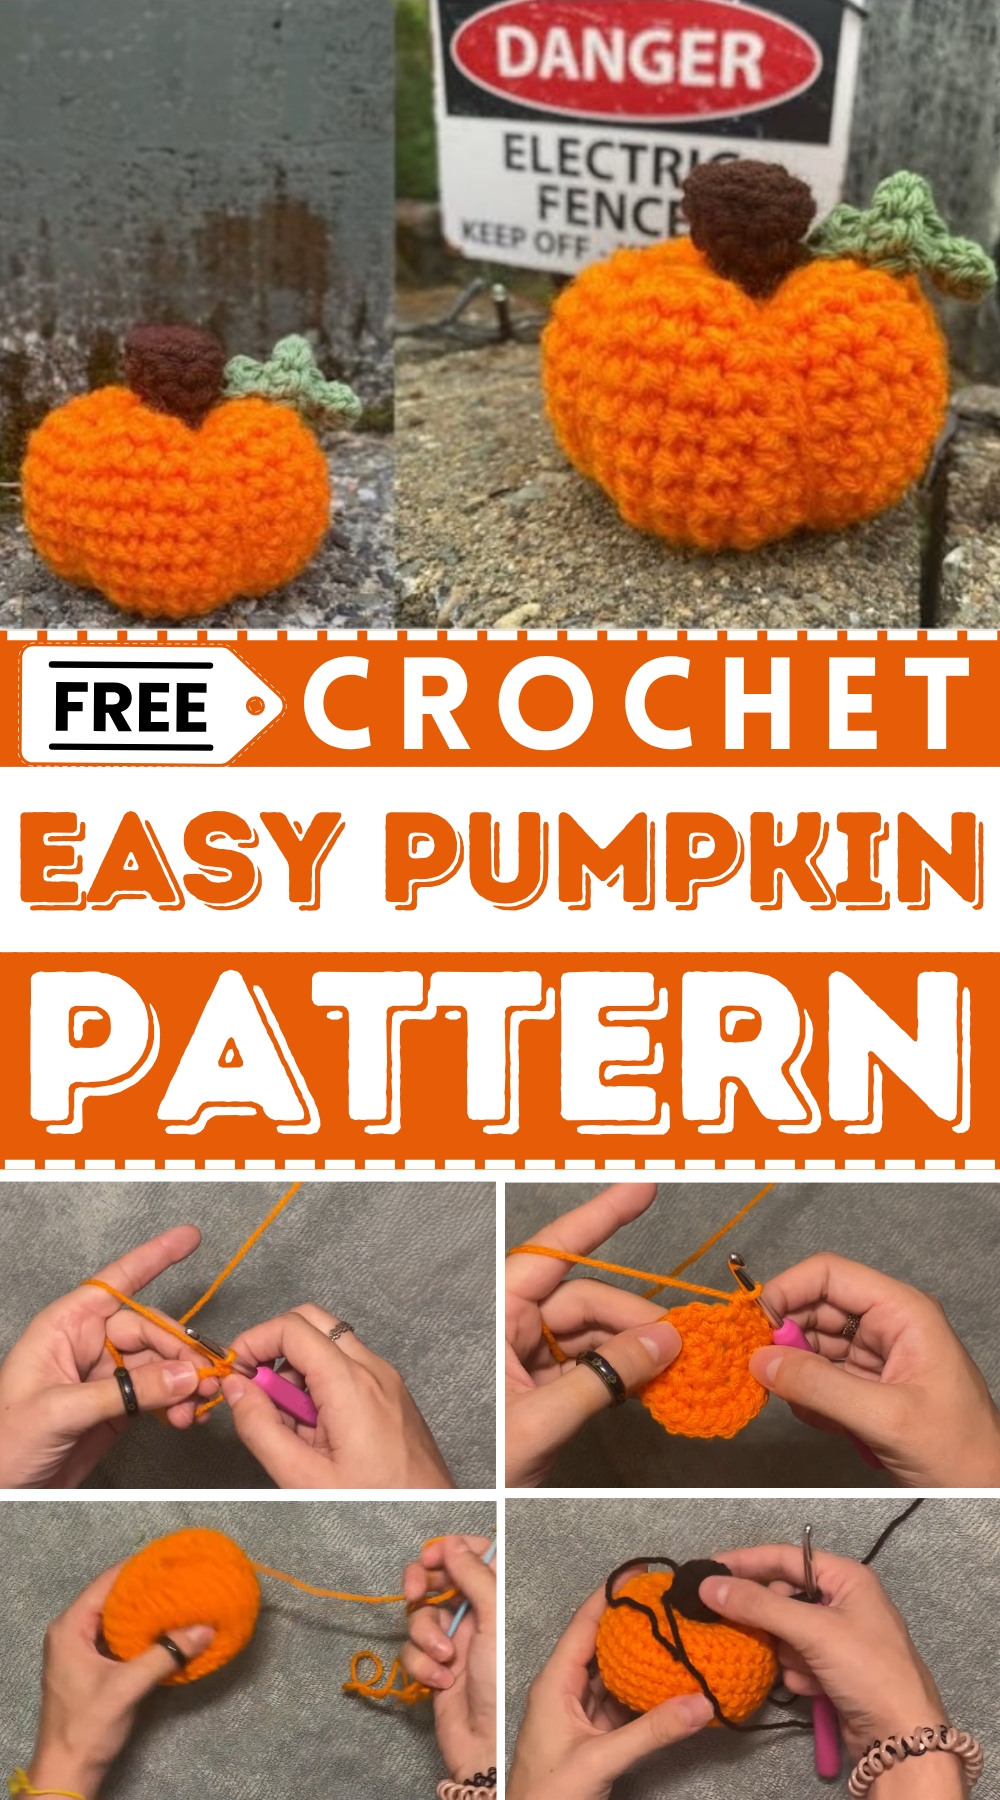
By adding features like textured stems or curly vines, you can personalize each pumpkin and enhance its realistic vibe. It's also a great way to use up leftover yarn, making the project both eco-friendly and practical. The act of crocheting this pumpkin is not only therapeutic but also an opportunity to learn new techniques while making something beautiful. At the end of the day, each finished piece offers the satisfaction of creating seasonal décor that feels unique, handmade, and full of character—all while celebrating the spirit of autumn.
Materials You’ll Need
- Yarn (budget-friendly, multiple colors for the pumpkin and stem/vine)
- Stuffing
- Crochet hook (5.25 mm size was suggested)
- Yarn needle
Special Features
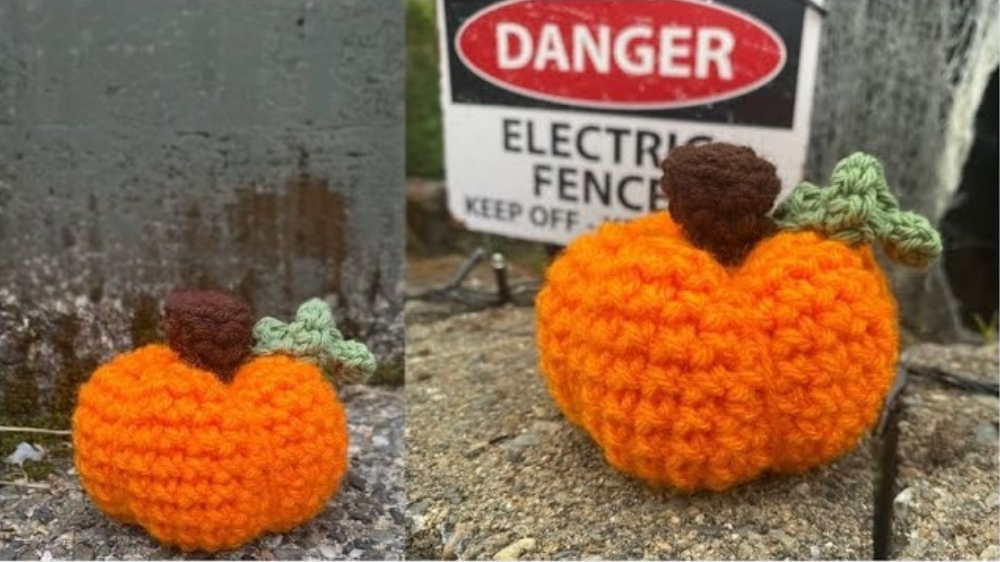
- A small, adorable pumpkin design with a realistic squished look.
- Includes a playful vine and textured stem for added charm.
- The pattern can be customized for size and colors.
Level of Difficulty
The project is beginner-friendly, but it requires familiarity with creating a magic ring, single crochets, increases, decreases, using stitch markers, and sewing together pieces with a yarn needle. Even if you're new to crochet, the step-by-step instructions make it easy to follow along.
Step-by-Step Instructions
1. Creating the Pumpkin Base
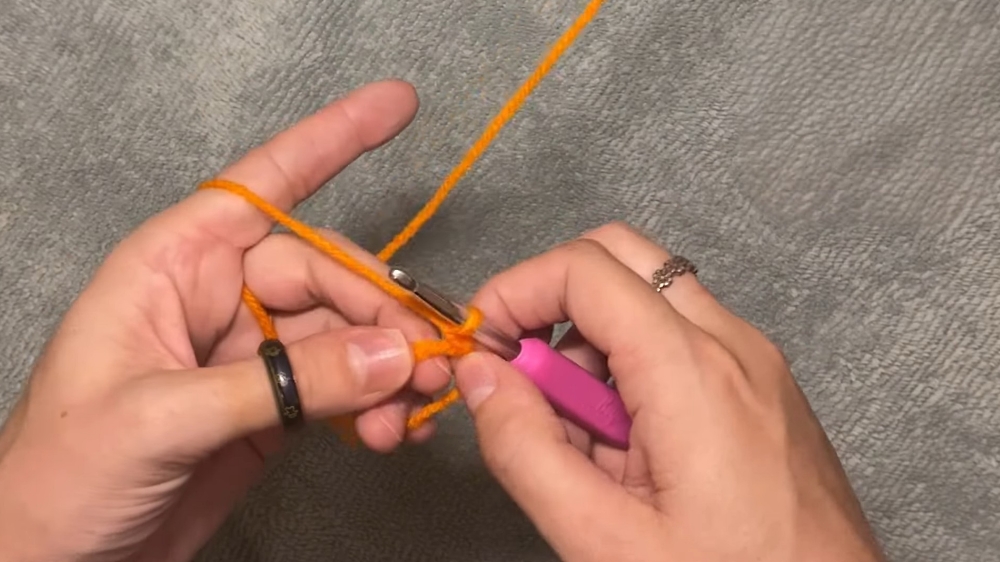
- Start with a magic ring. Inside the ring, create 8 single crochets and pull the tail to close tightly. Secure the loop.
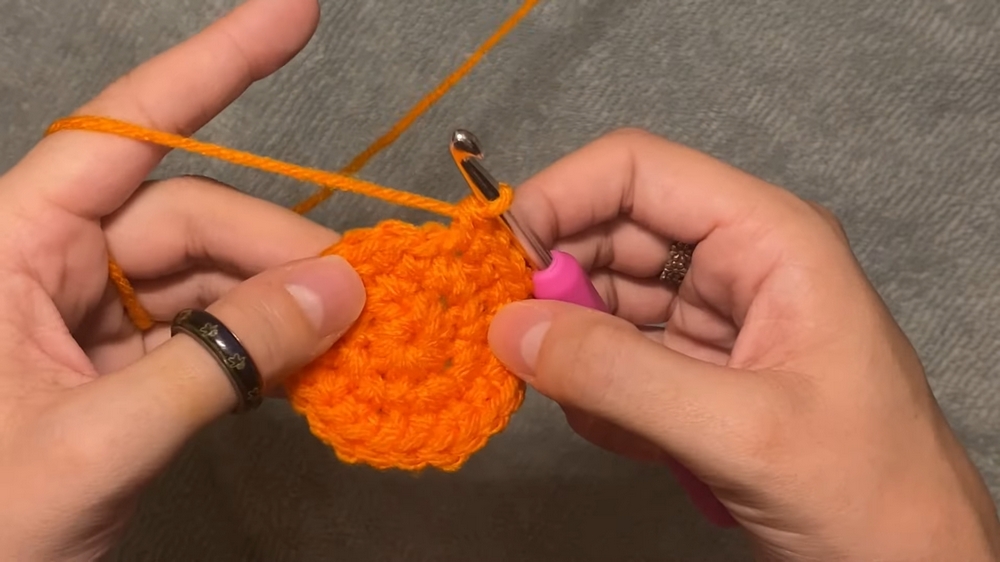
- Increase Round: Find the first stitch and create 8 total increases (which is 2 single crochets in one stitch). This results in 16 stitches.
- Next Round: Alternate between single crochet (SC) and increase for 8 rounds (1 SC, then 2 SCs). This completes 24 stitches.
- Final Increase Round: Complete 2 SCs, followed by an increase (done 8 times). After this step, you'll have 32 stitches.
2. Building the Height
- Use a stitch marker to mark the start and end of each round.
- Do a single crochet for 8 rows, stitching evenly in each loop. These rounds create the height of the pumpkin.
3. Shaping the Pumpkin (Decrease and Stuffing)
- First decrease round: Begin with 2 single crochets followed by a decrease – repeat this 8 times to end with 24 stitches.
- Next decrease round: Crochet 1 single stitch, then a decrease for 8 rounds, resulting in 16 stitches.
- Stuffing: Add stuffing to your pumpkin at this stage, but avoid overstuffing as it will affect shaping.
4. Closing the Pumpkin
- Complete 8 total decreases in the final round.
- Cut the working yarn, leaving a long tail. Tie it off and use a yarn needle to go through the inner loops of all stitches, pulling tightly to close the base.
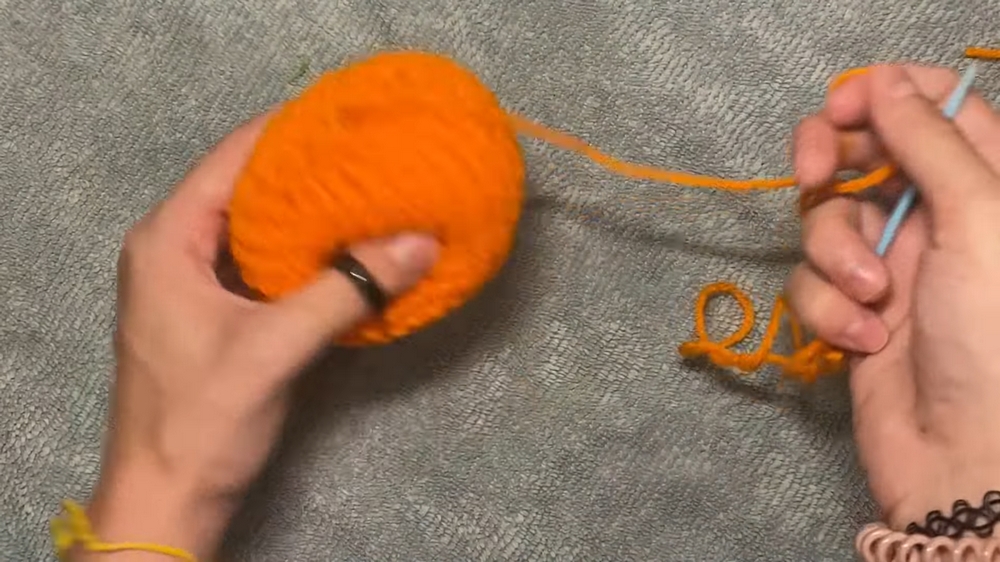
- To shape the pumpkin, sew from the top to the bottom of the pumpkin to create segments. Add enough pressure to achieve a slightly squished, ridged look.
Making the Stem
- Use the stem-colored yarn to create another magic ring.
- Add 6 single crochets into the ring.
- Gradually increase stitches for a total of 12 stitches.
- In back loops only, do three sets of "2 single crochets + 1 decrease" (results in 9 stitches).
- Switch to working in both loops and repeat the sequence three times ("2 single crochets + 1 decrease"). End with 6 stitches.
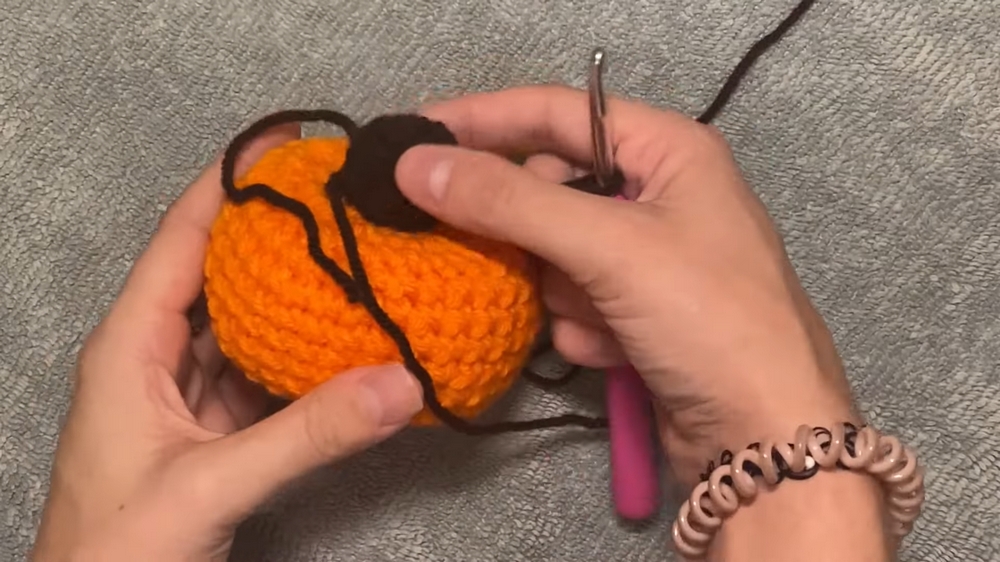
- Crochet one full round of single crochets in each loop (total 6 stitches). Cut a long tail and sew the stem onto the pumpkin to the center of the top, securing it tightly.
Adding the Vine (Optional)
- Use green yarn for the vine.
- Start with 10–15 chain stitches and alternate between 1 single crochet and 3 single crochets into the same stitch. This creates a curled, vine-like texture.
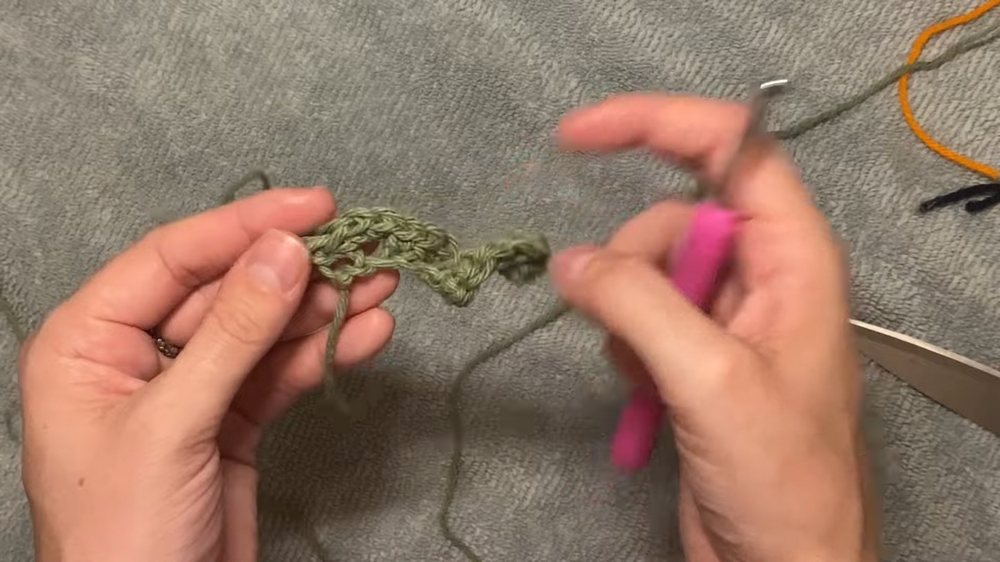
- Use the tail to sew the vine near the stem, allowing it to dangle and look realistic.
Special Suggestions by the Tutor
- Magic Ring Tips: If you're struggling with the magic ring, you can add a chain for stability.
- Decreasing Technique: Pay attention when decreasing—work neatly to avoid uneven stitches.
- Creative Freedom: Adjust the number of rows and stitches depending on your desired size and shape for the pumpkin.
Uses
The crochet pumpkin can serve as:
- Seasonal decoration for your home during autumn.
- Lovely Thanksgiving centerpiece.
- A handmade, festive gift for friends and family.
Conclusion
Creating a crochet pumpkin is an enjoyable and rewarding project, allowing you to experiment with color, texture, and shape. From crafting the body to adding intricate details like the stem and vine, this pattern encourages creativity and flexibility so you can customize your pumpkin to suit your preferences. Whether you're a beginner learning new techniques or a seasoned crocheter looking for a fun project, this pattern is sure to bring satisfaction and cozy vibes.
Tip
To achieve a polished look and avoid frustration, use a yarn needle with a size that matches your yarn—this will help you avoid struggling when adding details or sewing parts together.




Leave a Reply