
Learn and practice with this Crochet Single Crochet Stitch Pattern perfect for creating blankets, scarves, hats, and cozy handmade projects.
Experience the unrivaled perfection that sets the standard for every crochet enthusiast—a stitch pattern renowned for its elegance, functionality, and timeless charm. The single crochet stitch pattern transforms yarn into beautifully structured fabric, making it suitable for everything from cozy throws and durable dishcloths to stylish accessories and home accents. Its distinctive, uniform texture showcases both striking colors and subtle blends with equal grace, providing endless opportunities for artistic expression.
Versatile Crochet Single Crochet Stitch Pattern Perfect for Any Design
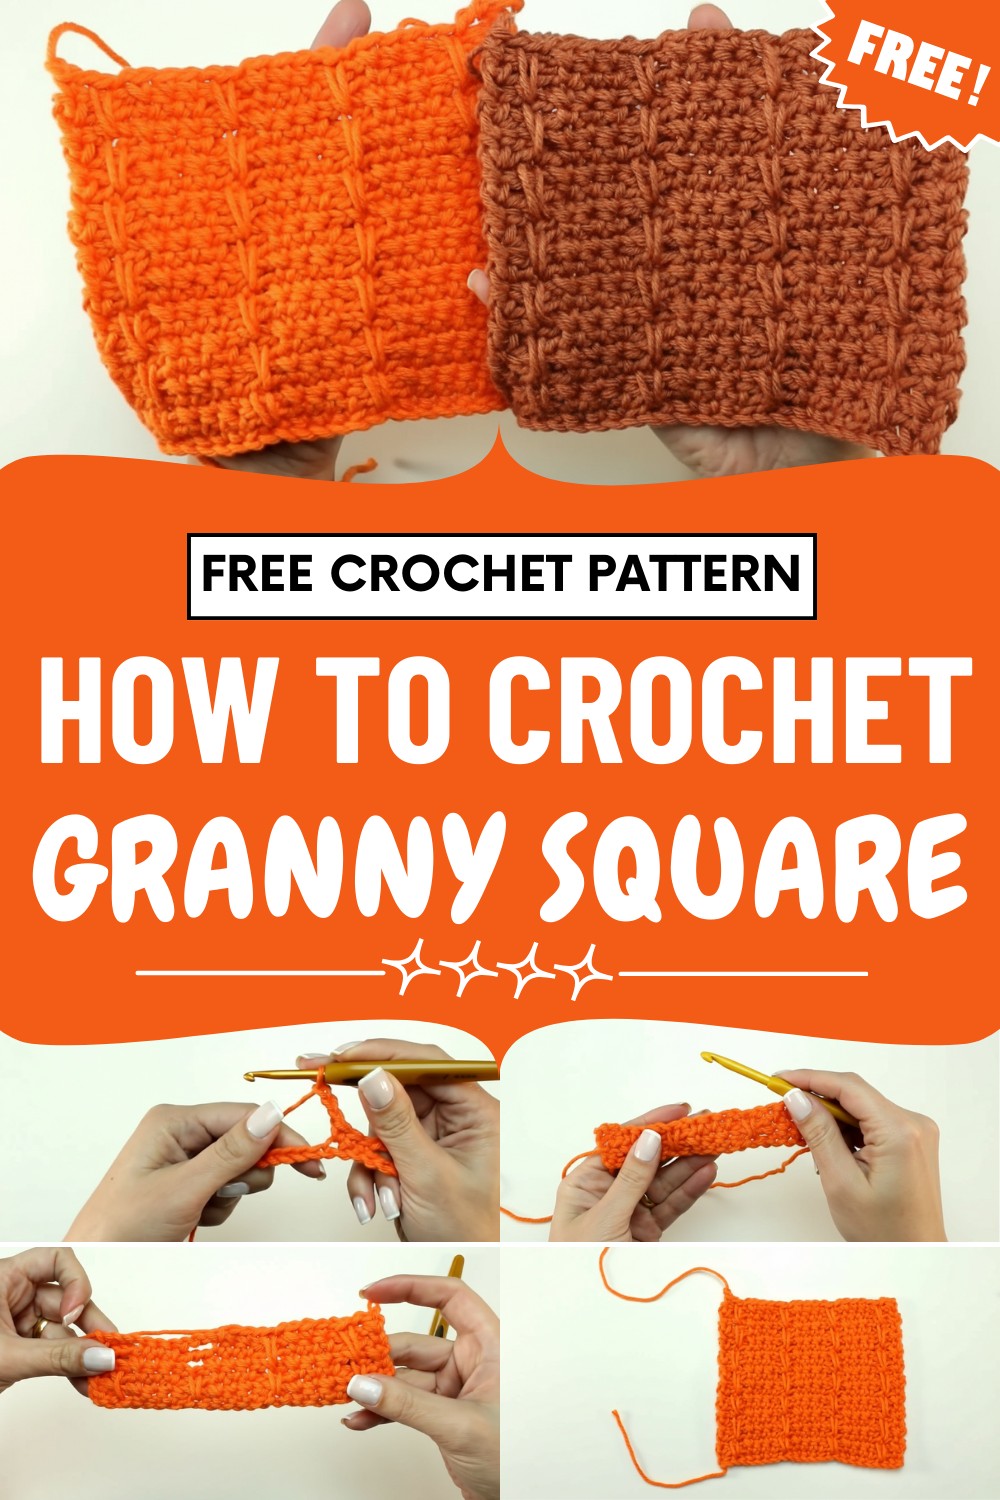
Valued for its strength and simplicity, this pattern allows beginners to achieve polished results while offering seasoned makers a dependable foundation for more complex designs.
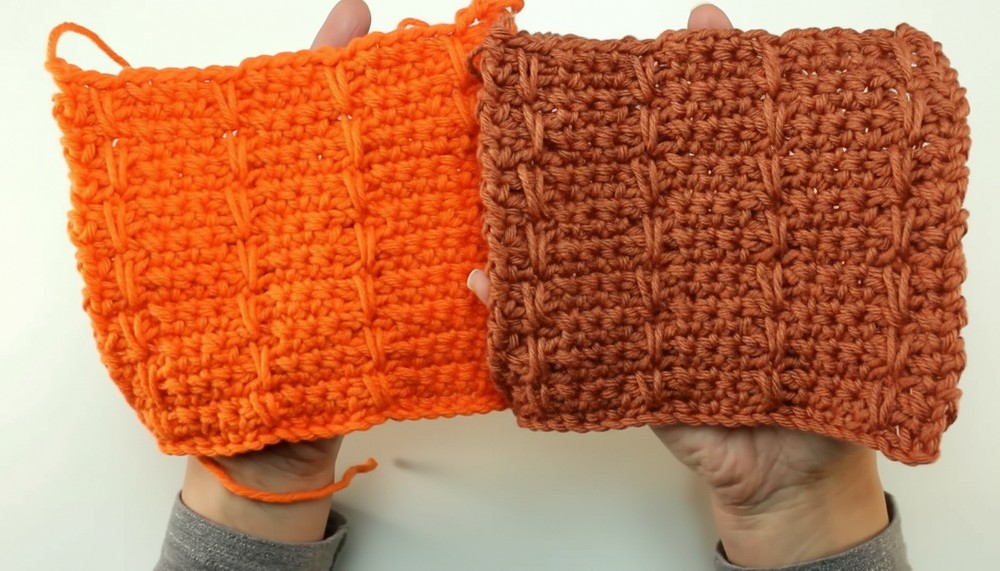
Effortlessly adaptable to any yarn type, it stands as the preferred choice for both daily-use items and sophisticated decorative pieces. As each row unfolds, it delivers a harmonious balance of refinement and practicality, elevating every project with a sense of enduring quality and distinction.
Key Features
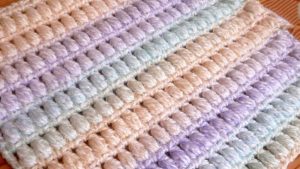
- Texture: Creates a raised, linear effect with elongated single crochet stitches.
- Firmness: Produces a stable fabric, perfect for items where you want less stretch.
- Versatile: Works with any yarn weight and compatible hook size.
Difficulty Level
Beginner-Friendly: Requires basic familiarity with single crochet and chain stitches.
Materials
- Any yarn (cotton, acrylic, or blends all work well)
- Crochet hook compatible with your chosen yarn (check yarn label recommendations)
Tutor’s Suggestions
- Thicker yarns create firmer, chunkier fabrics that are perfect for rugs and decorative projects.
- For clothing or accessories, use medium or light yarn for more drape.
- Always match your hook size with the yarn to achieve the correct texture.
Step-by-Step Pattern
1. Foundation Chain
- Make an initial loop on your hook.
- Chain 24 (or any multiple of 6 + 1 for your project’s width).
2. Row 1: Base Row
- Skip the first chain from the hook.
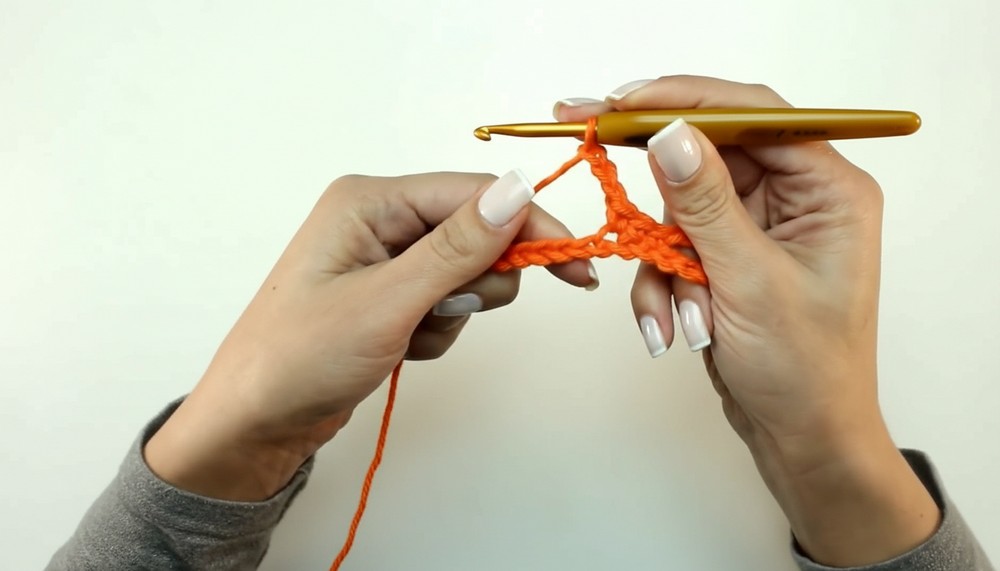
- Single crochet in the next chain.
- [Chain 3, skip 3 chains of the foundation, single crochet in each of the next 3 chains.]
- Repeat the section in brackets across the row.
- End: After your last group of 3 single crochets, chain 3, skip 3 chains, single crochet in the last chain.
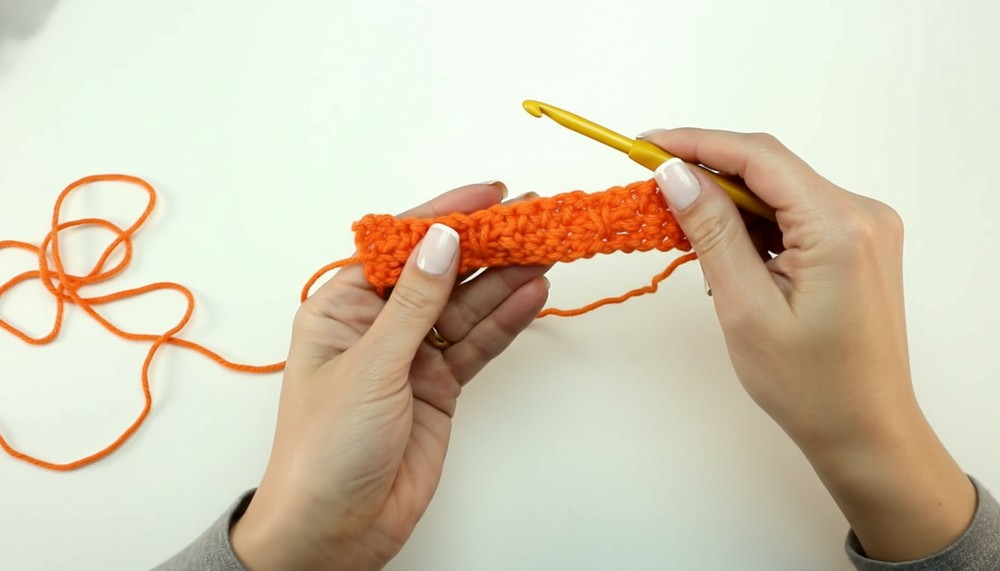
3. Row 2: Establish Structure
- Chain 1, turn your work.
- Single crochet in the first stitch.
- Chain 3, single crochet in each of the next 3 single crochets from the previous row.
- Repeat across the row.
- End: Chain 3, single crochet into the last stitch.
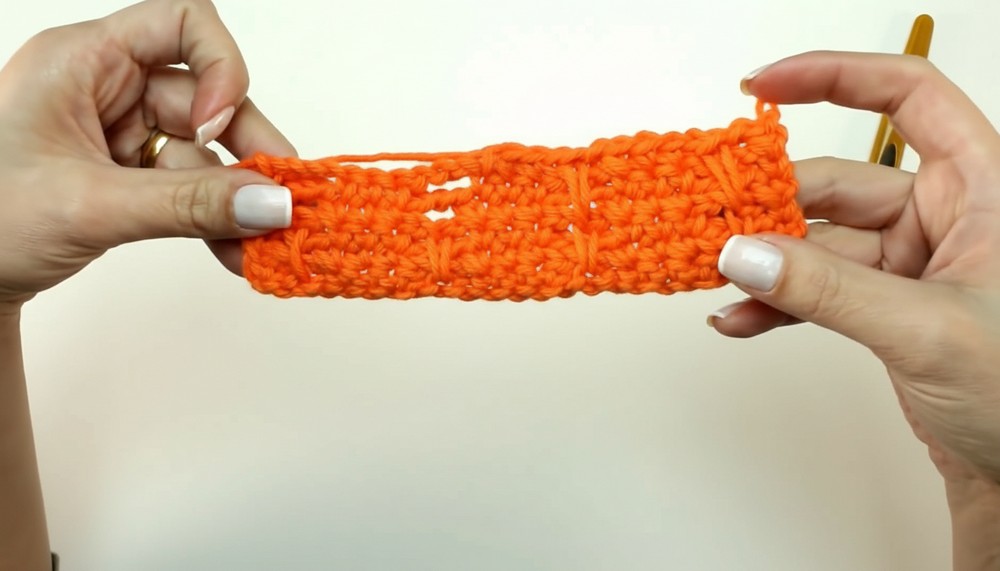
4. Row 3: Elongated Effect
- Chain 1, turn.
- Single crochet in the first stitch, chain 1.
- Insert your hook under the chain space from Row 1 below (not the immediate row), single crochet elongated stitch, chain 1.
- Single crochet in each of the next 3 single crochets.
- Repeat across: [chain 1, elongated single crochet in space two rows below, chain 1, 3 single crochets].
- End: After your last elongated stitch, chain 1, single crochet in the last stitch.
5. Repeat Rows
- Rows 4 and 5: Repeat Row 2.
- Row 6: Repeat Row 3.
- Continue to alternate: two rows in the regular (Row 2), then one row with the elongated single crochets (Row 3).
How to Finish
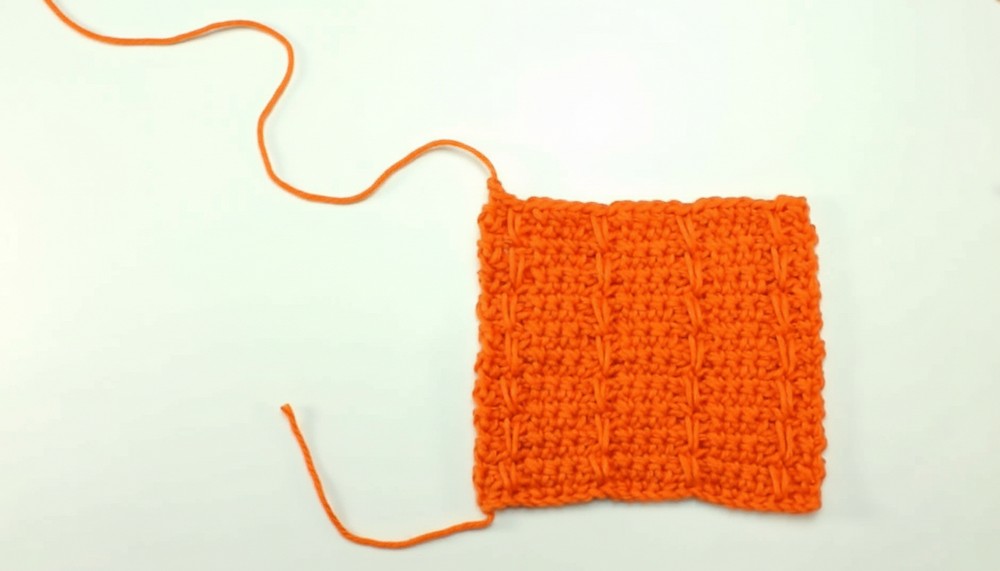
- After reaching your desired height, end with an elongated stitch row for a neat edge.
- Fasten off and weave in ends.
Uses
- Rugs
- Placemats
- Table Runners
- Pillow Covers
Not ideal for scarves or drapey garments due to the firm nature but great for hats or berets with structured texture!
Conclusion
You’ve just learned the elegant elongated single crochet stitch—a firm, textural pattern ideal for decorative and functional crochet pieces. Its rhythmic structure is soothing for repeat work, and the raised design stands out with any yarn choice. Experiment with color and thickness for fresh effects in your next home project!
Tip
To make your elongated stitches pop, gently tug on the stitch as you draw up a loop. Blocking finished work will help align the elongated stitches for a crisp, professional look.
Leave a Reply