
Enrich your creations with this Free Crochet Edge Pattern that's great for delicate borders, decorative touches, and versatile handmade use.
A beautiful border can make any crochet project look its best, turning simple pieces into true works of art. Adding a crochet edge pattern gives blankets, towels, scarves, and tablecloths a neat and special finish that everyone will notice. This easy final touch not only makes your items look better, but also helps them last longer by making the edges strong.
Intricate Crochet Edge Pattern Perfect for Elegant Finishes
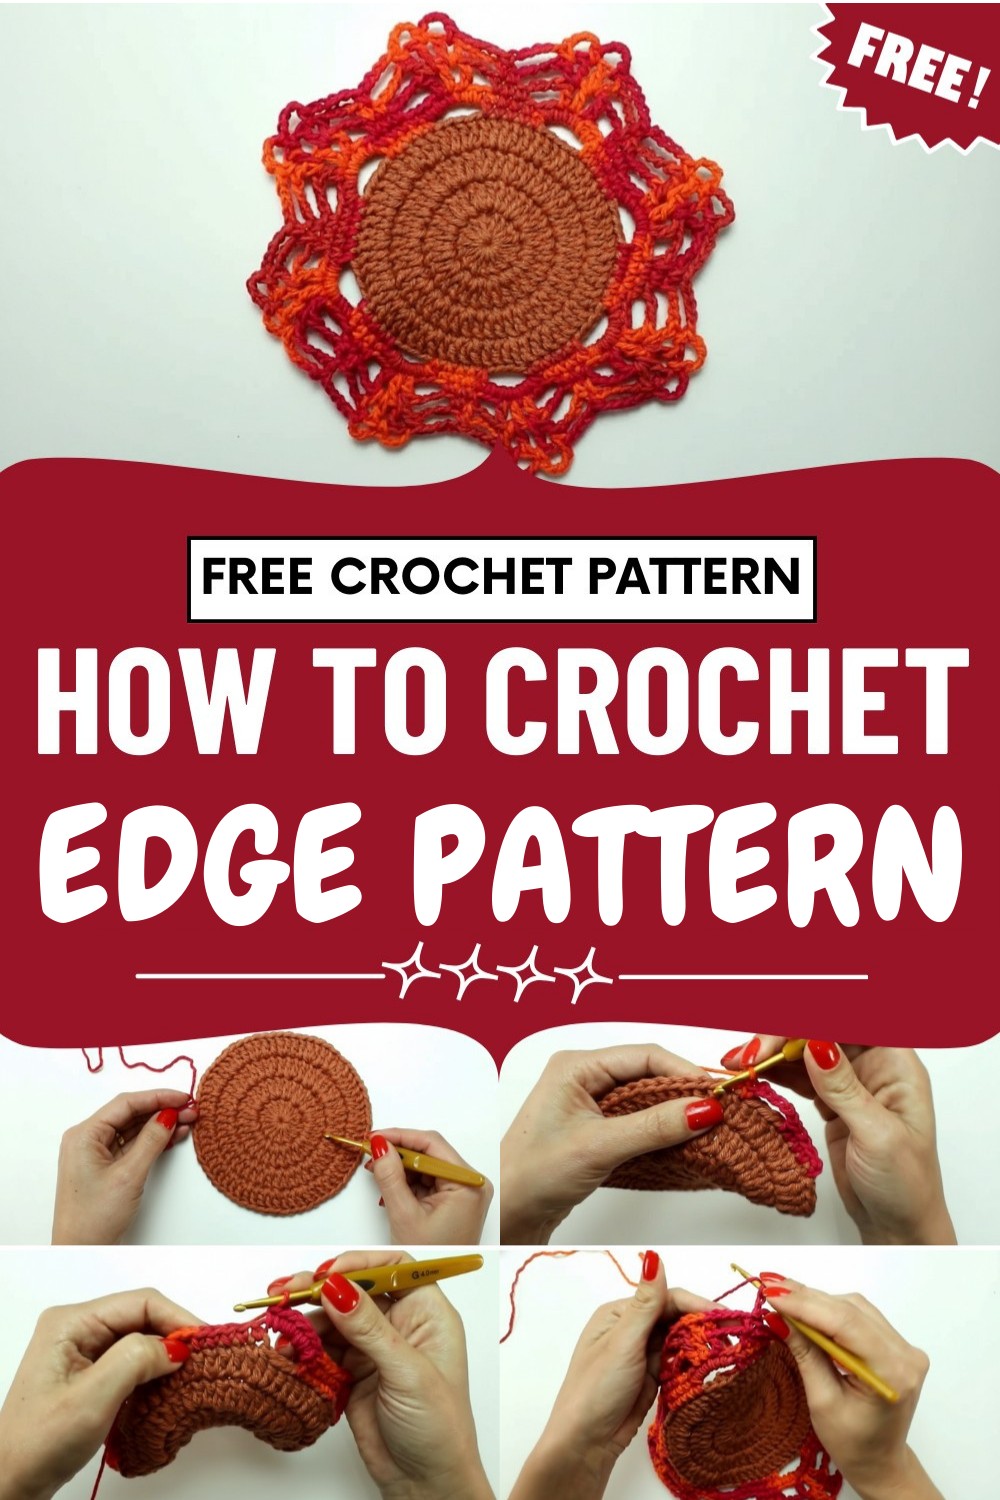
You can pick simple designs like little waves or loops to match your style or use any yarn you have left over to add fun colors. Whether you like a soft and gentle look or something bright and bold, a pretty edge makes your project stand out.
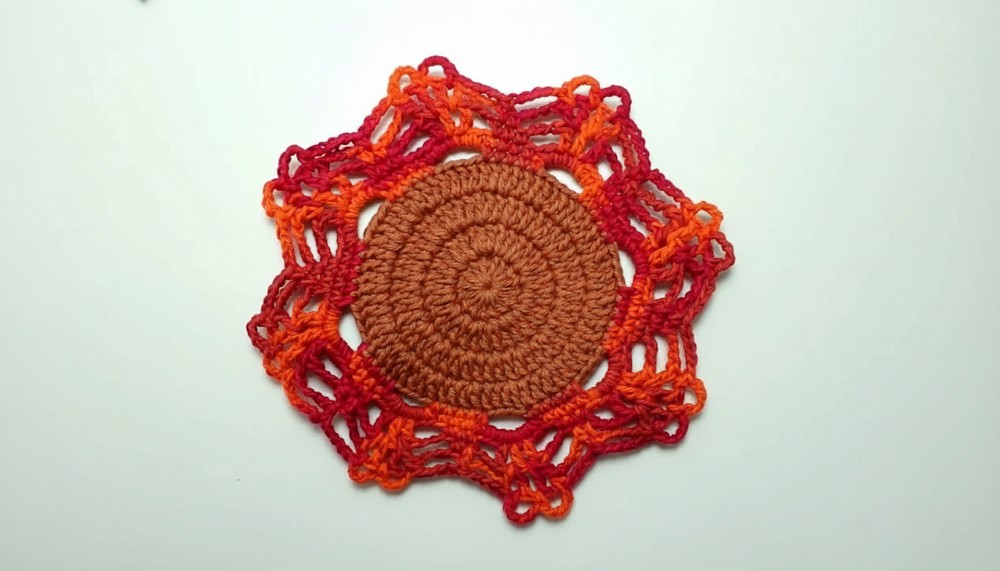
With just a little more effort, a nice border turns everyday crochet into beautiful gifts or lovely decorations for your home. It’s a simple way to give your work a friendly and eye-catching finish everyone will love.
Special Features
- Versatile: Works for round, oval, and rectangular shapes.
- Sophisticated, Frilled Look: Creates a delicate and decorative border with gentle waves.
- Adaptable: Easily adjust the size for larger or smaller projects.
- Eye-Catching Textures: Alternates between smooth stitches and distinctive “pouts” or little shells for visual interest.
Uses
- Bath mats
- Table centerpieces
- Towels
- Doilies
- Decorative placemats
Skill Level
Easy/Beginner Friendly. The stitches are simple and repeat often, making it perfect for crafters with all levels of experience. If you already know single and double crochet, you can accomplish this edge with ease!
Materials Needed
- Yarn: Size 6 yarn (you can use other similar weights as desired)
- Crochet Hook: 4 mm
- Tapestry Needle: For weaving ends
- Scissors
Step-by-Step Pattern
Row 1: Foundation Edge
- Attach your yarn at any point on the edge of your project.
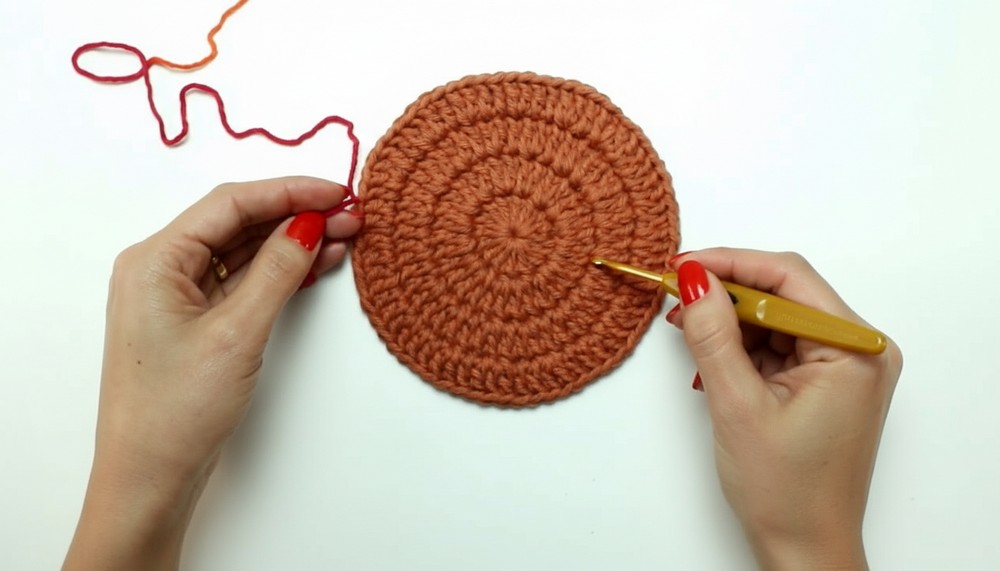
- Ch 2 (counts as first single crochet).
- Make 4 more single crochets (sc), working over your starting tail if possible. (5 sc total)
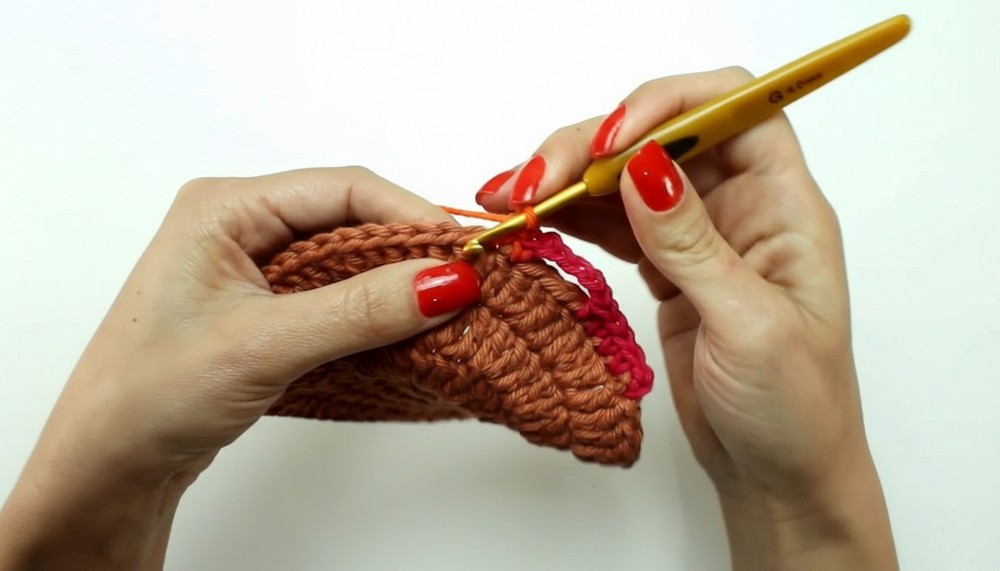
- Ch 5.
- Skip 3 stitches on the base. In the next stitch, work 5 sc (one in each of the next 5 stitches).
- Repeat: Ch 5, skip 3 stitches, 5 sc—keep going around your piece.
- If you have 4 stitches left at the end, skip 4 instead of 3 so your pattern lines up.
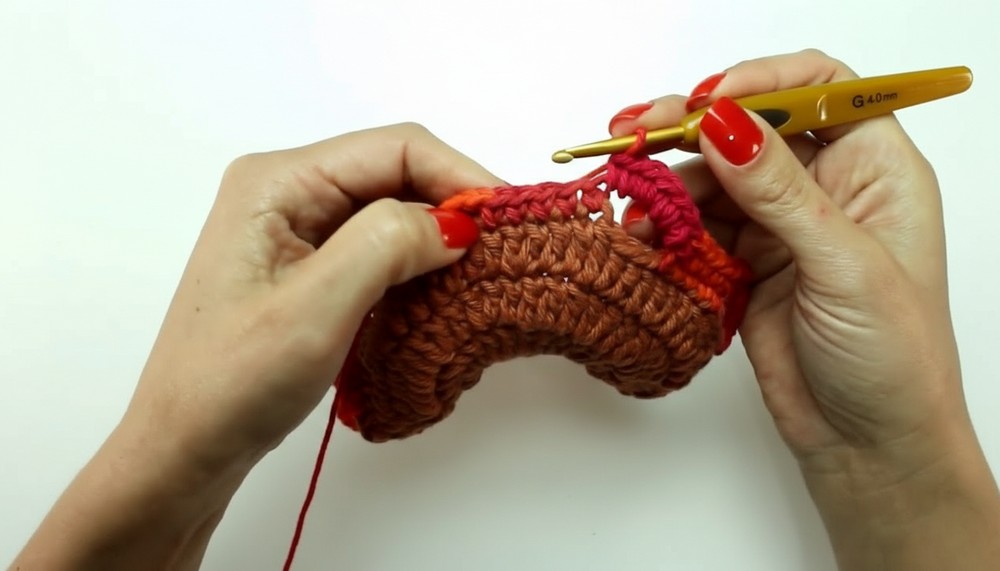
Row 2: Building Waves
- Slip stitch to join at the first sc of the round.
- Ch 2.
- Work 3 more single crochet between the sc of the previous round (not into the stitches, but between them). (Total 4 sc in each group of 5 from previous round.)
- In the Ch-5 space, work 7 sc (this makes your "pout" or little shell).
- Continue: 4 sc across sc, 7 sc in each Ch-5 space around.
- Slip stitch to finish. Your border should have begun to wave and frill.
Row 3: Adding Height and Detail
- Ch 2.
- Work 2 sc between the first and second, then two and three, three and four of the previous sc group. (Total 3 sc in the plain section.)
- Ch 3.
- Skip 2 stitches in the 7-sc group; in the third, make a double crochet (dc), ch 1, dc in next, ch 1, dc in next (this creates pointed "pouts"). Ch 3.*
- Work the next 3 sc between sc groups on the main body.
- Repeat: (3 sc, ch 3, [dc, ch 1, dc, ch 1, dc], ch 3) around.
Row 4: Elongate the Pattern
- Join and ch 2.
- Work 1 sc between previous sc. (2 sc per plain section now.)
- Ch 4.
- Work into the "pout" groups: (dc, ch 1, dc) in the space between the first and second dc from the previous round, ch 1, (dc, ch 1, dc) in the next space.
- Ch 4, work next 2 sc in the next sc section.
- Continue this sequence around.
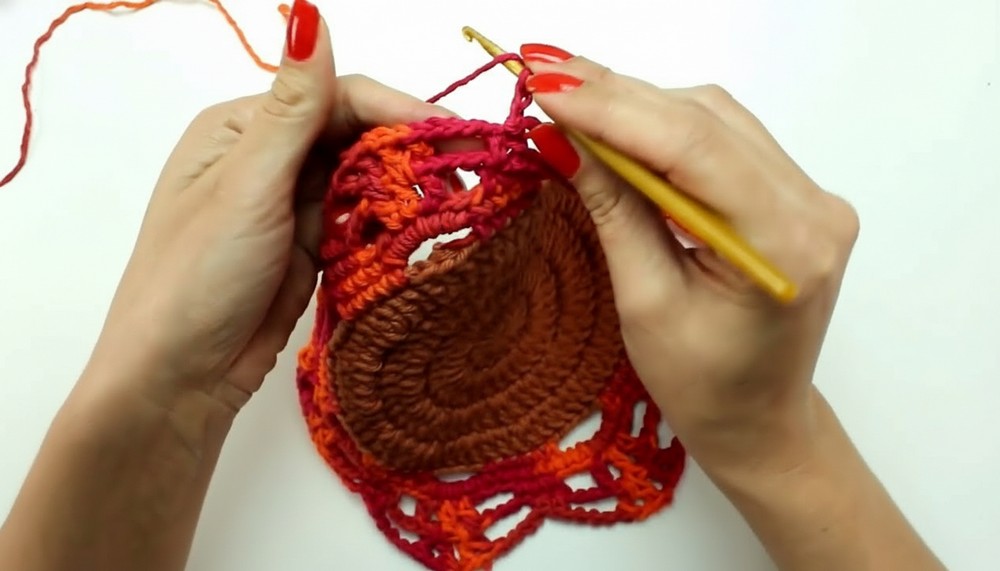
Row 5 (Finishing Rounds): Delicate Loops
- Ch 2.
- Work 5 ch, single crochet in the center of each “pout” section (the space between dc groups).
- In between, ch 4 and sc between groups.
- Continue by making 5 ch and sc in the two-sc section at the flatter parts.
- Repeat around for a final lacy look; slip stitch to finish.
Tutor's Suggestions
- If your work curves or feels tight, add more chains in the space sections (from 3 to 4-5) to relax the border.
- Tension may vary. Adjust as needed for an even, flat edge.
Tip
Always weave in your yarn ends gently through several stitches with a tapestry needle. This hides them and keeps the border from unraveling, making your finished piece look neat and last longer!
Conclusion
You’ve learned a lovely, frilled crochet border that transforms simple items into unique, refined creations. Use this edge to bring elegance and artistry to your next crochet project—bathroom mats, centerpieces, towels, or even more! It’s easy to follow, adapt to your needs, and always eye-catching.
Leave a Reply