
Whip up this cheeky Crochet Cat Toy Mouse Pattern—quick to stitch, packed with personality, and guaranteed to thrill even the sassiest paws.
In the quiet corner of a living room, a curious cat crouches, tail twitching, as it prepares to pounce on a charming little mouse—one brought to life through the art of crochet. This delightful toy, with its playful design and soft texture, strikes the perfect balance between entertainment for feline companions and elegance for their owners. Thoughtfully made from durable, pet-safe yarn, it provides endless hours of amusement while being gentle on your pet’s paws and teeth.
Easy Crochet Cat Toy Mouse – Simple Pattern + Pro Tips Included
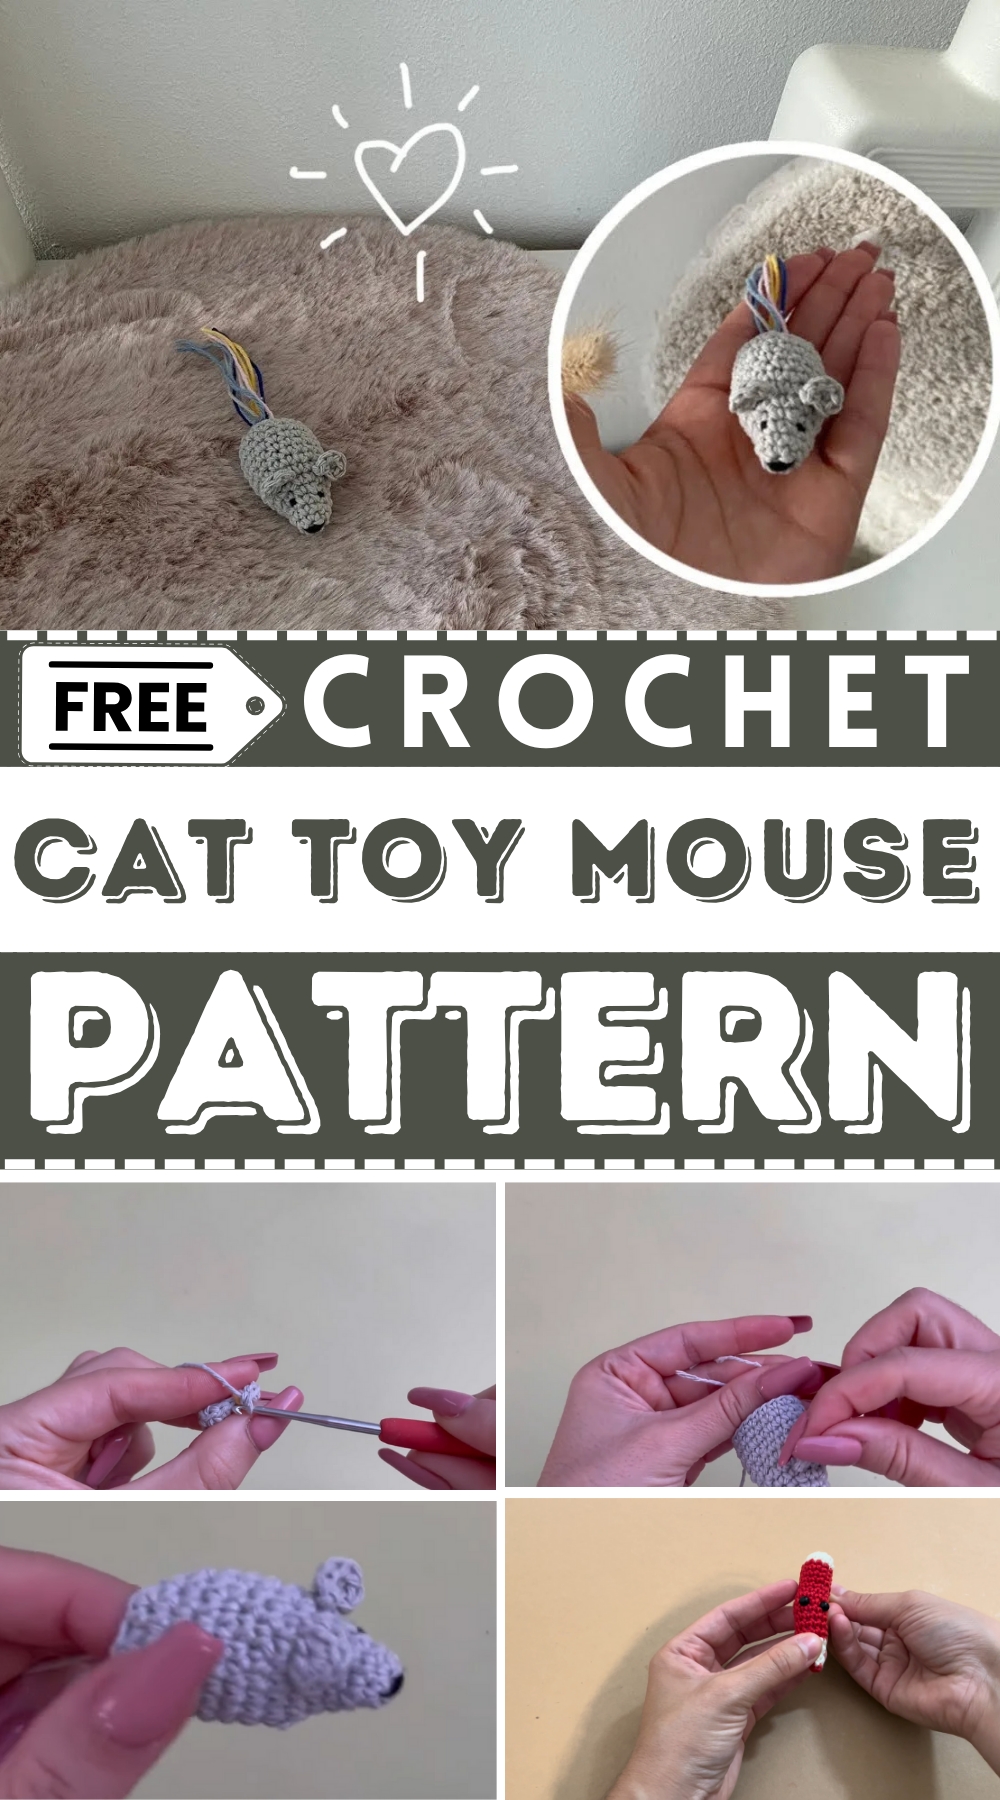
The beauty of this crochet cat toy mouse lies in its clever simplicity and subtle charm. From the finely shaped ears and delicate stitching to the playful tail that swishes with every bat of a paw, it introduces a sense of fun and personality into every moment. Enhanced with optional elements like a sprinkle of catnip or a little rattle, it engages cats’ natural instincts to chase and play, keeping them entertained and active.
More than just a toy, this little creation adds a sense of warmth to your pet’s world. Lightweight yet durable, it endures countless adventures, while its soft, handmade finish makes it equally appealing to keep in your space. Thoughtful, functional, and irresistibly adorable, it’s sure to please pets and owners alike.
1. Materials Needed
- Yarn Colors: Gray (mouse body), black (nose, eyes) and colorful yarn (tail). The project uses minimal yarn, making it ideal for leftovers.
- Crochet Hook: Size 2.5 mm is suggested, but any appropriate size for your yarn thickness can be used.
- Additional Materials: Marker thread, filling material, optional plug-in eyes, and scissors.
Step-by-Step Guide
2. Crocheting the Mouse
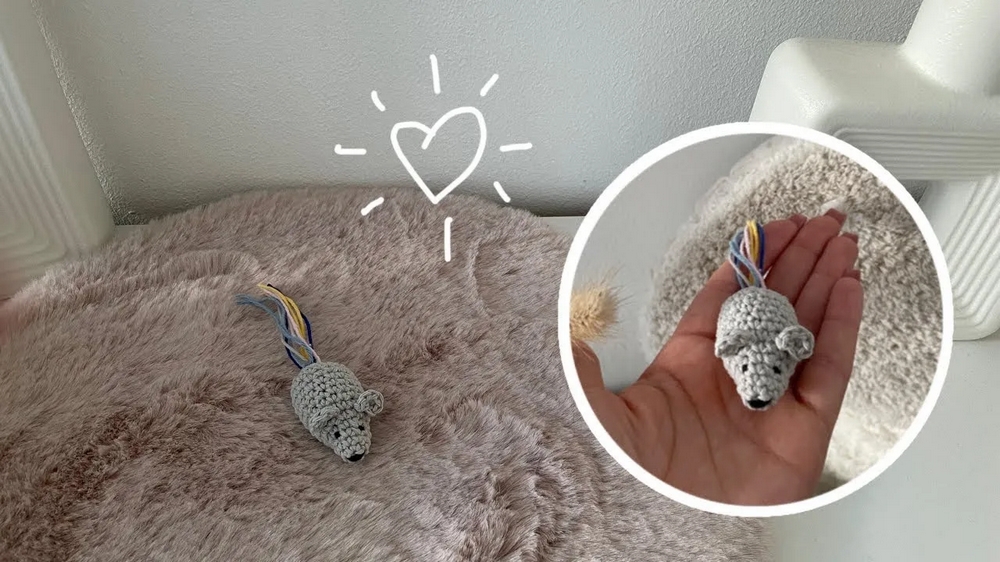
- Ears: Begin by creating two ears using a magic ring and six stitches, forming a semicircle.
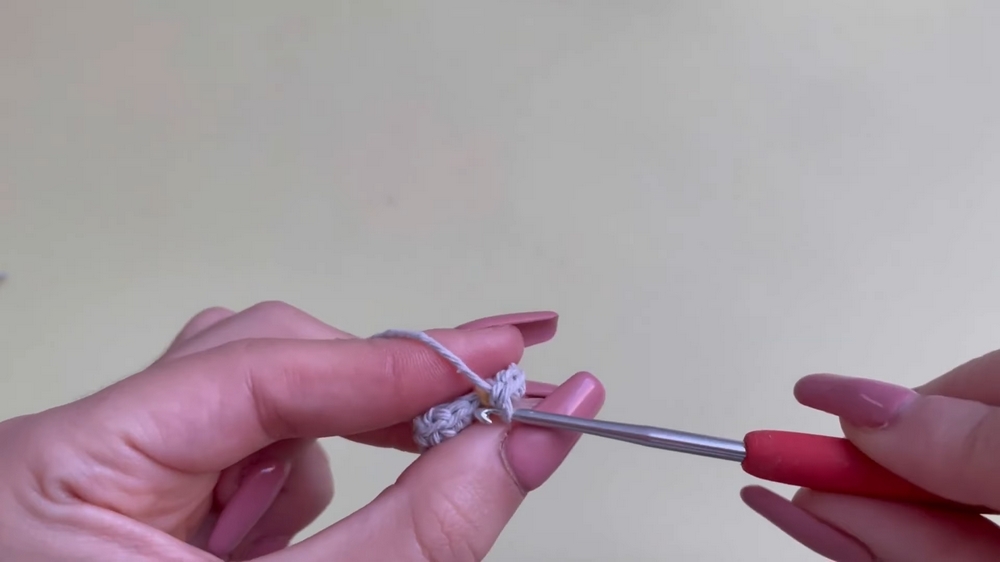
- Body: Start with a magic ring for the nose and work in rounds with incremental increases. Round 1 begins with six stitches, while subsequent rounds involve increasing stitches strategically.
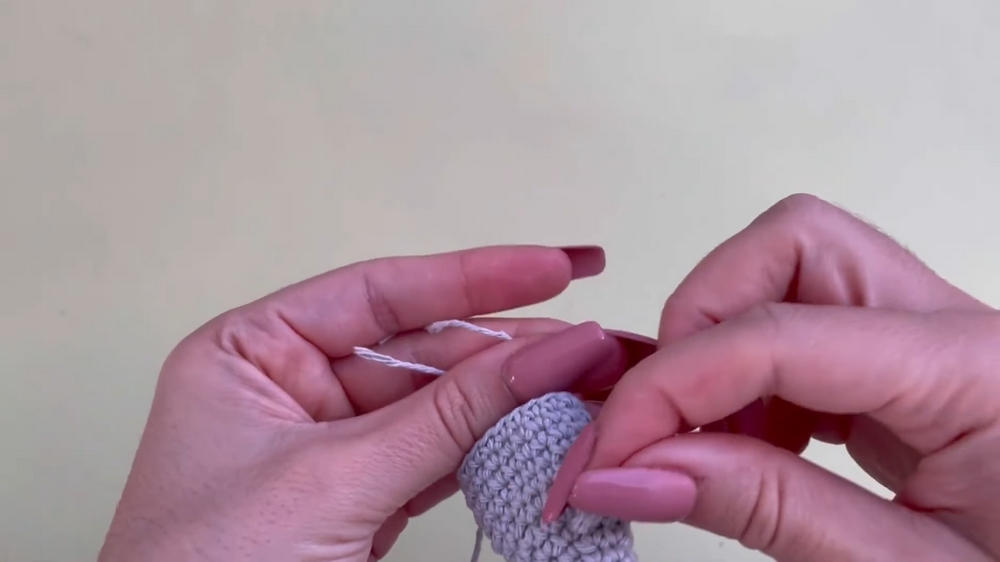
- Markers and Details: Use marker threads to track rounds. Attach ears after round 13 and stitch on the nose and eyes between rounds 7-8.
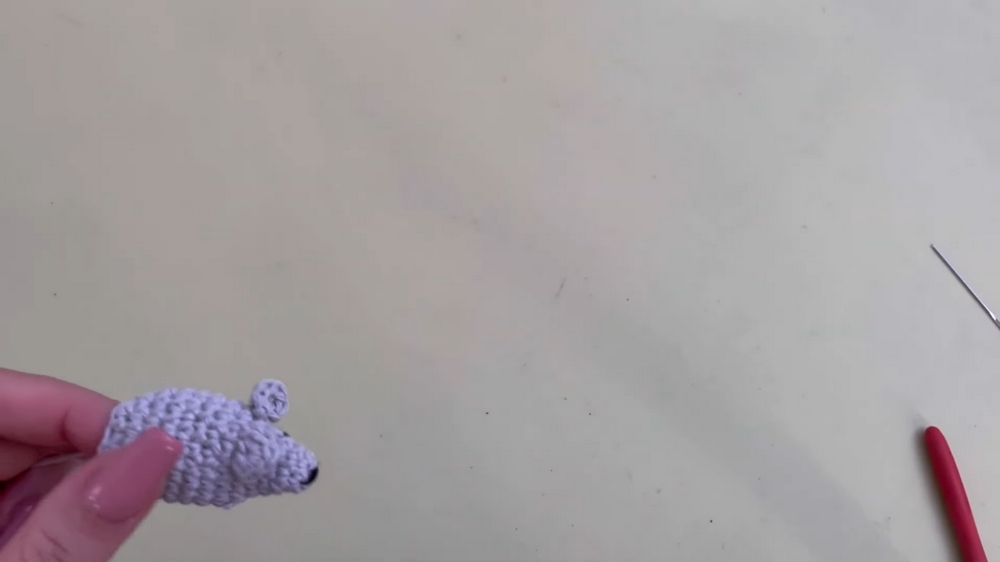
- Tail: Create a colorful tail by attaching short yarn pieces with knots, trimming them to equal lengths for a neat finish.
3. Final Assembly
Stuff the body with filling material, decrease stitches in the final rounds, and cinch the body with thread to close up the end.Finally, the tail is added to give the mouse a lively, playful look.

Special Features
- Cute Design: The crochet mouse is small, lightweight, and perfect for cats to play with, featuring colorful details for added charm.
- Customizable: Different yarn colors and textures can be used, allowing for personalization.
- Beginner-Friendly: The skill required is basic, making it accessible for all crochet levels.
Level of Difficulty
The project is categorized as super easy, suitable for beginners or anyone looking for a quick, enjoyable project. It involves basic stitches and simple shaping techniques.
Tutor's Suggestions
- The tutor recommends using leftover yarn to reduce waste and encourages creativity in customizing colors and sizes.
- Black yarn substitutes well for plug-in eyes.
- Marker threads (in contrasting colors) serve as an inexpensive and effective way to track rounds.
Uses
- Cat Toy: Specifically designed for cats to play with, thanks to the lightweight structure and vibrant tail.
- Decorative Piece: Can be used as a fun home decor item.
- Gift: A handmade crochet mouse makes a thoughtful gift for pet owners or crochet fans.
Conclusion
The crochet mouse is a delightful project that balances creativity and ease. Perfect for pet toys or as a small handmade gift, it requires minimal time and materials, making it a great project for beginners and experienced crocheters alike. The pattern is highly detailed and ensures success for anyone attempting the design.
Tip
To ensure a more durable toy, start by using tight stitches to minimize wear and tear. Next, securely knot any attached details, such as the ears and tail, to enhance strength. Finally, these small adjustments will help create a toy that can better withstand your cat’s playful energy.




Leave a Reply