
Loop your way to cuteness with a crochet teddy bear, your next adorable project that'll steal hearts and bring cozy smiles everywhere.
Hands weaving soft yarn into delicate loops set the stage for turning simple materials into an unforgettable crochet teddy bear. This adorable creation offers more than just a charming appearance—it serves as a meaningful item with a wide range of uses. Whether gifted to a loved one, used as a child’s snuggly companion, or placed as a decorative piece, its soft and huggable presence resonates with people of all ages. Each crocheted teddy bear carries a touch of individuality, shaped by the maker’s choice of colors, patterns, and details, making it a truly unique piece.
Cuddle-Worthy Crochet Teddy Bear Pattern for All Ages
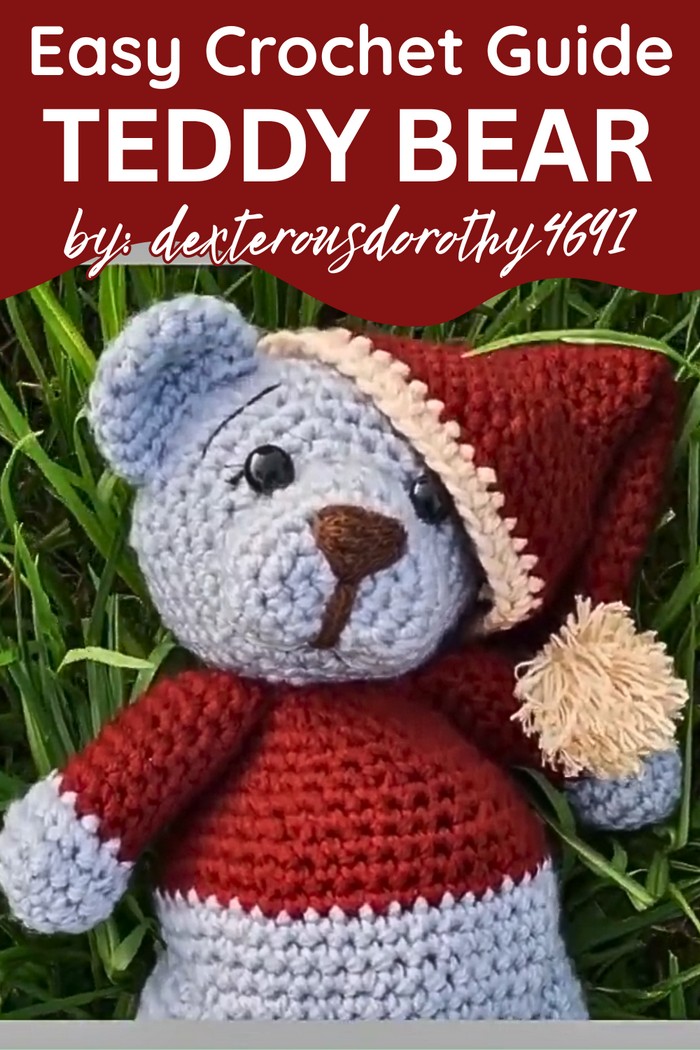
The art of crocheting a teddy bear doesn’t just result in a delightful item—it also provides emotional benefits to those engaging in it. The simple, repetitive motions of crochet help reduce stress, promote mindfulness, and improve focus, turning the activity into a therapeutic experience. As hands stay busy creating loops and building shapes, the mind gets a soothing break from the daily rush. Affordable materials make this hobby accessible to anyone, while the endless possibilities for personalization spark creativity and inspiration in every stitch.
A finished crocheted teddy bear encapsulates the love and effort invested into its creation. It’s not merely a toy; it’s a symbol of care and connection. Whether gifted or kept as a personal treasure, it holds sentimental value that far outweighs its humble origins. This versatile and meaningful item stands as a testament to the beauty of handmade simplicity, reminding us all that the greatest joys often come from the smallest and most thoughtful gestures.
Materials Needed
- Yarn: 100g for each color (colors are optional, based on preference).
- Crochet Hook: Match the hook size to your yarn thickness.
- Crochet Tools: Darning needle, stitch markers, scissors, and polyfill for stuffing.
Explained Abbreviations
- R: Refers to "Round".
- SC: Single Crochet.
- Increase: Adding more stitches to expand the work.
- Decrease: Removing stitches to narrow the work.
- Dizix: Indicates how many times to repeat the pattern in the same round.
- Thisx: Total number of stitches at the end of the round.
Step-by-Step Instructions
Head
Round 1:
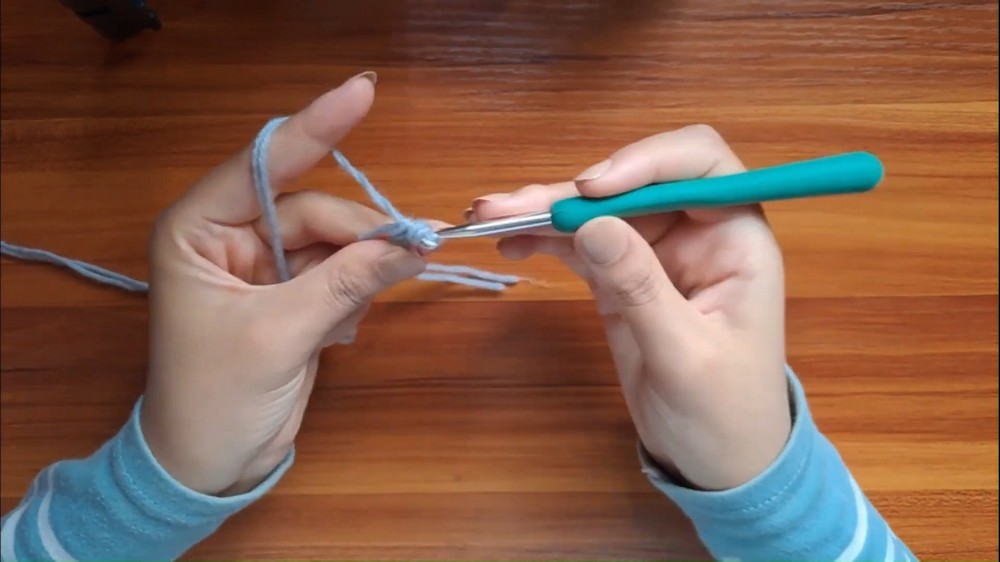
- Begin with a magic ring.
- Insert your hook under the first yarn strand and pull the second strand through.
- Yarn over and pull the loop through.
- Create 6 single crochet stitches inside the ring.
- Close the ring by pulling the hanging strand tight.
Round 2:
- Make 2 single crochets in each stitch to form increases.
- Use a stitch marker to mark the first stitch.
- By the end of the round, you should have 12 stitches.
3 to Round 7:
- These rounds involve alternating between single crochets and increases. Follow these patterns:
- Round 3: 1 single crochet, then increase (repeat).
- Round 4: 2 single crochets, then increase (repeat).
- Round 5: 3 single crochets, then increase (repeat).
- Round 6: 4 single crochets, then increase (repeat).
- Round 7: 5 single crochets, then increase (repeat).
8 to Round 14:
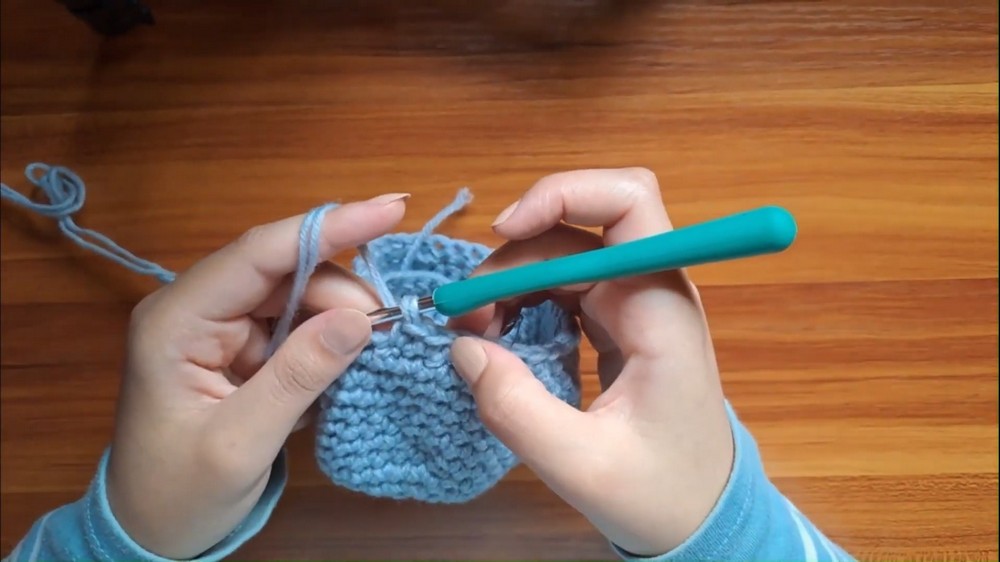
- Make 1 single crochet in each stitch for 7 consecutive rounds to build the body outwards.
15 to Completion:
- Start decreases following this pattern:
- Round 15: 5 single crochets, then decrease (repeat).
- Round 16: 4 single crochets, then decrease (repeat).
- Round 17: 3 single crochets, then decrease (repeat).
- Round 18: 2 single crochets, then decrease (repeat).
- Round 19: 1 single crochet, then decrease (repeat).
- Round 20: Make decreases only in every stitch to close the shape.
- Finish with a slip stitch, chain one, and fasten off with a long tail. Use a needle to sew the opening, weaving through the front loops of the stitches.
Body
- Follow the same steps used for the head, starting with a magic ring, increases, and single crochets.
- Around Round 9, add your second yarn color and transition smoothly by fastening off the old yarn. Continue crocheting with new color to make the lower part of the body.
- Begin decreasing following the same pattern as the head and finish with polyfill stuffing.
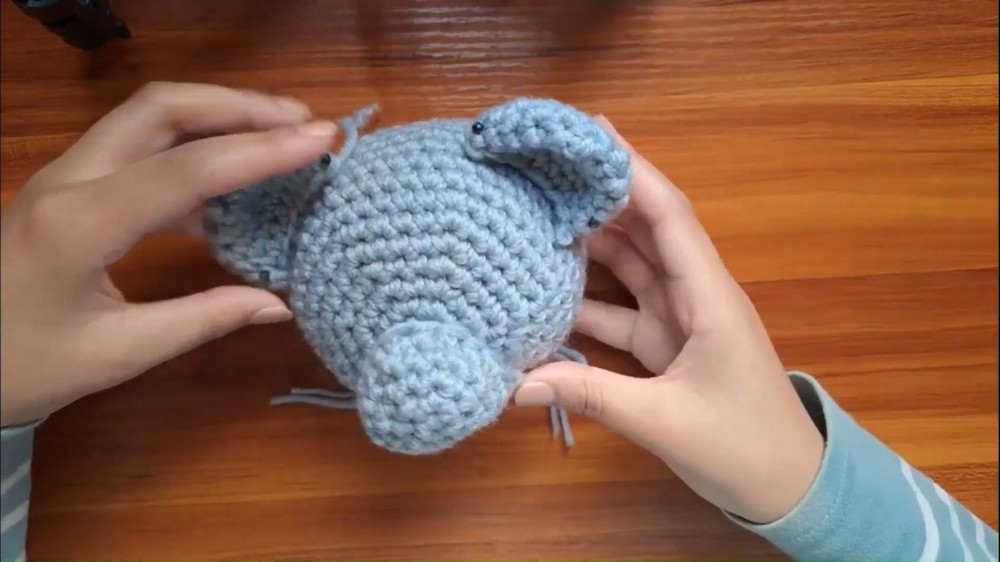
Arms
- Create a magic ring with 6 single crochets.
- Round 2: Make 2 single crochets in each stitch.
- Round 3: Alternate 1 single crochet and an increase.
- Rounds 4–14: Switch yarn color and make single crochet stitches without increases.
- Stuff the arm lightly, close the hole, and repeat for the second arm.
Legs
- Follow the same steps as the arms, but adjust the number of rounds to match your desired length.
Ears
- Make a magic ring with 6 single crochets.
- Round 2: Increase by making 2 single crochets in each stitch.
- Rounds 3–5: Make single crochet stitches without increases.
Muzzle
- Start with a magic ring.
- Follow a simple increase pattern to create a smaller circle for the teddy bear's face.
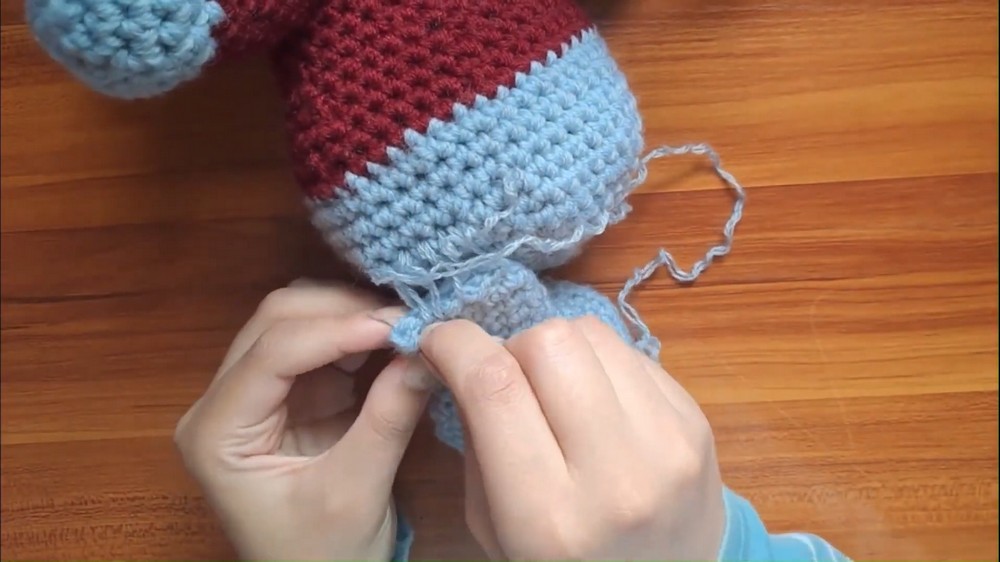
Assembly
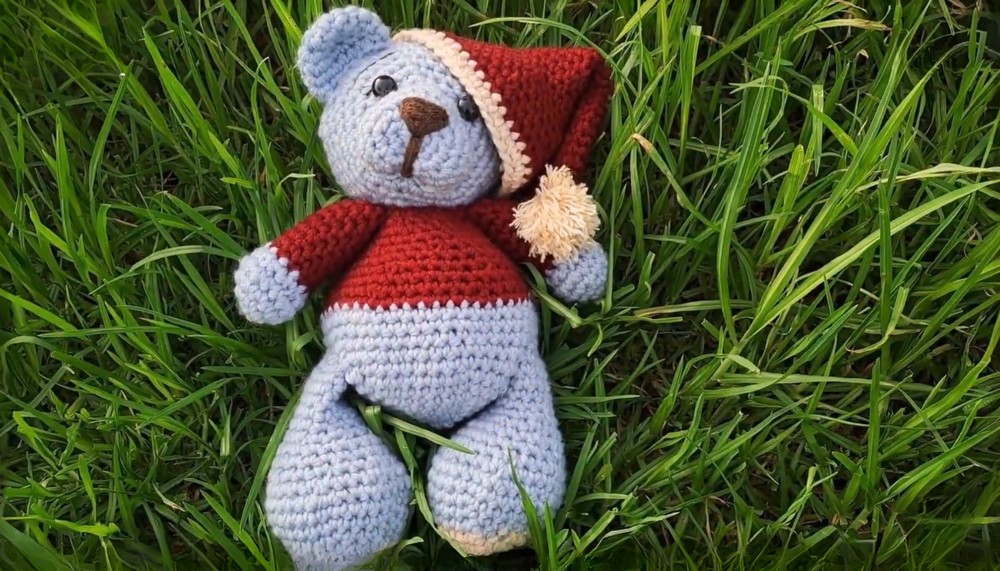
- Position all the pieces (head, body, arms, legs, ears, and muzzle) before sewing them together. Ensure proper alignment for a balanced teddy bear figure.
- Use thread to create facial features such as eyebrows, eyelashes, and a nose.
Conclusion
This crochet teddy bear pattern is simple yet versatile, allowing you to create a stuffed bear using basic techniques. From learning how to make a magic ring to mastering increases and decreases, this project is ideal for both beginners and seasoned crocheters. Add your personal touch with colors and custom facial features, and you’ll have a lovable handcrafted teddy bear to treasure or gift!




Leave a Reply