
Safeguard your books in style with a crochet book cover, blend protection, charm, and personalization for your favorite reads effortlessly.
Books hold stories and knowledge that deserve care and attention, and a crochet book cover gives them just that. Beyond its ability to shield pages from damage, this unique cover brings a delightful blend of charm and practicality. Its snug fit protects novels, journals, or planners from everyday wear, while the soft texture adds a cozy touch every time you reach for a favorite read.
Durable and Decorative Crochet Book Cover Pattern for Book Lovers
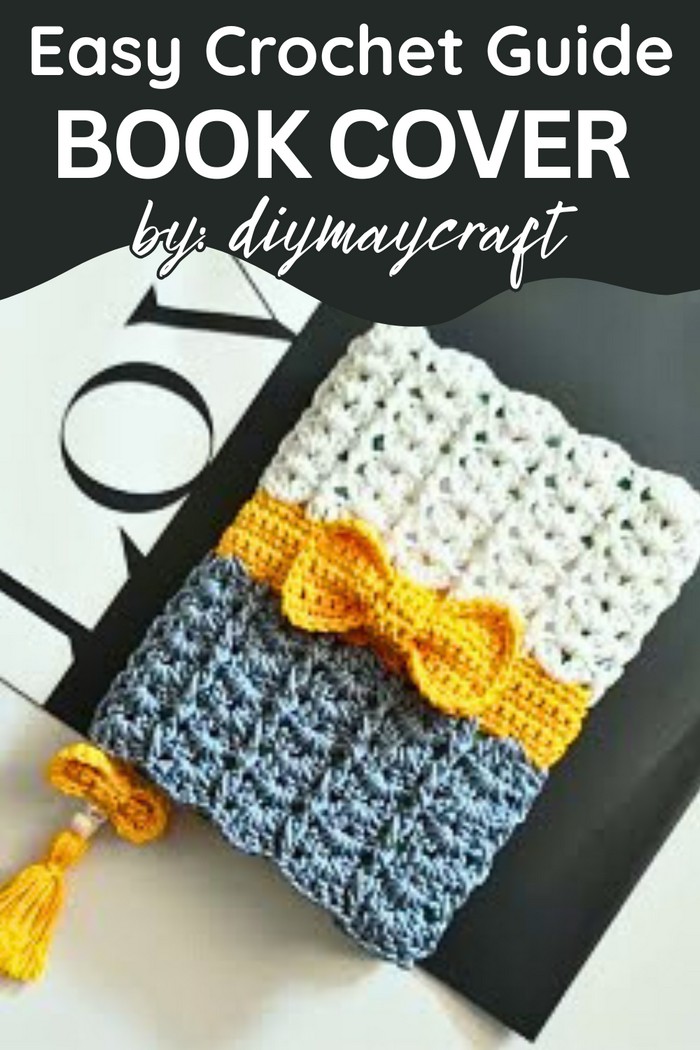
Perfect for students, bookworms, or creative minds, it offers a versatile way to preserve book spines and edges while showcasing a personal sense of style. Think of the joy in pairing lively colors or intricate stitches with the aura of a favorite story. Adding a crochet book cover to your everyday items isn’t just about safeguarding; it’s about celebrating the books that enrich your life.
Custom-fit to suit any size, these covers are also eco-friendly, encouraging sustainability by prolonging the life of your most cherished reads. Whether it’s a thoughtful handmade gift or a practical addition to your own collection, this charming accessory merges beauty with function seamlessly. Protecting pages has never been so satisfying combine practicality with the soft elegance that crochet brings to your fingertips.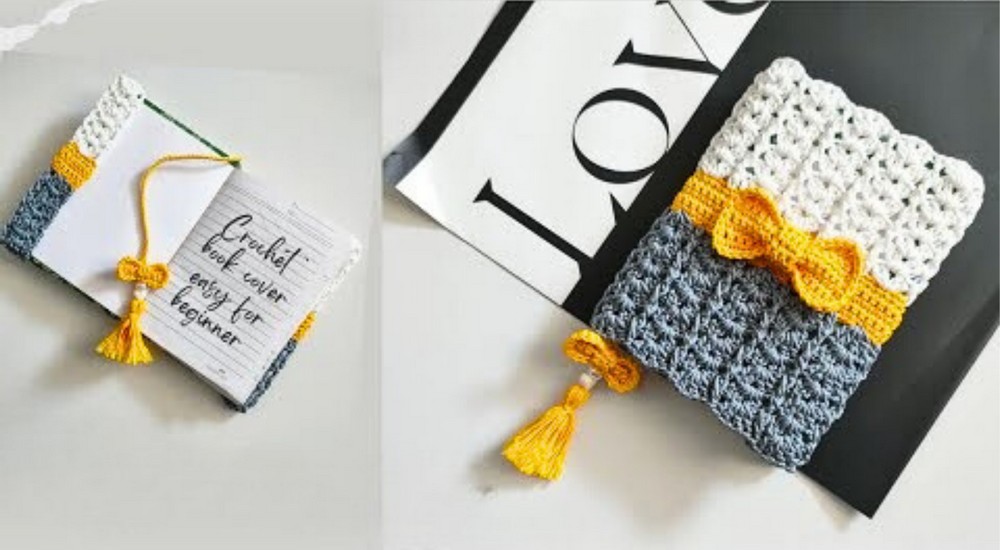
Step-by-Step Tutorial Summary of Crochet Neck Warmer Pattern
Introduction
This video tutorial walks you through the process of creating a crochet neck warmer featuring intricate motifs and a ribbon pattern. It’s an excellent project for anyone looking to make a functional, yet stylish accessory, blending creativity with practicality. Whether you’re a beginner or have experience with crochet, the detailed step-by-step instructions ensure clarity and ease of execution.
Materials and Tools
- Yarn: PolyCherry thread
- Crochet Hook: Tulip 4/0 hook
- Additional Tools: Tapestry needle, lighter/match for finishing threads
- Embellishments: Puzzle decorations and small ribbons (optional for the final design)
Step-by-Step Process
Base Chain and Single Crochet Foundation
- Slipknot: Start with a slipknot.
- Chain Length: Make a chain in multiples of 6 based on your desired length. Add 2 chains for turning. Example: 72 chains + 2 = 74.
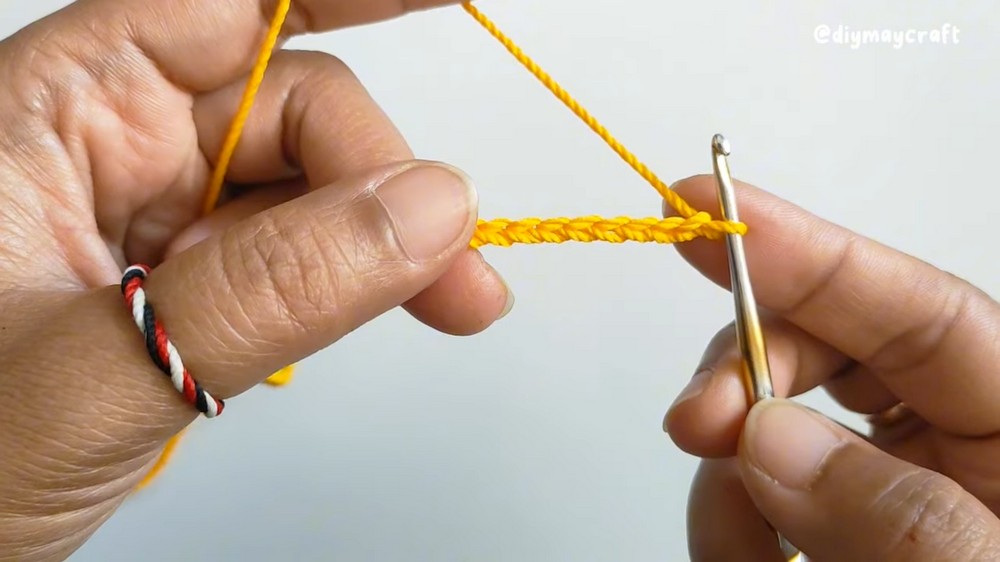
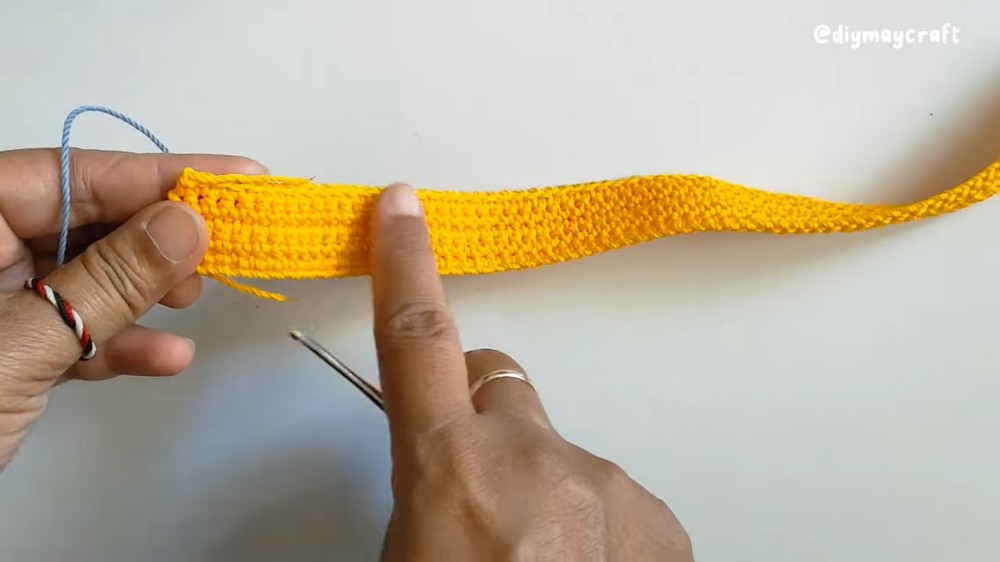
- Foundation Row: Work single crochets along the chain for a total of 73 single crochets.
- Repeat Rows: Reverse and continue making rows of single crochets until you complete 5 rows. Break the thread with a lighter or match to secure the end.
Motif Pattern Instructions
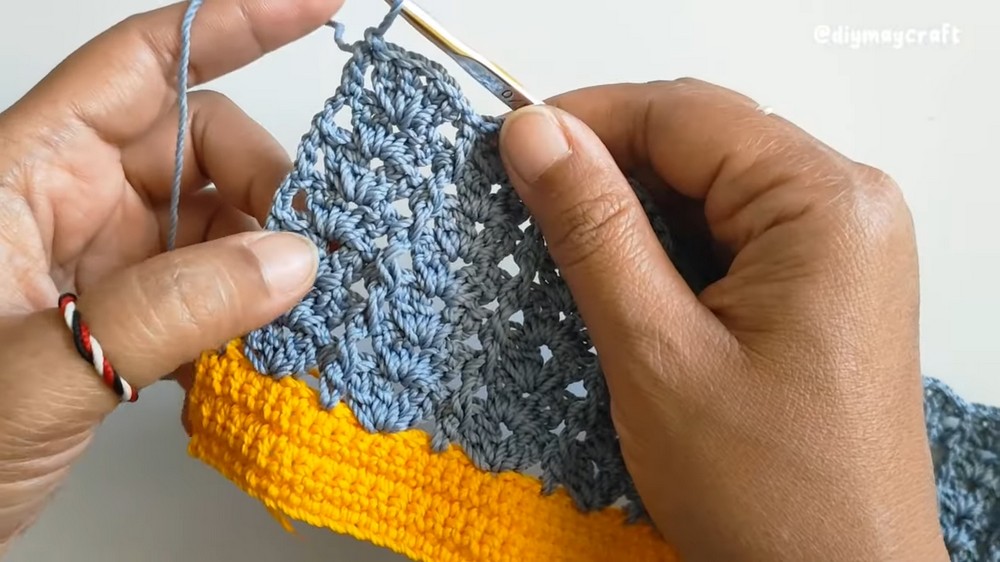
- Beginning Motif: Create a slipknot, attach it at the opposite end, and make 3 chains.
- Pattern Stitching:
- Skip 2 chains, then create motifs with double crochets, chains, and repeats. Example: 2 double crochets, 1 chain, 2 double crochets in the same stitch.
- Use back post double crochet (BPDC) and front post double crochet (FPDC) alternately for texture.
- Repeat: Continue working motifs row-by-row, alternating between front-post and back-post double crochets as detailed for rows 2, 3, and higher.
- Height: Repeat the motif rows until the desired height is reached (e.g., up to the 7th row).
Final Assembly
- Connect Motifs: Fold one motif over and connect the two ends using a tapestry needle or sewing thread with simple stitching.
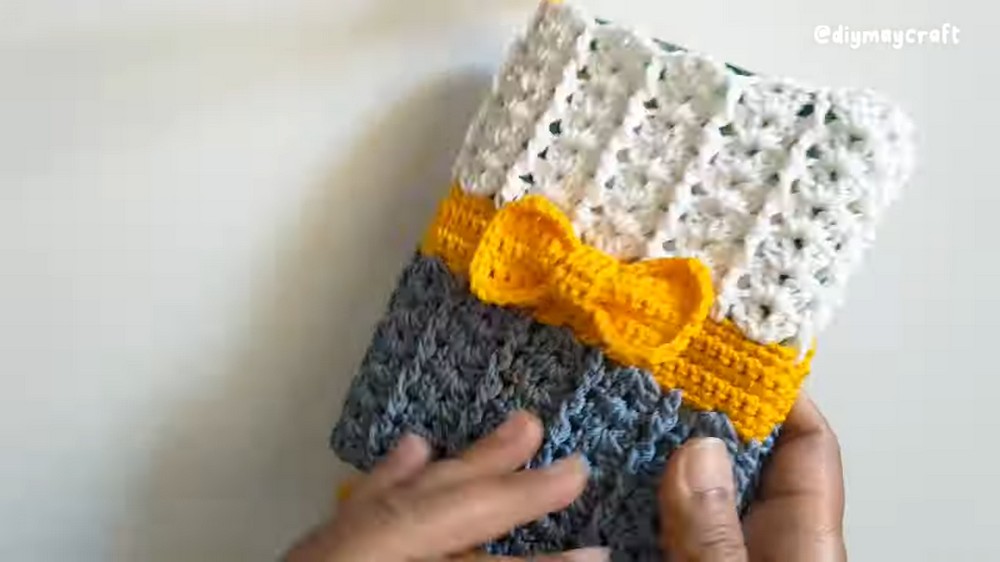
- Ribbon Decoration: For added detail, crochet a ribbon pattern by:
- Starting with 7 rows of single crochets.
- Adding a border of single crochet around the edges, including increases at corners for rounded edges.
- Attaching the ribbon to the neck warmer with slip stitches.
Special Features
- Elegant motif design with alternating post-stitching adds texture and visual appeal.
- Customizable in terms of size, length, and final embellishments.
- Versatile for cold-weather wear or as a stylish accessory.
Level of Difficulty
Intermediate—This tutorial introduces foundational techniques like chaining and single crochet, as well as advanced concepts including motif creation, BPDC, and FPDC stitching. It’s perfect for those who have basic crochet skills and want to explore texture and design.
Tutor’s Suggestions
- Measurements: Adjust chain length and height to fit your preferences.
- Thread Finishing: Secure threads with a lighter to prevent fraying.
- Decorations: Personalize the design with ornaments like ribbons or puzzle decorations for additional flair.
Uses of the Crochet Neck Warmer
- Practical winter accessory to keep warm.
- Stylish addition to any outfit.
- A thoughtful handmade gift for friends and family.
Tip
For smoother motifs, ensure your stitch tension remains consistent throughout the pattern. Use a tapestry needle to weave in loose ends neatly for a professional look.
Conclusion
This pattern offers a beautifully detailed guide to creating a crochet neck warmer that blends functionality with artistic elegance. Whether you’re crocheting for warmth or fashion, this project is sure to inspire creativity and deliver a personal touch to your wardrobe. Perfect for intermediate crocheters, the neck warmer is not only practical but also endlessly customizable.




Leave a Reply