
Breeze into sunny days with this Free Crochet Mesh Top Pattern that's add airy, effortless charm to every summer outing and festive look.
Openwork designs bring style and comfort to warm-weather wardrobes while keeping outfits light and airy. The Crochet Mesh Top Pattern gives a trendy top with delicate mesh details that layer beautifully over tanks, camisoles, or swimsuits. Its relaxed fit provides ease and comfort while adding a playful yet elegant look.
Vivid Crochet Mesh Top Pattern That Sparks Joy in Every Stitch
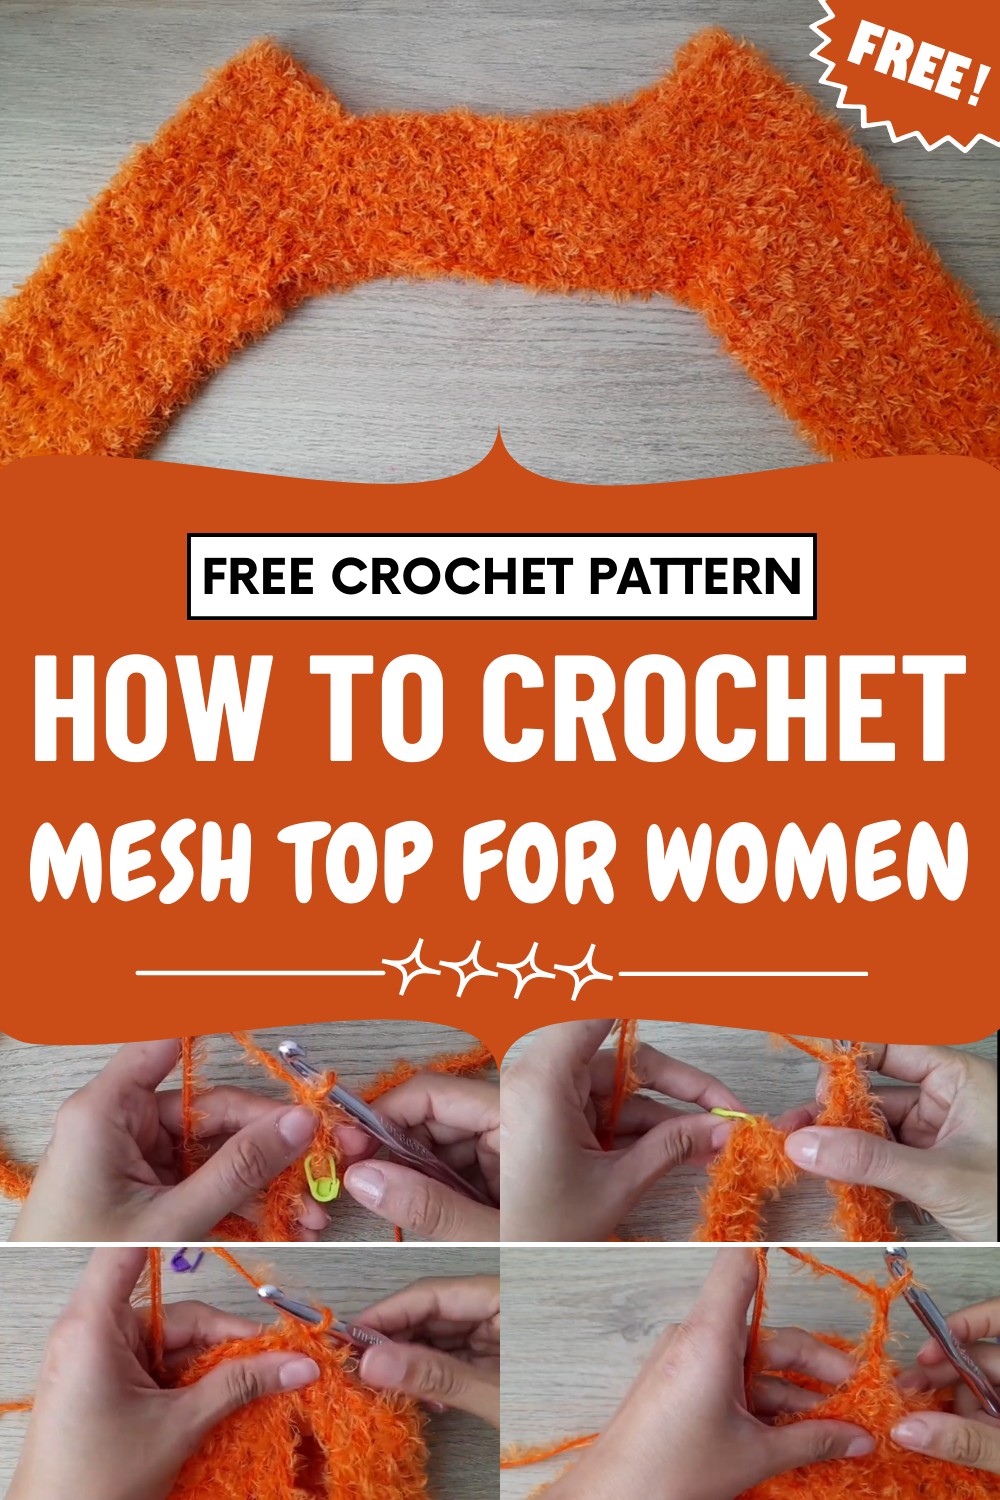
You can choose different yarns, colors, and sleeve lengths to make each top unique and personal. Working on this pattern is relaxing and rewarding, helping improve focus, patience, and crochet skills.
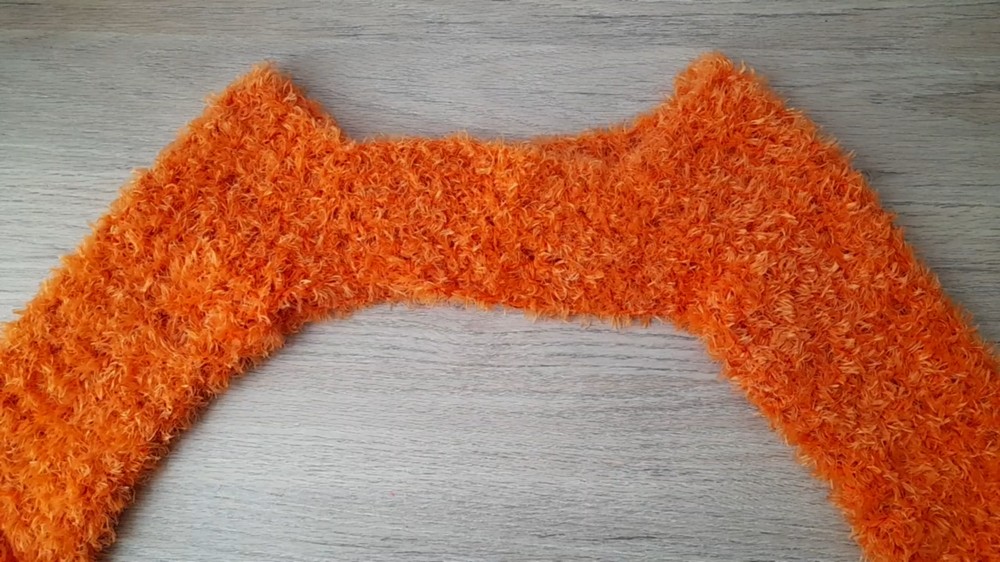
The finished piece is durable, versatile, and easy to wear for casual outings, beach days, or summer festivals. The Crochet Mesh Top Pattern turns simple yarn into a stylish, breathable top that enhances everyday outfits with charm, elegance, and modern appeal.
Special Features
- Top-down construction: Easily adjust length and width as you go
- Mesh/lattice stitch: Creates a breathable, drapey fabric ideal for layering
- Double yarn technique: Combines a base yarn and a furry/textured yarn for a chic finish and easier handling
- Adapts to any size: Simply change the base chain count for any adult or child
Level of Difficulty
Beginner – Confident Beginner
If you can chain, double crochet, and work in the round, you can make these sleeves! Stitch markers help keep increases in place, and the mesh construction is forgiving and fast to work up.
Materials Needed
- Base Yarn: Lightweight or thin cotton or acrylic.
- Furry/Textured Yarn: Eyelash yarn or similar with a little "fluff."
- Crochet Hook: 8mm (use a bigger hook to keep the fabric loose—adjust as needed).
- Stitch Markers: For marking corners and increases.
- Scissors
Tip: You’ll hold the base yarn and furry yarn together the whole time. If you use different brands, make sure the thickness works with your chosen hook size!
Tutor’s Suggestions & Uses
- These sleeves are great for layering: wear over tanks, T-shirts, or dresses.
- Try solids or color-blocked sections for even more fun!
- For a snugger fit, decrease your starting chain or use a smaller hook; for more drape, increase them.
- Use stitch markers in every increase space—they’re lifesavers with fuzzy yarns.
Crochet Mesh Sleeves Pattern
1. Make the Yoke (Top of Sleeves)
- Make the Foundation Chains
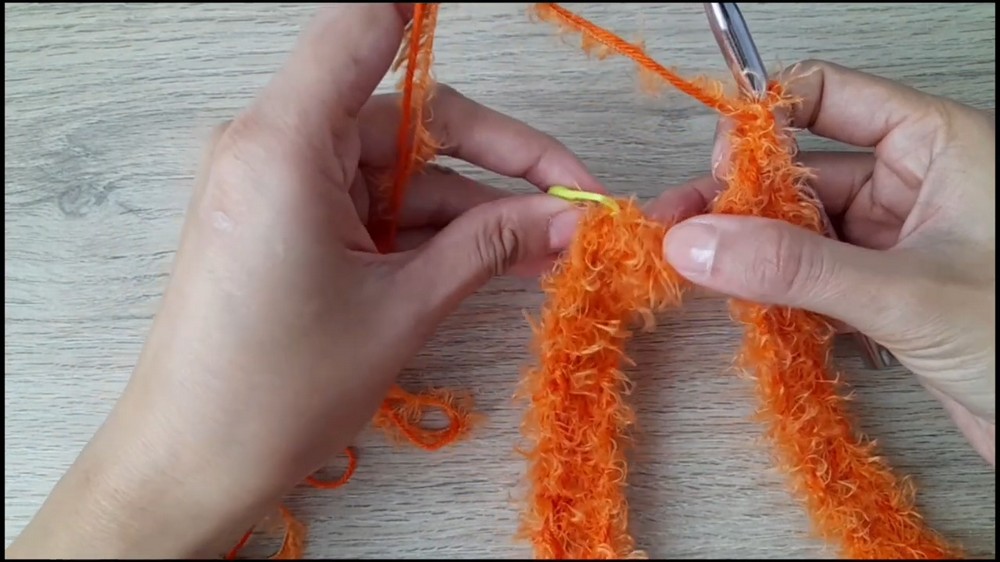
- With both yarns held together, make a slip knot.
- Chain 25, insert a stitch marker in the 25th chain.
- Repeat this 3 more times for a total of 100 chains (placing a stitch marker every 25 chains).
- These four marked sections will become the front, back, and sleeves.

- These four marked sections will become the front, back, and sleeves.
- Close to Work in the Round
- Avoid twisting! Join the last chain to the first with a slip stitch, forming a ring.
- Each marker is now at a ‘corner’—your increases will always happen here.
2. Set Up the Mesh Round
- Start Your Mesh
- Chain 4 (counts as 1 double crochet + 1 chain for spacing).
- Double crochet in the same chain as the join (with stitch marker).
- This creates your first V-stitch. Place marker in the chain-1 space of the V.
- Mesh Pattern to Next Corner
- [Chain 1, skip 1 chain, double crochet in next chain]
- Repeat this pattern to your next stitch marker in the round.
- Increases at Each Corner
- In the stitch marker chain:
- [Double crochet, chain 1, double crochet] (V-stitch).
- Place the marker again in the chain-1 space of the new V.
- Continue the mesh sequence to the next marker; repeat increases at each marker.
- In the stitch marker chain:
- Close the Round
- Continue the sequence until you reach your starting point.
- End with a chain and join with a slip stitch to the third chain of your starting chain-4.
3. Body Expansion & Building the Yoke
- Move Marker; Set Up for Next Round
- Slip stitch into the center of the V-stitch (into the chain space).
- Chain 4, double crochet in the same space—this is your new starting V-stitch; reset marker.
- Repeat Mesh Rounds
- Always chain 1 and double crochet into the mesh “holes” (chain spaces or double crochet gaps).
- At each marker, work [double crochet, chain 1, double crochet] into the same spot for an increase.
- Continue for Yoke Length
- Repeat step 2 for approximately 7 rounds (or until desired yoke depth).
- Try on as you go to check fit!
4. Shape and Join the Sleeves
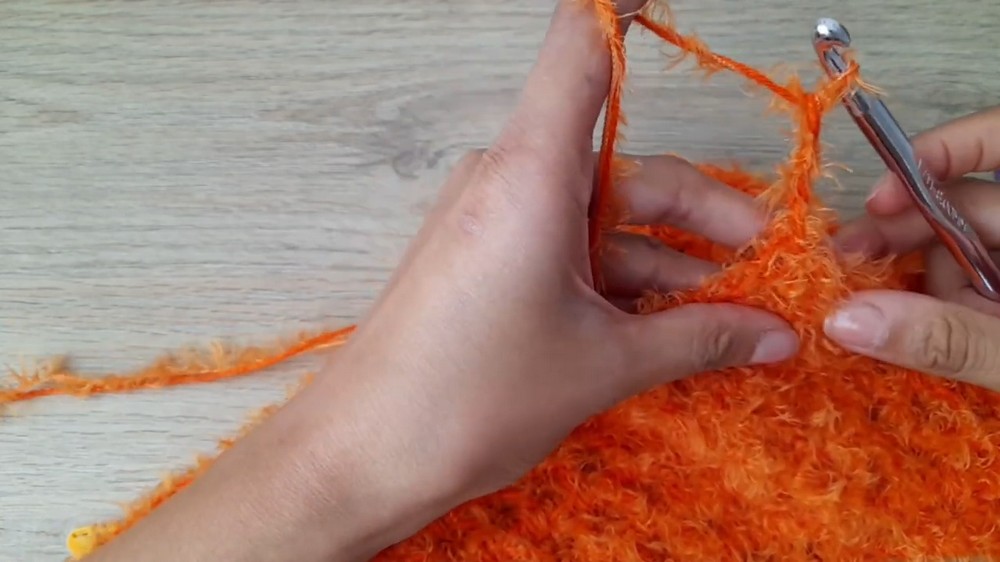
- Divide for Sleeves
- After finishing yoke, fold piece so increases line up as "front" and "back."
- To create a larger armhole, make an extra chain (suggested 4) under each arm for extra ease.
- Join for Circular Sleeve
- Slip stitch into the matching V on the back to join the sleeve round (removing markers as you go).
- Work Sleeves in the Round
- Chain 3, mark as start of round.
- Continue mesh pattern: [Chain 1, double crochet in next hole] around sleeve opening.
- No increases on sleeve rounds!
- Close each round with a slip stitch in starting chain.
- Continue for Sleeve Length
- Repeat mesh rounds (about 17 rows for average adult; adjust for personal fit).

- Repeat mesh rounds (about 17 rows for average adult; adjust for personal fit).
5. Finish
- Finish Last Round
- When sleeve is desired length, fasten off and weave in ends.
- Repeat on second sleeve (joining at the opposite underarm).
Conclusion
Voila! You now have a pair of breezy, fashionable mesh crochet sleeves, perfect for any season and easily customizable for size or color. Share your creations online and enjoy your new handmade wardrobe addition!
Pro Tip
Always use stitch markers when working with textured yarns—they will save you from losing your place, especially in the increase corners. Try to check your stitch count at the end of each round.




Leave a Reply