
Transform floor spaces with this Crochet Rug Pattern offering cozy texture, lasting comfort, and inviting style for relaxed home settings.
A stylish floor accent brings comfort and visual interest to any space, merging practical function with modern appeal. The crochet rug pattern is admired for its intricate detail and adaptable design, offering a unique way to personalize home decor while elevating everyday living. In today’s interiors, such rug are sought after for their ability to soften hard flooring, muffle sound, and introduce warmth through rich textures and colors.
Textured Crochet Rug Pattern Built for Everyday Comfort
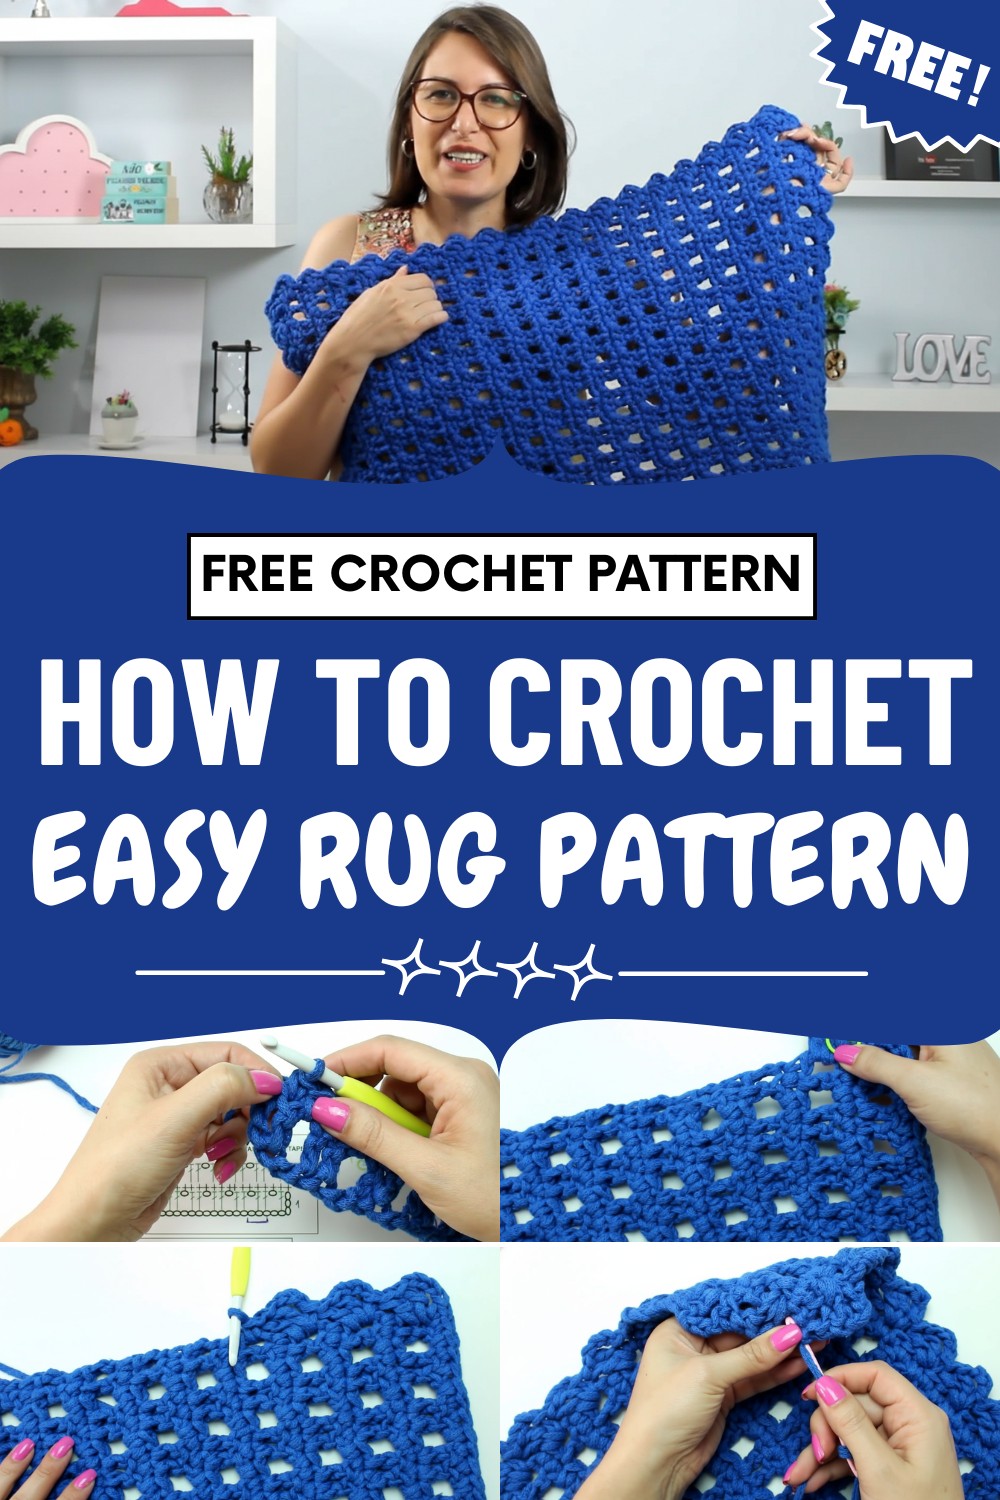
The flexibility to choose shapes, sizes, and hues ensures a seamless match for any room and style preference. Not just decorative, this rug often feature a sturdy build, making them suitable for busy areas like living rooms, nurseries, or entryways.

Their plush surface is a pleasure underfoot, inviting relaxation and comfort in reading corners or beside the bed. Overall, the pattern transforms a simple floor covering into an elegant statement that radiates both charm and practical benefits.
Simple Crochet Rug Pattern
Materials and Tools
-
Yarn: 1 cone (700g) of Fial knit strips (Tiras de Malha), Color 59 Royal Blue (85% cotton).
-
Hook: 7.0 mm crochet hook.
-
Finishing: Tapestry needle and scissors.
Pattern Details
-
Skill Level: Beginner.
-
Final Dimensions: Approximately 43 cm wide x 61 cm long.
-
Pattern Logic: The design is worked in multiples of 3 + 1.
Step-by-Step Instructions
Phase 1: Foundation and Row 1
-
Foundation Chain: Create a slip knot and work 40 chains. This should measure about 43 cm.
-
Row 1 (The Window Row):
-
Skip the first 3 chains (these count as your first double crochet).
-
Work 1 double crochet (dc) into the 4th chain from the hook.
-
Chain 1, skip 1 foundation chain, work 1 dc in each of the next 2 chains.
-
Repeat from * across the row. You will end with 2 double crochets.
-
Phase 2: Building the Body (The Repeat)
-
Row 2 (The Solid Row):
-
Chain 1 and turn your work.
-
Work 1 single crochet (sc) into every stitch across (the dc stitches and the ch-1 spaces).
-
Tip: Ensure you work the last sc into the top of the turning chain-3 from the previous row to keep your edges perfectly straight.

-
-
Row 3 (Repeat Row 1):
-
Chain 3 (counts as first dc) and turn.
-
Work 1 dc in the next sc.
-
Chain 1, skip 1 sc, work 1 dc in each of the next 2 sc.
-
Repeat from * across the row.
-
-
Growth: Continue alternating Row 2 and Row 3 until the rug reaches 61 cm in length. End with a Row 2 (the solid single crochet row).
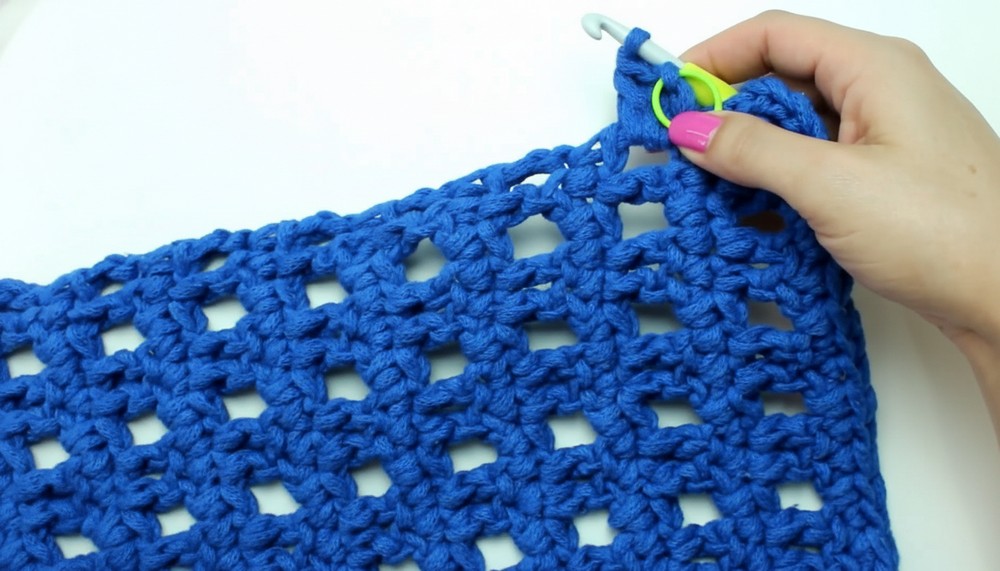
Phase 3: Decorative Edging (Biquinho)
-
The Shell Border:
-
Chain 1 to turn. In the first side space, work 1 sc.
-
Chain 3 and work 2 dc into that same space (this forms the "pout" or shell).
-
Skip the next row side and work 1 sc into the following row side.
-
Chain 3, work 2 dc in the same spot, skip a space, sc in next.
-
Repeat this around the entire rug.

-
-
Corners: At the corner, work the shell (sc, ch 3, 2 dc) directly into the corner stitch to allow the border to curve smoothly around the edge.
Phase 4: Finishing
-
Closing: Finish the final shell and join with a slip stitch to the very first chain of the border.
-
Weaving Ends: Cut the yarn, leaving a tail. Use a tapestry needle to weave the thick tail through the stitches on the back.
-
Tip: Since knit strips are thick, weave stitch-by-stitch to avoid snagging the material.

-
Conclusion
Finishing this rug provides a robust and colorful addition to your home decor. The simplicity of the two-row repeat ensures a meditative process with a professional-looking result. Once you have tucked in the final ends, your handmade rug is ready for use in a bathroom, kitchen, or bedroom.
Pro Tip: If you use a thinner yarn (like 8-ply cotton), the border might "pull" or wave. If it waves (too loose), put fewer double crochets in the shell. If it pulls (too tight), add an extra double crochet to each shell to help it lie flat.




Leave a Reply