
Keep little ones cozy with this Free Crochet Baby Beanie Pattern and enjoy soft, cozy, adorable, and stylish hat perfect for any season.
Looking for an adorable and practical way to enhance a baby’s wardrobe? A crochet baby beanie pattern offers gentle warmth and unique flair, blending comfort with eye-catching style for little ones. With a variety of stitches, color choices, and charming details—such as a single flower, playful animal ear, or simple stripe—a beanie can suit any season or special occasion, from sunny strolls to snug winter naps.
Easy & Playful Crochet Baby Beanie Pattern for Everyday Wear

Its soft structure is especially suited for sensitive newborn skin, ensuring a cozy fit without irritation. The efficient and accessible process means this project is ideal for thoughtful gifts and charitable donations.
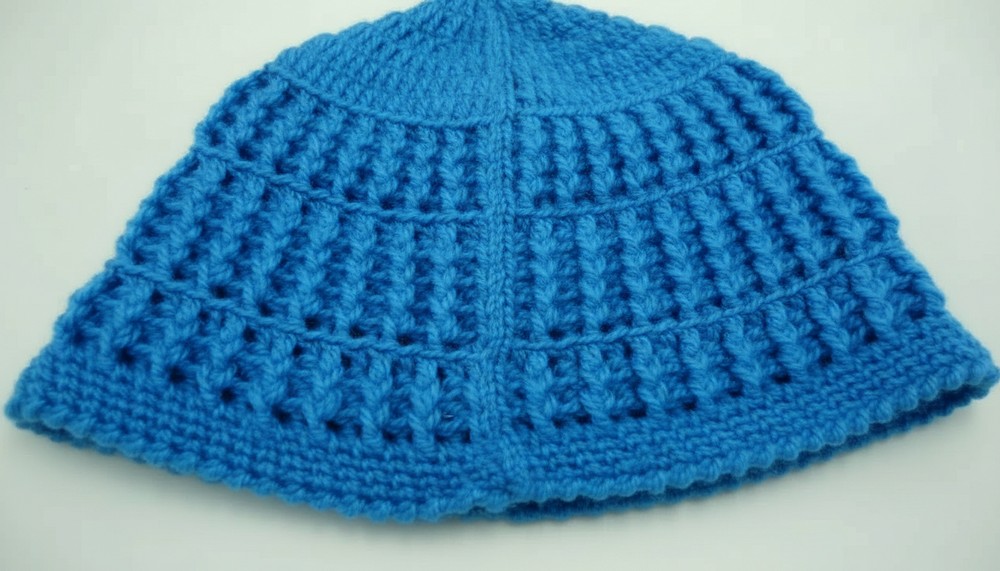
Whether given as a heartfelt baby shower present, included in a hospital care box, or used as a daily accessory, one thoughtfully made beanie brings a touch of whimsy and warmth, making ordinary moments memorable and adding a sweet personal touch to every day.
Special Features
- Worked seamlessly in the round
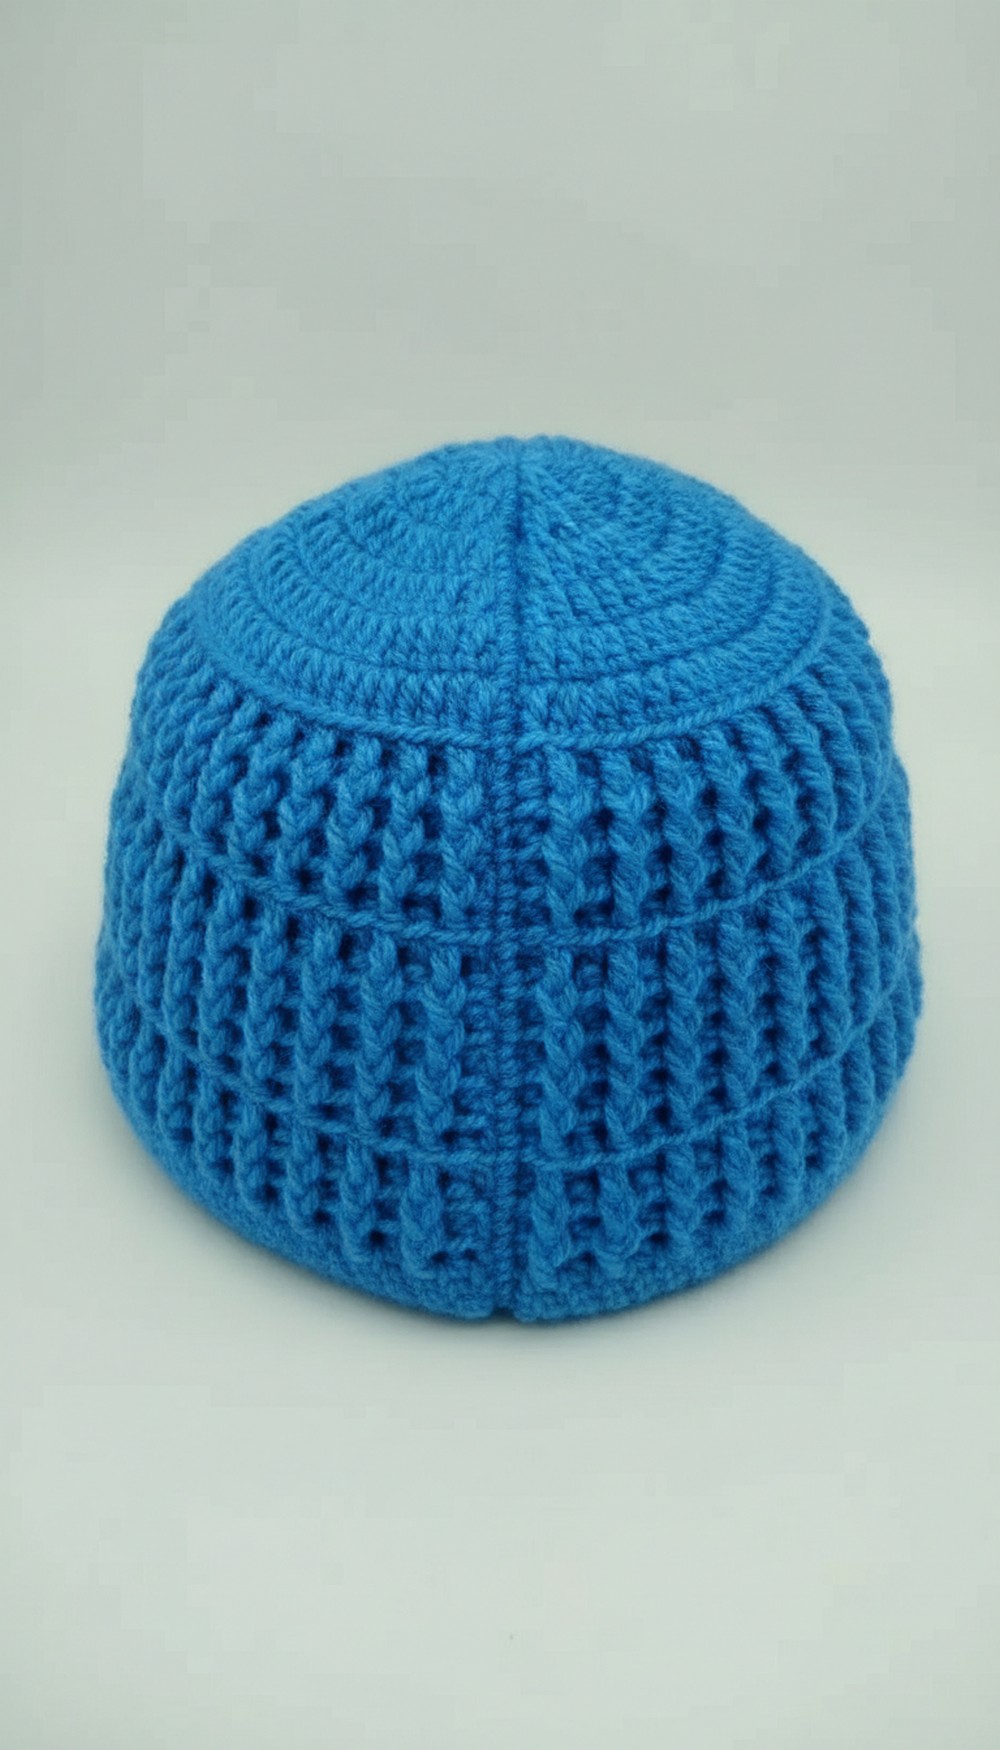
- Bar stitch texture created by alternating relief stitches (front/back post double crochet)
- Crab stitch edging for a neat, decorative finish
- Uses leftover yarn—eco and budget-friendly!
- Fits small dolls, display purposes, or as a decorative baby shower/favor item
Level of Difficulty
Beginner to Easy Intermediate
- You only need basic stitches and some simple increasing and post stitch techniques.
- Crab stitch (reverse single crochet) is explained, but if you’re new to it, try a regular edge instead.
Materials
- Leftover 100% acrylic baby yarn (blue, medium weight)
- 2.5 mm crochet hook
- Scissors
- Tapestry needle
- Stitch marker (optional, to mark rounds)
- Pattern notes for keeping track of increases/row counts
Tutor's Suggestions
- Always check stitch count at the end of each round for accuracy.
- Use a stitch marker or scrap yarn to mark your round’s starting point.
- For a larger hat, consider using a bigger hook and thicker yarn.
- Practice the crab stitch before finishing—reference a tutorial if needed.
Uses
- Baby dolls or tiny plushies
- Nursery/baby shower decorations
- Cake toppers and party favors
- Small gifts or keychain accessories
Pattern Instructions
1. Magic Ring & First Round
- Make a magic ring. (Refer to website/tutorial if unsure.)
- Work 10 single crochet (sc) into the ring, catching both loops as you go.
- Pull tail to close ring tightly.
- Join with a slip stitch to the first sc.
2. Build the Hat Crown (Increasing Rounds)
Round 2:
- Ch 3 (counts as first double crochet—dc).
- Work 2 dc in each st around (into each of the 10 sc): 20 dc total (note: transcript says 18—adjust as needed for pattern symmetry).
- Join with slip stitch to top of ch-3.

Round 3:
- Ch 3.
- In this round, increase by 5 stitches spaced evenly:
- Work 1 dc in each of next 3–4 stitches, then 2 dc in next st; repeat until you reach 23 dc.
- Join with slip stitch.
Round 4:
- Ch 3.
- Increase by 14 stitches, for 37 dc total:
- Work 1 dc in each st, every 2–3 stitches, add 2 dc in one st; repeat, spacing increases evenly.
- Join with slip stitch.
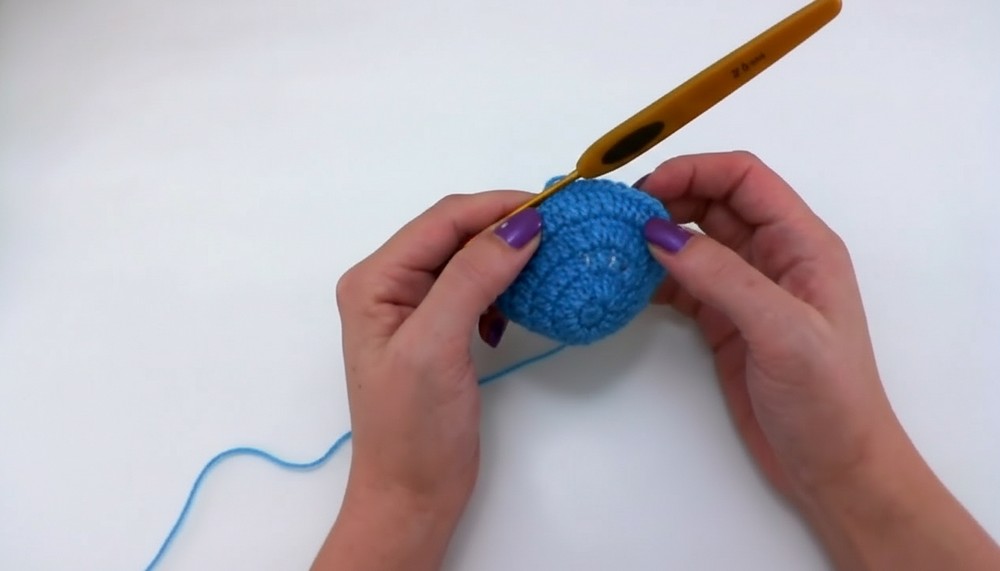
Round 5:
- Ch 3.
- Increase by 12 stitches, for 49 dc total:
- Spacing increases every 2–3 stitches as before.
- Join with slip stitch.
Round 6:
- Ch 3.
- Increase by 16 stitches, for 65 dc total:
- Spacing increases every 3 stitches.
- Join with slip stitch.
Round 7:
- Ch 3.
- Increase by 7 stitches, for 72 dc total:
- Space increases every 5 stitches.
- Join with slip stitch.
3. Texture Band: Back Loop Double Crochet
Round 8:
- Ch 3.
- Work 1 dc in the back loop only of each dc from the previous round.
- This creates a raised "ridge" on the outside.
- Join with slip stitch.
4. Bar Stitch Texture: Alternating Relief Stitches
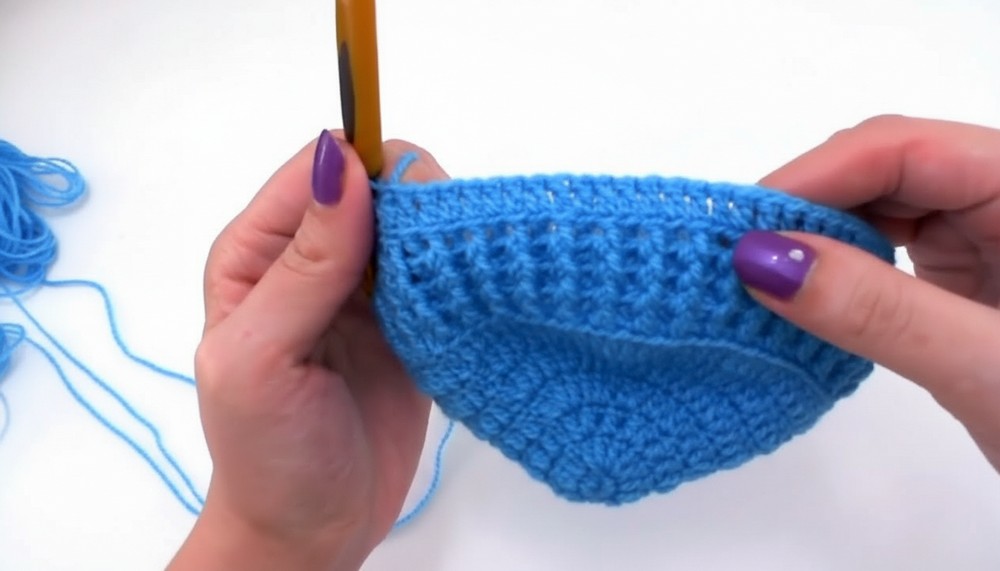
Rounds 9–11:
- Ch 3 for first stitch (counts as first post-DC from back).
- Alternate:
- Front post double crochet (fpdc) in next st.
- Back post double crochet (bpdc) in the following st.
- Continue alternating around.
- Repeat for three rounds, stacking post stitches above same type from previous round for consistent texture.
- Join each round with slip stitch.
Tip: For cleaner start, work the first fpdc of each round into both ch-3 and next st ("grab the chain with the st") to avoid holes.
5. Second Ridge: Back Loop Double Crochet
Round 12:
- Ch 3.
- Work 1 dc in back loop only across round.
- Join with slip stitch.
6. Second Bar Stitch Section
Rounds 13–16:
- Ch 3.
- Alternate fpdc and bpdc (as before), for four rounds total.
- Join each round with slip stitch.
7. Third Ridge: Back Loop Double Crochet
Round 17:
- Ch 3.
- Work 1 dc in back loop only across round.
- Join with slip stitch.
8. Final Bar Stitch Section
Rounds 18–19:
- Ch 3.
- Alternate front and back post double crochet for two rounds.
- Join each round with slip stitch.
9. Finishing: Single Crochet Round
Round 20:
- Ch 2 (counts as first sc).
- Work single crochet (sc) between the post dc stitches of previous row (not on top of stitches, but in gaps between posts).
- Join with slip stitch.
Repeat for three more rounds:
- Always start with ch 2, and work into gaps between stitches.
- Finish with a slip stitch after the total of four rounds of sc.
10. Edging: Crab Stitch
Final Round:
- Ch 2.
- Work crab stitch (reverse single crochet) into each space between sc of previous row—the stitch is worked to the right, instead of the left.
- If new to crab stitch, follow a video tutorial for clarity.
- Finish with slip stitch at round start.

11. Finishing Off
- Leave an end; use tapestry needle to weave tail inside hat.
- Clip any excess, keeping knots out of sight for a tidy finish.
Conclusion
Congratulations! You've created an exclusive, textured baby hat in crochet. This tiny model is perfect as a gift, keepsake, or decorative project showcasing a variety of stitches and shaping techniques.
Final Tip
When working post stitches and crab stitch, keep your tension relaxed. This will highlight the relief texture and prevent puckering along the brim. Try experimenting with colors and striping for extra fun.




Leave a Reply