
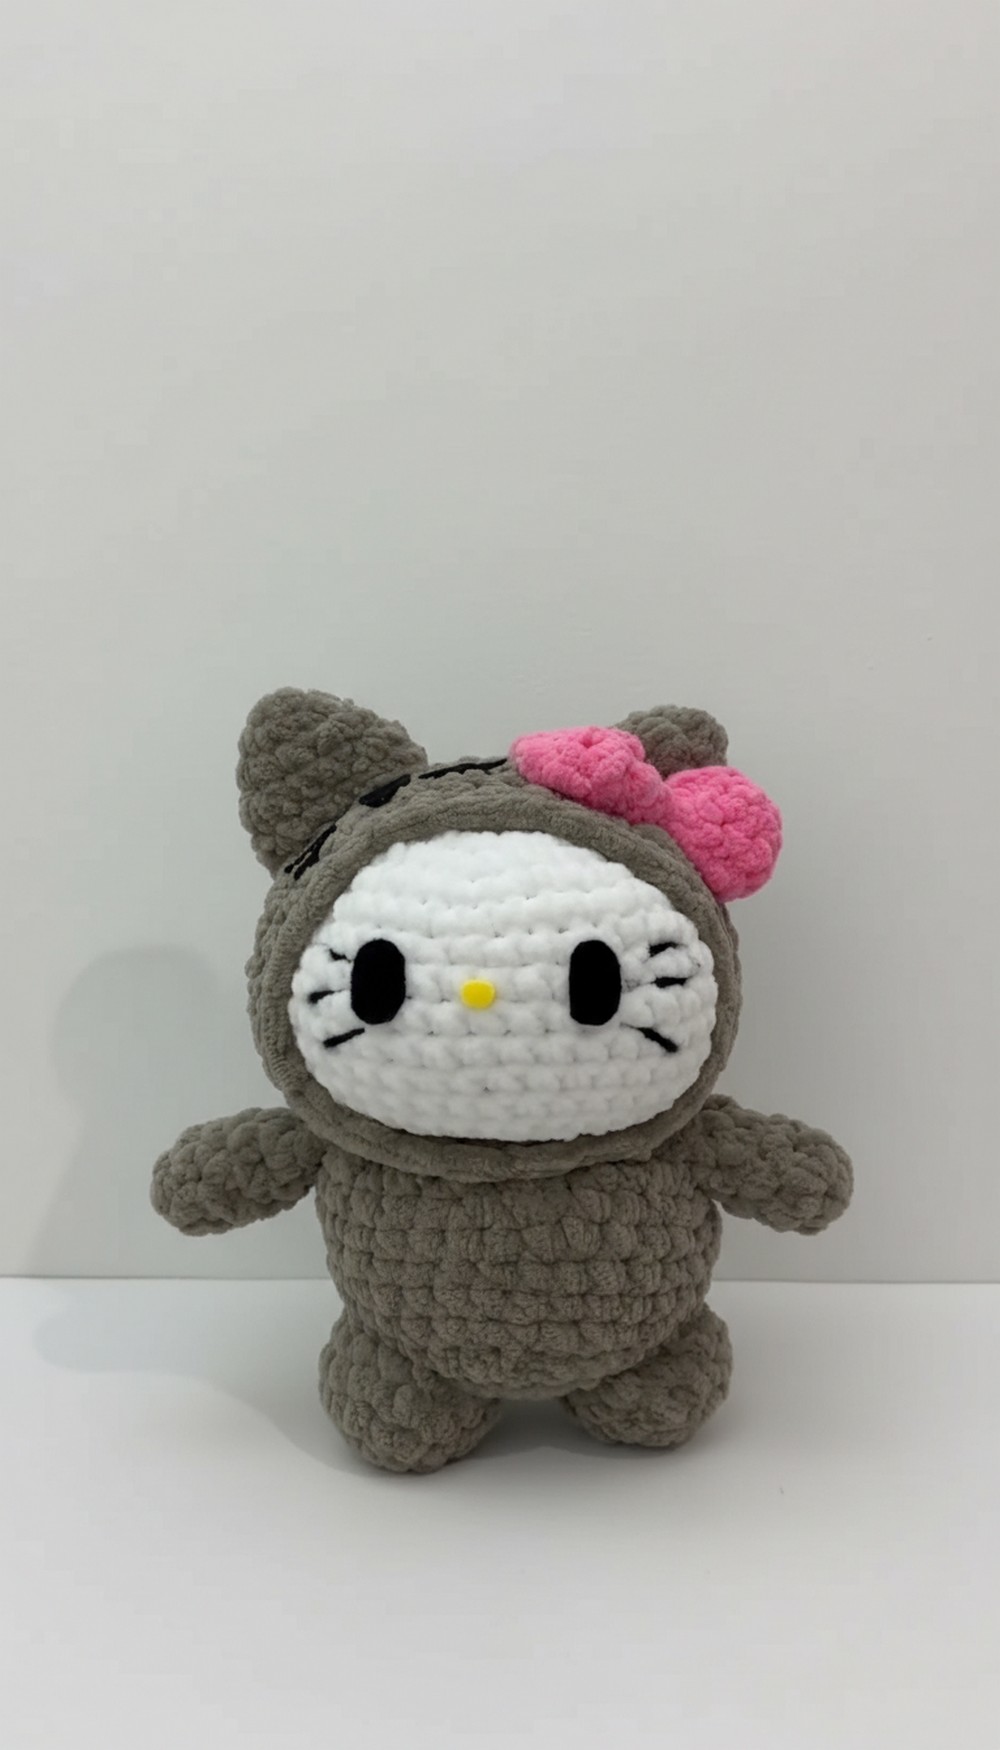
Brighten your room with this Crochet Pusheen Hello Kitty Pattern a cheerful figure spreads joy, laughter, and playful charm in every corner.
Happy Crochet Pusheen Hello Kitty Pattern for Cute Everyday Decor
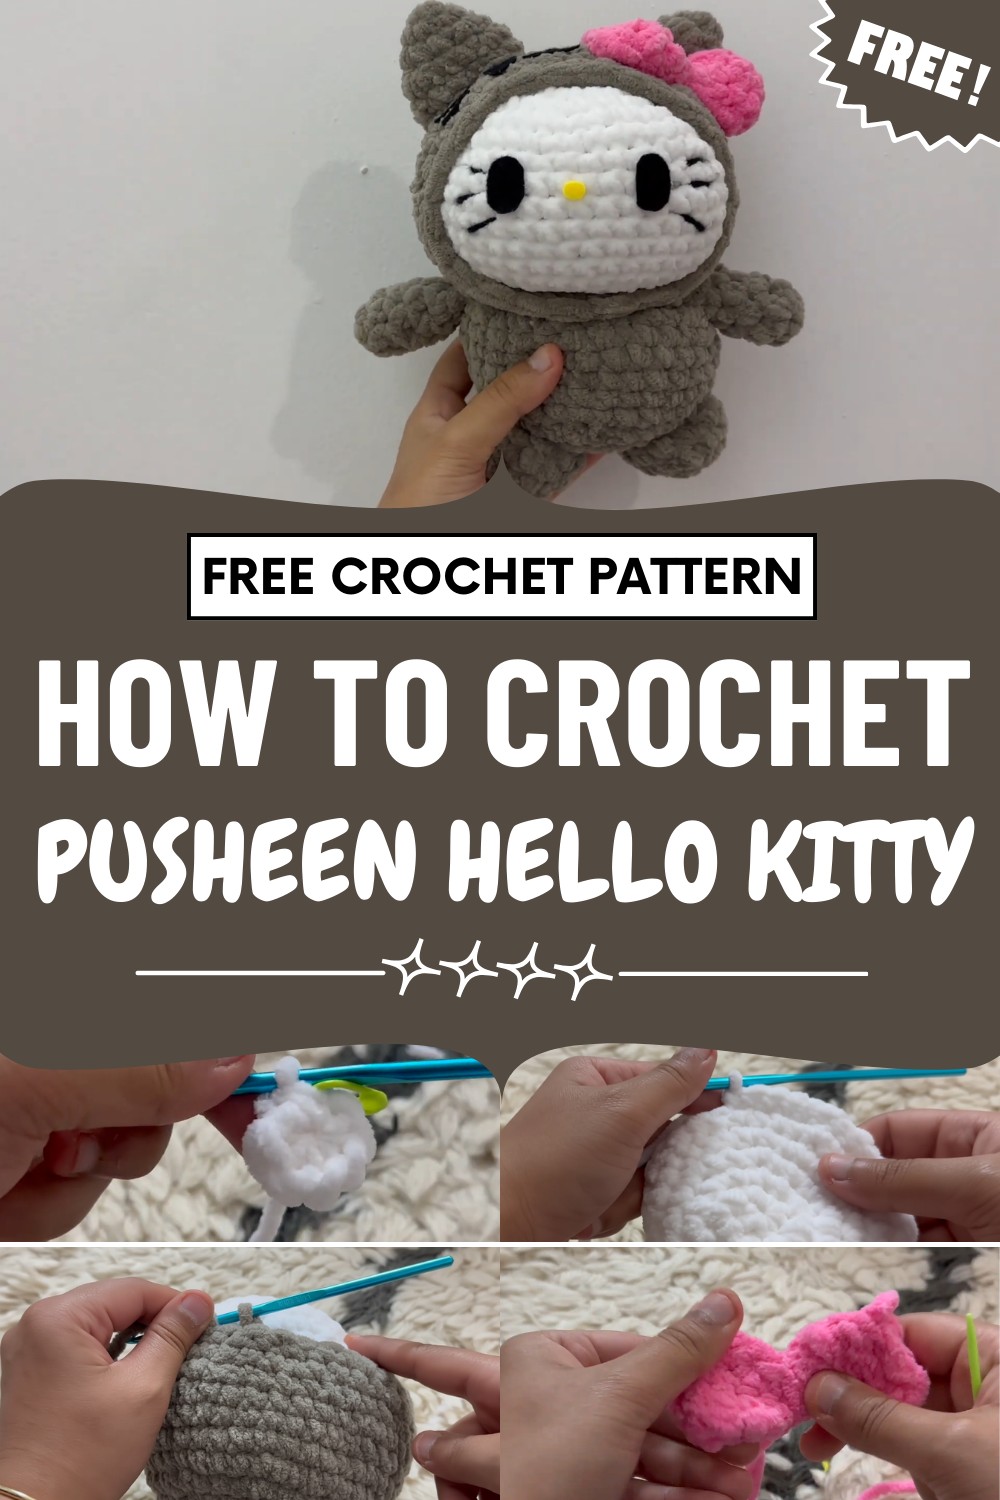
Light and strong, it adds a cheerful touch anywhere without taking up much space. The pattern is easy to follow, so beginners can enjoy it, and it is also fun for people with more experience.
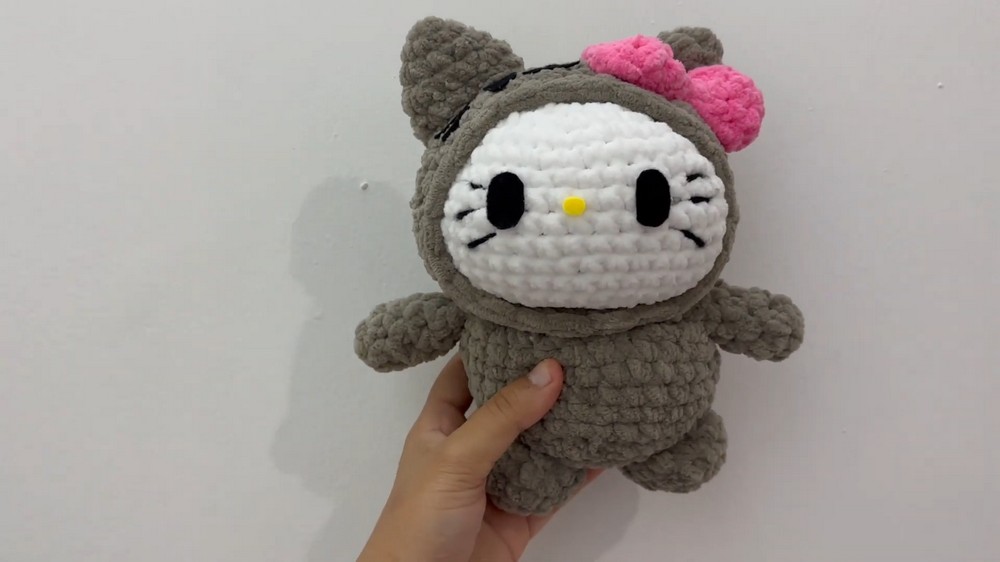
It makes a nice gift for friends, family, or fans of cute characters, and it is perfect for holiday or market displays. Fun, simple, and full of charm, it brings happiness and cuteness to any space.
Crochet Plush Pusheen Cat Pattern (Step By Step)
Special Features
- Super-cute plush finish using plush yarn
- Sized to hug and display
- Detailed face, 3D whiskers, and an optional bow
- Designed to be soft and sturdy
- Ideal as a desk buddy, a gift, or a child’s companion
Difficulty
- Beginner to Confident Beginner
- Basic familiarity with magic rings, increases, decreases, and working in rounds required
Materials
- Plush yarn in grey (main color), and accent colors for accessories
- Crochet hook (size appropriate for your yarn)
- Stitch marker
- Yarn needle
- Scissors
- Fiberfill stuffing
- Felt (black for eyes/whiskers, pink for nose, or any preferences)
- Craft glue (for attaching felt features)
Pattern
Head
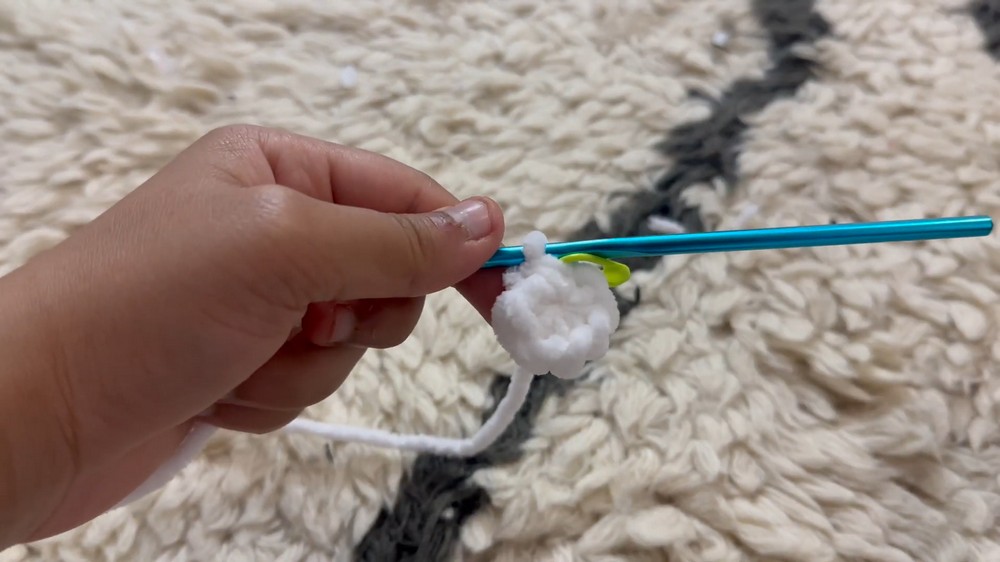
- Magic Ring Start
- Make a magic ring with a short yarn tail.
- Into the ring, crochet 8 single crochets (sc).
- Remove fingers, and gently pull the tail to close the ring.
- Tug on the strands as needed, alternating if required.
- Mark Rounds
- Place a stitch marker on the last stitch of the round.
- Increase Rounds
- Round 2: 2 sc in each stitch around (16 sts).
- Round 3: [1 sc in next st, 2 sc in next st] around (24 sts).
- Round 4: [1 sc in next 2 sts, 2 sc in next st] around (32 sts).
- Round 5: [1 sc in next 3 sts, 2 sc in next st] around (40 sts).
- Forming the Head
- Rounds 6-13: 1 sc in each st around. Move the stitch marker up at each round (8 rounds).
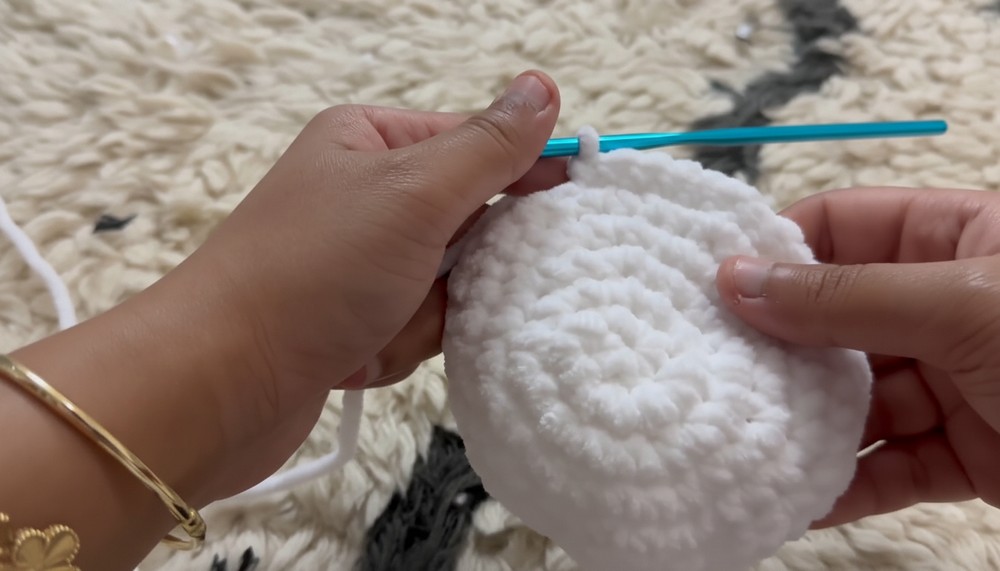
- Rounds 6-13: 1 sc in each st around. Move the stitch marker up at each round (8 rounds).
- Decreasing for Shaping
- Round 14: [1 sc in next 3 sts, invisible decrease] around.
- Round 15: [1 sc in next 2 sts, invisible decrease] around.
- Round 16: [1 sc in next st, invisible decrease] around.
- Round 17: decrease in every st around (close the top).
- Stuff Head
- Stuff head firmly before fully closing.
- Fasten Off
- Slip stitch to finish. Leave a long yarn tail.
- Weave tail through the tops of the remaining stitches, pull tight, bring needle through the bottom, weave in and snip excess.
Hood (Optional for Extra Fluff)
- Work the same steps as the head (through 5th increase round), then:
- Rounds 6-11: 1 sc in each st around (6 rounds).
- Place hood over head before final assembly rounds.
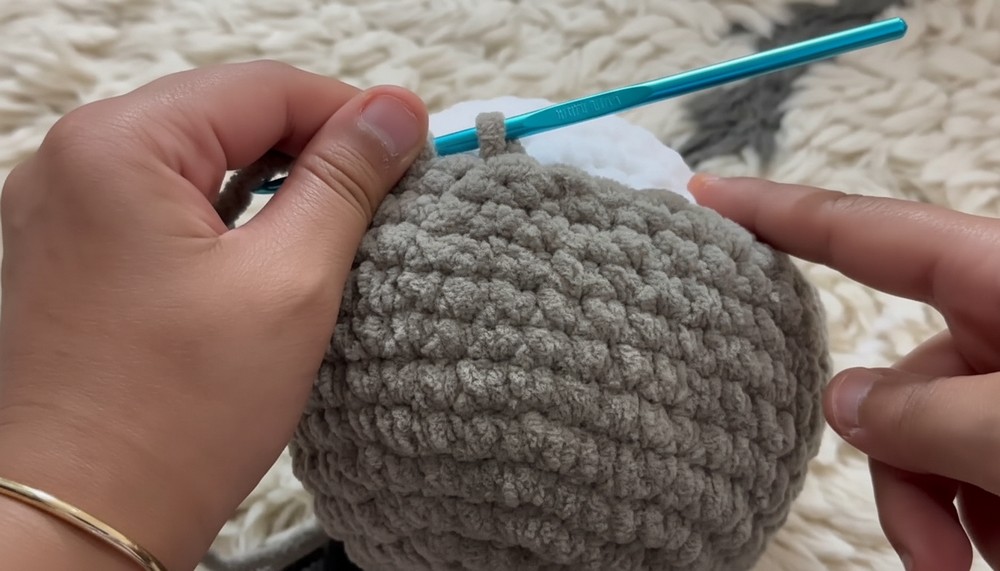
Body
- Start
- Magic ring with 8 sc.
- Increasing
- Round 2: 2 sc in each st around (16 sts).
- Round 3: [1 sc, 2 sc in next st] around (24 sts).
- Round 4: [1 sc in next 2 sts, 2 sc in next st] around (32 sts).
- Build Body
- Rounds 5-10: 1 sc in each st (6 rounds).
- Finish Off
- Slip stitch and leave a LONG tail for sewing to head.
Ears (make 2)
- Start
- Magic ring, 4 sc.
- Rounds
- Round 2: [1 sc, 2 sc in next st] around.
- Round 3: repeat previous round.
- Round 4: [2 sc, 2 sc in next st] around.
- Round 5: [3 sc, 2 sc in next st] around.
- Finish
- Slip stitch, cut yarn, leave tail for attaching.
Arms (make 2)
- Begin
- Magic ring, 6 sc.
- Round 2: 2 sc in each st around (12 sts).
- Rounds 3-4: 1 sc in each st (2 rounds).
- Finish: Slip stitch and cut yarn.
Tail
- Magic ring, 6 sc.
- Rounds 2-6: 1 sc in each st (5 rounds).
- Slip stitch, stuff lightly, and cut yarn.
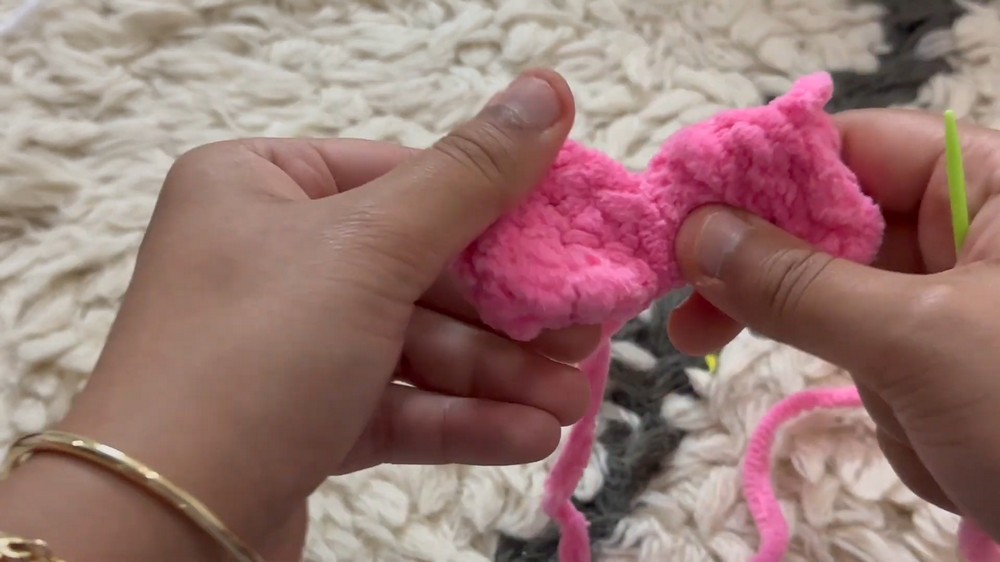
Bow
- Chain
- Make slip knot, chain 18.
- Body
- Starting in 2nd ch from hook, make sc across (17 sts).
- Chain 1, turn, and sc across for 2 rows total of 17 sc each.
- Fold ends together, slip stitch sides, making a band.
- Wrap Bow
- Leave a long tail, thread needle, and wrap yarn center tightly to shape bow.
- Weave in ends.
Assembly
- Felt Face
- Cut out two black felt eyes, a small pink/nose, and glue in position.
- Whiskers
- With thin yarn, thread and stitch in place for whiskers.
- Attach Ears
- Sew ears to top of head/hood.
- Sew Bow
- Secure bow in chosen spot (above ear or beneath chin).
- Attach Arms/Tail/Body
- Sew arms and tail to body, then body to head.
- Sew arms and tail to body, then body to head.
Tutor's Tips
- Stop to stuff firmly before final head/hood closing.
- Use a stitch marker for each round’s last stitch for accuracy.
- Hood can be omitted for a sleeker cat or added for extra plushness.
- Take care attaching the felt with a small amount of glue to avoid mess.
Best Use
- Children’s companion, desk décor, gift for Pusheen lovers, or a fun project for plush fans!
Final Tip
For the smoothest face, keep felt features small, and use sharp craft scissors for clean edges. Take your time when sewing, and stuff as evenly as possible for a smooth, huggable plush!
Conclusion
In just a few hours, you can bring to life the sweetest plush Pusheen cat—perfectly squishy, playful, and full of character. With some basic techniques, soft plush yarn, and a bit of imagination, you’ll craft a unique friend to brighten any day.


Leave a Reply