
Guide projects forward with this Crochet Granny Square Pattern detailing stitch structure, color, and layout choices for decor and wearables.
Graceful tradition meets modern style in a design admired around the world. The Crochet Granny Square Pattern stands out for its flexibility visual balance and timeless appeal. It supports a wide range of uses including blankets pillow covers garments bags and home décor accents while allowing endless color and layout choices. The repeat structure feels soothing and organized which helps improve stitch flow accuracy and confidence over time.
Easy Crochet Granny Square Pattern Perfect for Beginners
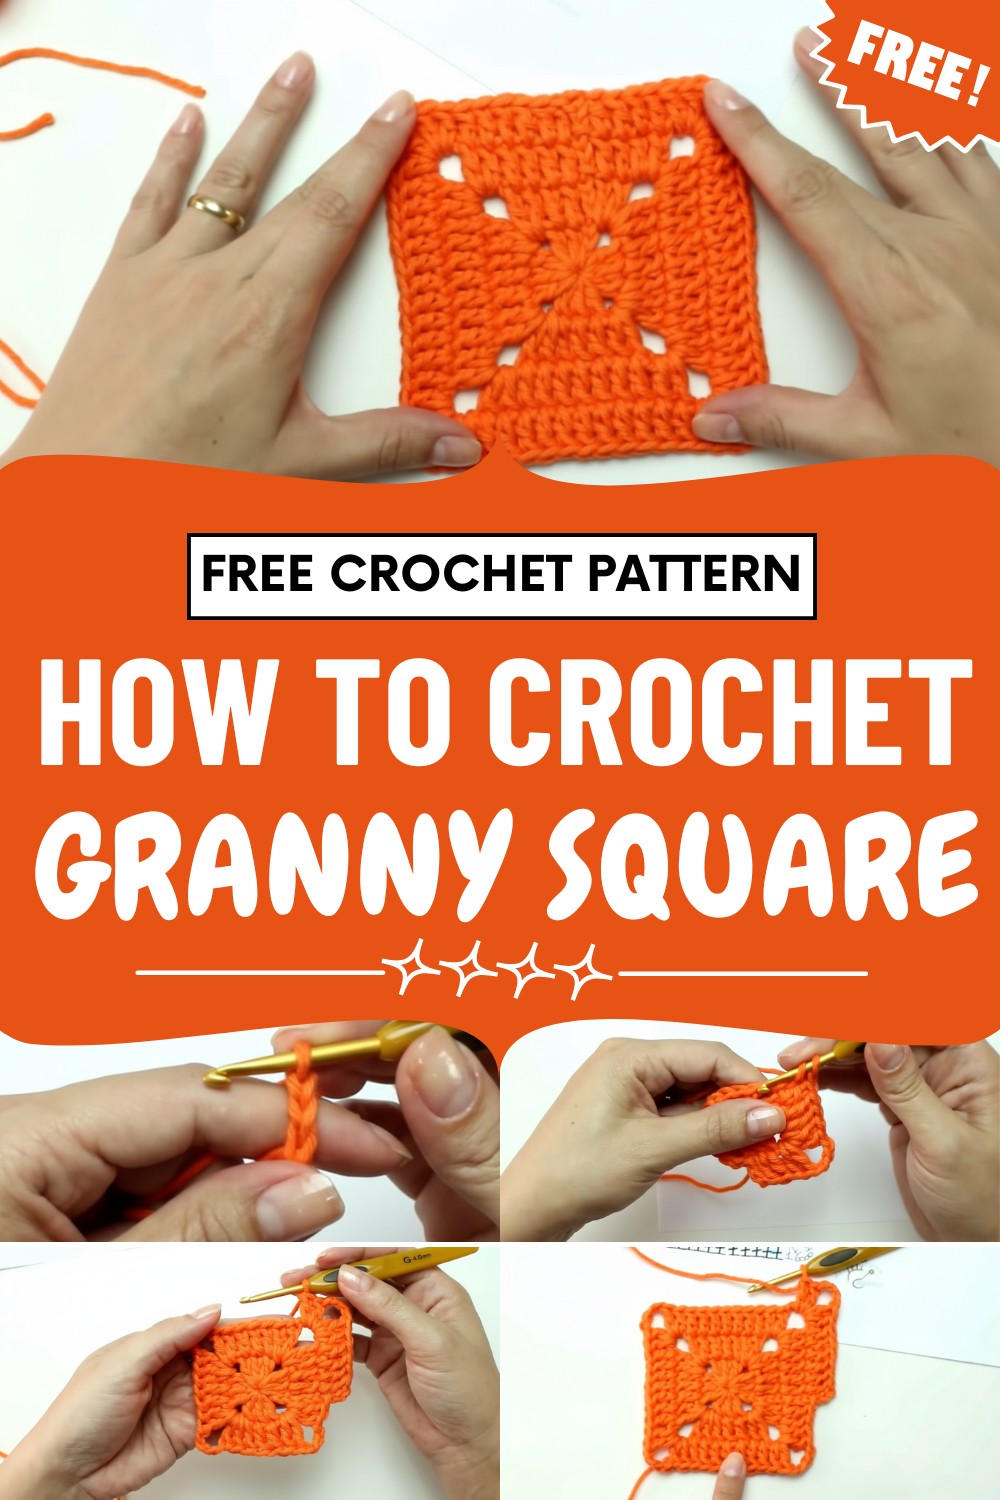
Its modular format makes large projects feel approachable since each section is worked separately and later joined with ease. The overall look delivers rich texture warmth and symmetry making finished pieces both decorative and practical. Yarn selection easily shifts the style from vintage charm to bold contemporary appeal.

It also encourages efficient yarn use especially for leftover skeins. This Granny Square remains popular because it combines beauty function and adaptability offering satisfying results for beginners and experienced makers alike.
Step-by-Step Pattern Square with Invisible Join
Materials and Tools
-
Yarn: Cotton or acrylic yarn in two colors (e.g., Copper and Orange).
-
Crochet Hook: Size appropriate for your yarn (e.g., 3.0mm or 3.5mm).
-
Finishing: Tapestry needle and scissors.
Part 1: The Crochet Square (Make 2)
Round 1: Foundation and Center
-
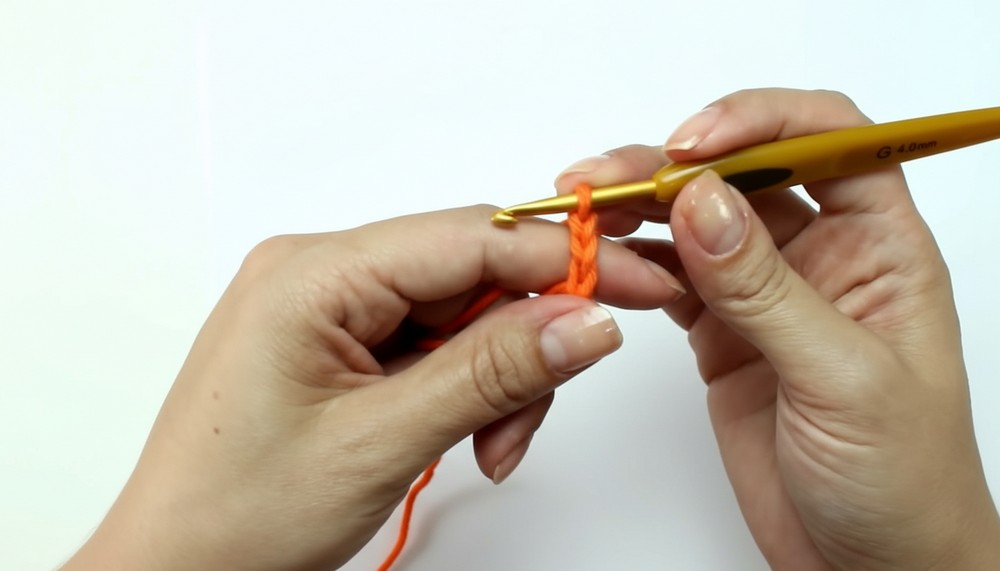
Magic Ring: Create a magic ring (or chain 4 and join with a slip stitch).
-
Base Stitches: Chain 3 (counts as 1st dc). Work 2 double crochets (dc) into the ring.
-
Forming Corners: Chain 2, work 3 dc into the ring. Repeat from * to * two more times.
-
Close Round: Chain 2. Pull the magic ring tail tight to close the center. Join with a slip stitch (sl st) to the 3rd chain of the starting ch-3.
-
Stitch Count: 4 groups of 3 dc separated by ch-2 spaces.
-
Round 2: First Expansion
-
Ch-3 (counts as 1st dc). Work 1 dc into each of the next 2 stitches.
-
Corner: In the ch-2 space, work (2 dc, ch 4, 2 dc).
-
Sides: Work 1 dc in each of the next 3 stitches. In the corner space, work (2 dc, ch 4, 2 dc).

-
Close Round: Repeat around and join with a sl st to the top of the starting ch-3.
Round 3: Second Expansion
-
Ch-3 (counts as 1st dc). Work 1 dc into every dc stitch from the previous row.
-
Corner: In the ch-4 space, work (2 dc, ch 4, 2 dc).
-
Sides: Continue working 1 dc in every stitch across the side and (2 dc, ch 4, 2 dc) in every corner.
-
Close Round: Join with a sl st to the starting ch-3.
-
Stitch Count: 7 dc per side between ch-4 corners.

-
Round 4: Final Expansion
-
Ch-3 (counts as 1st dc). Work 1 dc into every dc stitch across.
-
Corner: In the ch-4 space, work (2 dc, ch 4, 2 dc).
-
Sides: Work 1 dc in every stitch and the corner increase around.
-
Finish: Join with a sl st, fasten off, and weave in ends using a tapestry needle.
-
Stitch Count: 11 dc per side.
-
Part 2: The Invisible Union (Joining)
This technique uses a tapestry needle to "weave" the two squares together.
-
Setup: Place the two squares side-by-side with the "right" sides facing up. Use a long strand of yarn (any color, as it won't show).
-
Starting Point: Thread your needle. Start at the corner chain-space (specifically the 3rd chain).
-
The Stitch Logic: You will only pick up the back loops (the loop furthest from you) of each stitch.

-
Step-by-Step Join:
-
Insert needle into the back loop of the Copper square from bottom to top.
-
Insert needle into the corresponding back loop of the Orange square from bottom to top.
-
Pull the thread through but do not pull too tight (to avoid puckering/frowning the fabric).
-
-
Rhythm: Move to the next set of stitches. Repeat the "Copper loop, then Orange loop" movement across the entire side.
-
Securing: Once you reach the opposite corner, weave the yarn end back through a few stitches on the "wrong" side to secure it, then trim.
Project Information
-
Special Features: Uses the "Invisible Join" which results in a flat, seamless connection perfect for blankets or clothing where you want different colored blocks to appear adjacent without a visible seam.
-
Difficulty: Intermediate (requires knowledge of basic stitches and precise hand-sewing).
-
Tutor's Suggestions: Always use a tapestry needle for the join rather than a crochet hook to ensure the "invisible" effect. If you want a larger square, simply repeat the Round 4 logic (dc in every dc, corner increase).
-
Uses: Patchwork blankets, colorful sweaters, or geometric table runners.
Conclusion
Mastering the invisible union allows you to combine high-contrast colors into a single piece without the distraction of visible seams. This skill is essential for high-end boutique crochet projects where a clean, retail-quality finish is desired. Once you've finished joining, your squares will look like a single, continuous fabric.
Pro Tip: If you are joining many squares, pin them together using bobby pins or stitch markers first. This ensures the double crochet stitches line up perfectly as you sew, preventing the squares from shifting.
Would you like me to find patterns for other joining methods, such as the "Flat Braid" or "Criss-Cross" joins?




Leave a Reply