
Turn yarn into charm with this simple Free Crochet Cap Keychain Pattern, perfect for adding a cute and creative touch to your accessories.
Small projects with a big impact are every crocheter's dream, and this tiny yet stylish addition fits the bill perfectly. Whether you're looking to add personality to your keychain, style up your bag, or crochet something meaningful for gifting, this pattern is your answer. The crochet cap keychain pattern is not just adorable but also functional, allowing you to showcase your skills while enhancing your collection.
Classic Crochet Cap Keychain Pattern for Everyday Functionality
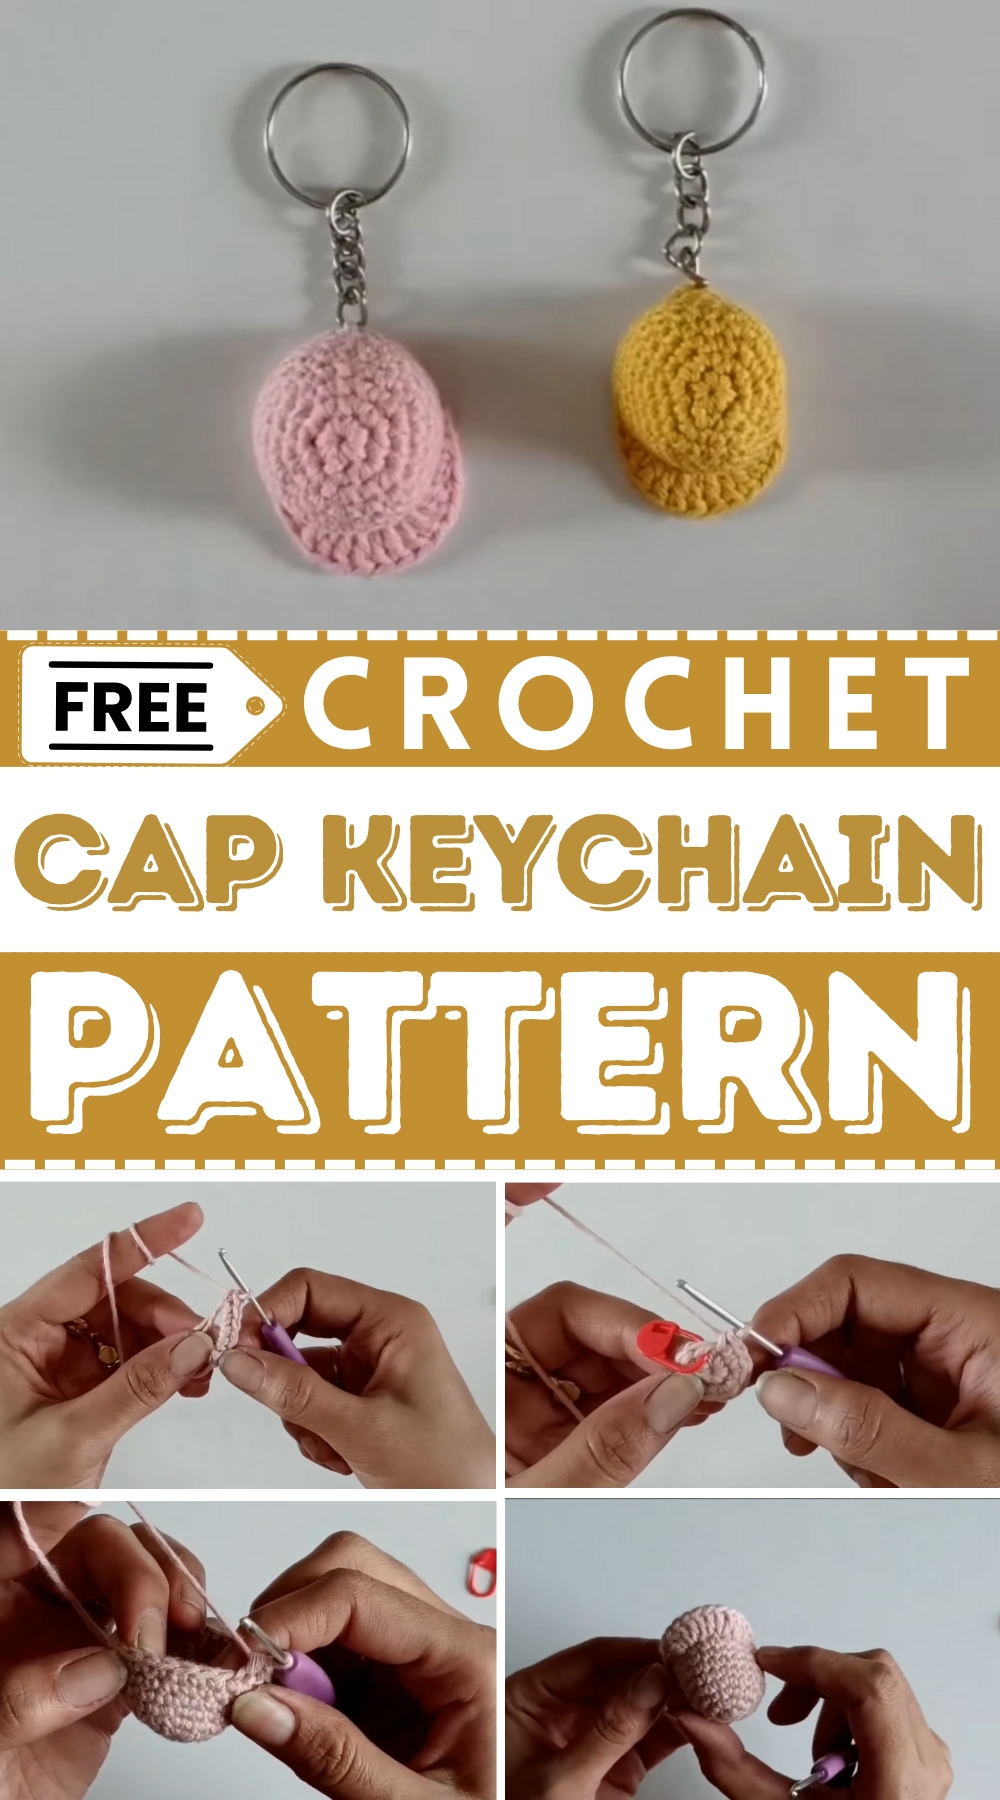
It’s ideal for practicing fundamental stitches while also having fun with design. What makes this pattern stand out is its versatility – choose any color or texture to match your style, or experiment with bolder shades to make a statement.
The finished product is lightweight, durable, and sure to spark conversations about your handmade skills. From personal use to thoughtful gifts, this little creation delivers charm, functionality, and joy in one package. Spruce up your accessory game with this trendy mini cap keychain design.
Materials Needed
To crochet the mini cap keychain, gather the following items:
- 2.5 mm crochet hook
- 4-ply cotton yarn (color of your choice)
- Key ring
- Stitch marker
- Tapestry needle
- Scissors
These materials are easy to source and affordable, making this project perfect for anyone looking for a quick and fun crochet.
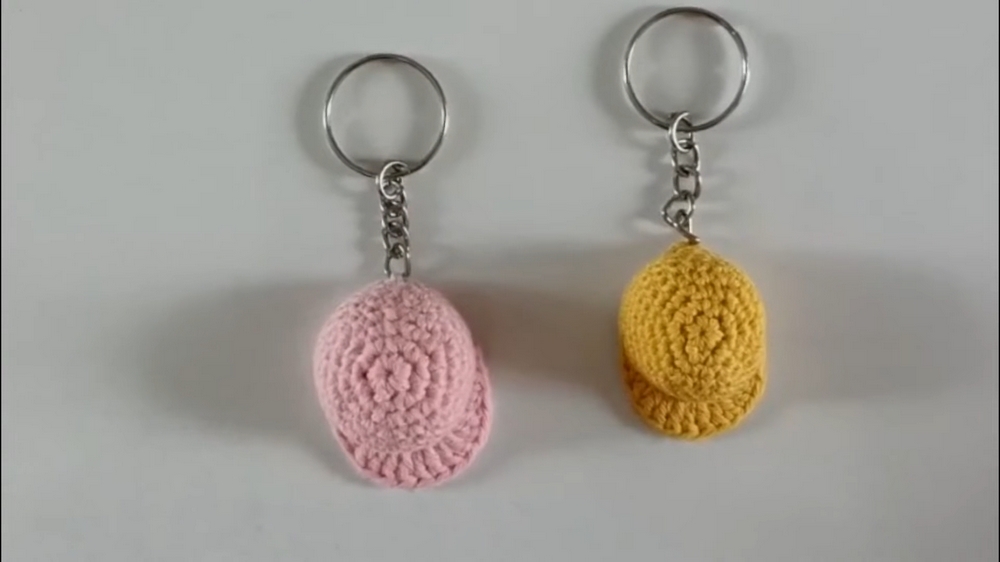
https://www.youtube.com/watch?v=HMotImThWG4
Step-by-Step Instructions
1: Magic Circle
- Create a magic circle.
- Crochet 6 single crochets (SC) into the circle.
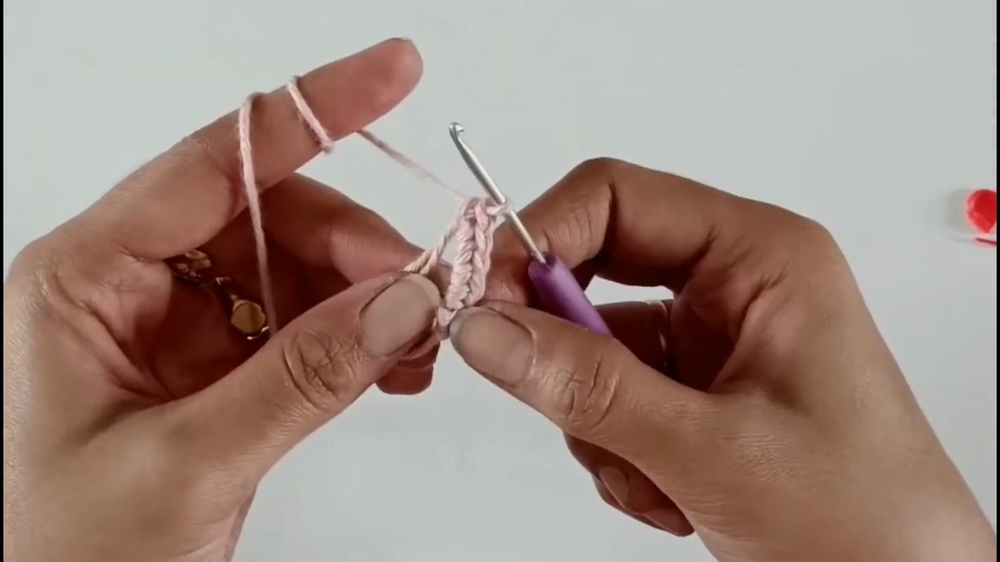
- Pull the tail of the magic circle to tighten it.
- Do not close the round with a slip stitch, as the project will be worked in continuous rounds.
2: Increase
- Work 2 single crochets (SC) into each stitch around (increase stitches in every stitch).
- Use a stitch marker to mark the first stitch of the round.
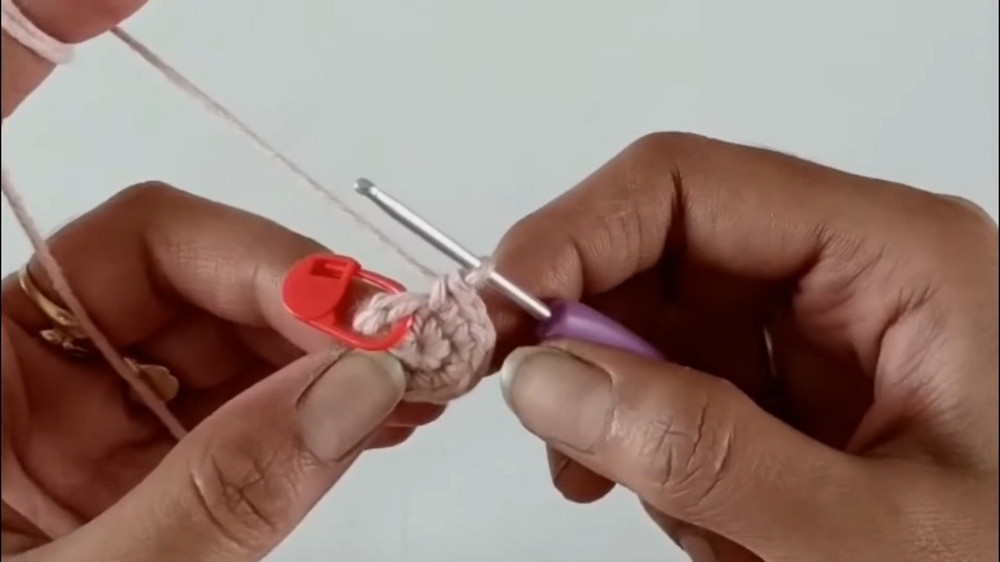
- By the end of Round 2, you should have 12 single crochets.
3: Alternating Increases
- Work 1 SC in the first stitch and 2 SC in the second stitch (increase).
- Continue this sequence (1 SC, 2 SC) around the round.
- You will have 18 single crochets by the end of the third round.
4: Extended Sequence
- Work 1 SC in the first two stitches and 2 SC in the third stitch (increase).
- Repeat this sequence (1 SC, 1 SC, 2 SC) until the round is completed.
- The fourth round should end with 24 single crochets.
5–8: Single Crochets Only
- Work 1 SC in each stitch around.
- Repeat this for a total of 4 rounds (Round 5 to Round 8).
- By the end of these rounds, your mini cap will take shape.
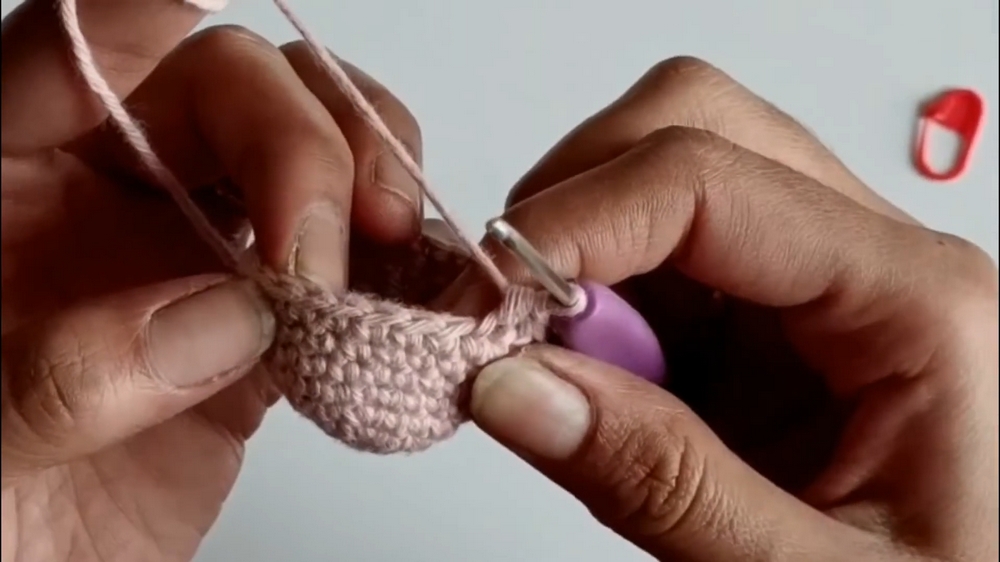
9: Adding the Brim
- Begin by working the slip stitches on the front loops only.
- Follow this sequence:
- Single crochet in one stitch.
- Half double crochet (HDC) in the next stitch.
- Double crochet (DC) increases (2 DC in each stitch) over the next 5 stitches.
- Then, work HDC followed by 1 SC.
- Finish with a slip stitch through both loops.
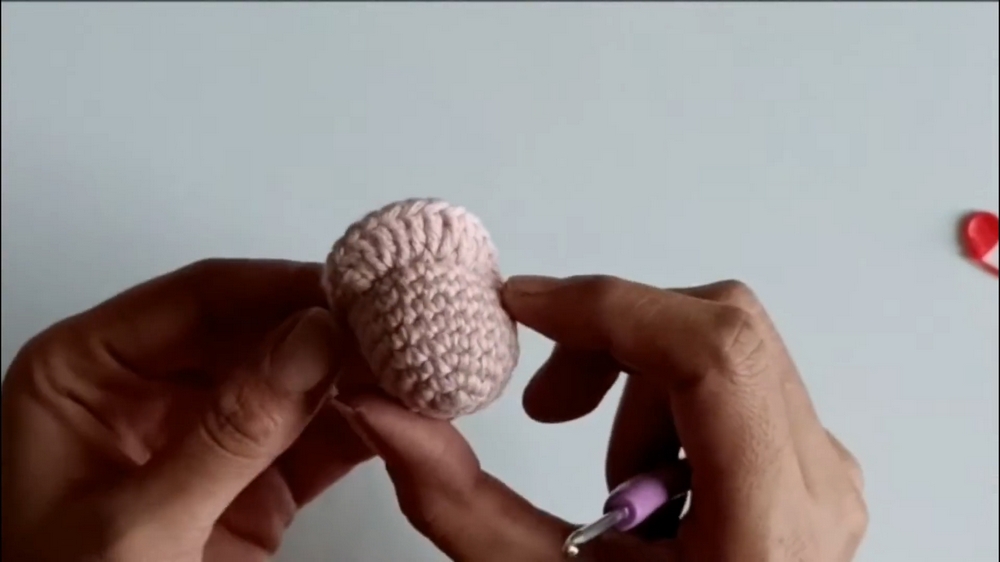
- Cut the yarn, ensuring you leave about 15 cm of yarn tail for keyring attachment.
Attaching the Keyring
- Insert the yarn tail into the tapestry needle.
- Identify the center back stitch of the cap and mark it.
- Sew the keyring to the cap by stitching through the keyring and the cap multiple times to secure it.
- Once done, weave in all loose ends.
Special Features
- Quick and Easy: The project uses basic crochet stitches, making it beginner-friendly.
- Compact Design: The adorable mini size makes it perfect for keychains, gifts, or decorations.
- Customizable: You can choose your favorite yarn colors to suit your style.
Uses
- Attach it to your keys for a stylish, handmade accessory.
- Use it as a bag charm for a playful touch.
Tutor’s Suggestions
The instructor emphasizes the importance of using a stitch marker to track your progress in each round and ensure an even stitch count. Additionally, stitching multiple times when attaching the keyring ensures the durability of the finished product.
Conclusion
This mini cap keychain is a versatile and fun crochet project that blends simplicity with creativity. It’s a lovely way to practice basic stitches while creating a functional and trendy accessory. With minimal materials and a short crocheting time, it’s the perfect project for a relaxing afternoon.
Pro Tip
When working the brim, pay close attention to the front loops only instruction to achieve a clean and polished look. The sequence of stitches in this round brings the cap’s unique shape to life, so take your time here for the best results.




Leave a Reply