
Enjoy festive creativity with this Crochet Christmas Tree Pattern, featuring textured, playful shapes, cozy holiday vibes for seasonal tables.
Bringing holiday cheer to any home, this simple and creative project lets you make a lovely festive decoration with just yarn and a crochet hook. Using a Crochet Christmas Tree Pattern, you can create an ornament for the tree, a cheerful table centerpiece, or a small handmade gift for friends or family. This pattern is perfect for using up leftover bits of yarn, and you can easily pick the colors and size you like best.
Modern Crochet Christmas Tree Pattern for Minimal Homes
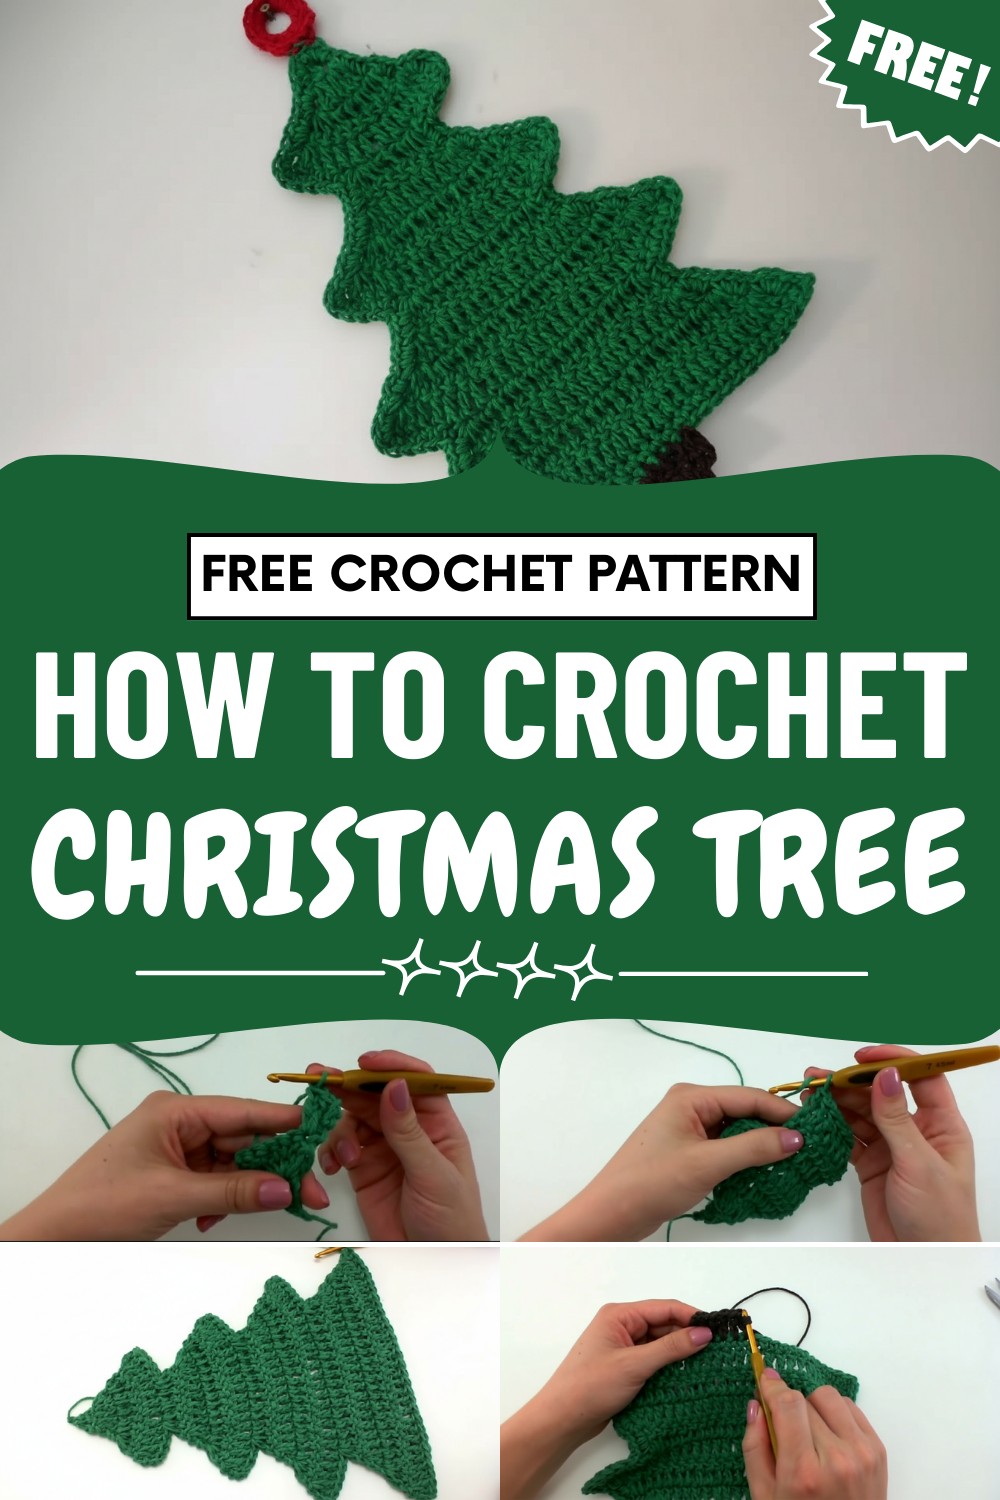
The finished tree is cute, bright, and adds a wonderful homemade touch to your holiday décor. Beginners will find the directions easy to follow, while experienced crocheters can have fun adding new stitches or extra details.
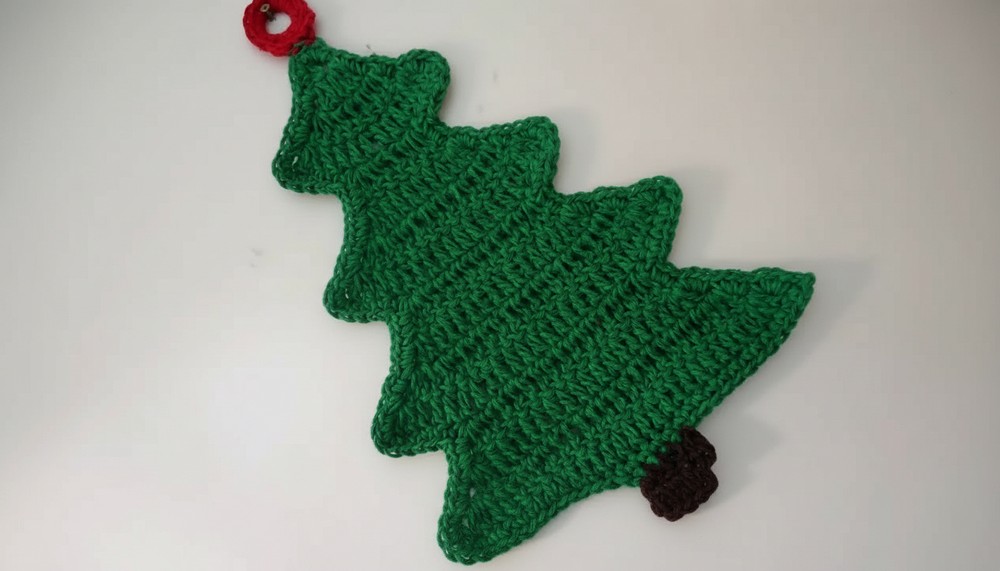
Crocheting this charming tree is a relaxing holiday activity, great for making a lasting decoration and joyful memories you can enjoy each Christmas season.
Special Features
- Layered Pine Tree: Realistic stepped branches using increases and partial rows.
- Easy Attachment: Includes a sturdy, red-covered ring for hanging.
- Quick Project: Uses scraps of green, brown, and red yarn plus a small plastic hoop.
- Customizable: Easily make it larger or smaller by repeating the branch tiers.
Level of Difficulty
Advanced Beginner
You need to be comfortable with: chaining, double crochet, single crochet, slip stitch, and basic seaming.
Materials
- Plastic hoop (2 cm diameter)
- Crochet hook 4.5 mm
- Green, brown, and red yarn (#8 weight)
- Scissors
- Tapestry needle
Step-by-Step Pattern
1. Crochet the Tree (Green Yarn)
Foundation
- Make a slip knot with green yarn and chain 4.
- Skip 3 chains (they count as the first dc), 2 double crochets (dc) in the last chain. (3 dc in first row)
First Branch Expansion
- Row 2:
- Chain 3 (counts as dc), turn.
- 2 dc in the same stitch, dc in next dc.
- In the last stitch (top of turning chain), 3 dc in the same place. (7 dc this row)
- Row 3:
- Chain 3, turn. 2 dc in same st.
- Dc in each dc across until last st; 3 dc in last st.
- (13 dc in this row)
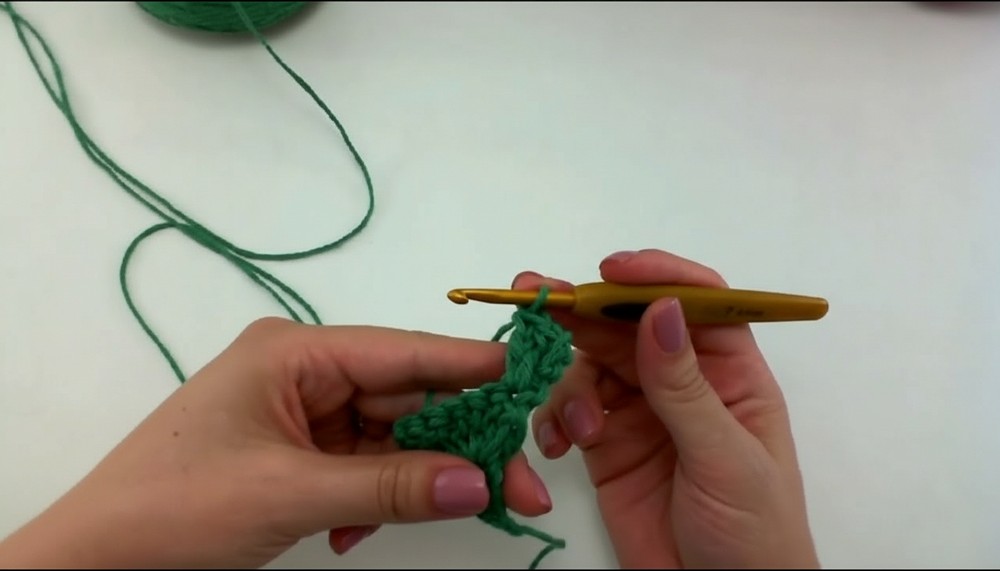
- Row 4:
- Chain 3, turn. 2 dc in same st.
- Dc across to last st; 3 dc in last st.
- (19 dc in this row)
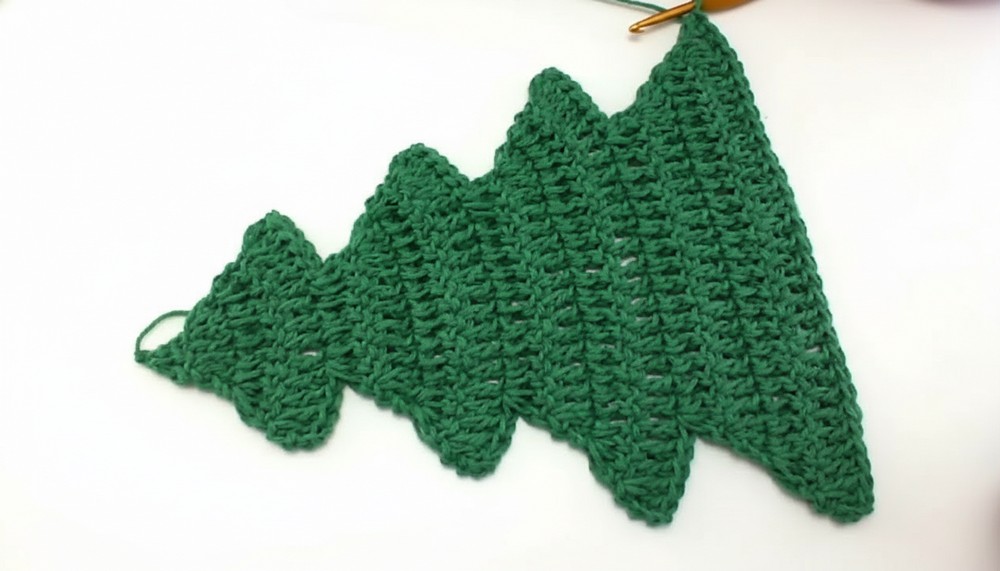
Making Tiered Branches – First “Tip” Row
- Slip stitch (sl st) in the next 5 dc (walk over next stitches without crocheting regular dc).
- In the 6th stitch, ch 3 (counts as dc), 2 dc in same stitch.
- Dc in next three stitches.
- In the next stitch, 3 dc in the same stitch (makes a “tip”).
- Fasten off or turn, as you prefer—this establishes the appearance of branch layers.
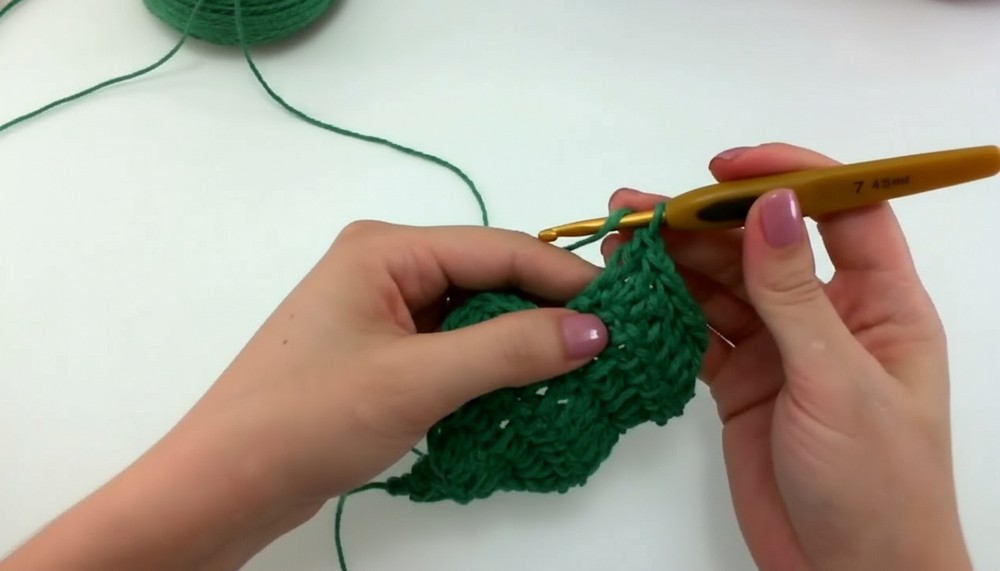
2. Continue with Next Branch Sections
- Continue increasing for four rows:
- At each end, always put 3 dc in the first and last stitch; dc across between them.
- Every 4 rows, repeat the “tip” process:
- Slip stitch along 6 or 7 stitches at start, then work across, ending with multiple dc in one point to shape a branch “tip”.
- Repeat as needed:
- To grow your tree, make more 4-row sections, always starting each group with a slip stitch “walk” as before, then increasing over each row for width.
3. Even Out and Edge
- After your final tier, single crochet (sc) around entire edge for a crisp look:
- At every outer tip/corner, do [sc, ch 1, sc] in the same stitch.
- Work three sc per side point for smooth sides.
- Join with a sl st. Fasten off. Weave in ends.
4. Add the Trunk (Brown Yarn)
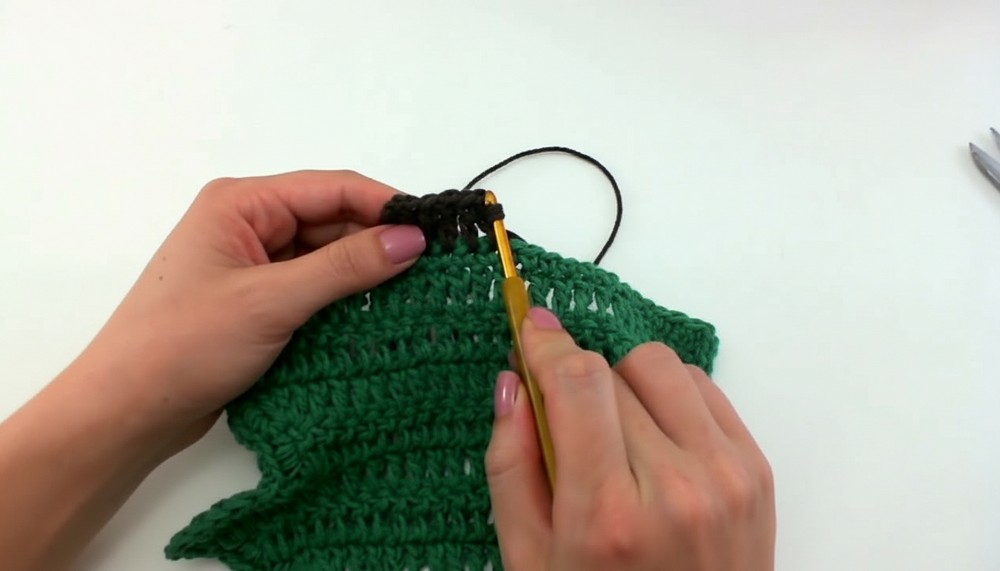
- At the bottom center of the pine tree (count 13 or 14 across, center your trunk), attach brown yarn.
- Ch 3, dc in same stitch.
- Dc in next 5–6 stitches, keeping trunk centered.
- 2 dc in last trunk st.
- Fasten off and secure/shape on the back.
5. Prepare the Hanging Ring (Red Yarn)
- Knot red yarn to the plastic hoop.
- Ch 2 (counts as sc), then
- Make 13 more sc around the ring (total 14 sc) to cover the whole hoop.
- Join with a sl st and fasten off.
6. Attach the Ring to the Tree
- Place the plastic ring at the top tip of the pine tree (wrong side of tree).
- With a tapestry needle or hook and yarn, attach the ring with slip stitches or overcast stitches—going through only back loops of tree and inner loop of ring for neatness.
- Secure well, weave in and trim all ends.
Tutor’s Suggestions
- Add little beads or French knots for "ornaments" before assembling for a festive look.
- For a larger tree, add more sets of four increase rows and tip rows.
- Block your finished project lightly for sharp, crisp edges and points.
Uses
- Door or wall hanging
- Holiday tree or window ornament
- Gift embellishment or stocking tag
Tip
For perfectly pointed branches, always do [sc, ch 1, sc] at the very tip during the single crochet border. This keeps your tree looking sharp and well-defined.
Conclusion
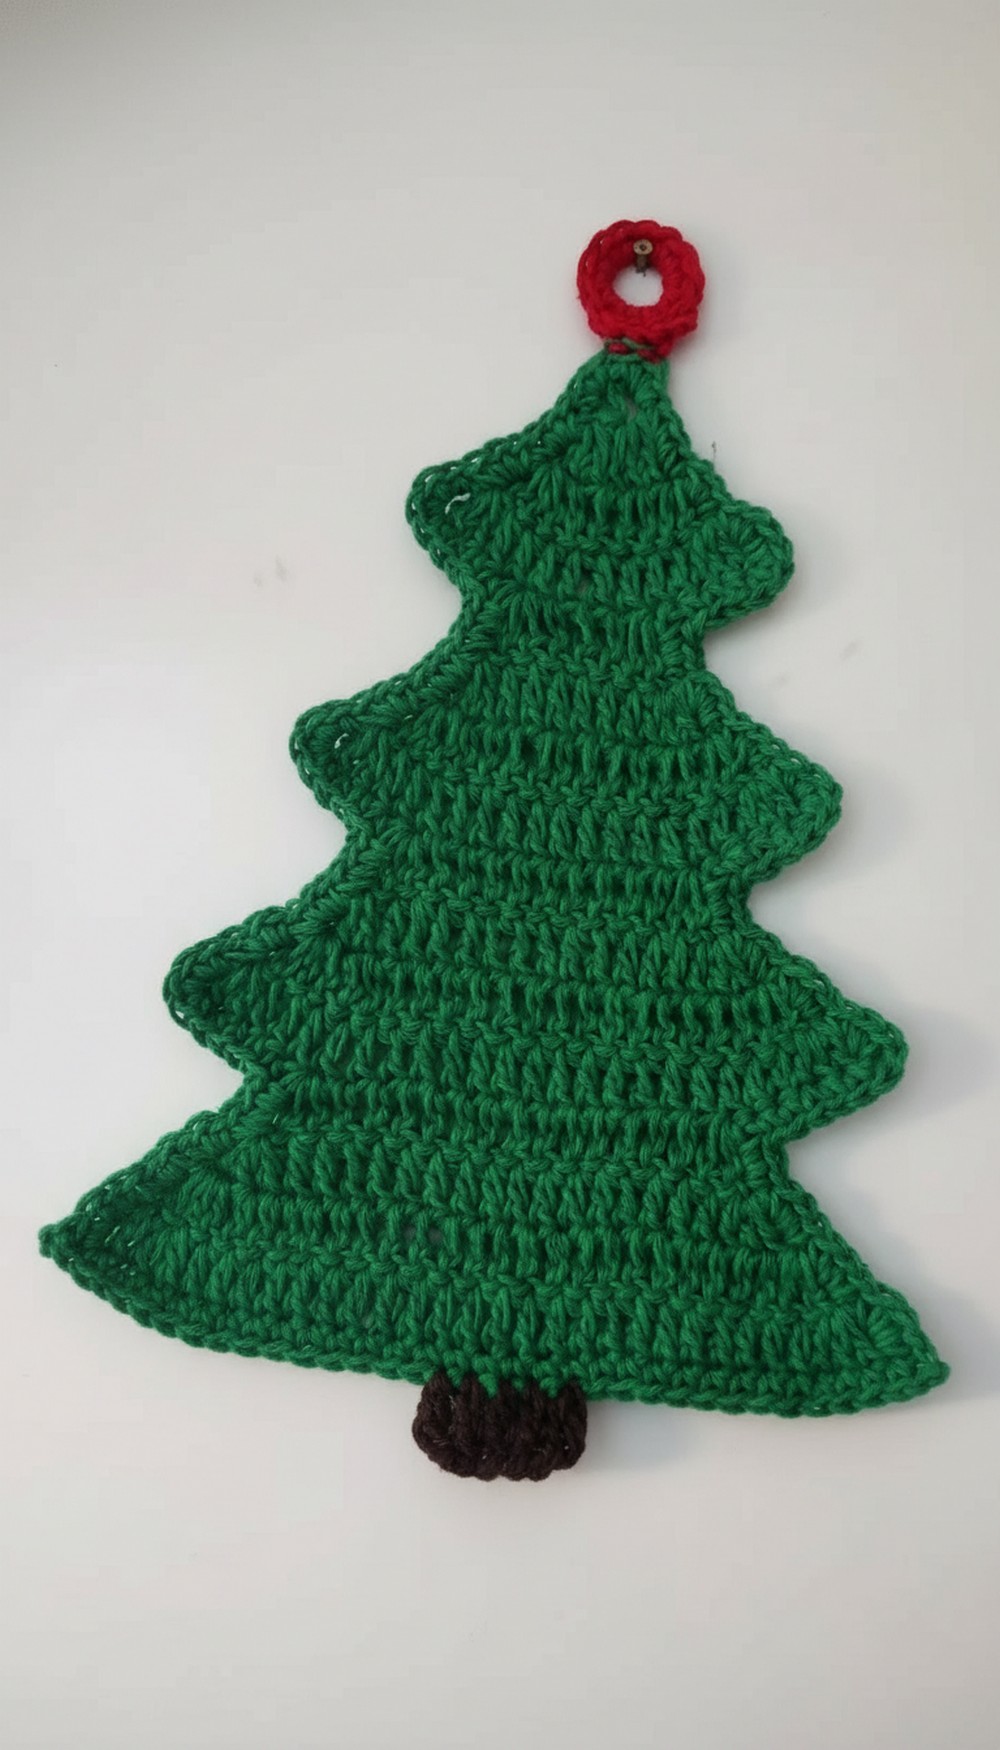
You now have a festive pine tree ornament, perfect for your Christmas decorating or giving as a seasonal gift. Enjoy customizing your tree with different sizes or colors and share your holiday cheer with every handmade detail.




Leave a Reply